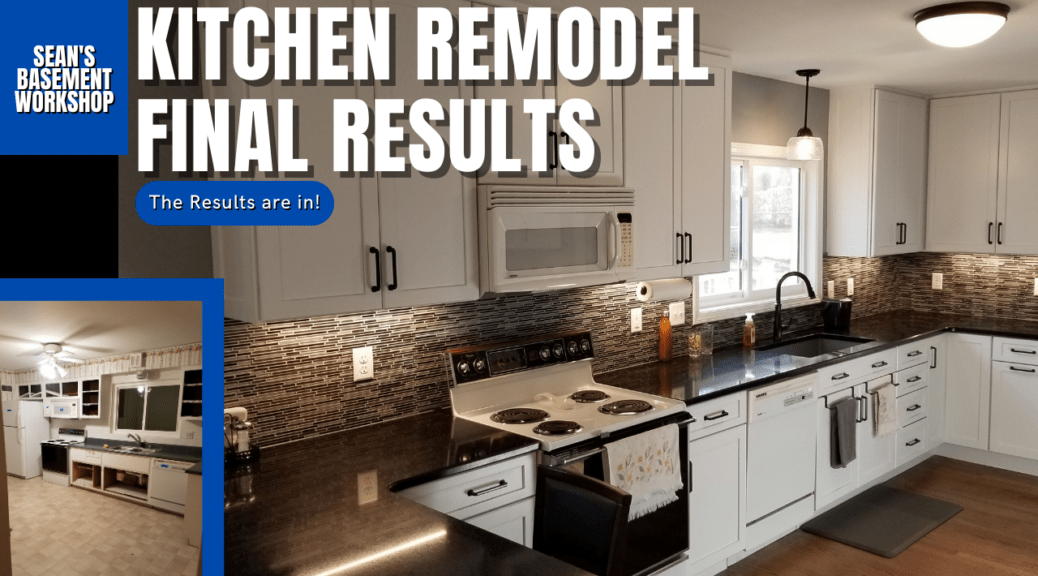
Kitchen remodels can be a lot of fun yet a lot of work depending on what you’re doing. So, let me set the scene for you. We’ve owned this house for nearly 2 decades now and during that time we have had some major renovation done part of which was relocating our basement stairs so the new stairs that go to our new upstairs were stacked on top of each other. This gave us about 3 extra feet in our crowded galley-style kitchen. We knew eventually we’d want to remodel our kitchen but if you’ve ever priced one out then you know it is not just a save a few thousand and you’re good to go.
Fast forward nearly 12 years and now we’re ready to remodel our kitchen. So we’re ready for our kitchen to remodel and it’s not going to just paint the cabinets, slap down a new floor, and Bob’s your uncle. No, it is going to be nearly an entire gut down to the studs.
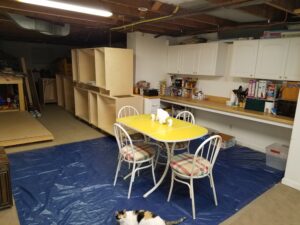
First, we need to remove everything out of our kitchen and dining room which will act as a staging area. Because we are still living in our house when this renovation was going to happen we needed to set up a temporary makeshift kitchen in our basement. Add some difficulty because if you’ve read or seen any of my other work you know part of my basement is where my shop is so minus some temporary storage for cabinets for me. Unfortunately, we didn’t take any pictures of our kitchen prior to me removing the doors to salvage the hardware.
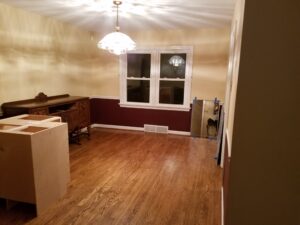
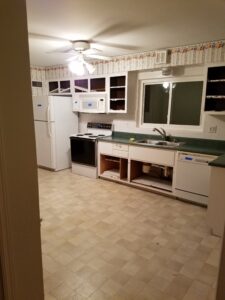
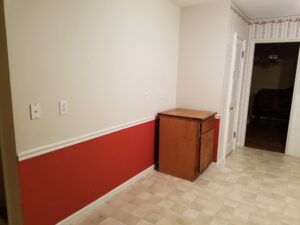
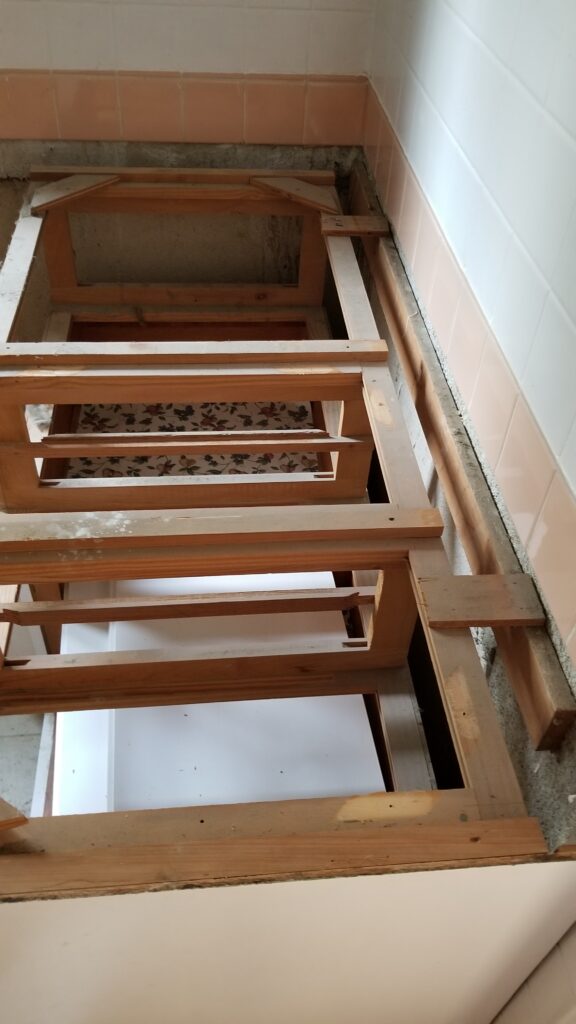
Once everything is cleared out the existing cabinets needed to be removed. I started by removing all the doors and doors so I could salvage any hardware possible. Then came removing the cabinets that were built in place by the homebuilder in 1956. After those were out of the way out came the wallboard followed by the flooring. Well, you can imagine the rest, everything pretty much needed to come out.
Electricians did the wiring, plumbers did the plumbing, drywallers did the drywall and painters did the painting. While all this was going on I was busy building my new cabinets in the basement so that I could have them ready for when the flooring went in and was finished.
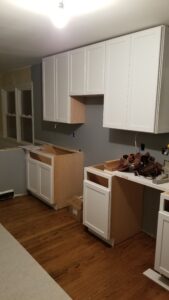
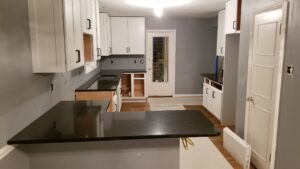
Now the cabinets started going in. After the cabinets went in the countertops were set in place and the doors and drawers went in. At this point, I had not yet finished making the drawer fronts but was moving pretty fast. I ended up making a mistake when I made one for my drawer stack because I didn’t take into account the overlay and had to remake one. I attached all the drawer fronts to the drawers and put the matching hardware on the drawers. Yes, you may see the POISON Lead Warning because our house was built in 1956. However, no lead paint was used as far as we’ve ever found out.
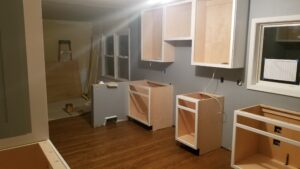
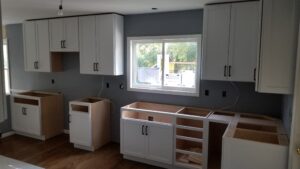
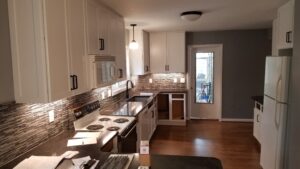
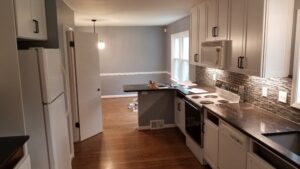
We ended up with a kitchen that both my wife and I love. I’m glad we waited long enough to do the whole thing at once because it gave us a very functional kitchen that met our needs.
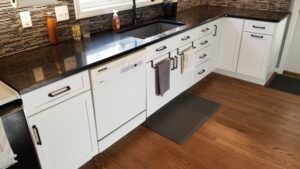
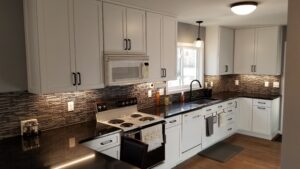

I hope you’ve enjoyed this kitchen cabinet build series and if you didn’t know this was part of a series then please go back and start with the first episode at SBW#23 – Kitchen Cabinet Build Part 1 if you want to see the entire adventure.
As always if you have any questions or comments post them below or on my YouTube video comments section and I’ll do my best to respond.
I’ve included a few Amazon Links below for the equipment and materials I used. By clicking on any of the links in this article you help support my channel as I earn from qualifying purchases.
You can also help support my Channel by dropping a Tip at https://withkoji.com/@sean.moenkhoff
Equipment and Materials
No equipment or materials were used (or harmed) in this final product video.
I hope you find this video useful and can use some of the tips presented. Feel free to leave any comments, suggestions, or experiences you have had below.
Some of the links in my video description and article above are Amazon Affiliate links. As an Amazon Associate, I earn from qualifying purchases. If you would like to make a different purchase from Amazon, you can also use the storewide link.
