How to Easily Replace a TimberTech Deck Post Light Bulb
How to Easily Replace a TimberTech Deck Post Light Bulb
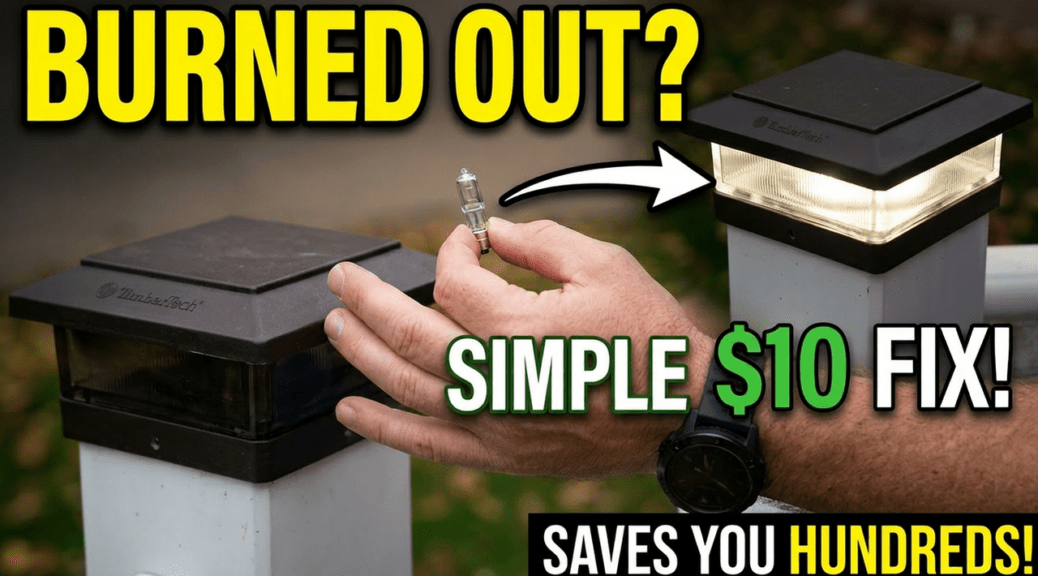
Replace TimberTech deck post light bulb fixtures yourself with this quick and simple DIY repair. If you have a burned-out TimberTech deck post light, you can restore it in just a few minutes using a replacement G4 10-watt bulb and a few basic tools.
In this guide, I’ll show you exactly how to replace a TimberTech deck post light bulb, test the new bulb, and reassemble the fixture correctly.
Next Project: Replacing Burned-Out Deck Railing Light Bulbs (Coming Soon)
Table of Contents
Why Deck Post Lights Fail
Deck post lights are exposed to weather, temperature changes, moisture, and daily use. Over time, bulbs naturally burn out and need to be replaced.
In my case, I found that some LED replacement bulbs failed much sooner than expected, while several halogen bulbs lasted significantly longer. Although your results may vary, it’s worth periodically checking your deck lighting system for burned-out bulbs.
Tools Needed to Replace a TimberTech Deck Post Light Bulb
Before you begin, gather the following items:
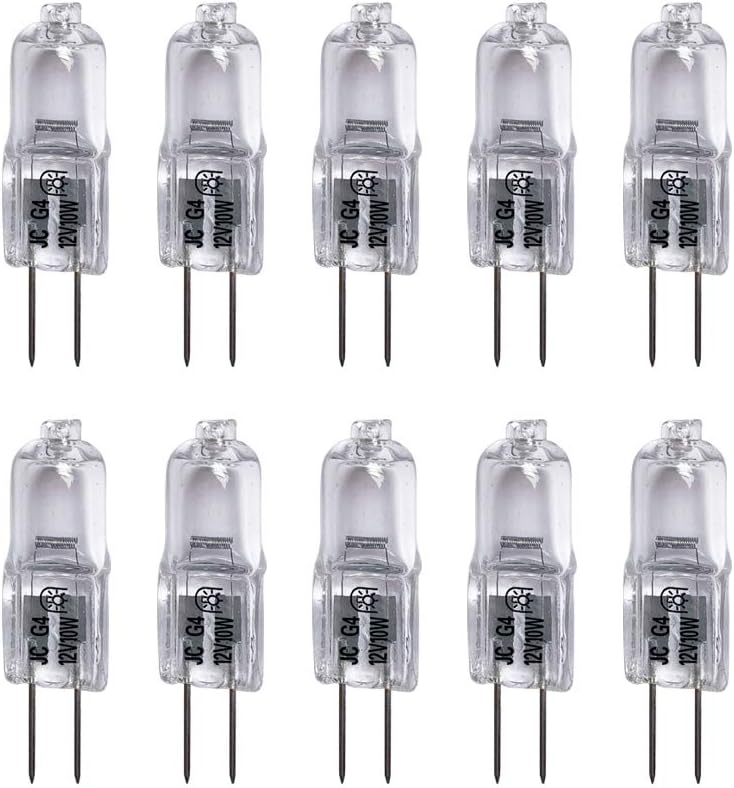
- Replacement G4 10-watt bulb
- Phillips screwdriver
- Kobalt 24-Volt Max Lithium Ion (Li-ion) 1/2-in Cordless Brushless Drill
- Paper towel or clean cloth
- Small container for screws
Most TimberTech post lights use a G4 base bulb with two small prongs. Always verify the bulb type and wattage specified for your fixture before purchasing replacements.
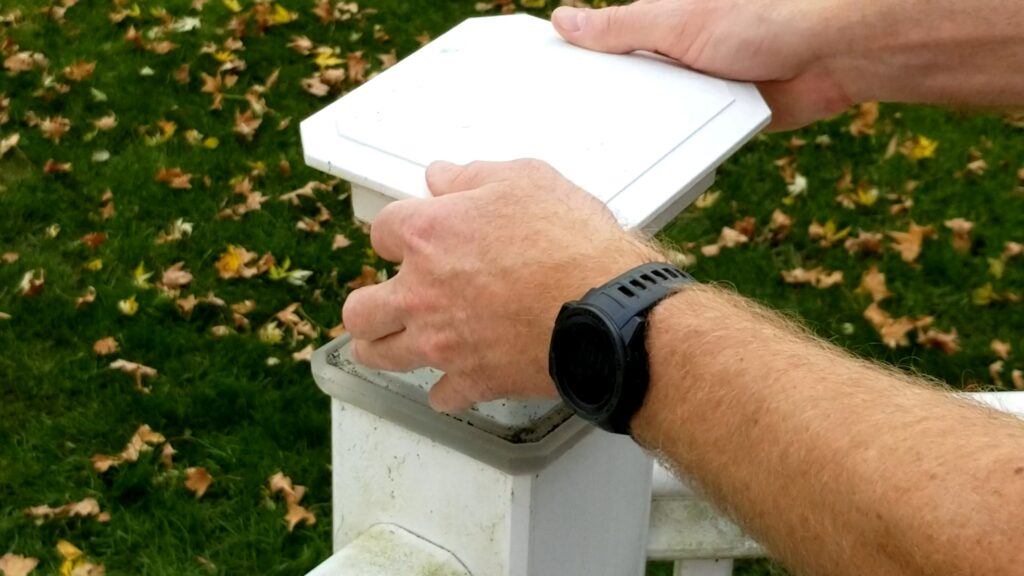
Step 1: Remove the Post Cap
The first step is removing the decorative post cap.
Most TimberTech post caps simply clip into place. Carefully lift or pry the cap upward until it releases from the post.
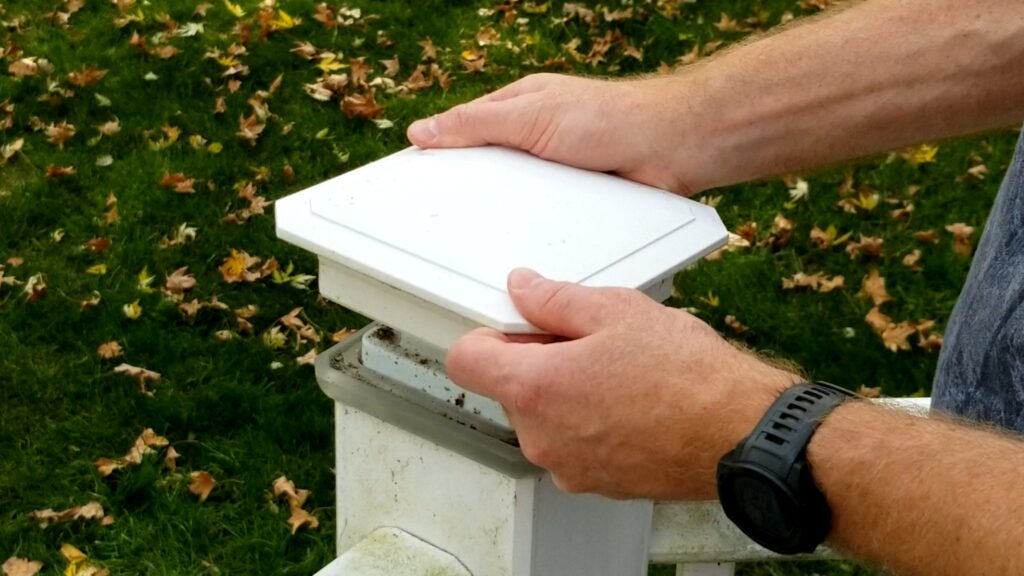
Once removed, set the cap aside in a safe location to avoid damage.
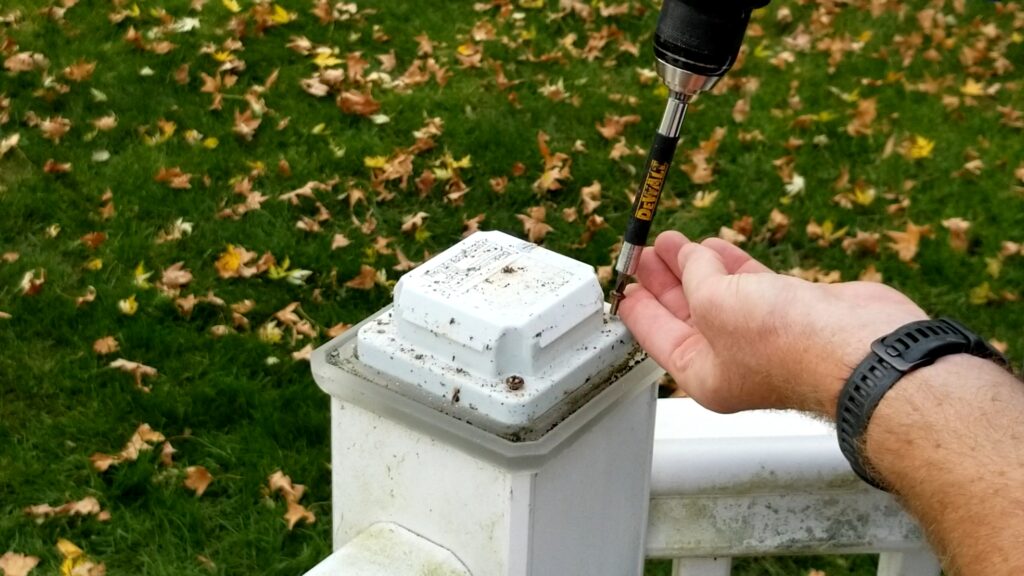
Step 2: Remove the Light Fixture
With the cap removed, you’ll see the light fixture secured by four screws.
Using a Phillips screwdriver or cordless drill, remove the screws from the corners of the fixture.
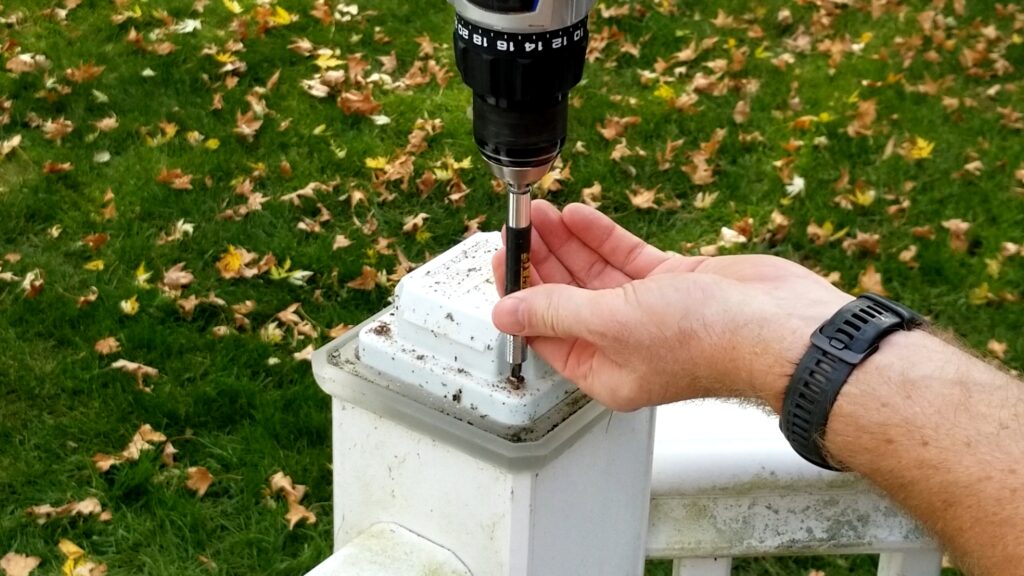
A helpful tip is to place the screws inside the post cap while you work. This helps prevent losing them during the repair.
Once the screws are removed, lift the fixture to expose the bulb.
Step 3: Remove the Burned-Out Bulb
The bulb simply pulls straight out of the socket.
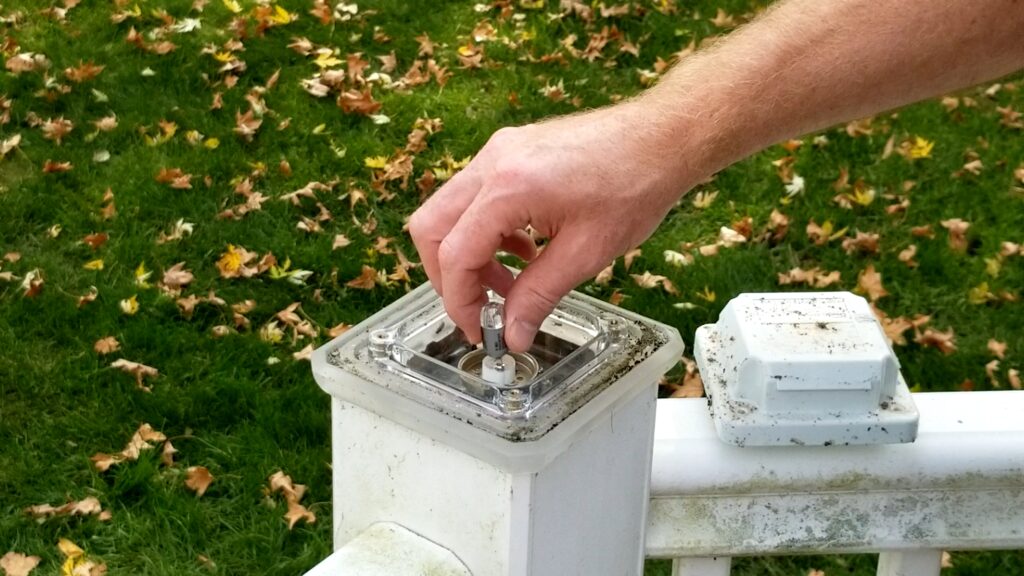
Most TimberTech post lights use a G4 base bulb, which features two small metal prongs that slide into the socket.
Gently pull the old bulb out and inspect it for signs of failure, corrosion, or moisture damage.
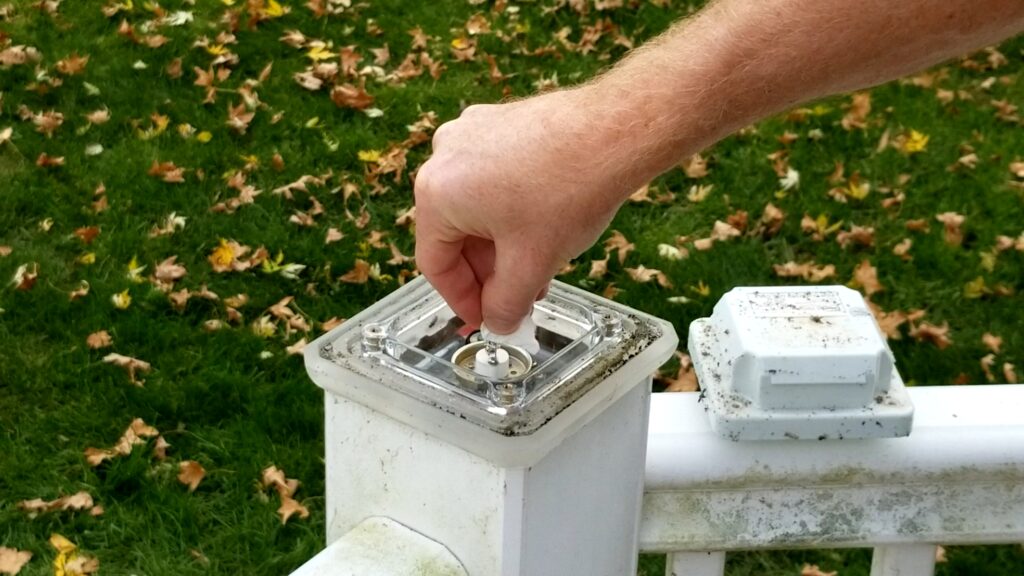
Step 4: Install the New G4 Bulb
Before handling the new bulb, use a paper towel or a clean cloth.
Avoid touching the glass portion of the bulb with your bare fingers. Skin oils can create hot spots on the bulb surface and may reduce bulb life.
Insert the two prongs into the socket and push the bulb firmly into place.
The installation should require very little force.
Step 5: Test the Light Before Reassembly
This is one of the most important steps.
Before reinstalling the fixture, turn on the lighting circuit and verify that the new bulb works properly.
I’ve experienced brand-new bulbs that were defective right out of the package. Testing before reassembly can save time and frustration.
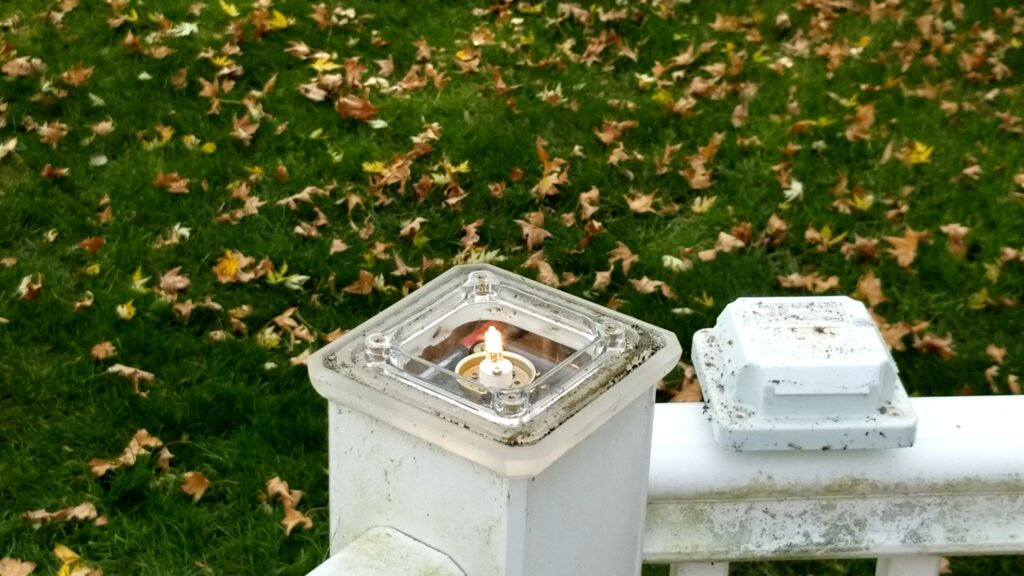
If the light illuminates correctly, proceed to the next step.
Step 6: Reinstall the Fixture
Position the fixture back into place and reinstall the four mounting screws.
If using a cordless drill, set it to a low torque setting. This helps prevent stripping screws or damaging the fixture housing.
Tighten the screws until snug, but avoid over-tightening.
Step 7: Reinstall the Post Cap
Once the fixture is secure, align the post cap with the post.
Press downward until the cap snaps back into place.
Give it a quick check to ensure it is seated properly and secure.
Common Mistakes to Avoid
When replacing a TimberTech deck post light bulb, avoid these common mistakes:
- Touching the bulb glass with bare hands
- Losing mounting screws during disassembly
- Over-tightening screws during reassembly
- Failing to test the bulb before reassembly
- Installing an incorrect bulb wattage or base type
Avoiding these mistakes can help ensure a successful repair and extend the life of your deck lighting system.
My Experience with LED vs. Halogen Bulbs
During my repairs, I noticed several LED replacement bulbs failed earlier than expected.
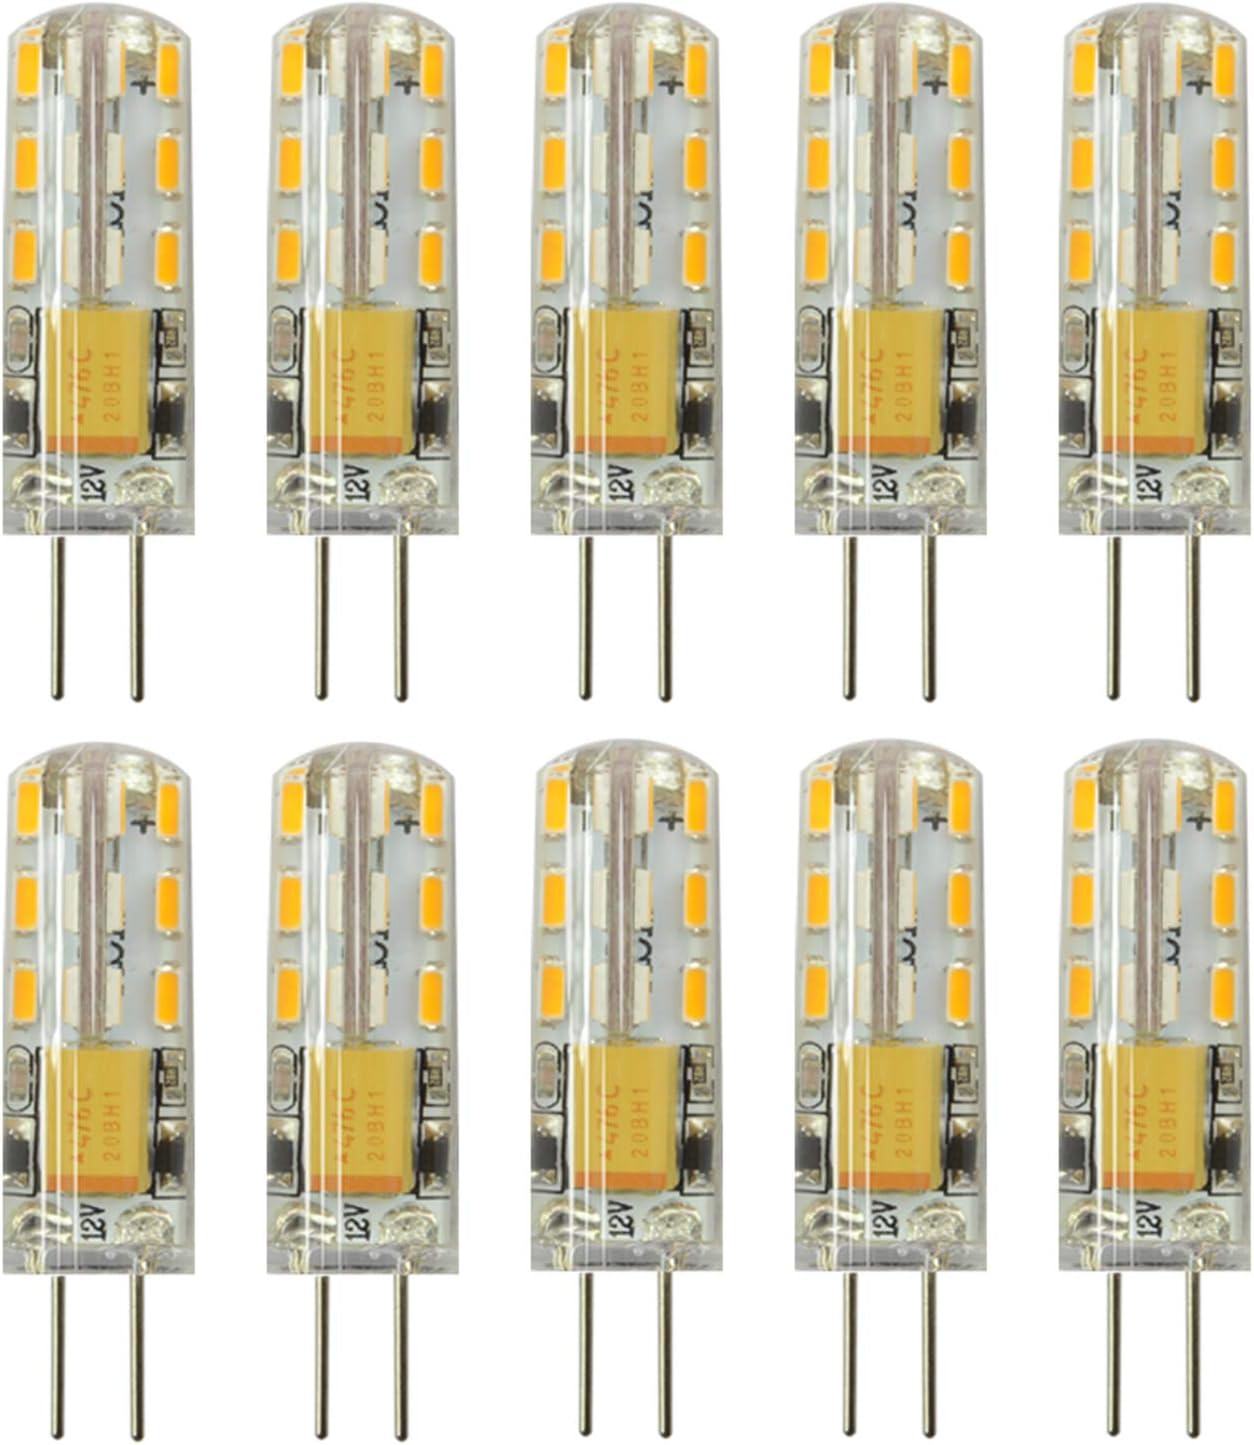
The LED bulbs produced a brighter, cooler light that looked great initially. However, I was disappointed by their longevity compared to some of the halogen bulbs they replaced.
While every installation environment is different, it’s worth monitoring the performance of different bulb types and choosing the option that works best for your deck lighting setup.
Final Thoughts on How to Replace a TimberTech Deck Post Light Bulb
Learning how to replace a TimberTech deck post light bulb is a simple project that can be completed in just a few minutes.
With a replacement G4 10-watt bulb and a few basic tools, you can restore your deck lighting, improve nighttime visibility, and avoid the expense of hiring a professional.
If you have multiple deck lights, the process becomes even faster once you’ve completed the first one.
Keeping your deck lighting working properly not only improves appearance but also helps create a safer outdoor space for family and guests.
Frequently Asked Questions
Final Thoughts on How to Replace a TimberTech Deck Post Light Bulb
Many TimberTech deck post lights use a G4 base 10-watt bulb. Always verify the specifications on your fixture before purchasing replacement bulbs.
Can I replace a TimberTech deck light bulb myself?
Yes. Most homeowners can replace a TimberTech deck post light bulb in just a few minutes using basic hand tools.
Why should I avoid touching the bulb with my fingers?
Skin oils can create hot spots on the bulb surface, potentially shortening bulb life.
Should I test the bulb before reassembling the fixture?
Absolutely. Testing the bulb before reassembly ensures it works properly and prevents having to take the fixture apart a second time.
Can I use LED bulbs in TimberTech deck lights?
In many cases, yes, provided they match the fixture specifications. However, always verify compatibility, voltage requirements, and physical size before installation.
Watch the Full Repair Video
For a complete visual walkthrough of how to replace a TimberTech deck post light bulb, watch the full tutorial on my YouTube channel.
The video shows:
- Real-time repair
- Post disassembly and reassembly
- Light Bulb Replacement
- Beginner-friendly pacing
Next Project: Replacing Burned-Out Deck Railing Light Bulbs (Coming Soon)
👉 If you found this helpful, subscribe to the channel for more simple DIY home improvement projects.
You can also help support my Channel at Buy Me A Coffee.
Some of the links in my video description and article above are Amazon Affiliate links. As an Amazon Associate, I earn from qualifying purchases. If you would like to make a purchase from Amazon, you can also use the storewide link.