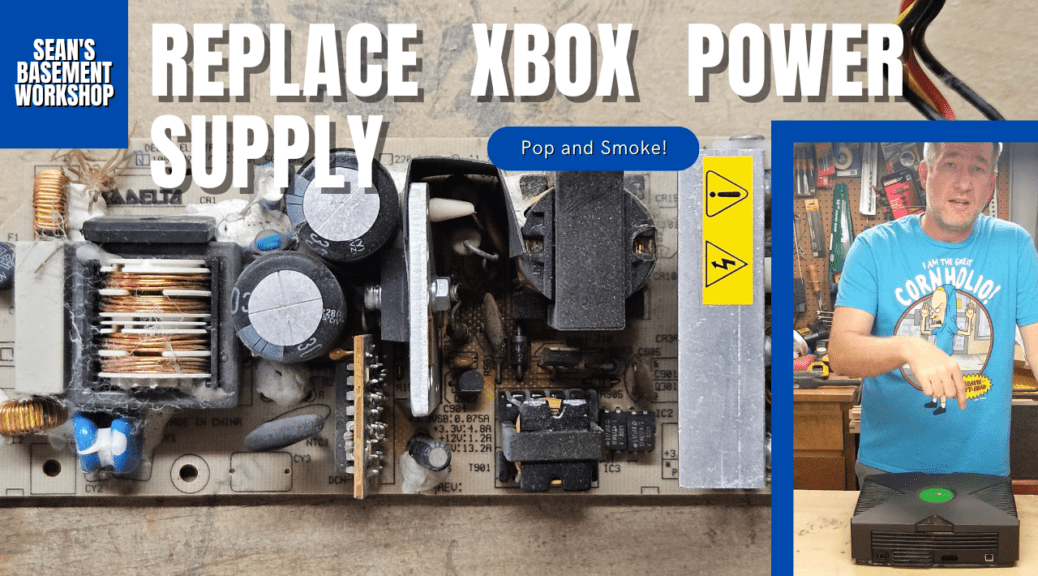
You sit down to enjoy a favorite video game on your console, hit that power button and there’s a pop and smoke. Well, this did not happen to me but may have happened to you. What happened to me was I had just finished remodeling my family room and was hooking my son’s Xbox back up and to test everything I hit the power button and that is where the pop happened. Did I have things hooked up wrong? No, I’ve hooked this console up dozens of times without issue.
I tried again, and this time, no power indications whatsoever. Crap, what happened? He’s going to be very upset that his XBox is no longer working. That is where this story takes place, I need to fix this if I can.
So I disconnected it and set it aside until I could get to it because real life had more important things coming at me than a video game console. Fast forward a month later and I’m in my shop tearing this thing down. I’ve worked with electronics since I was a child and I had a good idea that the pop, the smell, and the smoke were a result of a capacitor, resistor, or some other component failing. If possible, I was going to replace the failed component and move one. However, that would not be the case as you can see.
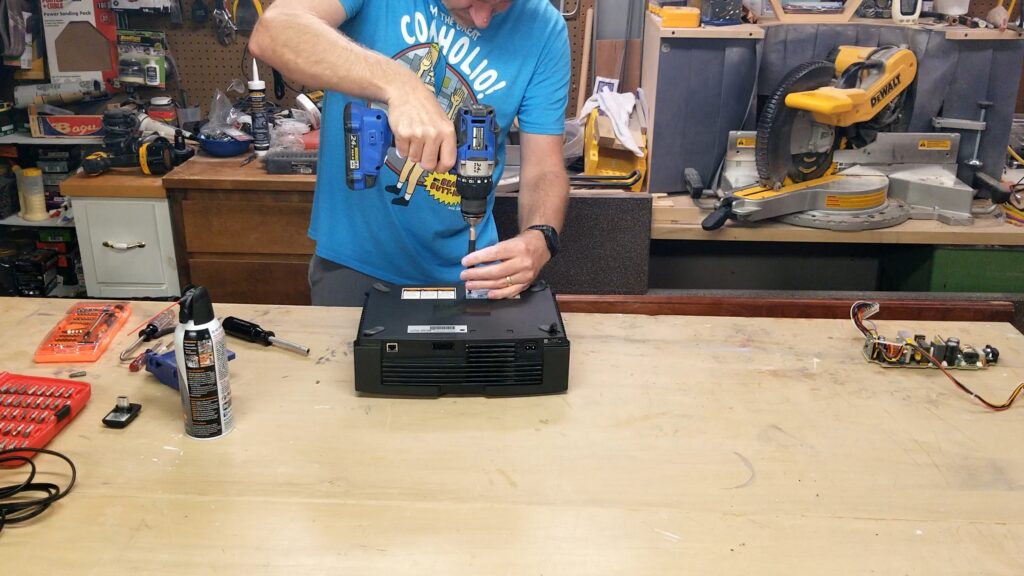
First things first, I needed to pull the case apart so I could get access to the internal working components. I flipped this bad boy upside down because 6 screws were holding the case together. Using a small flat screwdriver I carefully lifted 1/2 the rubber pads and exposed the 4 hidden screws. The two remaining ones were, of course, the ones under the “warranty void if removed stickers”. Yeah, this is old enough the warranty expired a decade ago.
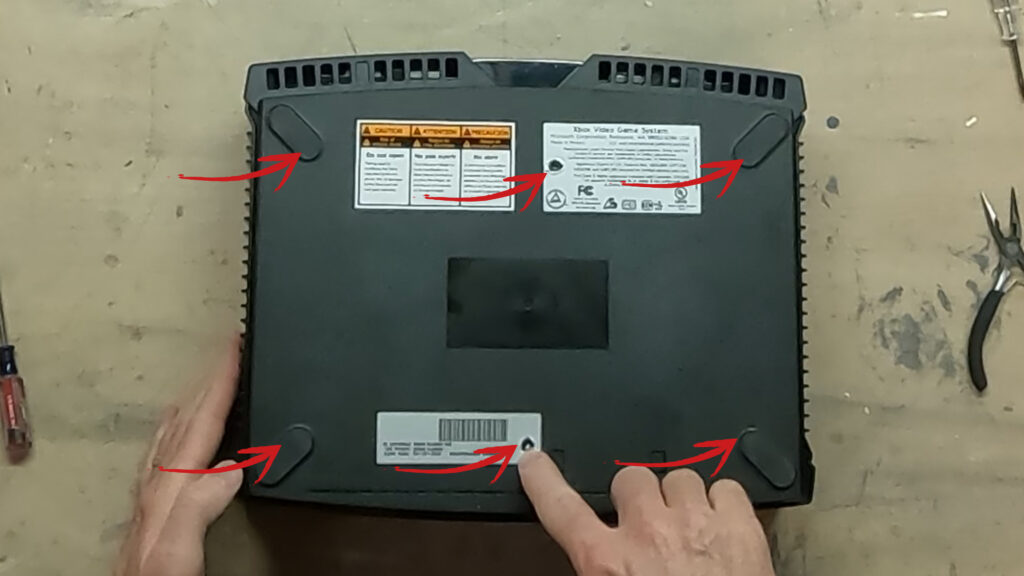
Moving on I used the appropriate bit to remove the screws. Flipped the unit back over carefully lifted the top of the case apart and set it aside.
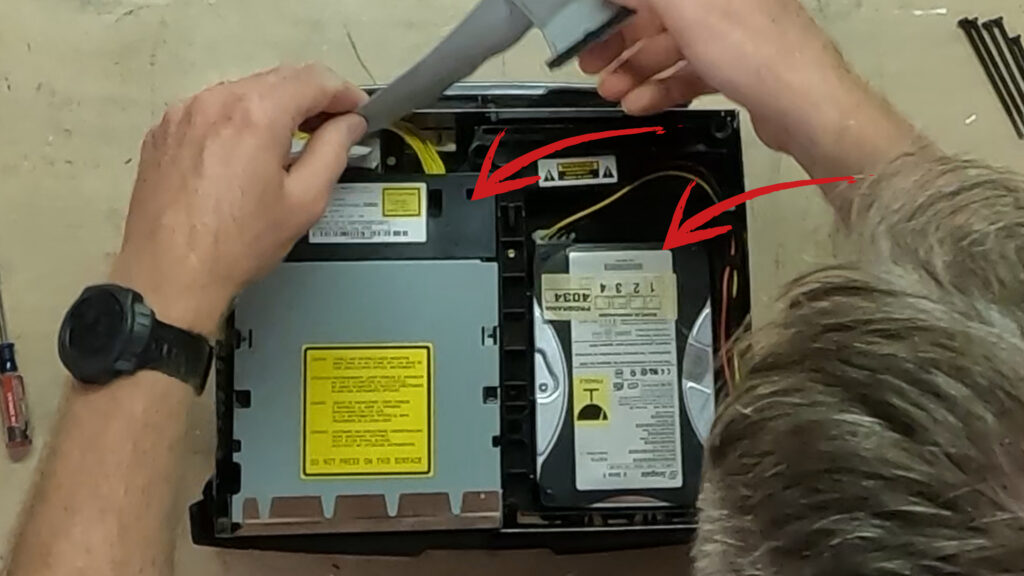
Next, I had to remove the hard drive and DVD drive. A couple of screws and connection plugs and they were out – also set aside next to the case. You should take note of what connections go where when you reassemble the unit. It is important to get them connected back up correctly.
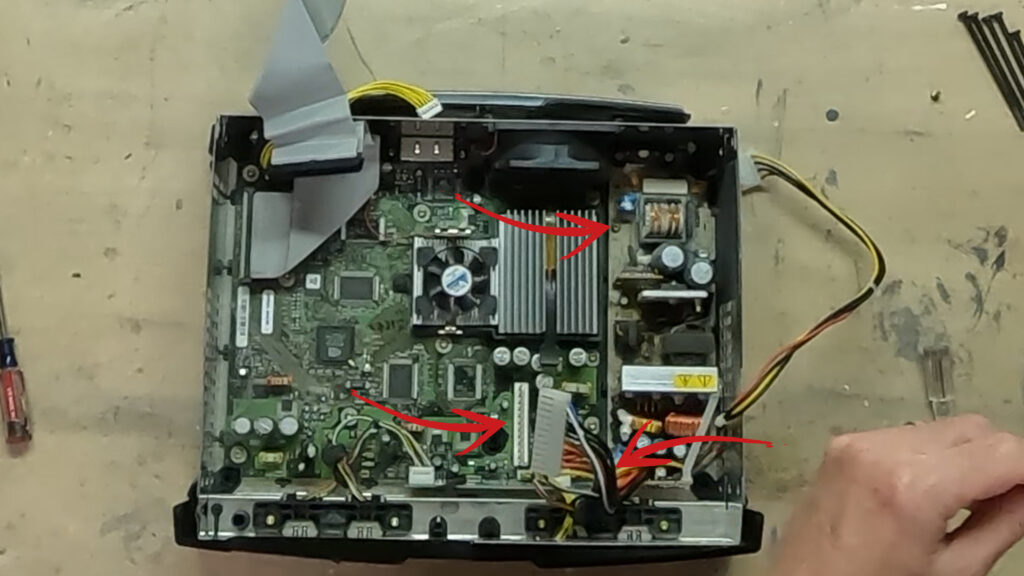
Once these components were removed I inspected the unit to figure out where something failed. I carefully looked for anything that looked burned, discolored, or anything that looked like it had failed. This led me to the power supply unit (psu). There was an extremely burnt discolored part where it appeared a resistor or capacitor or some other electronic component had fried. Rather than try to replace the failed components I elected, replace the entire psu.
The next step is to disconnect the psu cable to the main board in the Xbox. This will present itself as a bundle of colored cables coming from the psu. I wriggled the cable for a bit and finally, the connector released from the main board. Once this was disconnected I unscrewed the two screws holding the psu to the Xbox case. I slid the psu back and up to remove it.
I examined the part to get the information I needed to purchase a replacement. You have to be careful because Microsoft changed psu models several times during the manufacture of these consoles. I ordered my replacement psu from eBay as finding a new one was nearly impossible.
Once the new one arrived I compared the two to ensure they were a match which they were.
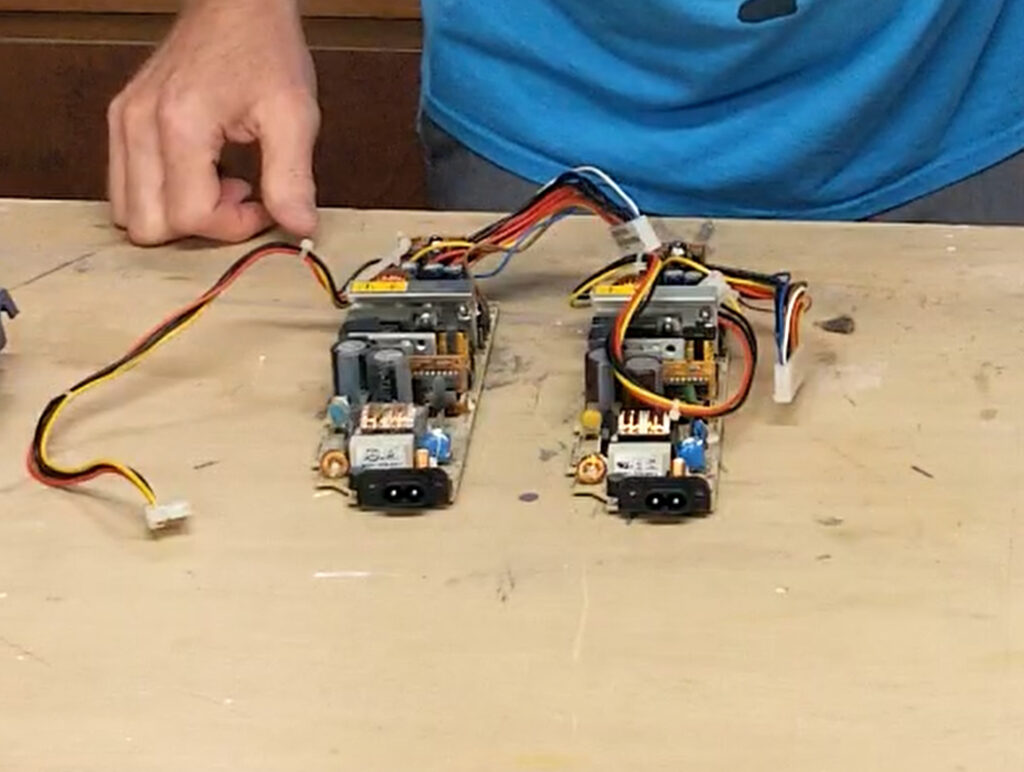
Now, since I had this opened I decided to blow all the dust out with some canned air. Once everything was clean I reversed the process and started to reassemble the entire unit.
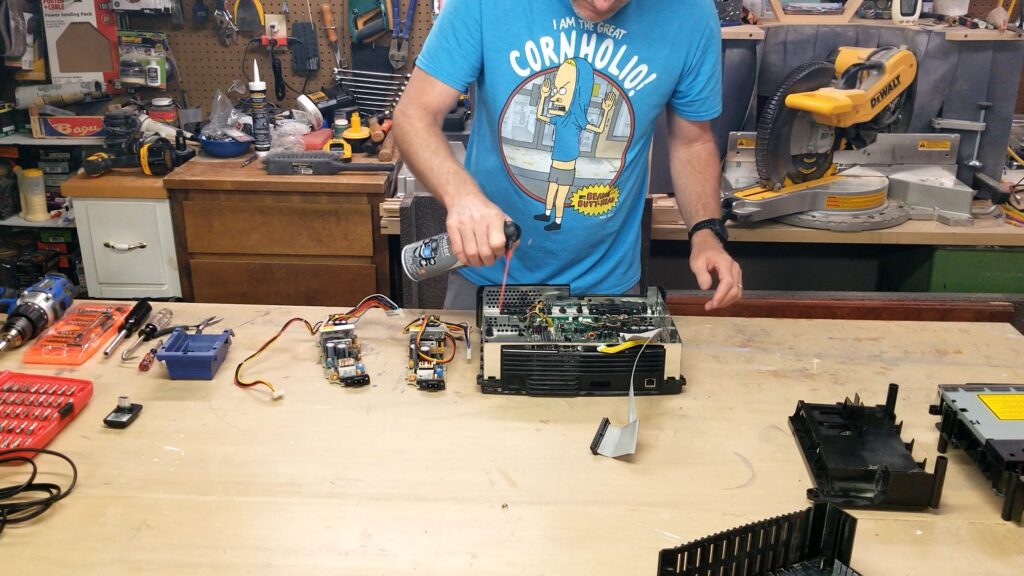
Starting by putting the psu back in, screwing it, and attaching the main board power cable. Then, I added the DVD and disk drive making sure I attached all the cables the same way I had removed them.
Finally, I slipped the case back on and screwed it back together. Since I didn’t completely remove the four rubber foot pads they still had plenty of adhesion to keep them stuck to the case.
And there you have it, that indeed did solve my issue and hopefully would solve yours too if you had this same issue. Now, if only his Halo disk didn’t have scratches on it he could completely play it but that’s a different issue.
Equipment and Materials
I hope you find this helpful video useful and can use some of the tips presented. Feel free to leave any comments, suggestions, or experiences you have had below.
Some of the links in my video description and article above are Amazon Affiliate links. As an Amazon Associate, I earn from qualifying purchases. If you would like to make a different purchase from Amazon, you can also use the storewide link.
