This is the second part of my kitchen cabinet build, primarily focusing on the work I did building the cabinets from start to finish. In this episode I assemble the cabinet, referred to #9, that goes above my microwave/hood combo.
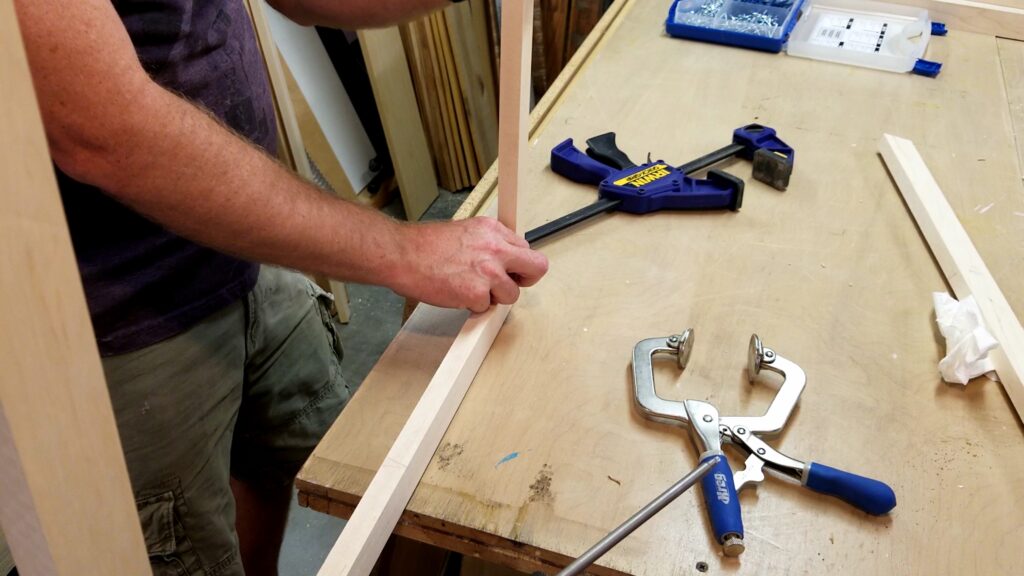
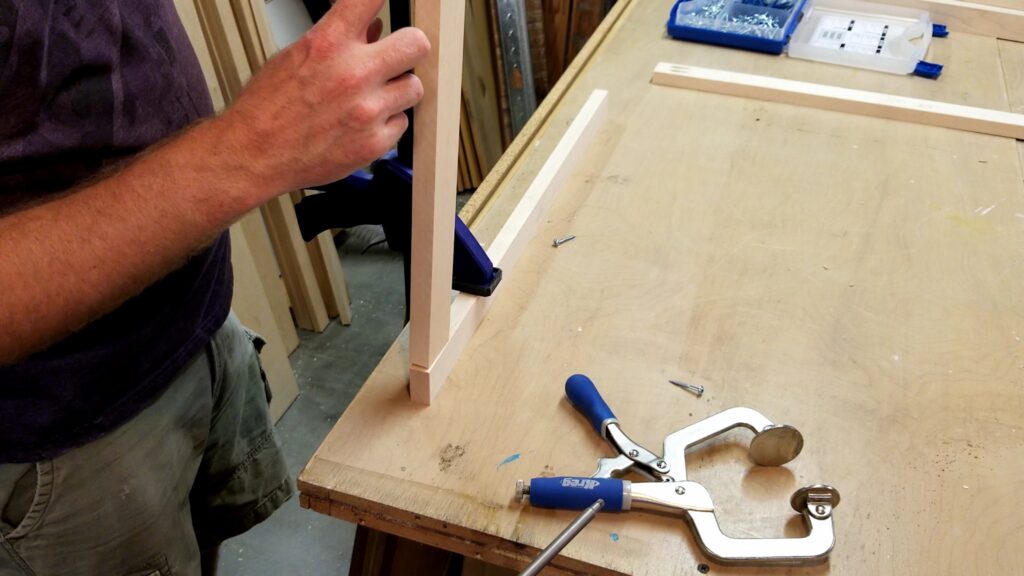
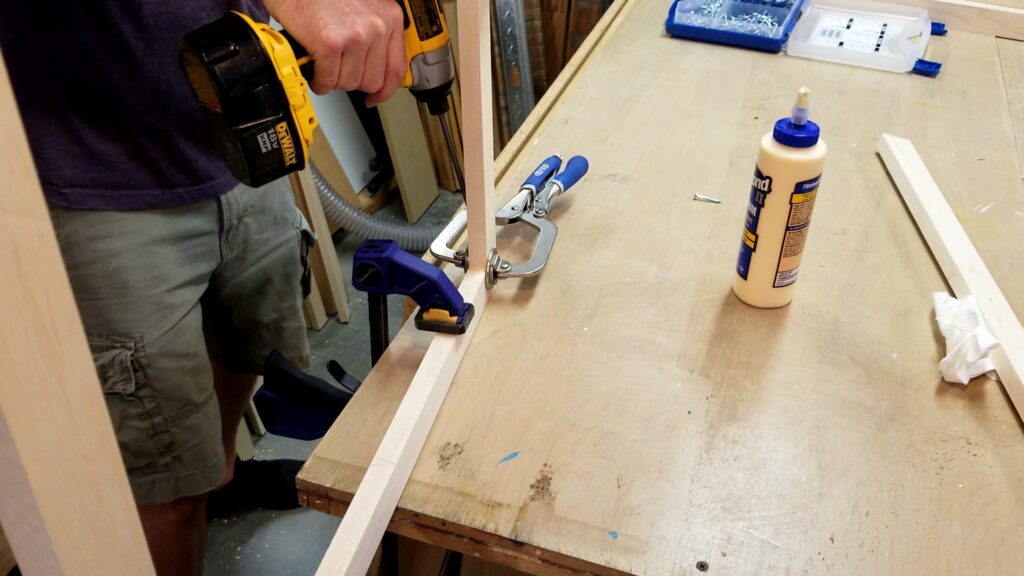
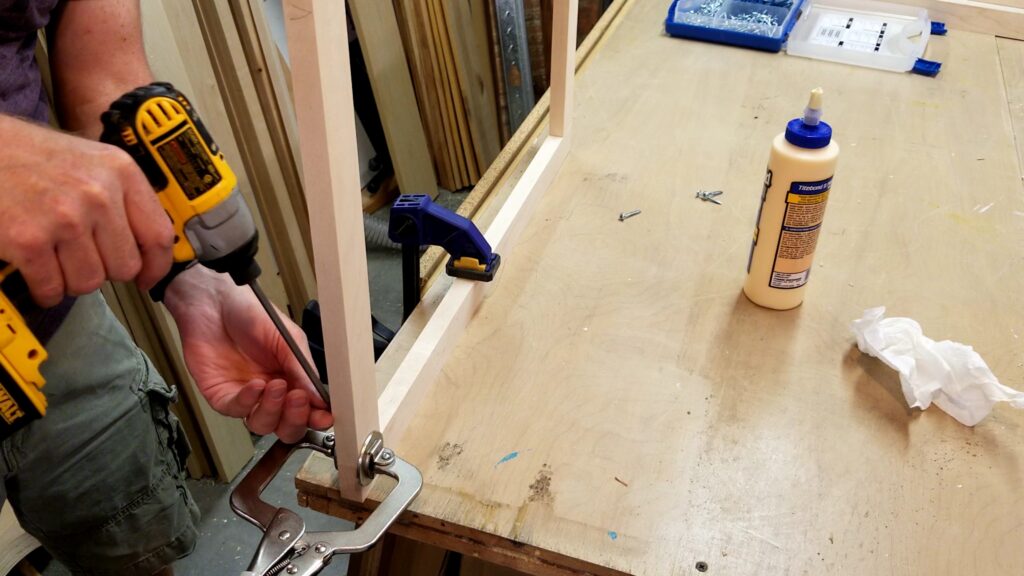
In this video I finish up the pocket hole drilling the first set of frames and begin assembling the first frame. Albeit, probably not the smartest technique here by attempting to assemble it vertical. As you can see, this is not the best way to assemble a frame but it got the job done. I point this out in the video of why in the world was I doing it like this – not once but twice!
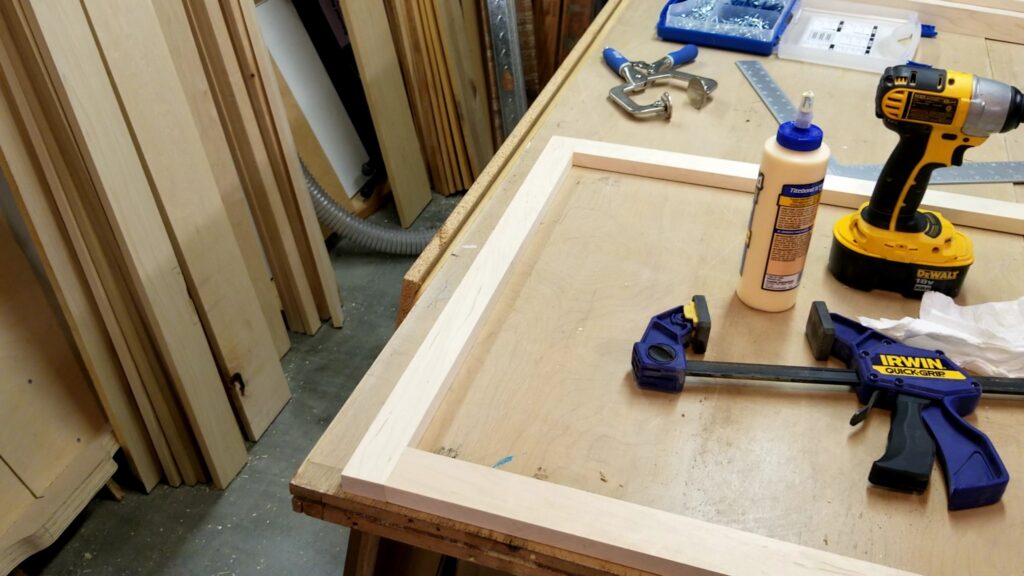
Instead lay the frame down on your workbench or assembly table and use the Kreg Clamps to clamp it face down so your pocket holes are showing.
Since I’m using Hard Maple for the frames I’m using Kreg SML-F125 Fine Thread 1 1/4″ screws. Why fine and not coarse, well, simply put fine thread are made for hardwoods and coarse thread are softwood / manufactured woods. Using fine thread screws reduce the change for split out.
As I got into a rhythm of assembling my frames, I improved my techniques which allowed for faster and easier assembly.
I’ve included a few Amazon Links below for the equipment and materials I used.
Equipment and Materials
- Kreg Pocket Hole Jig K4 Master System
- Kreg KHC-Premium Face Clamp
- Kreg SML-F125 Fine Thread 1 1/4″ Screws
- DeWalt DC825 Impact Driver
- 12″ DeWalt DWS779 Double Bevel Compound Miter Saw
- 10″ Craftsman Contractor Table Saw – Read and watch the upgrade I made to it during this build process here.
- 12 1/2″ Craftsman Surface Planer (new model than mine)
- Titebond II Glue
- Maple (from a hardwood supplier)
Some of the links in my video description and article above are Amazon Affiliate links. As an Amazon Associate I earn from qualifying purchases. If you would like to make different purchase from Amazon, you can also use the storewide link.
Auto Amazon Links: No products found.
