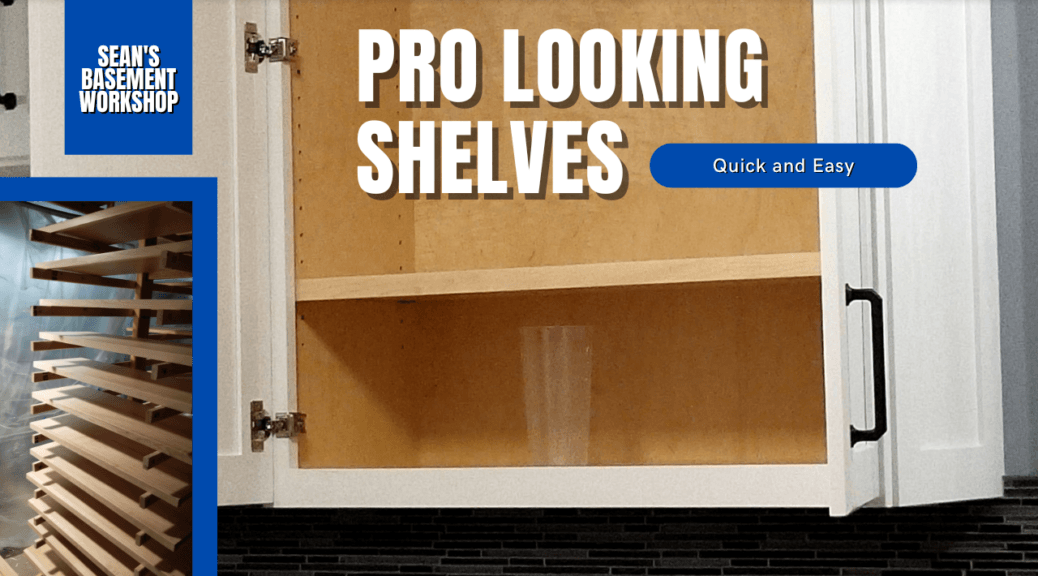
Now I’m on the home stretch of getting my kitchen cabinets completed. I’m working on the little accessories that allow for good use and of course, no cabinet would be complete without some shelving right?
Now I could cut some plywood just short of the length and depth of each cabinet interior and put some edge banding on the visible edges or even all four edges. Yes, this is what you get when you buy shelving at the big box stores or that even come with most cabinets but what happens overall? The shelves start to sag and do not look pleasant right?
Okay, so different approach. I’m going to cut some plywood, the same plywood I used to make the cabinets and I’m going to put an edge board on the front. This board will be maple to match the plywood and the same stock I used to build the face frames. It will be 3/4″ thick and about 1″ wide so that it provides support for the shelf. That will keep it from sagging over time and allow for increased weight load.

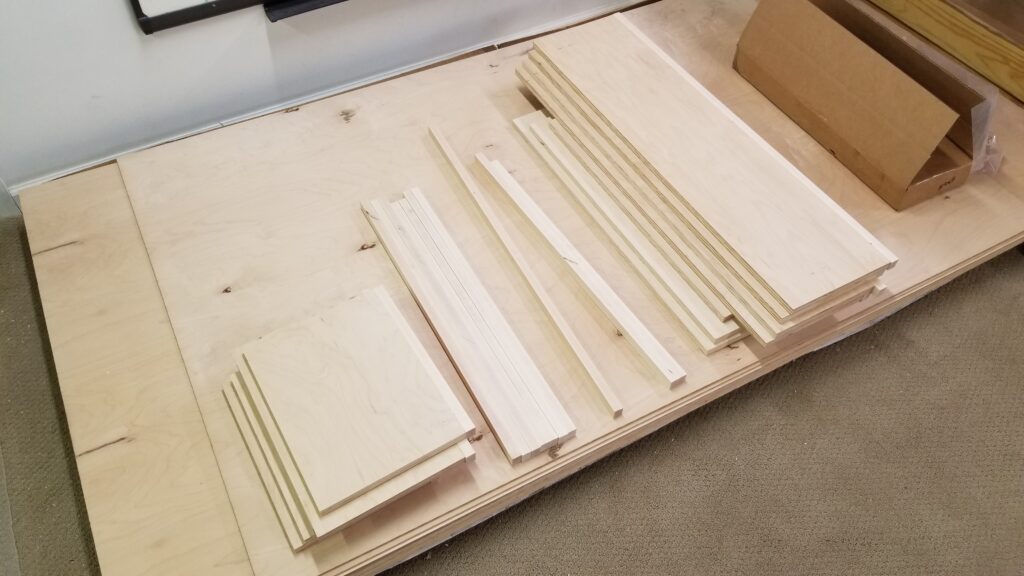
Alright, let’s get to it. I know that the depth of my cabinets 12″ deep with the face frame. After subtracting the face frame depth and the depth of the back panel I end up with about 11″ so I’ll cut some plywood shelf stock just under 11″ wide. I also cut some maple 1″ wide to provide the front bad board.
Now I’m going to determine if there is a crown (bow) in the maple band board and if so face it so the crown is up. This will for the shelf to bow up slightly but when you put weight on it the shelf will flatten out. This is essentially the same practice builders use when putting in joists in your house.
I have my clamps set up and plywood ready to go. My shelves are cut just oversized at the moment and I do this on purpose so I can get nice clean edges after I’ve glued and pin-nailed the front band board on.
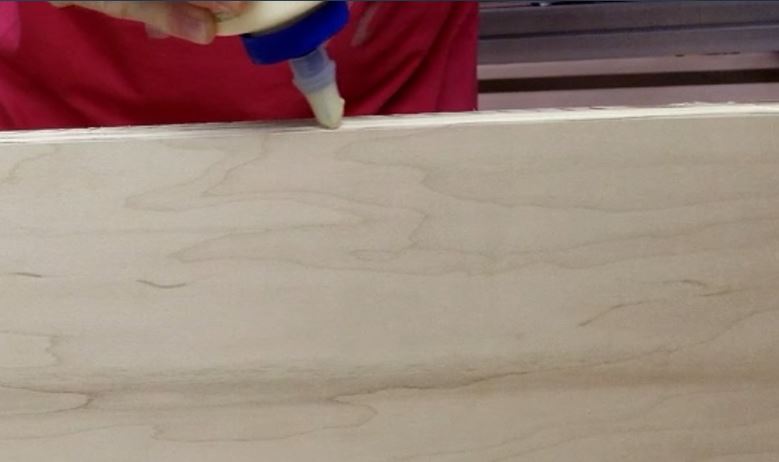
I add glue to the plywood edge, put the band board on, and use my 23 gauge pin nailer to put 3 or 4 pins on the board. You can’t really see them unless you’re up close so I’m good. Once I get these pinned I put them in the camps and tighten them up so I get the same clamping pressure. You don’t need to pin nail them as the glue should be strong enough after it’s dried but the pins for me or more or less to try to hold the bands steady while I’m clamping up multiple shelves at a time so they don’t slide.
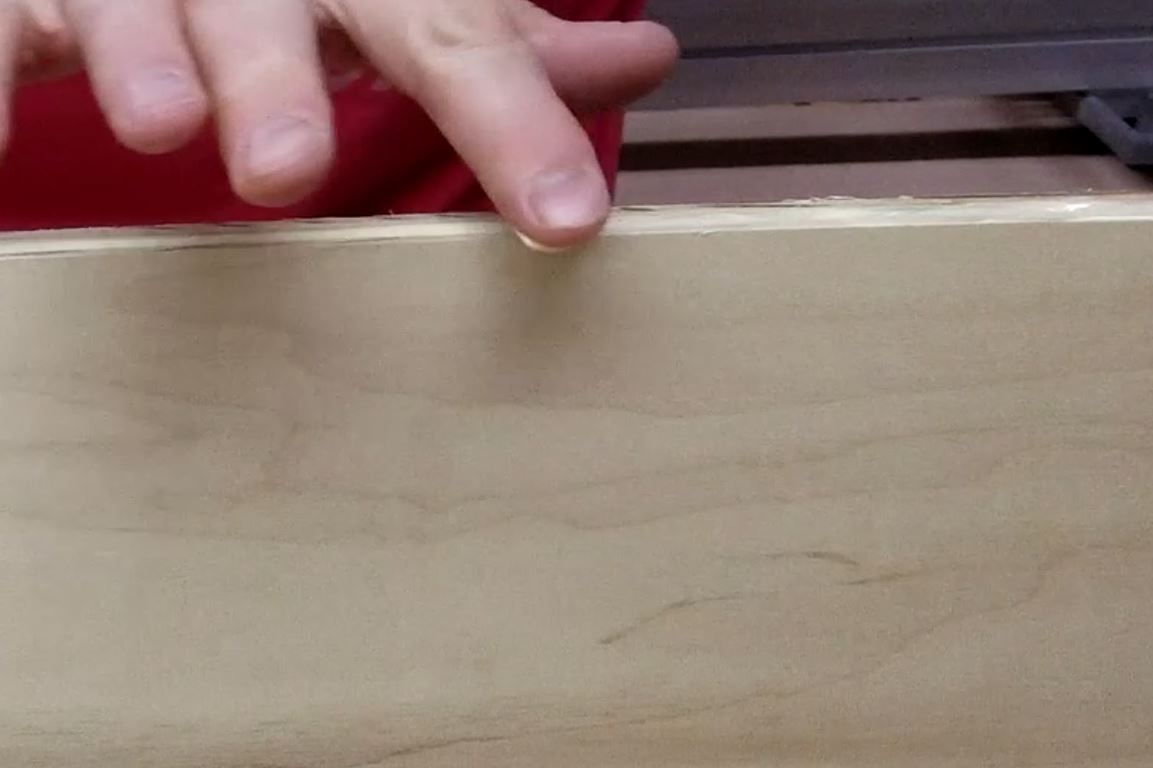

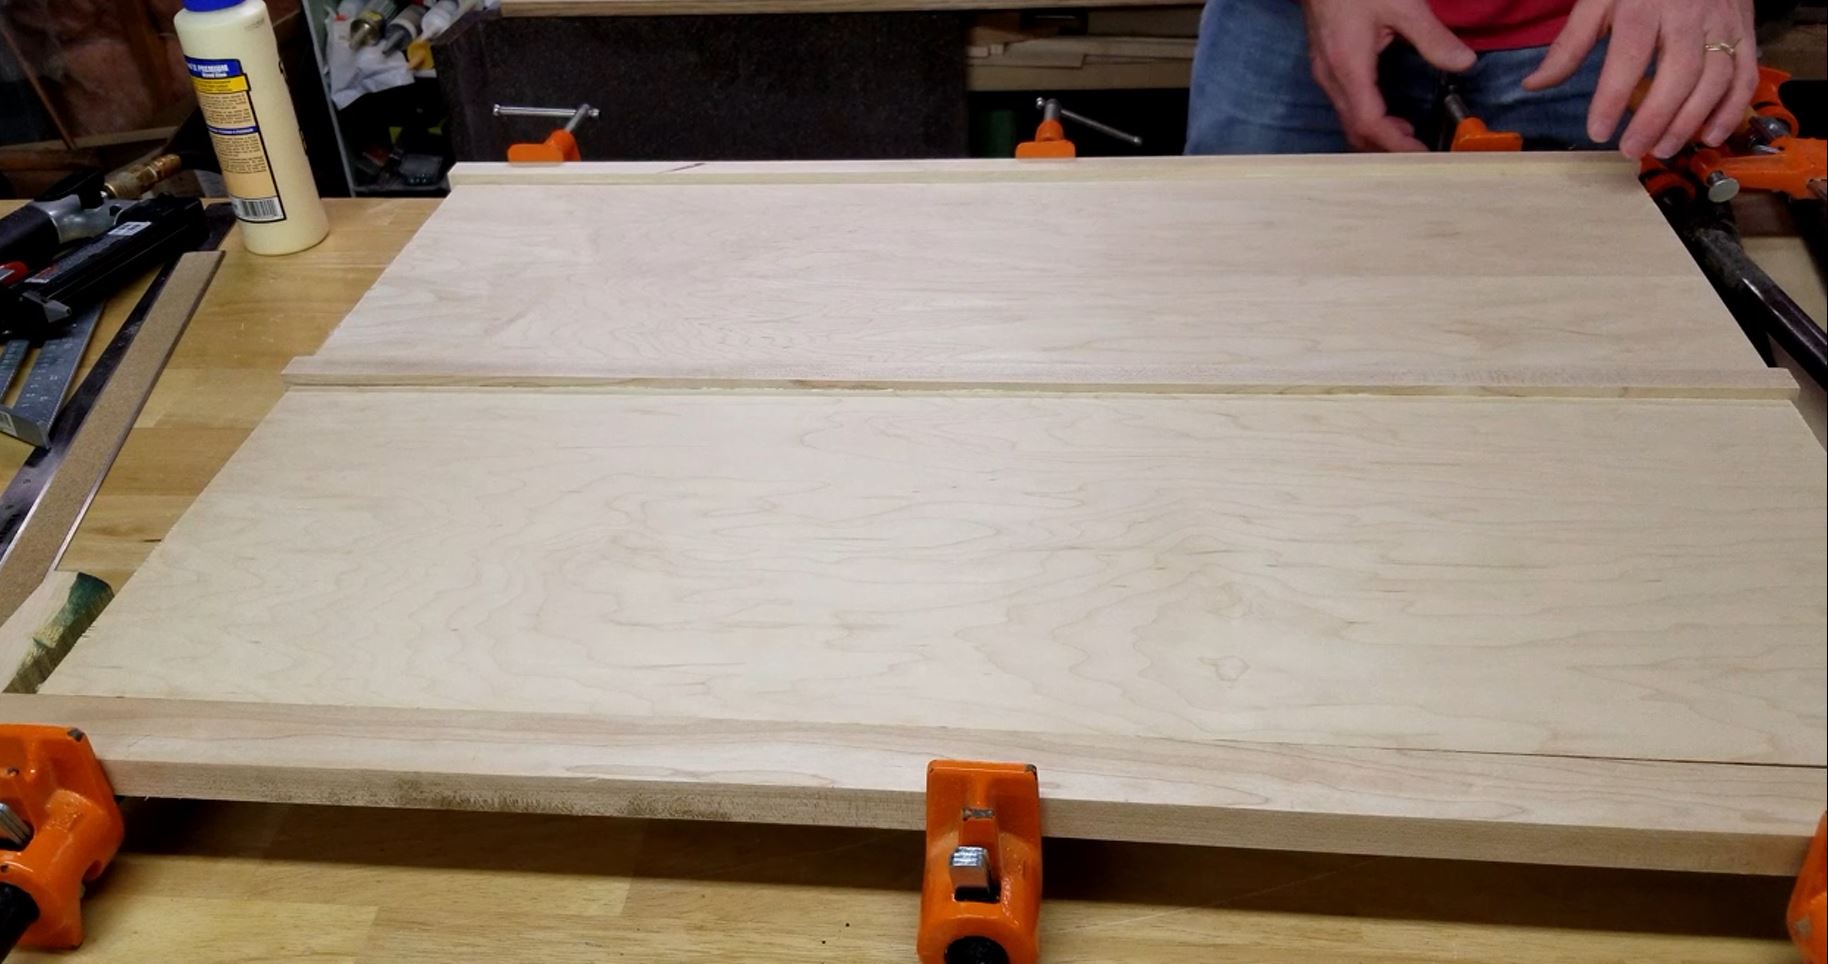
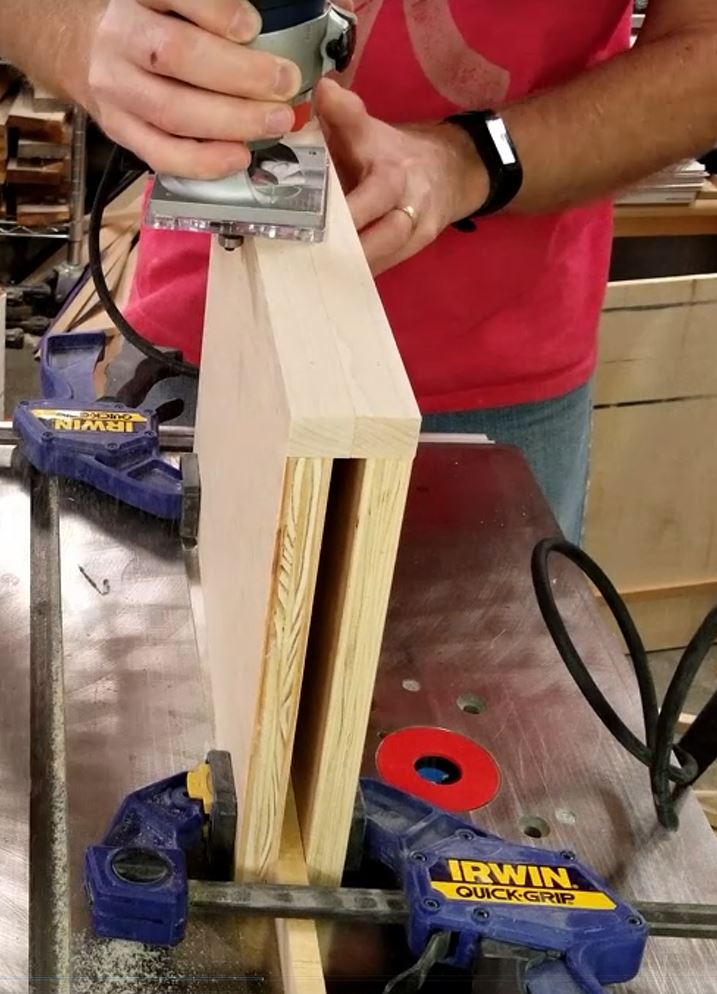
After the shelves dry for a bit and remove the clamps and clean up the glue squeezeout with a paint scraper. I’m doing this now because when I use my flush trim router bit in my palm router it will create a smooth edge.
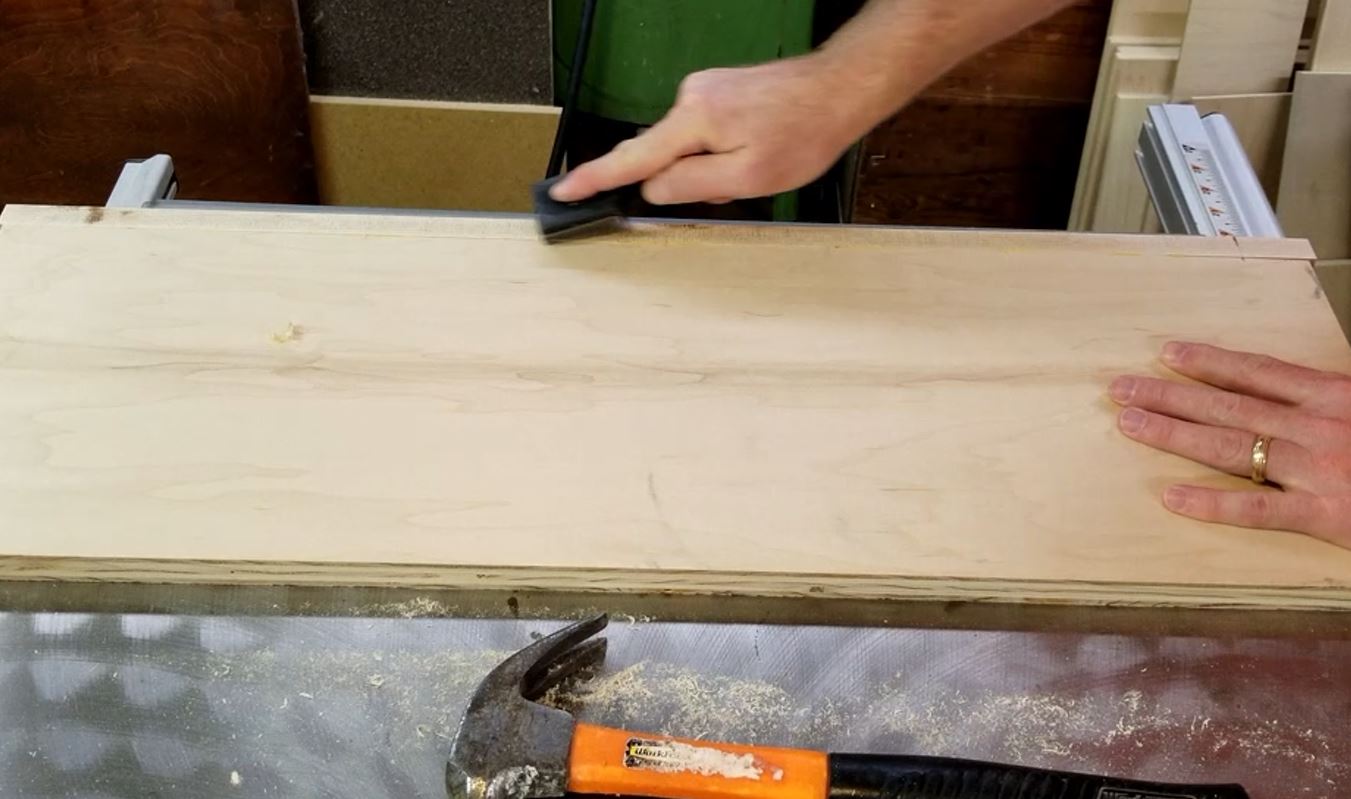
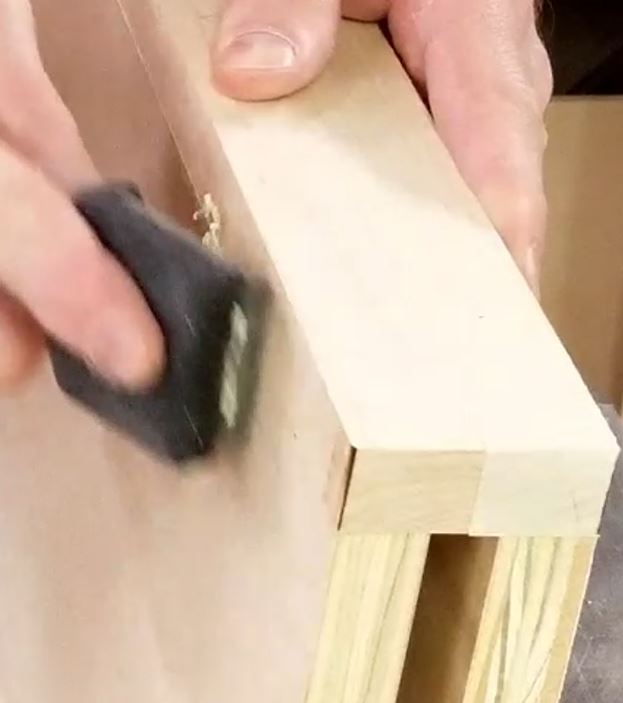
On the underside of the shelf, I use a 5-way painter’s tool to scrape the paint out of the corner. This area won’t be seen so I’m not too worried about it being perfect.

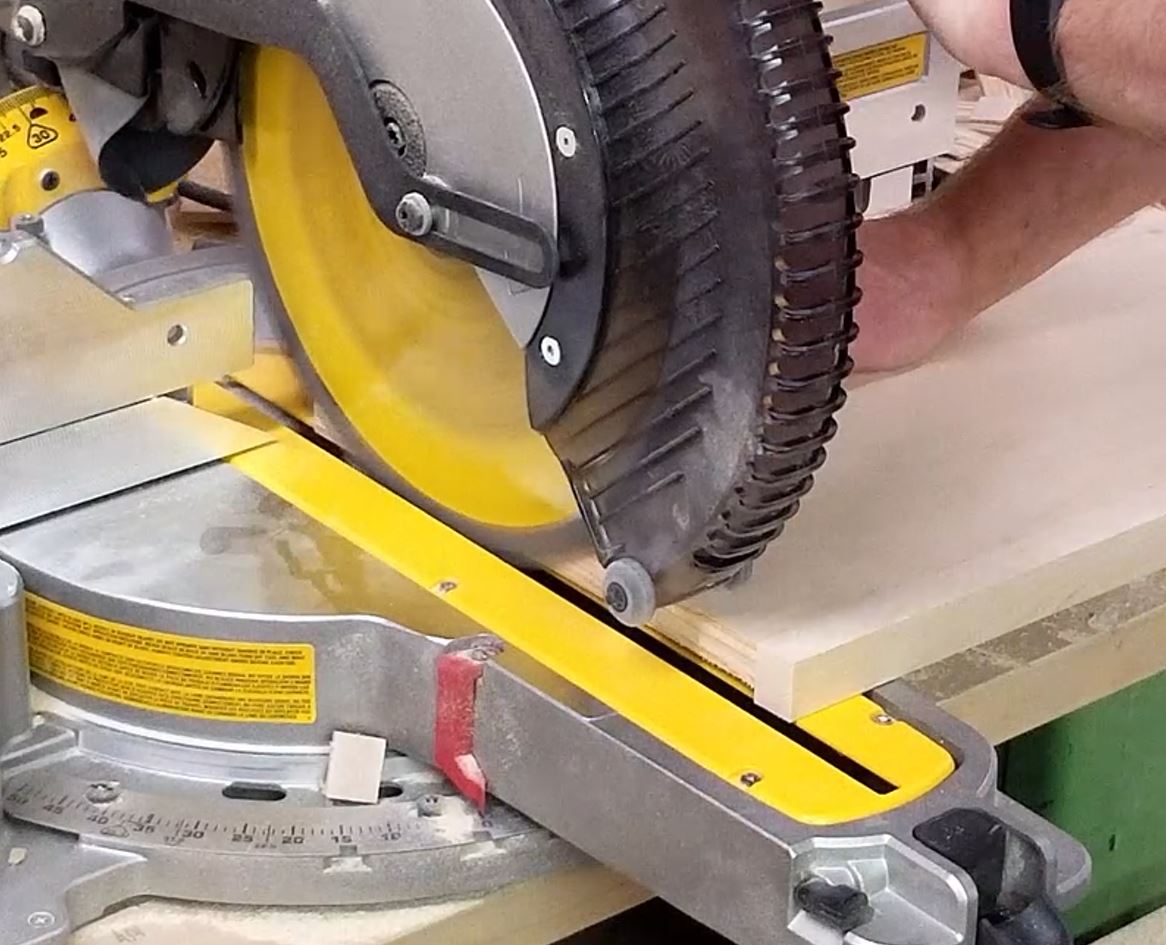
Now I’m going to time the shelves to length using my miter saw. I start by cutting one edge and then measuring 1/4″ shorter than the required length and cutting the other side. This is to allow for the size of the shelf pin brackets. This creates a clean smooth edge between the band board and the plywood shelf and is faster than trying to match up a perfectly cut-to-length shelf with the band board cut.

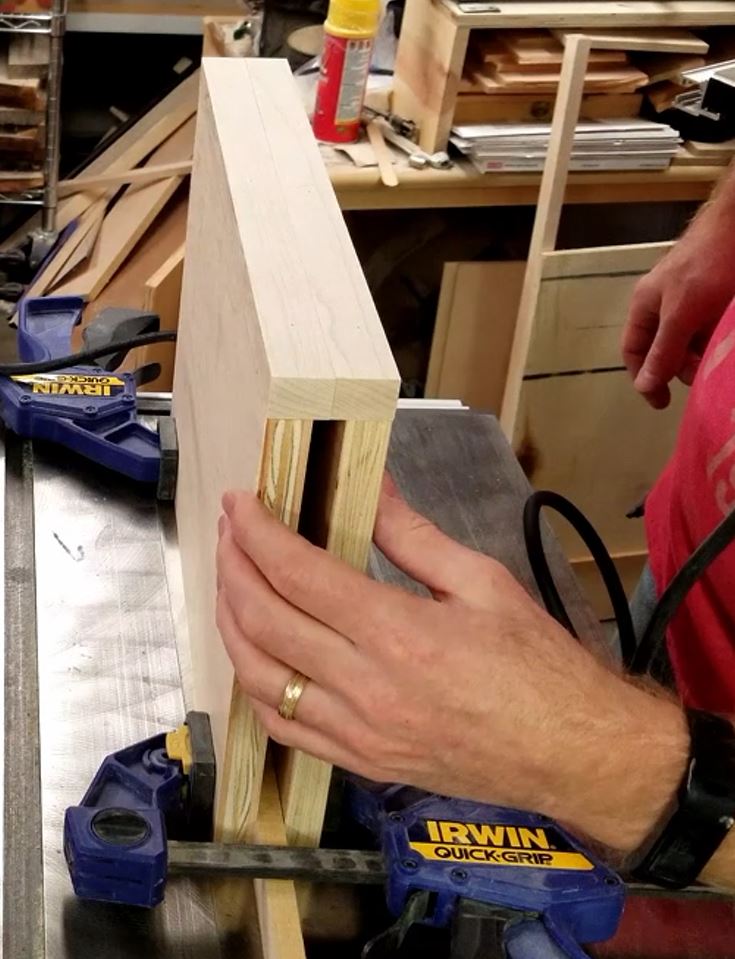
Now I’m going to take my flush trim router and set the bit just short of the plywood so I don’t cut into it accidentally. I clamp two shelves together so I can do two at once for speed. After making two passes it’s pretty good except where there was a little missed glue. This creates slight ripples in the edge but a good scraper can remove them or even remove the glue and then hit it again with the flush trim bit.
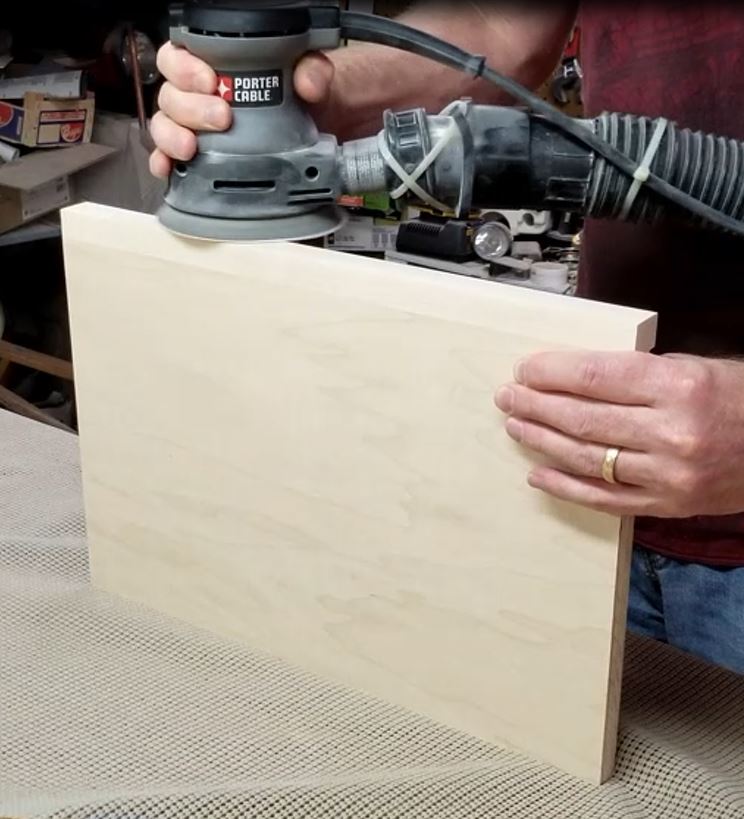
Now it’s time to sand the shelves. I start by sanding the bottom and work my way up to about 150 grit sandpaper on my random orbital sander. I take caution not to sand too much as I do not want to sand through the plywood’s maple veneer.

After completing the sanding I tack cloth them and take them out to my garage to spray clean finish on them. I start the finishing like I do any other with the unseen sides/edges first. I’m spraying water-based polyacrylic clear finish on the shelves using my Earlex 5500 HVLP. I finish by spraying the top and front (visible sides) last. I put between 3 to 5 coats of Polycrylic on but over the past 3 years since this was done, I’m thinking I should have done something else for the top as some of our dishes have left water staining and penetration of the finish.
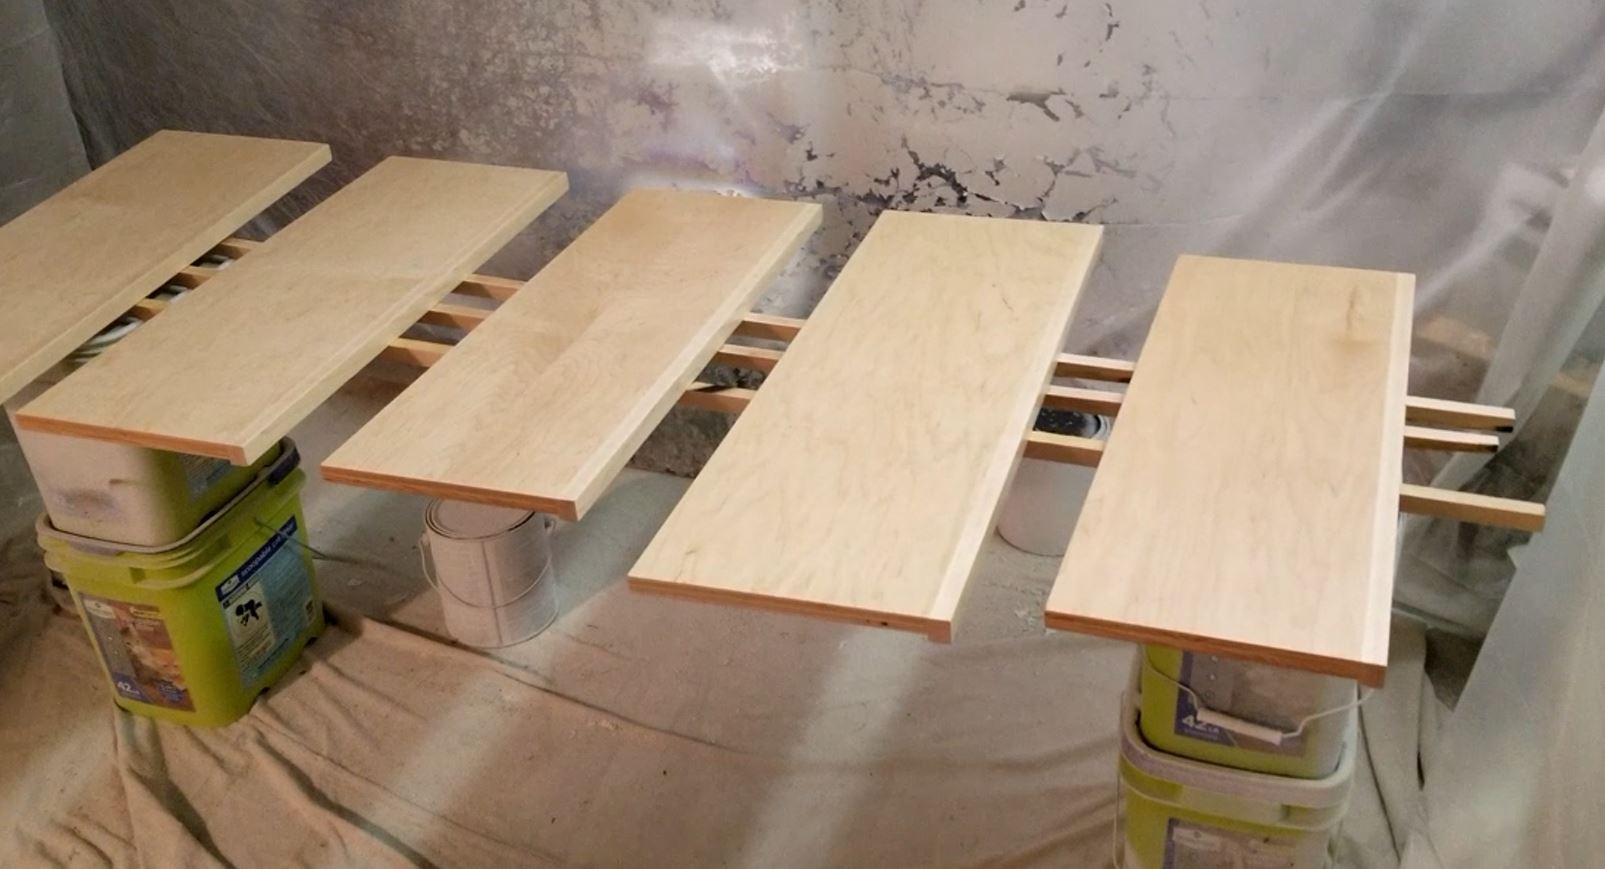
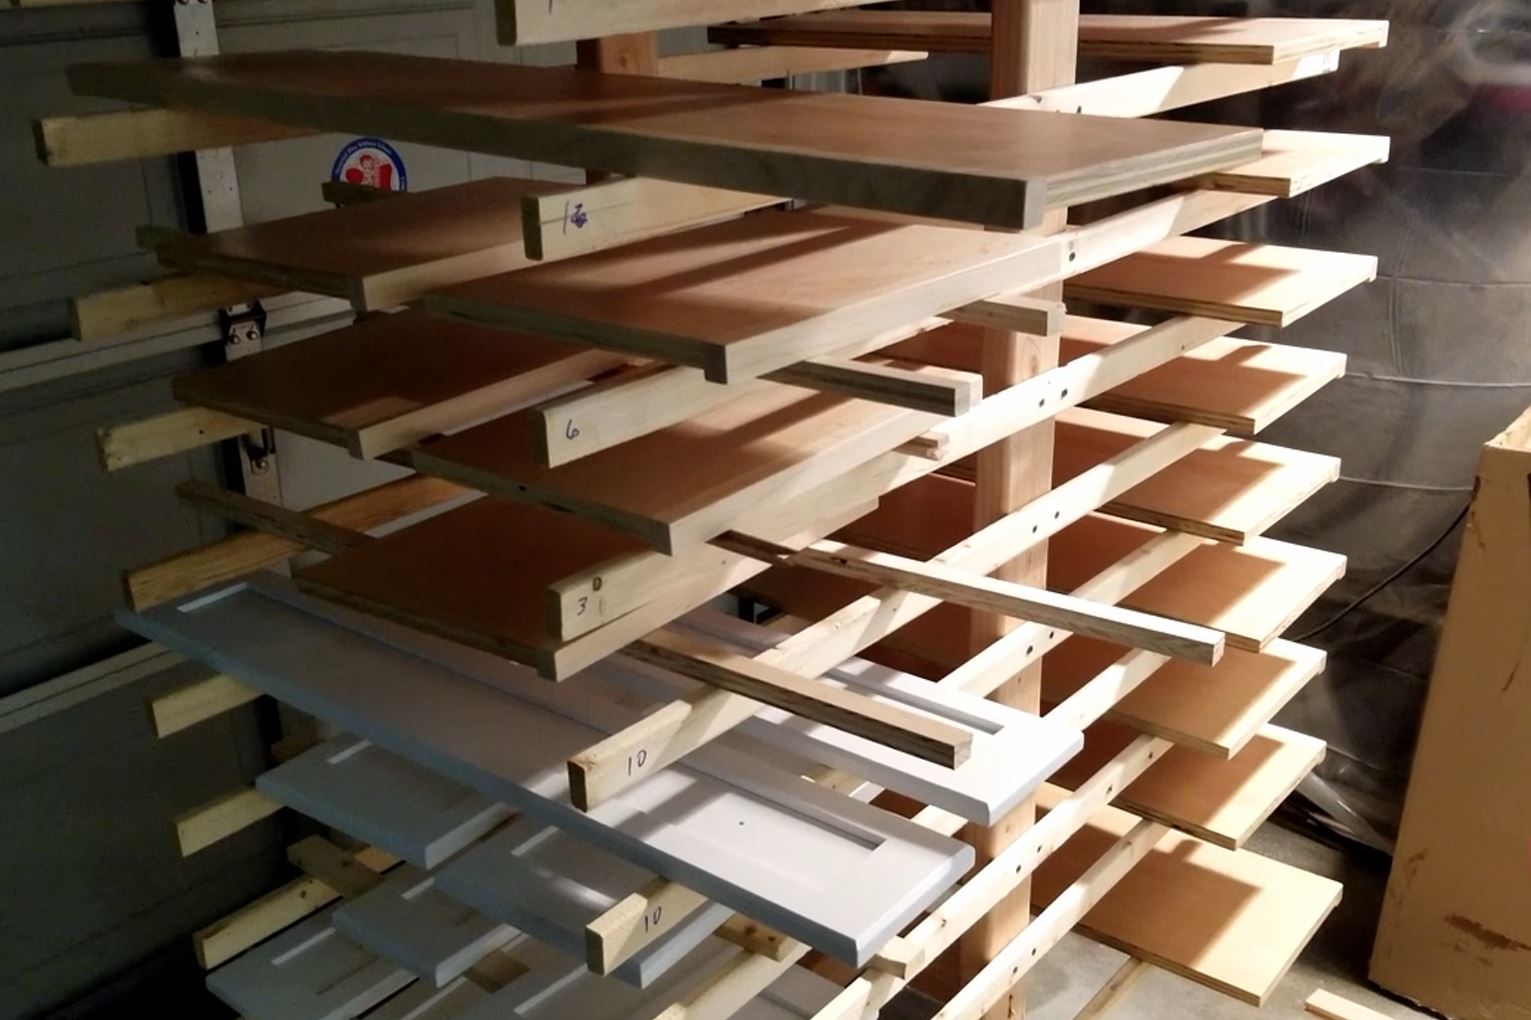
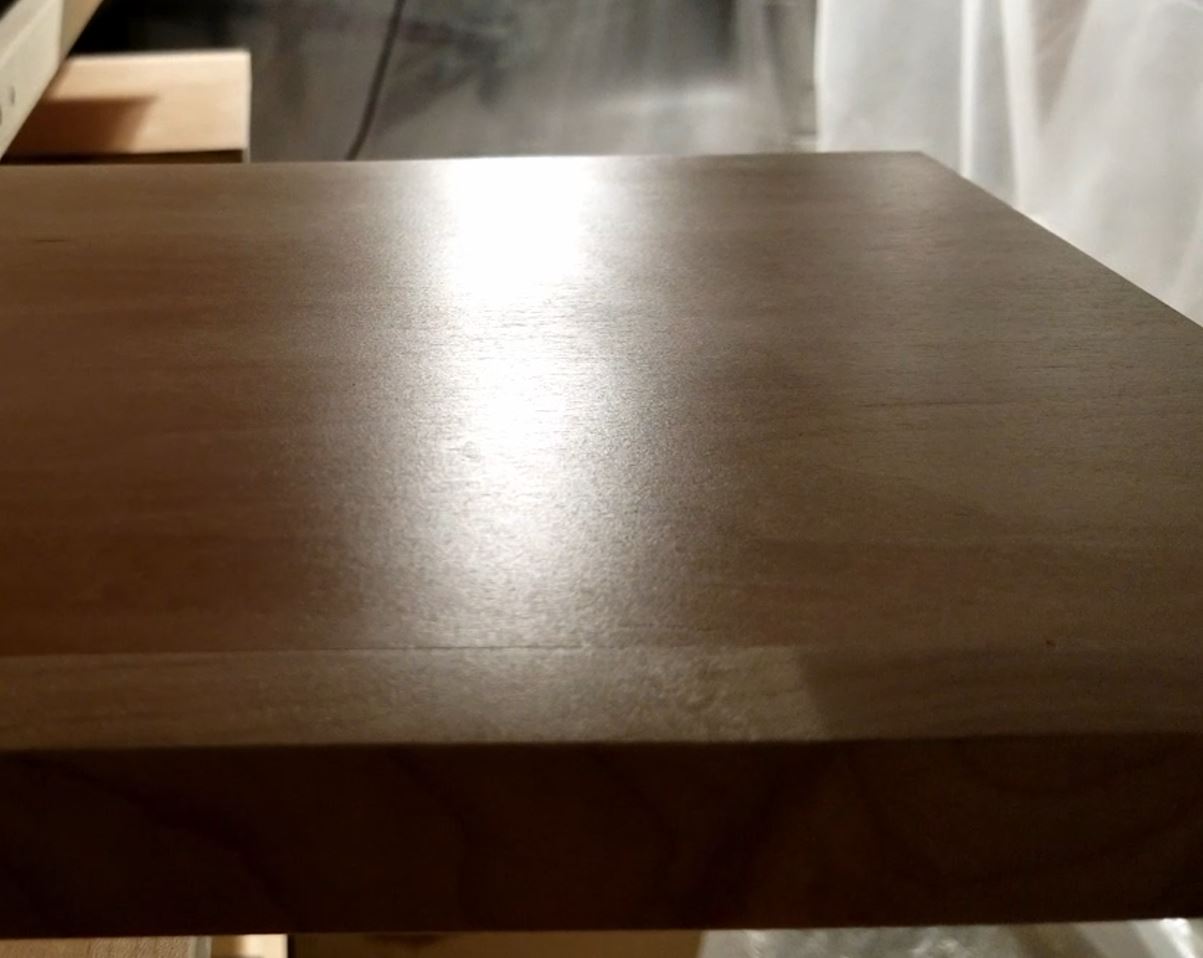
As I spray them I put them on my spray rack to dry in which you can see how smooth the finish is.
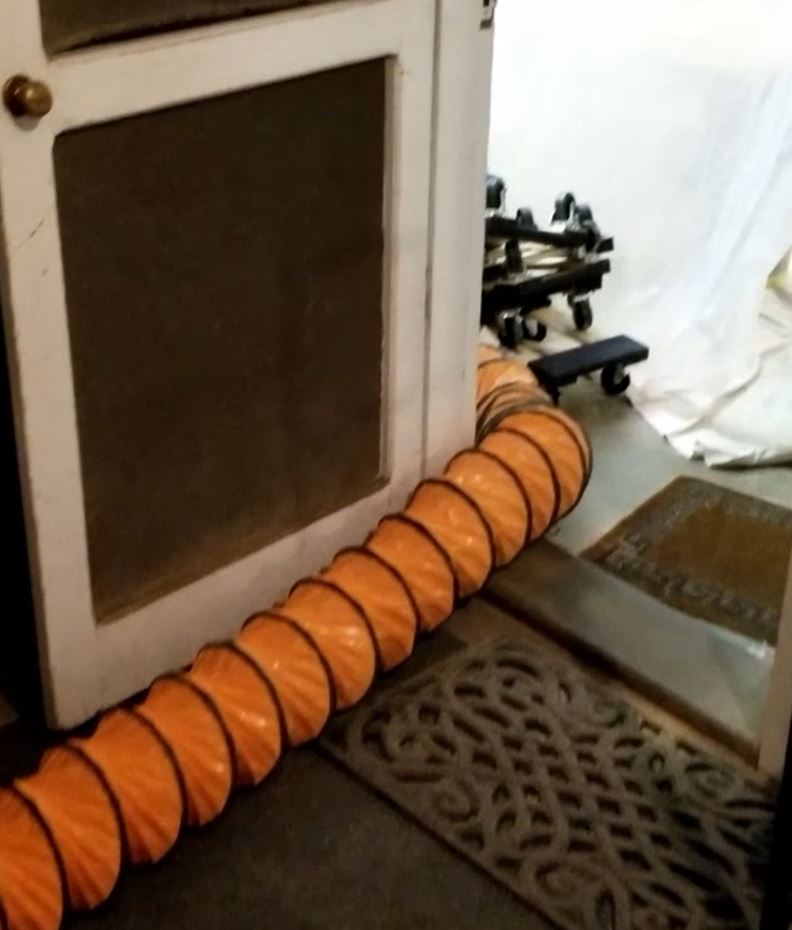
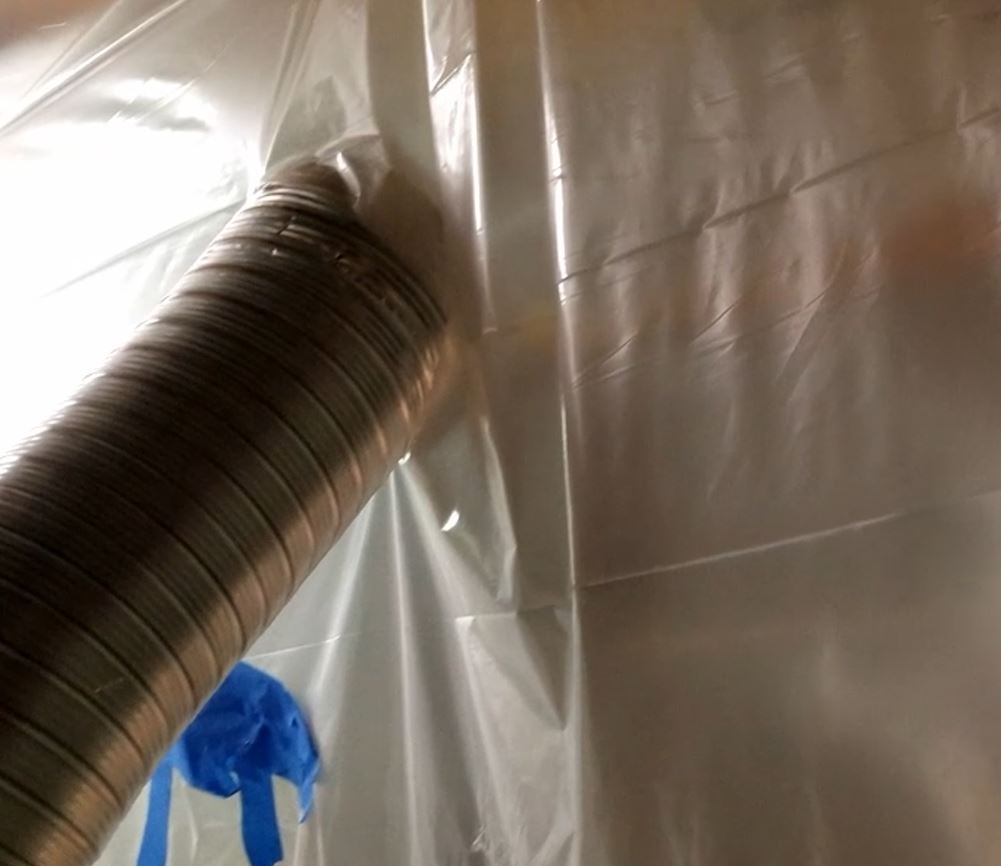
Here is a quick look at how I’m ventilating my garage to keep dirt out while keeping the area well ventilated.

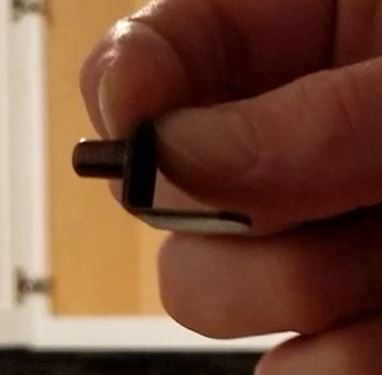
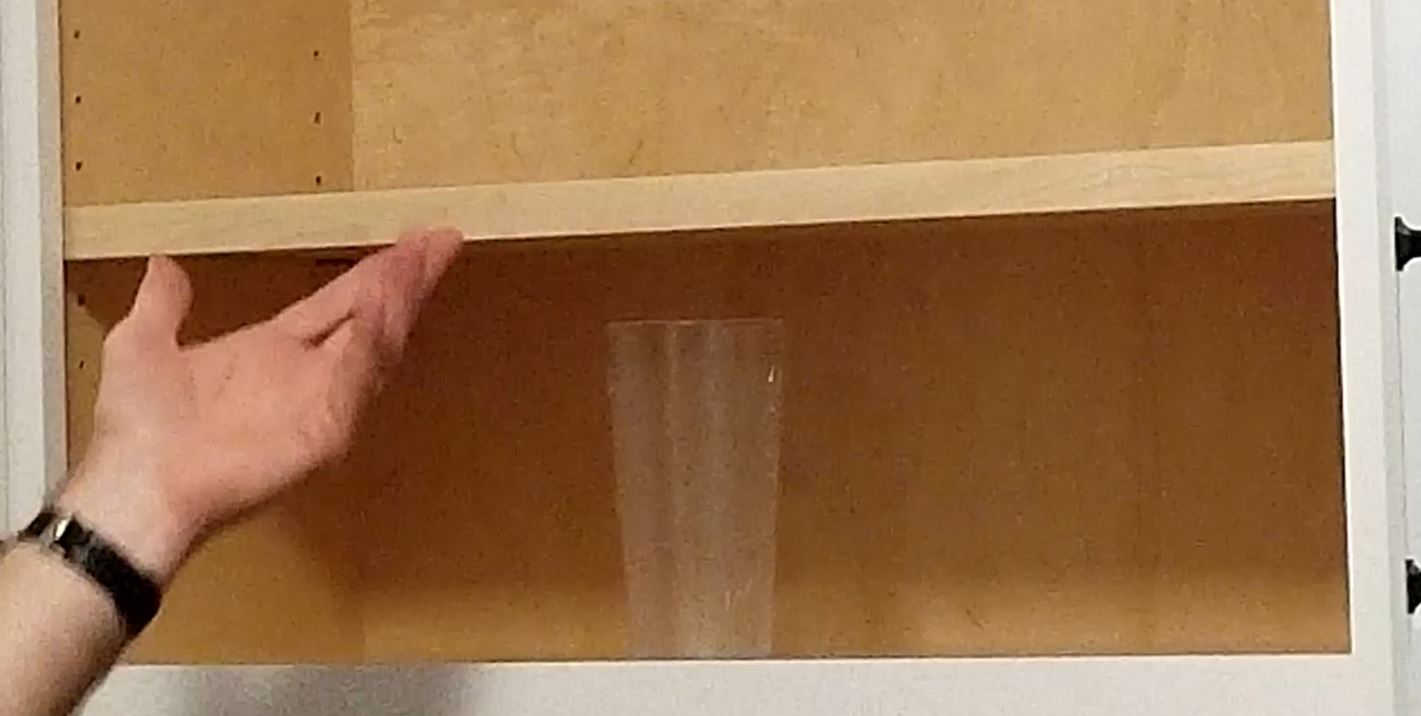
I’m using antique bronze shelf pins which are close to the same color as the rest of our kitchen hardware. Take whatever I want to go under the shelf and as a spacer, push in some shelf pins and put the shelf in. Lastly, I let my wife space out the shelves where she wants this since she’s the main kitchen user, and then it’s all done.

As always if you have any questions or comments post them below or on my YouTube video comments section and I’ll do my best to respond.
I’ve included a few Amazon Links below for the equipment and materials I used. By clicking on any of the links in this article you help support my channel as I earn from qualifying purchases.
You can also help support my Channel by dropping a Tip at https://withkoji.com/@sean.moenkhoff
Equipment and Materials
*Disclaimer: While I attempt to list the equipment I use, some items have been discontinued or have newer models.
- 1/4″ Bracket Style Cabinet Shelf Support Pegs
- Bosch PR20EVS Palm Router
- DEWALT Sliding Compound Miter Saw, 12-Inch (DWS779)
- Earlex 5500 HVLP
- Hyde 10530 Paint Scraper, 1-1/2″
- Jorgensen 3724-HD 24-Inch Heavy-Duty Steel Bar Clamp (new model)
- Minwax Clear Polycrylic Water-Based Protective Finish Satin
- PONY 52 Pipe Clamp
- Porter Cable 23 Gauge Pin Nailer
- Porter Cable Random Orbital Sander
- S SATC Hook and Loop Sandy Discs
- Titebond II Glue
I hope you find this video useful and can use some of the tips presented. Feel free to leave any comments, suggestions, or experiences you have had below.
Some of the links in my video description and article above are Amazon Affiliate links. As an Amazon Associate, I earn from qualifying purchases. If you would like to make a different purchase from Amazon, you can also use the storewide link.
Auto Amazon Links: No products found.