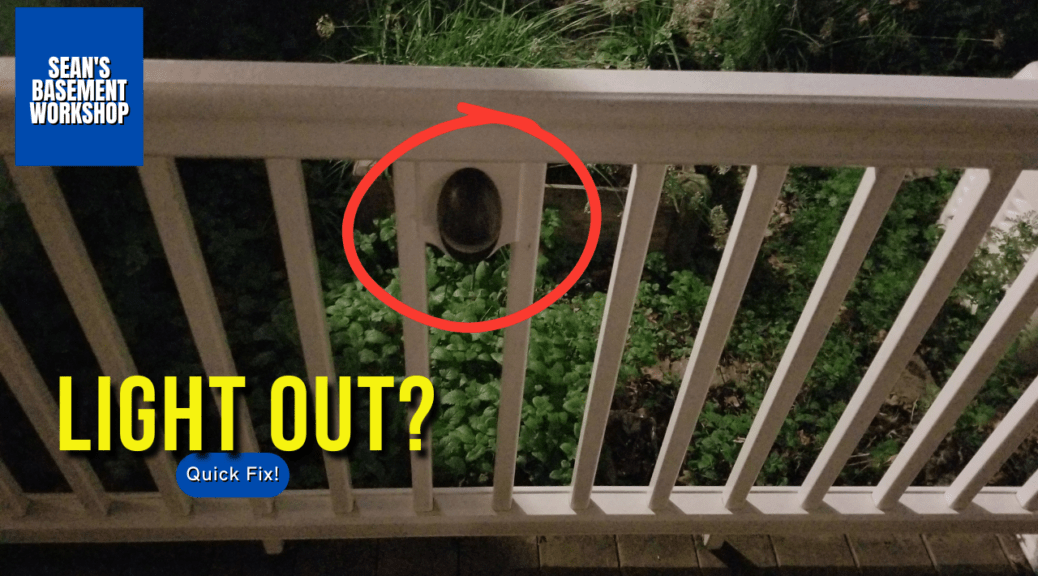
TimberTech Deck Railing Light Bulb Replacement: Easy 5-Minute Repair
If you have a burned-out deck railing light, a TimberTech deck railing light bulb replacement is often much easier and less expensive than replacing the entire fixture. In my case, one of the railing lights on my TimberTech deck stopped working, and the repair only required a replacement G4 10-watt bulb and a small Allen wrench.
This simple DIY repair can be completed in just a few minutes and restore the appearance and safety of your deck lighting system.
Table of Contents
Why Deck Railing Lights Fail
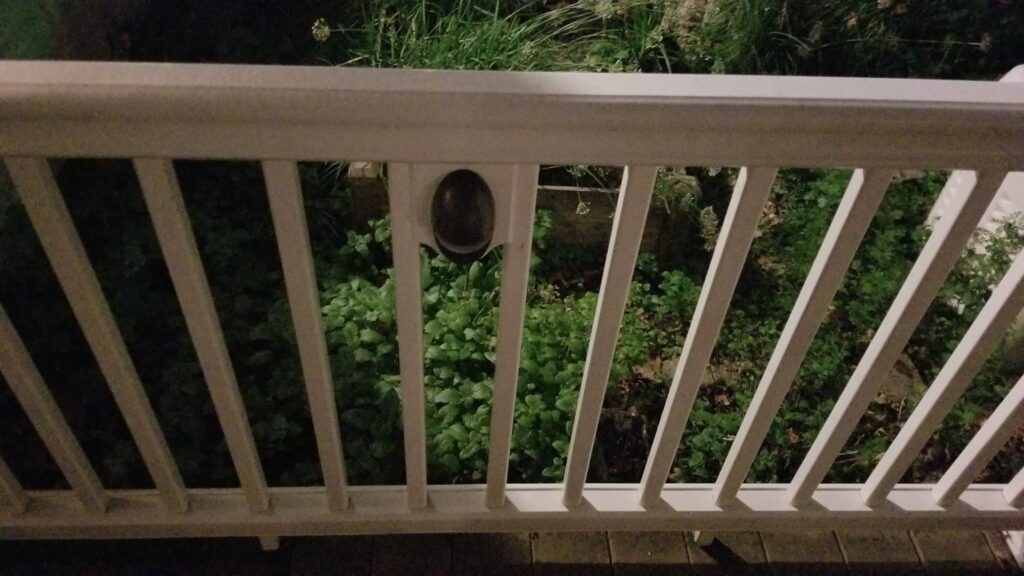
Deck railing lights are exposed to the elements year-round. Over time, bulbs can simply reach the end of their service life. In some cases, moisture intrusion can shorten the life of the bulb even further.
When troubleshooting a failed TimberTech railing light, check for:
- Burned-out bulb
- Moisture inside the fixture
- Damaged gasket
- Corroded bulb contacts
- Loose electrical connections
In my situation, the failed light only needed a bulb replacement.
Also dealing with burned-out deck post lights? Read my guide on Replacing TimberTech deck post light bulbs.
Tools and Parts Needed
Before starting your TimberTech deck railing light bulb replacement, gather the following items:
Tools
- Allen wrench (approximately 2 mm to 2.5 mm, depending on fixture)
- Paper towel or clean gloves
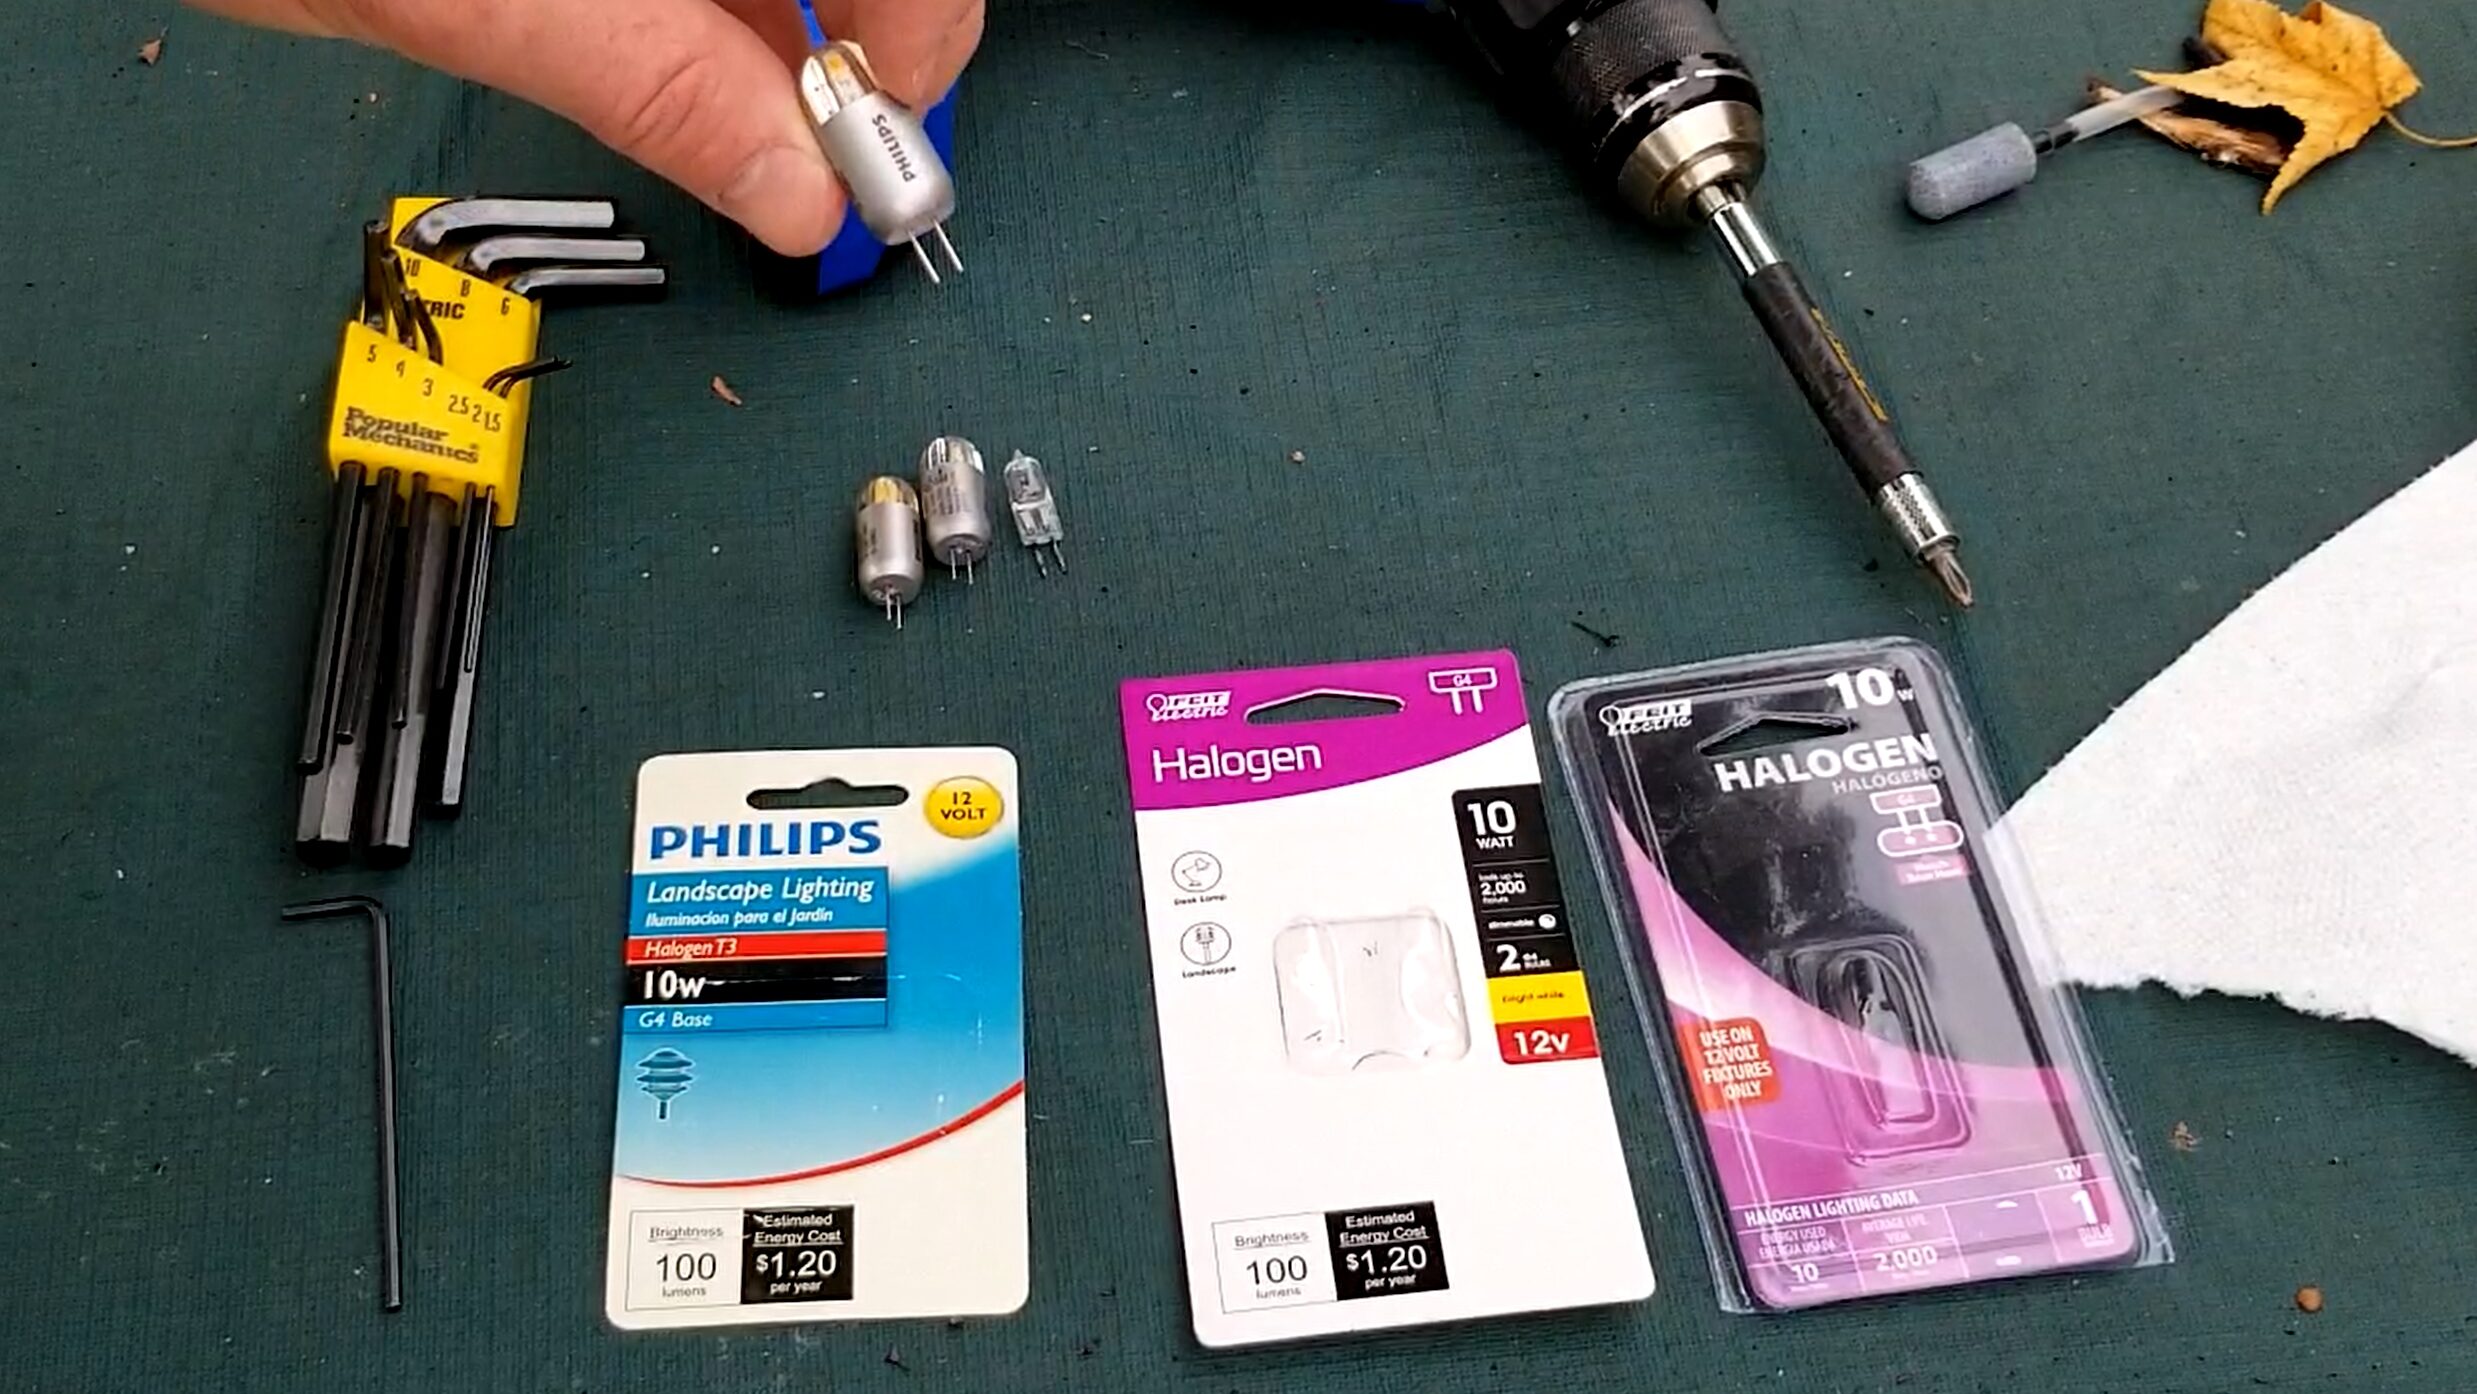
Parts
Always verify the bulb specifications printed on your existing bulb or fixture before purchasing replacements.
How to Perform a TimberTech Deck Railing Light Bulb Replacement
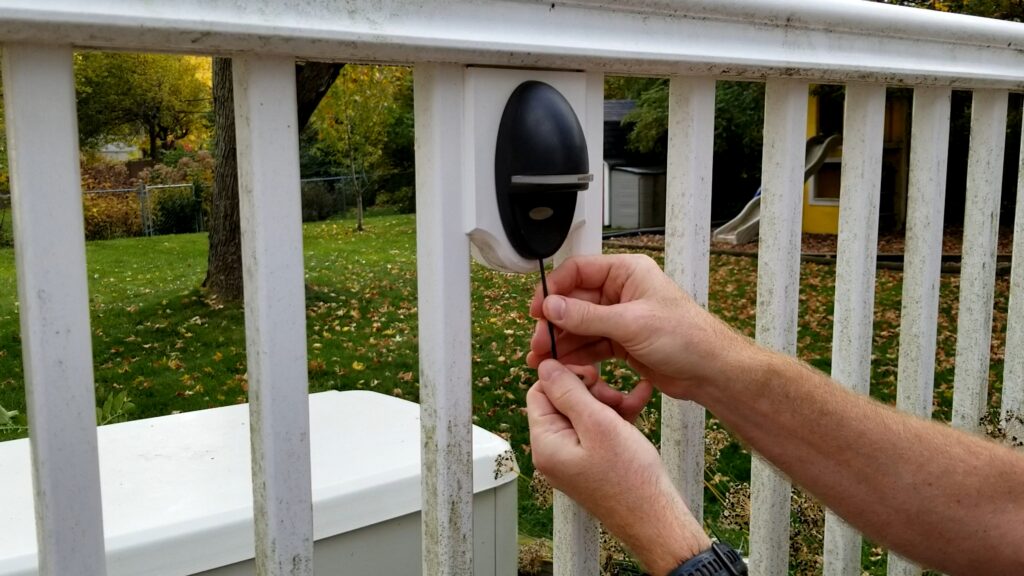
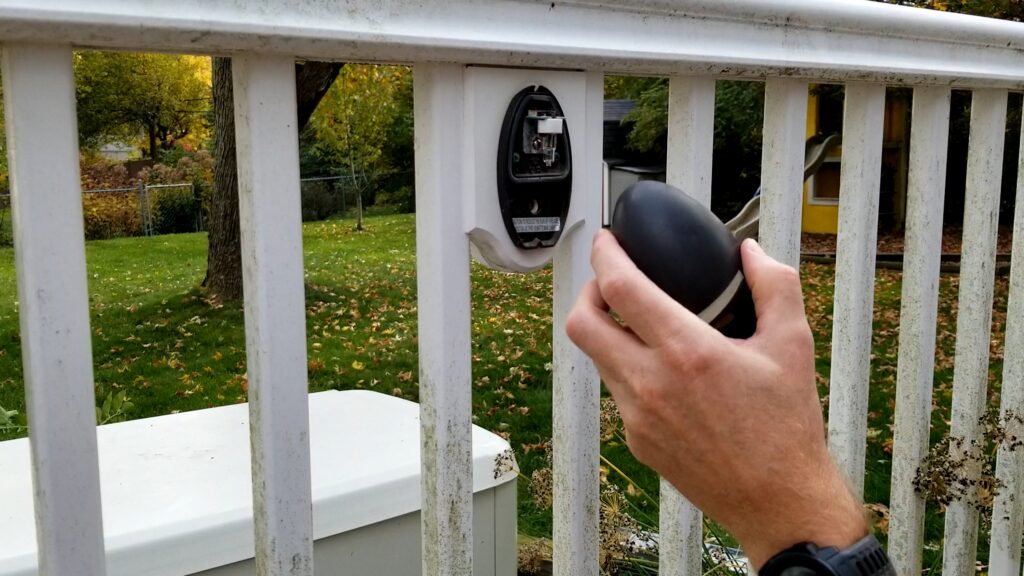
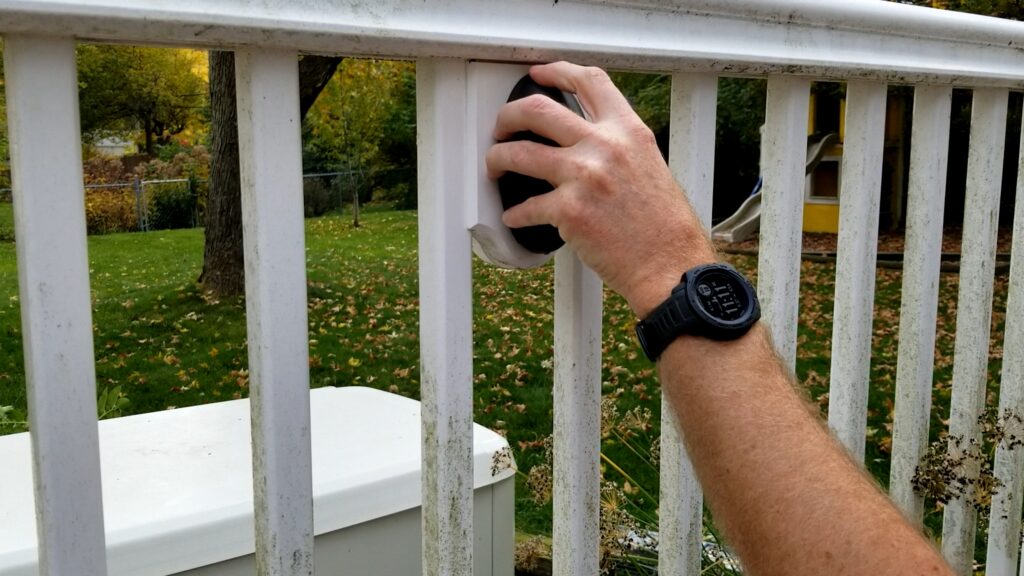
Step 1: Locate the Set Screw
Look underneath the railing light fixture.
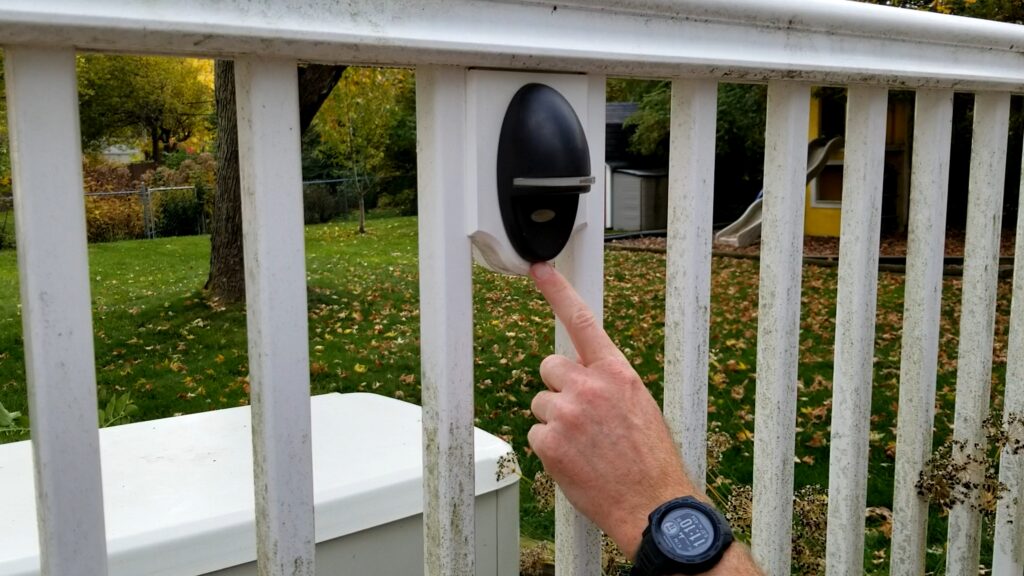
You should find a small Allen set screw that secures the cover to the fixture body.
Carefully loosen the set screw. There is no need to completely remove it.
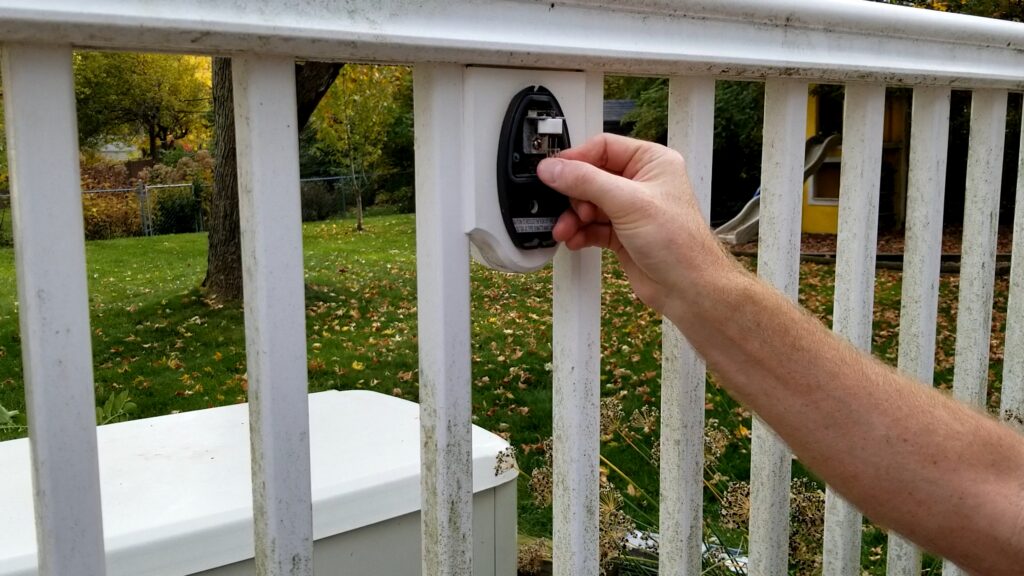
Step 2: Remove the Fixture Cover
Once the screw is loosened, the cover should release from the bottom.
The top portion of the cover hooks into the fixture housing while the bottom is secured by the set screw.
Gently lift and remove the cover.
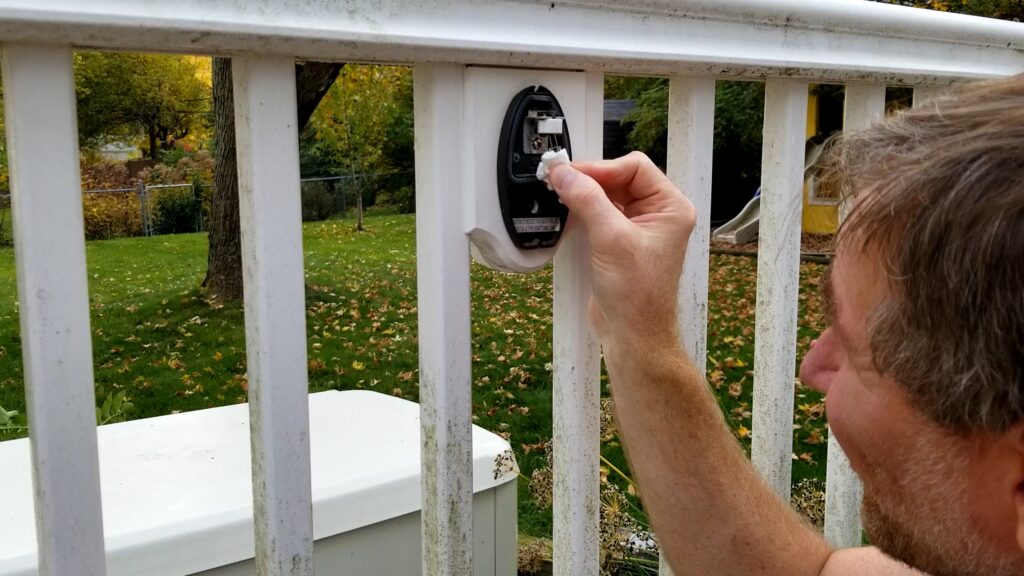
Step 3: Remove the Old Bulb
With the cover removed, you will have access to the G4 bulb.
Pull the bulb straight out of the socket.
Inspect the bulb for obvious signs of failure, such as:
- Broken filament
- Darkened glass
- Burn marks
Step 4: Install the New Bulb
Insert the replacement G4 10-watt bulb into the socket.
If you are using a halogen bulb, avoid touching the glass directly with your fingers. Oils from your skin can create hot spots that may shorten bulb life.
I prefer using a paper towel while handling the bulb.
Step 5: Test Before Reassembly
Before reinstalling the cover, activate the deck lighting system and verify that the new bulb illuminates properly.
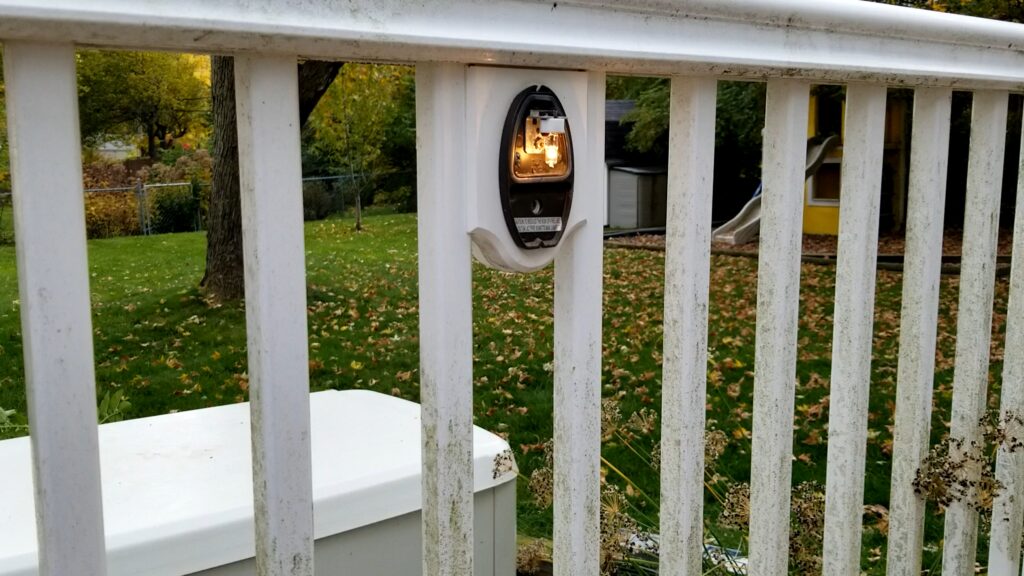
This is an important step because replacement bulbs can occasionally be defective right out of the package.
Testing now can save you from reopening the fixture later.
Step 6: Reinstall the Cover
Hook the top of the cover into place.
Push the bottom inward against the gasket and tighten the Allen set screw until the fixture is secure.
Do not overtighten the screw.
Once tightened, gently wiggle the fixture to confirm everything is seated properly.
My Experience with Replacement Bulbs
Over the years I have tested several replacement bulbs in my deck lighting system.
The original Philips halogen bulb that failed appeared to have experienced moisture exposure. The fixture itself was still functioning, but the bulb had stopped working.
I have also experimented with alternative G4 bulbs (both LED and halogen) and found that some produced a brighter and crisper light output than the original halogen bulbs.
If your fixture repeatedly experiences bulb failures, inspect the gasket and fixture housing for signs of water intrusion.
Deck Post Light Not Working Too?
If your deck post lights are also burned out, check out my companion guide covering deck post light repairs.
Many TimberTech lighting systems use similar bulb technology, and the troubleshooting process is nearly identical.
By repairing both the railing lights and post lights at the same time, you can restore a consistent appearance across your entire deck lighting system.
Preventing Future Deck Lighting Problems
To maximize bulb life:
- Inspect fixtures annually
- Check gaskets for damage
- Remove moisture when discovered
- Replace damaged covers promptly
- Keep spare G4 bulbs on hand
A few minutes of preventive maintenance can help avoid unexpected lighting failures.
Final Thoughts
A TimberTech deck railing light bulb replacement is one of the easiest deck maintenance projects a homeowner can perform. With a replacement G4 bulb and a small Allen wrench, most repairs can be completed in less than five minutes.
Instead of replacing an entire fixture, start by checking the bulb. You may be surprised how quickly and inexpensively you can restore your deck lighting.
Frequently Asked Questions
What bulb does a TimberTech deck railing light use?
Many TimberTech deck railing lights use a G4 10-watt bulb. Always verify the specifications on your existing bulb before purchasing a replacement.
What size Allen wrench is needed for a TimberTech railing light?
The size can vary slightly by fixture generation. Many use a 2 mm to 2.5 mm Allen wrench.
Why does my deck railing light keep burning out?
Common causes include normal bulb wear, moisture intrusion, damaged gaskets, or poor-quality replacement bulbs.
Can I replace the bulb without replacing the entire fixture?
Yes. In most cases, replacing the bulb is all that is required.