
Introduction
Replacing the Starter on a 2003 Toyota Camry is a straightforward DIY repair when you follow the proper steps. If your Camry is clicking, struggling to crank, or not starting at all, a failing starter may be the cause. This ultimate easy guide walks you through the entire process from diagnosis to installation so you can confidently complete the repair and save money.
What You Should Know Before Replacing the Starter on a 2003 Toyota Camry
The starter is an electric motor that engages the engine when you turn the key. If your Camry fails to crank, makes clicking noises, or shows electrical problems during startup, the starter may be worn or faulty.
Tools Needed for Replacing the Starter on a 2003 Toyota Camry
Before beginning, make sure you have:
- Socket wrench set (10mm, 12mm, 14mm)
- Screwdrivers (Phillips & flathead)
- Torque wrench
- New starter compatible with your engine
- Safety gloves & eye protection
(These tools cover the most common bolts and fasteners involved.)
Step 1: Prepare the Vehicle
- Park on a level surface.
- Turn off the engine and remove the key.
- Disconnect the battery — always disconnect the negative cable first to avoid shorts.
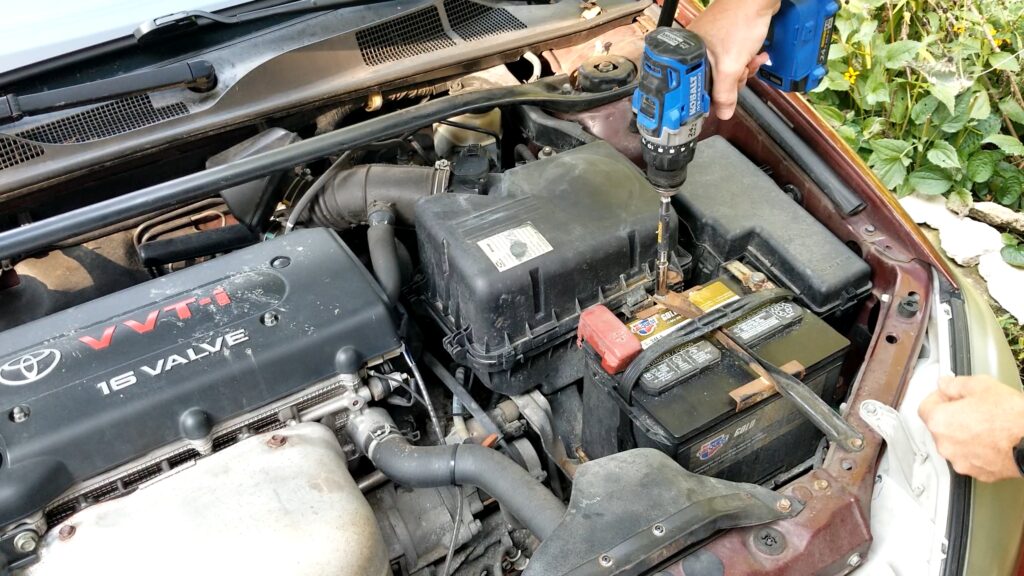
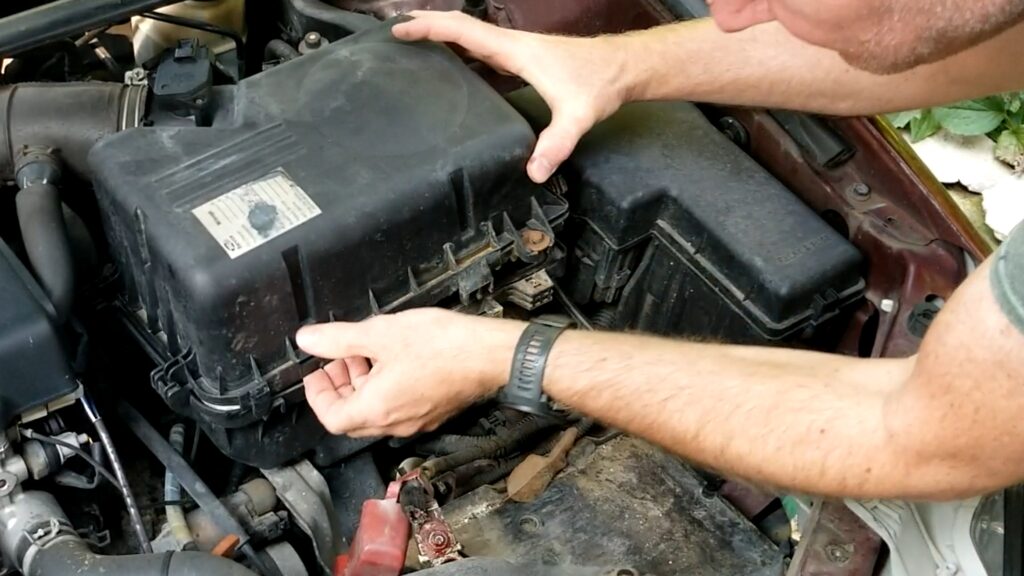
Step 2: Remove Obstructions
- The battery and air intake components often block access to the starter on a 2003 Camry.
- Carefully remove these components and set them aside. Take note of each part’s position for reinstalling later.
Depending on your engine setup, you may also need to remove the air cleaner bracket and battery tray to free up space.
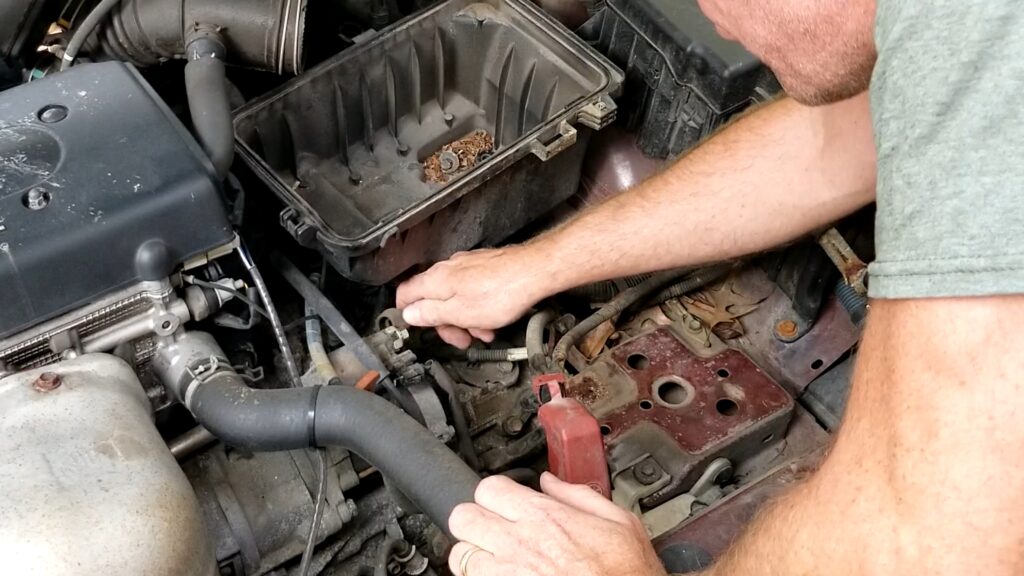
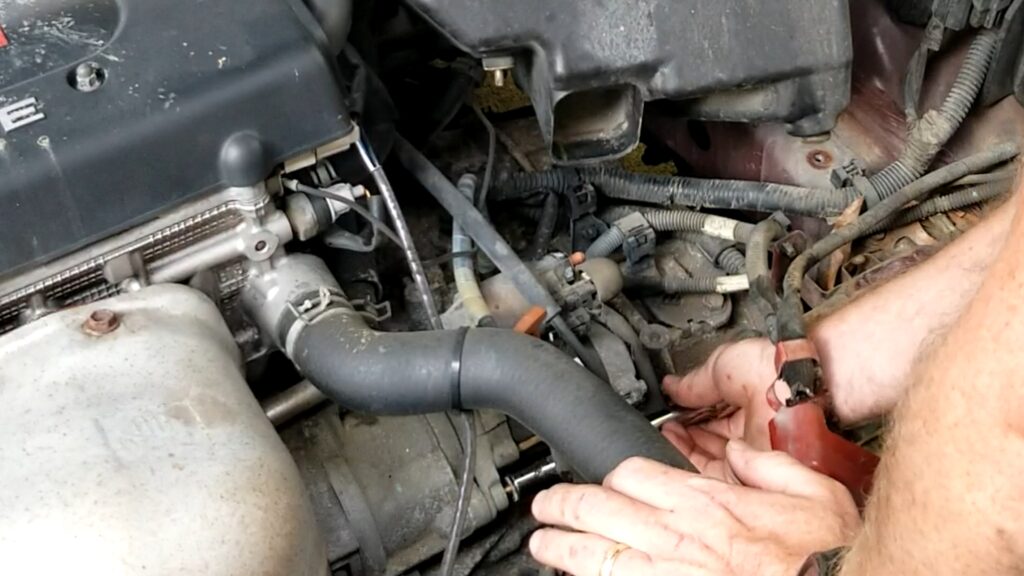
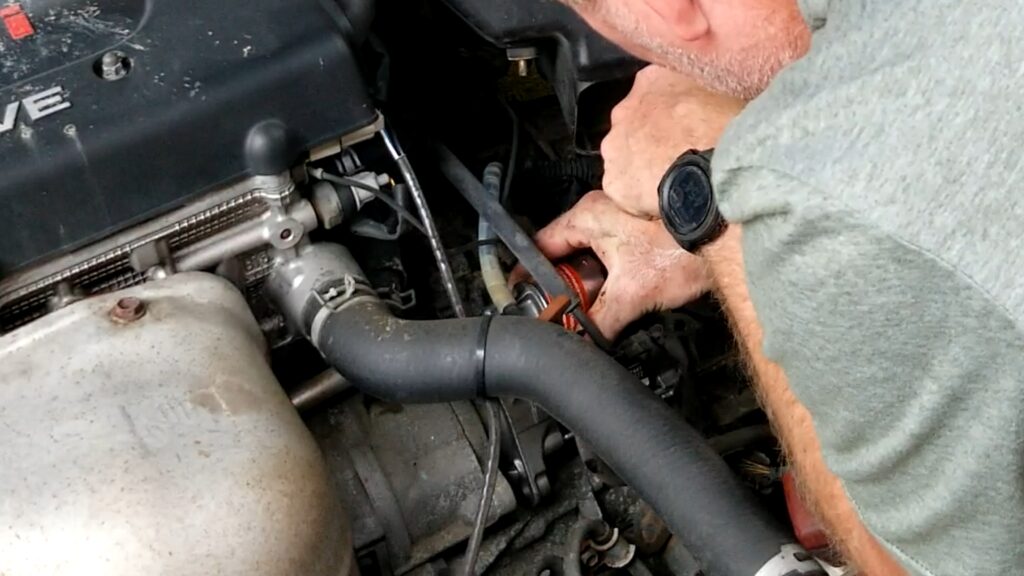
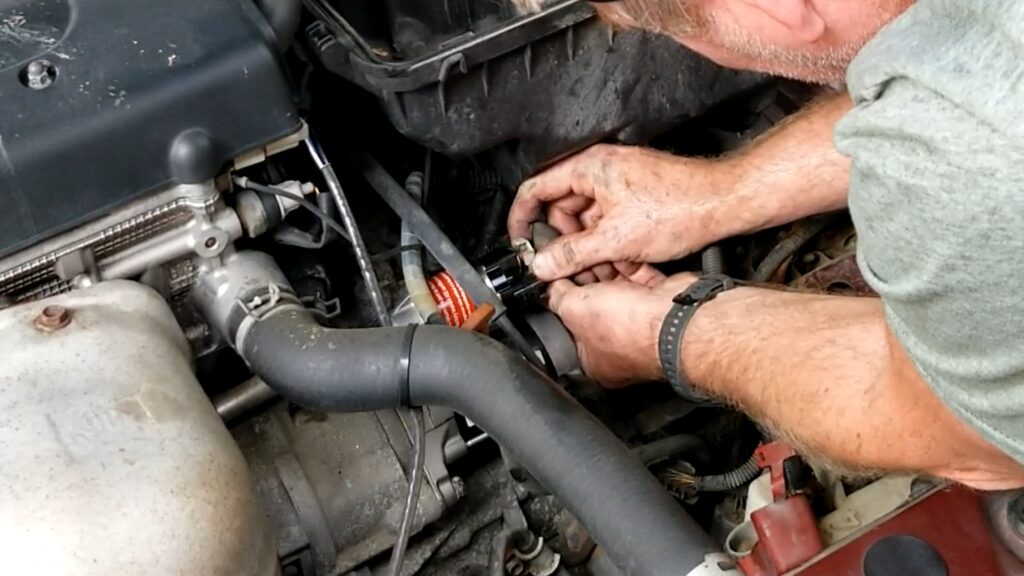
Step 3: Locate and Remove the Old Starter
- Find the starter on the driver’s side lower engine block — a cylindrical component with a solenoid and cables attached.
- Disconnect the electrical connections (positive cable and wiring harness).
- Remove the mounting bolts (usually 14mm).
- Carefully pull the starter out of the engine compartment.
Always inspect the wiring and terminals — corrosion or damage may have contributed to starter failure.
Step 4: Inspect the Old Starter
Look for:
- Worn gear teeth
- Corroded terminals
- Damaged or broken solenoid
If these are present, replacing the starter is confirmed necessary.

Step 5: Install the New Starter
- Set the new starter in place and insert the mounting bolts.
- Torque the bolts to manufacturer specs — this ensures secure seating and prevents vibration issues.
Step 6: Reconnect Wiring
- Attach the starter’s wiring harness and battery cable securely.
- Make sure all connections are tight to avoid future electrical issues
Step 7: Reinstall Removed Parts
Put back the air intake, battery tray, and other components you removed earlier. Make sure all bolts and clamps are tightened properly.
Step 9: Test the New Starter
Turn the ignition key:
- The engine should crank smoothly
- No unusual sounds or delays
- If it starts reliably, the replacement was successful
Tips for a Better DIY Experience
✔ Always label parts as you remove them
✔ Take photos during disassembly for easier reassembly
✔ If you’re unsure of torque specs, consult a repair manual or service source
Frequently Asked Questions
Q: How much does a starter replacement cost?
Average part and labor costs for a 2003 Toyota Camry range roughly $330–$460, though this varies by region and shop.
Q: Is it safe to do this myself?
Yes — as long as you follow safety steps, disconnect the battery, and carefully handle components.
Conclusion
Replacing a starter on a 2003 Toyota Camry isn’t overly difficult with the right tools and clear steps. By following this guide, you’ll save on repair costs and gain valuable DIY experience. Always take your time, prioritize safety, and ensure all connections are solid for reliable starts.
As always if you have any questions or comments post them below or on my YouTube video comments section and I’ll do my best to respond.
I’ve included a few Amazon Links below for the equipment and materials I used. By clicking on any of the links in this article you help support my channel as I earn from qualifying purchases.
You can also help support my Channel by dropping a Tip at https://withkoji.com/@sean.moenkhoff
Equipment and Materials
- Craftsman Mechanic Toolset
- CRAFTSMAN Screwdriver Set, Assorted, 25-Piece (CMHT65046)
- GoPro Hero 10 Black
- Kobalt 24-Volt Max Lithium Ion (Li-ion) 1/2-in Cordless Brushless Drill
- 2003 Toyota Camry 4 cylinder 2.4 Litre Starters
I hope you find this video useful and can use some of the tips presented. Feel free to leave any comments, suggestions, or experiences you have had below.
Some of the links in my video description and article above are Amazon Affiliate links. As an Amazon Associate, I earn from qualifying purchases. If you would like to make a different purchase from Amazon, you can also use the storewide link.