
Replacing the starter on a 2003 Toyota Camry can seem like a daunting task, but with the right tools and a little patience, it can be done in 11 simple steps. In this guide, we’ll walk you through each step of the process, from preparing your car to installing the new starter. By the end, you’ll have the knowledge and confidence to replace your starter with ease.
Step 1: Gather the necessary tools and materials
Before you begin, you’ll need to gather the following tools and materials:
- Socket wrench set
- Screwdrivers (Phillips and flathead)
- New starter
Step 2: Prepare your car for the repair
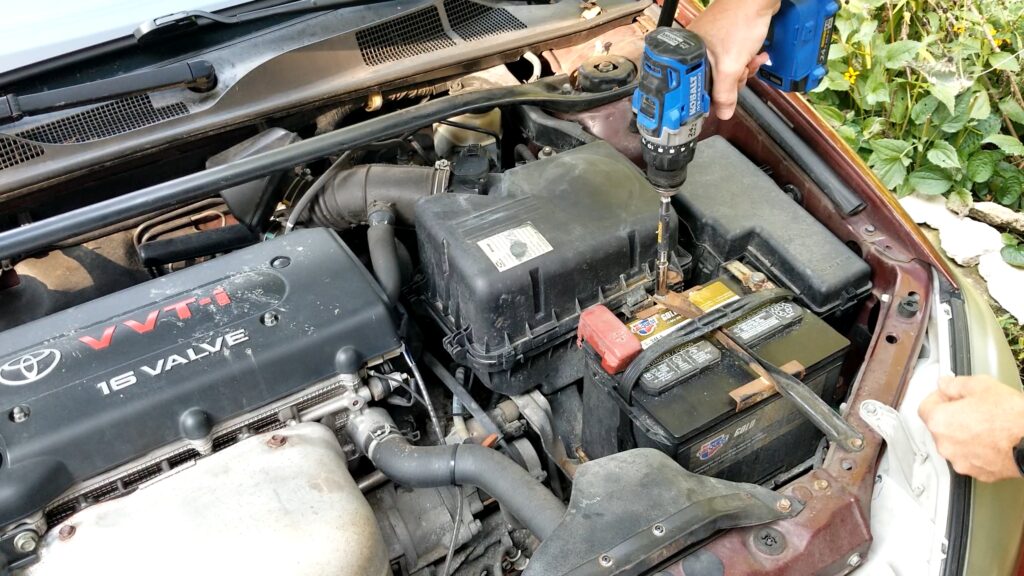
Make sure your car is parked on a level surface and the engine is turned off. Pop the hood and disconnect the battery cables to avoid any electrical shock or damage. You may need to remove the battery like I did because it covers up other components that need to removed before the starter.
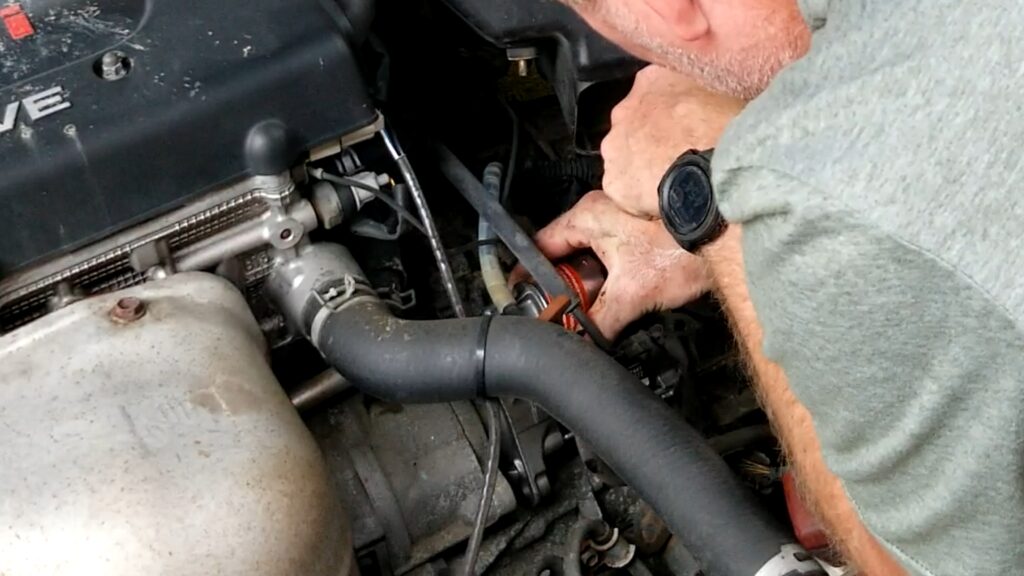
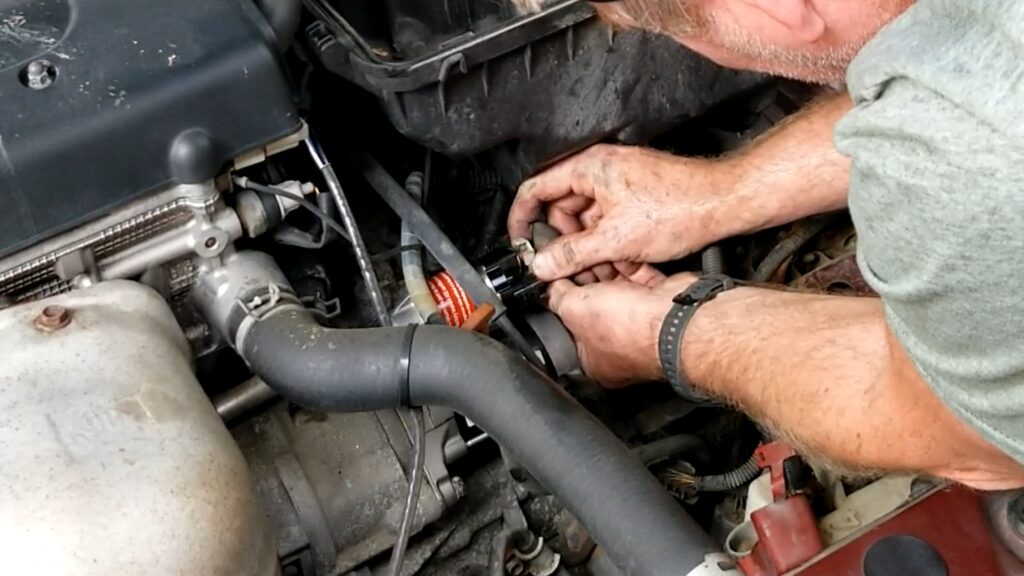
Step 3: Remove in the way components
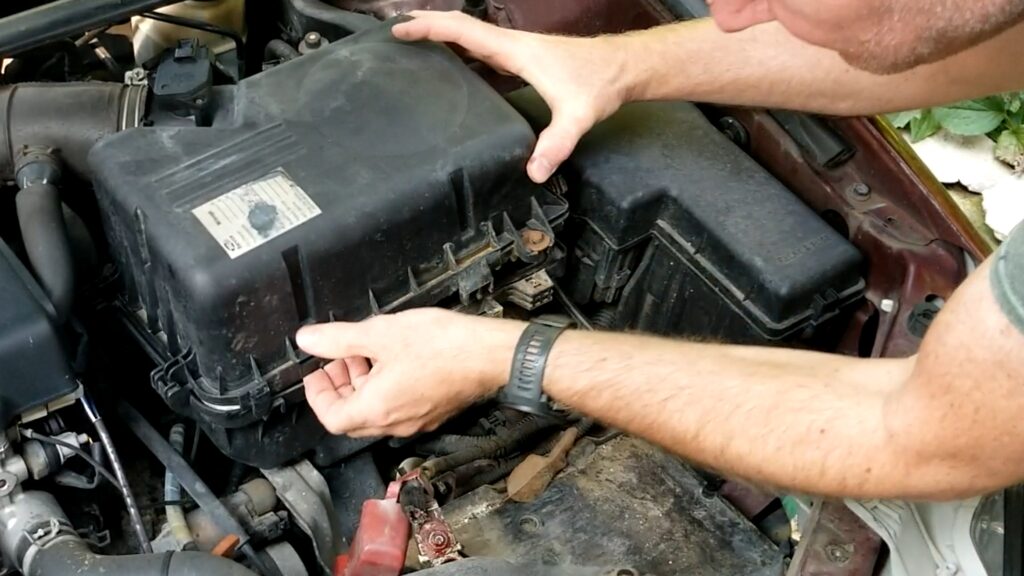
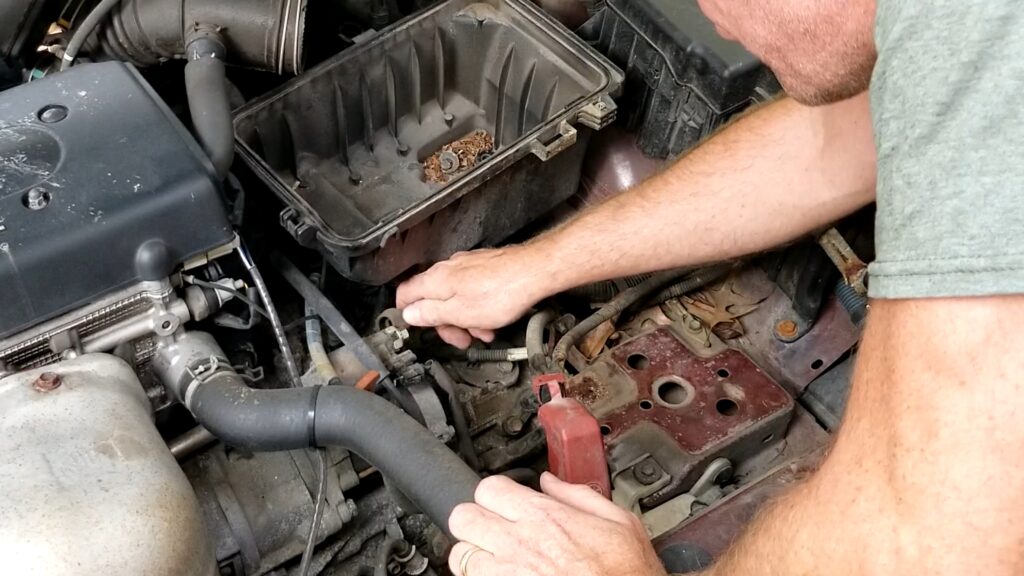
On a 2003 Toyota Camry, the battery and air breather components are usually located on the top right of the engine and can get in the way of removing the starter. Carefully remove them and set them aside. Take note if your engine air filter is dirty, you might as well replace it right now while you have the air breather box open.
Step 4: Locate the starter
The starter is located near the bottom of the engine block, on the driver’s side of the vehicle. Look for a cylindrical object with a solenoid on top and a cable running to it.
Step 5: Remove the old starter
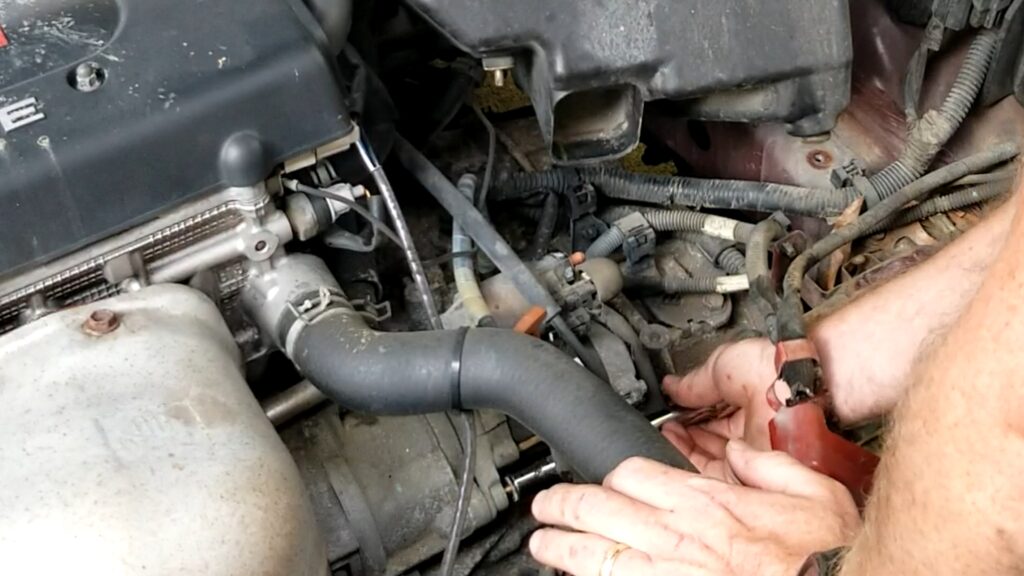
Remove the electrical connections to the old start. Then use the socket wrench to remove the mounting bolts that hold the starter in place. Once the bolts are removed, carefully pull the starter out of the engine compartment.
Step 6: Inspect the old starter
Take a moment to inspect the old starter for any damage or wear and tear. Check the solenoid, wiring, and gear teeth for any signs of wear or damage. This could show signs of other problems.

Step 7: Install the new starter
Carefully position the new starter into place, making sure it lines up with the mounting holes. Insert the mounting bolts and tighten them with the socket wrench.
Step 8: Reconnect the wiring
Reconnect the wiring to the new starter, making sure it is secure and tight. Use sockets, pliers, or screwdrivers to tighten any loose connections.
Step 9: Reinstall all removed components
If you removed the air breather components and battery, now is the time to reinstall them.
Step 10: Reconnect the battery cable
Reconnect the battery cables and tighten them securely.
Step 11: Test the new starter
Turn the key in the ignition to test the new starter. If it turns over smoothly, congratulations! You have successfully replaced the starter on your 2003 Toyota Camry.
In conclusion, replacing the starter on a 2003 Toyota Camry may seem daunting, but by following these 11 simple steps, you can easily replace your starter with confidence. Remember to take your time, use the right tools, and always prioritize safety. By doing so, you can get your car back on the road and run smoothly in no time.
As always if you have any questions or comments post them below or on my YouTube video comments section and I’ll do my best to respond.
I’ve included a few Amazon Links below for the equipment and materials I used. By clicking on any of the links in this article you help support my channel as I earn from qualifying purchases.
You can also help support my Channel by dropping a Tip at https://withkoji.com/@sean.moenkhoff
Equipment and Materials
- Craftsman Mechanic Toolset
- CRAFTSMAN Screwdriver Set, Assorted, 25-Piece (CMHT65046)
- GoPro Hero 10 Black
- Kobalt 24-Volt Max Lithium Ion (Li-ion) 1/2-in Cordless Brushless Drill
- 2003 Toyota Camry 4 cylinder 2.4 Litre Starters
I hope you find this video useful and can use some of the tips presented. Feel free to leave any comments, suggestions, or experiences you have had below.
Some of the links in my video description and article above are Amazon Affiliate links. As an Amazon Associate, I earn from qualifying purchases. If you would like to make a different purchase from Amazon, you can also use the storewide link.