
How to Replace a Washer Lid Switch: A Step-by-Step Guide
A faulty washer lid switch can prevent your washing machine from completing its spin cycle and draining water, leaving you with a non-functional appliance. In this guide, I’ll walk you through the step-by-step process of diagnosing and replacing a defective washer lid switch.
Why Replace a Washer Lid Switch?
The lid switch is a crucial safety feature that prevents the washer from spinning when the lid is open. If this switch malfunctions, your washer may fail to enter the spin cycle, leaving clothes soaking wet. Replacing the switch is a cost-effective solution to restore your machine’s functionality.
Tools & Materials Needed
- Phillips screwdriver
- Insulated jumper wire (for testing)
- Kobalt 24-Volt Max Lithium Ion (Li-ion) 1/2-in Cordless Brushless Drill
- Replacement lid switch
- Zip ties (for securing wiring harness)
Step 1: Safety First – Unplug the Washer
Before starting any repair, ensure the washer is unplugged from the power source to avoid electrical hazards.
Step 2: Remove the Front Panel
Using a Phillips screwdriver, remove the two screws at the bottom of the front panel. Gently pull down on the panel to detach it from the washer cabinet.
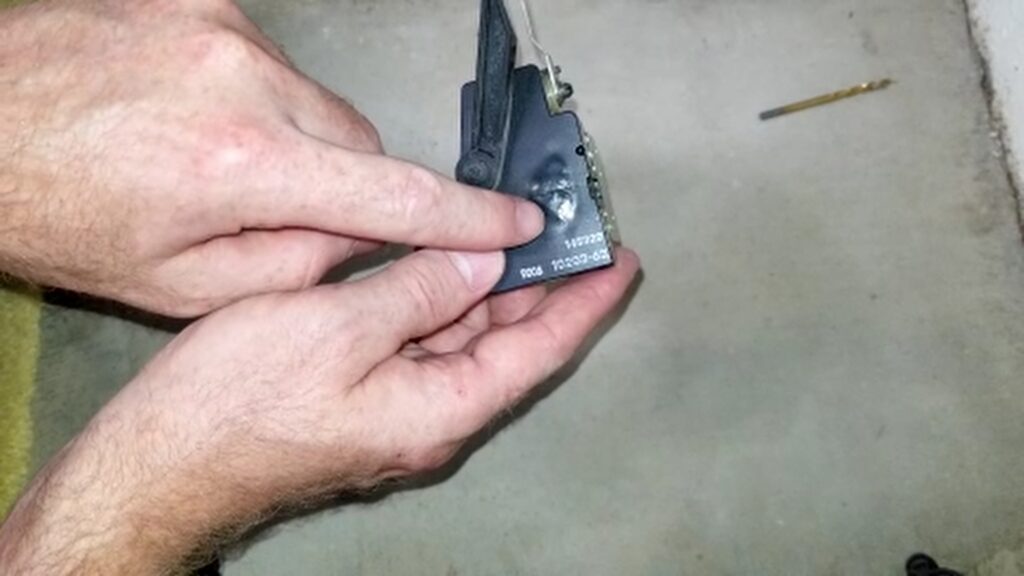
Step 3: Locate the Lid Switch
In my model, the lid switch is positioned at the front right inside the cabinet. In some models, it may be located on the front left side. You can identify where the location will likely be from where the lid catch will go into the cabinet. Identify its electrical connector and unplug it from the machine.
Step 4: Verify the Faulty Switch
To confirm that the lid switch was defective, I used an insulated jumper wire to bridge the two contacts in the plug. This bypasses the switch, tricking the washer into thinking the lid is closed. Plug the washer back in and start the spin cycle. If the drum begins spinning, the switch is faulty and needs replacement. Be extremely cautious to avoid contact with electrical or moving parts.
Step 5: Remove the Old Lid Switch
Unplug the washer again, remove the jumper wire, and unscrew the defective switch. Keep track of any brackets or mounting hardware for reinstallation.
Step 6: Install the New Lid Switch
If your replacement switch is not an exact fit, you may need to adjust or remove brackets to secure it properly. Ensure the lid contact aligns with the switch plate to allow proper activation.
Step 7: Reconnect Electrical Components
Plug the new switch into the electrical connector and secure any loose wiring using zip ties to prevent interference with the washer’s moving parts.
Step 8: Reassemble the Washer
Reattach the front panel by aligning its tabs with the slots and securing it with the original screws. Use a large screwdriver to help lift the panel into position if necessary.
Step 9: Final Testing
Before considering the job complete, run a test cycle to ensure the washer now enters the spin cycle without issues.
Troubleshooting Tip
If the new switch has a different circuit or plug that is incompatible with your washer, consider purchasing an alternative replacement part that matches your model.
Conclusion
Replacing a washer lid switch is a straightforward DIY repair that can save you money on professional service calls. By following these steps, you can restore your washing machine’s spin function and extend its lifespan.
If you found this guide helpful, consider sharing it and subscribing to my YouTube channel for more appliance repair tips!
I hope you find this helpful video useful and can use some of the tips presented. Feel free to leave any comments, suggestions, or experiences you have had below.
Some of the links in my video description and article above are Amazon Affiliate links. As an Amazon Associate, I earn from qualifying purchases. If you would like to make a purchase from Amazon, you can also use the storewide link.
Auto Amazon Links: No products found.