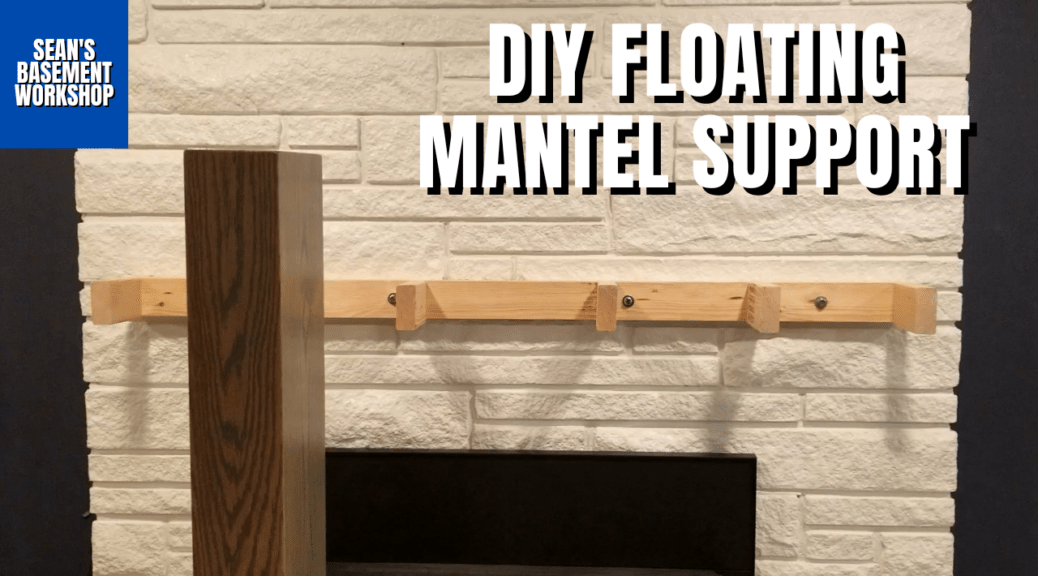
Floating shelves are one of the best ways to add clean, modern storage without visible brackets. The secret to a sturdy floating shelf isn’t the shelf itself — it’s the hidden floating shelf mount behind it, or in this case, a diy floating shelf mount.
Introduction
So if you’ve read my previous article Build a Rustic Style Faux Beam Mantel, then you’ll know that I built a new fireplace mantel to replace the one I built 20+ years ago. If not, and you’re interested in seeing how I made this mantel, then use the link above to read more about it. Since this beam appears to float and has no supports, how can I inexpensively mount this to my stone fireplace? I could purchase hidden hardware, but that can get expensive. Why not build one?
Floating mantels have become a stylish and functional addition to many homes, providing an elegant way to display decor or provide storage without the need for visible supports.
In this step-by-step DIY tutorial, I’ll show you how to build a strong floating shelf support bracket using basic 2×4 lumber and common tools. This method works great for floating shelves, floating mantels, and heavy decorative shelves.
Why Build Your Own Floating Shelf Mount?
Building your own floating shelf support bracket is:
- More affordable than buying metal brackets
- Customizable to any shelf size
- Strong enough to support significant weight
- Perfect for rustic mantels or thick floating shelves
When properly secured into wall studs, this type of hidden bracket provides excellent strength and durability.
Materials Needed
- 2×4 lumber
- 3″ wood screws
- 2½” wood screws
- Wall anchors (if studs are not available)
- Wood glue (optional but recommended)
- Paint or wood stain (optional)
Tools Required
- Screwdriver or screwdriver bit set
- Stud finder
- Level
- Pencil
- Speed square
- 4 Way Wood Rasp File (optional)
- Craftsman 10″ Table saw (with upgrades Gates AK25 Light Duty Pulley and Grizzly Industrial T21992 – Power Twist V-Belt)
- DEWALT Sliding Compound Miter Saw, 12-Inch (DWS779)
- Kobalt 24-Volt Max Lithium Ion (Li-ion) 1/2-in Cordless Brushless Drill
- Kobalt 25-ft Tape Measure
Step 1: Measure and Locate Wall Studs
Before cutting anything, determine where your floating shelf will be installed.
- Use a stud finder to locate wall studs.
- Mark each stud clearly.
- Measure the desired shelf width.
- Use a level to mark a straight horizontal line.
Tip: Securing your floating shelf mount directly into studs is critical for strength and safety.
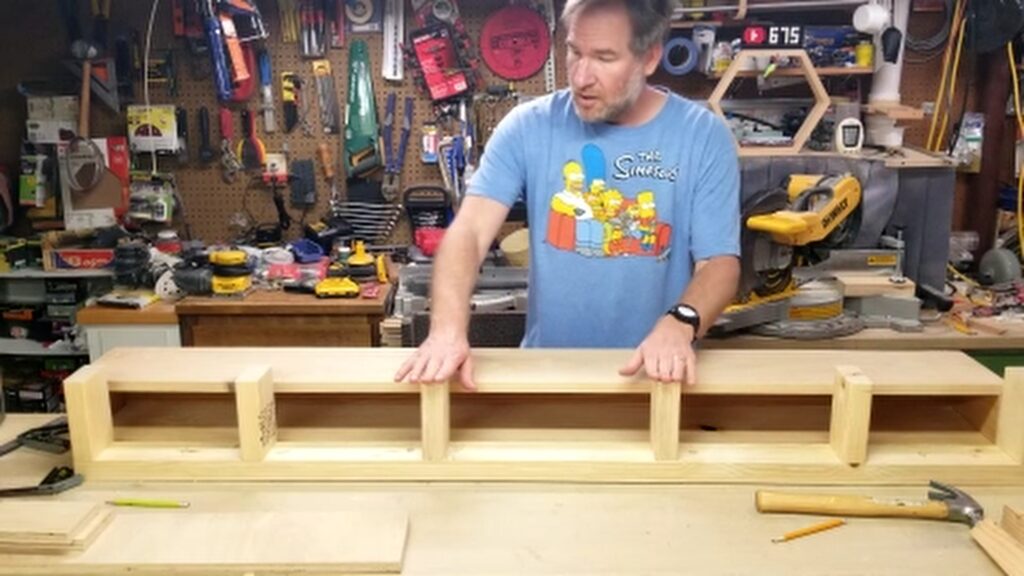
Step 2: Cut the 2×4 Support Pieces
You will build a rectangular support frame that mounts to the wall.
Cut:
- One long back support board (same width as shelf)
- Two short side supports (depth of shelf minus front thickness)
- Interior support braces spaced 12–16 inches apart
The depth of the frame should match the inside depth of your shelf so it slides over the bracket snugly.
Step 3: Assemble the Floating Shelf Support Bracket
- Lay out the back support board flat.
- Attach the side supports at 90 degrees.
- Add interior support braces evenly spaced.
- Secure everything using 2½” or 3″ wood screws.
- Use a speed square to ensure all corners are square.
For extra strength, apply wood glue before fastening screws.
You now have a strong hidden floating shelf bracket.
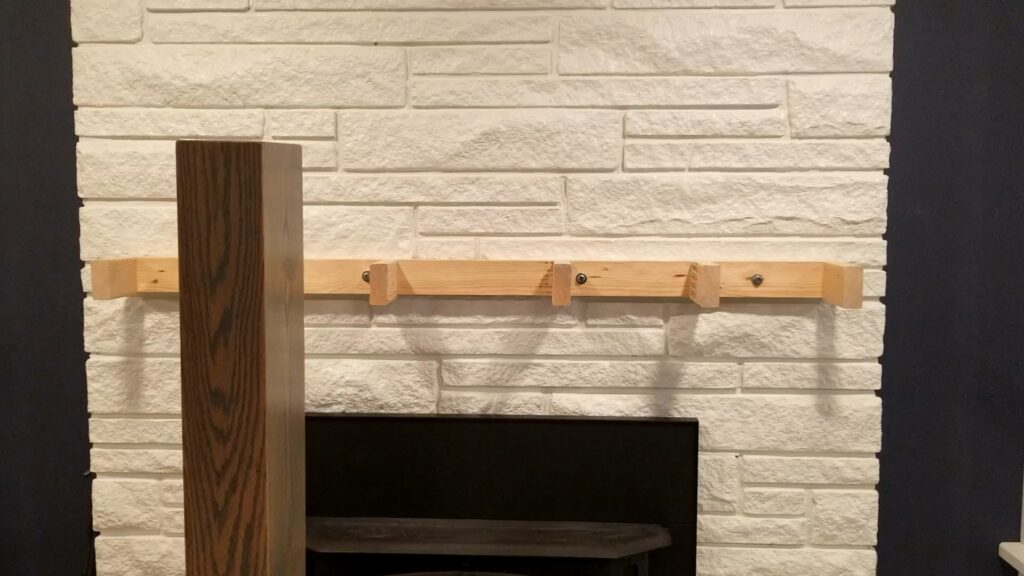
Step 4: Mount the Frame to the Wall
- Hold the bracket against your level line.
- Pre-drill through the back support into the studs.
- Secure using 3″ wood screws directly into studs.
- Double-check for level before fully tightening the screws.
If studs are not available where needed, use heavy-duty wall anchors — but stud mounting is always preferred.
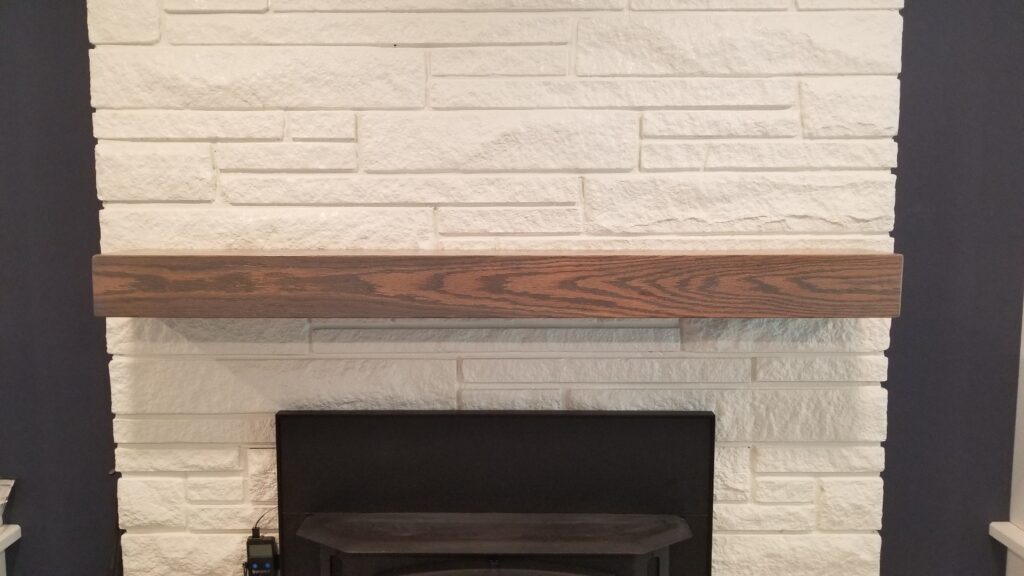
Step 5: Install the Floating Shelf
Once the mount is secure:
- Slide the hollow floating shelf over the bracket.
- Secure from underneath with screws if needed.
- Ensure everything is flush and level.
The shelf should fit tightly over the wood support frame.
How Much Weight Can This Support?
When anchored properly into studs, this type of DIY floating shelf mount can support significant weight — including:
- Decorative items
- Books
- Small appliances
- Floating mantels
Weight capacity depends on:
- Number of studs used
- Screw length and quality
- Lumber quality
- Shelf construction
Always test gradually before loading heavy items.
Tips for a Strong Floating Shelf Installation
- Always secure into at least two studs.
- Use quality structural screws.
- Space interior braces evenly.
- Ensure the shelf fits snugly over the bracket.
- Avoid drywall-only mounting for heavy loads.
Project Time & Difficulty
- Estimated Time: 1–2 hours
- Skill Level: Beginner to Intermediate
- Estimated Cost: Low (depends on lumber prices)
Final Thoughts
Building your own DIY floating shelf mount is an affordable and reliable way to install strong floating shelves without visible brackets. With proper stud mounting and careful measurements, this hidden support system can last for years.
If you enjoy woodworking and DIY home improvement projects, check out more step-by-step builds here on SNAServices.com.
Frequently Asked Questions
How much weight can a floating mantel support hold?
Typically, a properly installed floating mantel can support 50-100 pounds, but this depends on the bracket’s strength and wall support. I pulled down on my mantel with nearly half my weight, for reference, that’s on the top end of that 50-100 pound range.
Can I use other materials instead of 2×4?
Yes, you can use metal brackets or different types of wood, but 2×4 lumber is often preferred for its strength and affordability.
Do I need professional help to install a floating mantel?
If you’re comfortable with basic DIY tools, you should be able to handle the installation on your own. However, professional help can ensure a perfect fit, especially with heavier mantels.
How do I maintain my floating mantel?
Regularly dust your mantel and ensure that no excessive weight is placed on it. Repaint or restain as needed to maintain its appearance.
Can I install a floating mantel on a brick wall?
Yes, but you’ll need masonry anchors and possibly professional advice to ensure the mantel is securely fastened to the brick.
Finally…
Head on over to YouTube by clicking on the video below and see how it was made and turned out.
I hope you find this helpful video useful and can use some of the tips presented. Feel free to leave any comments, suggestions, or experiences you have had below.
Some of the links in my video description and article above are Amazon Affiliate links. As an Amazon Associate, I earn from qualifying purchases. If you would like to make a different purchase from Amazon, you can also use the storewide link.