
Generac Schedule A Service Light Reset in 7 Easy Steps (Save Hundreds FAST)
First, a little backstory. We experienced frequent power outages in our area due to ice storms in the winter or Spring storms knocking trees onto the power lines. With a brand new baby, we ended up purchasing a portable generator because we didn’t want any of our food to go bad, including baby food. This worked perfectly until our shed was broken into and the generator was stolen.
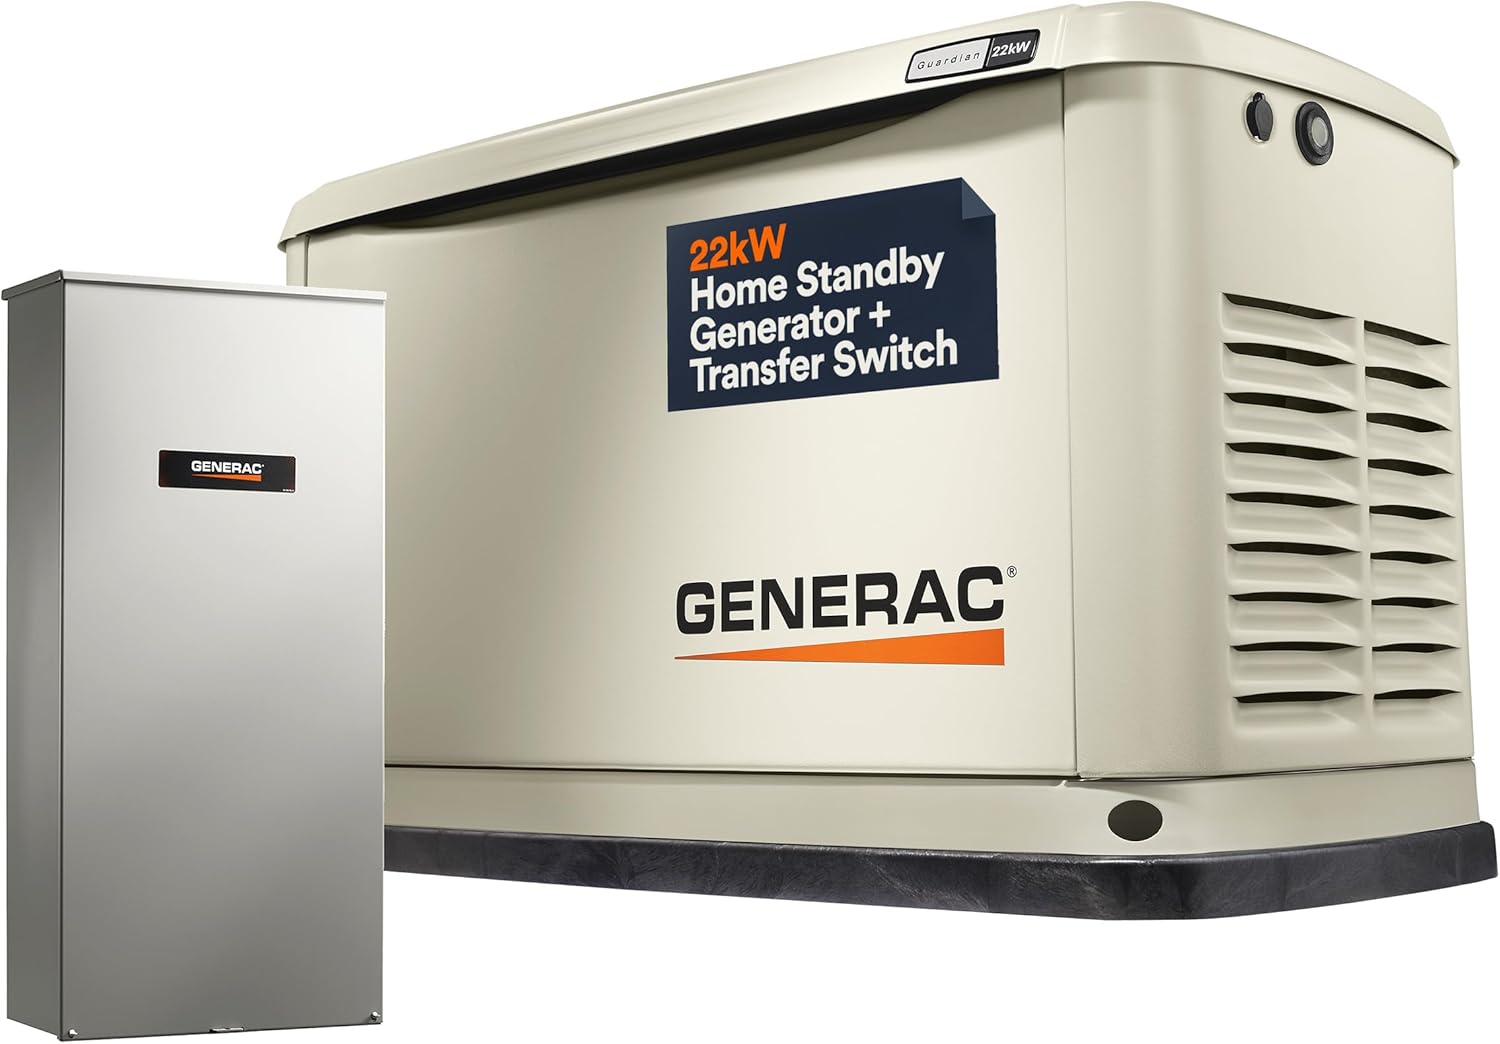
Home Standby Generator with 200 Amp Transfer Switch – Automatic Whole House Backup Power for Storms, Emergencies, and Outages, WiFi Enabled, Runs on Natural Gas or Liquid Propane
Fast forward several years, and we had a Generac 16kW Guardian installed so we could power the whole house – HVAC, refrigerators, etc. This was great. However, with any larger mechanical purchase comes some maintainence requires. This is where this guide takes over.
Generac Schedule A service light reset is easier than you think, and you can complete it in under 30 minutes while saving hundreds of dollars on service calls.
If your generator is showing a Schedule A warning, it simply means it’s time for routine maintenance. In this guide, I’ll walk you through exactly how to change the oil, replace the filter, and perform a full Generac Schedule A service light reset step-by-step.
You should read this entire article first, and if you do not feel comfortable doing so, please schedule with an authorized service center. After all, you don’t want to void your warranty if it is still in effect.
Table of Contents
What Does the Generac Schedule A Service Light Mean?
The Generac Schedule A service light reset alert indicates your generator is due for basic maintenance, including:
- Oil change
- Oil filter replacement
- General inspection
Ignoring this warning can lead to reduced performance, engine wear, or even costly repairs and potential loss of use when you really need it.
Tools and Parts Needed
Before starting your Generac Schedule A service light reset, gather the following:
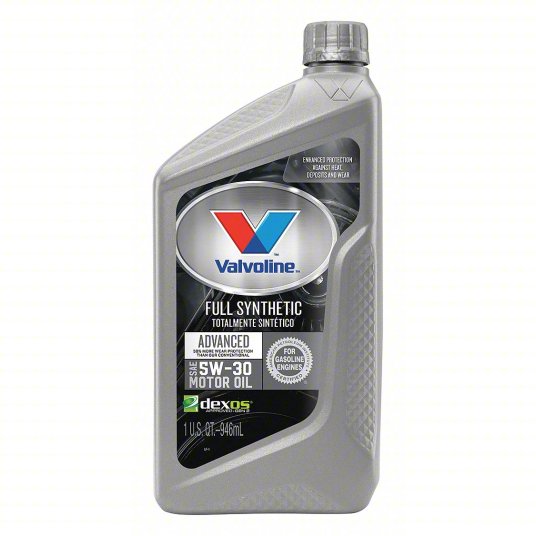
- 5W-30 full synthetic oil
- New oil filter – Generac 070185ES for mine.
- Drain pan or container
- Gloves (recommended)
- Shop rag or paper towels

💡 Most Generac 16kW standby generators take around 1.9 quarts of oil, but always confirm in your owner’s manual for proper oil and filter specifications.
Step 1: Warm Up the Generator
Start your generator in manual mode and let it run for a few minutes. I let mine run for about 10 minutes to ensure a fully warm engine. Warm oil drains faster and removes more contaminants.
Once warmed up, turn the generator OFF before continuing. Ensure it is in the OFF mode so it will not accidentally start when doing this service.
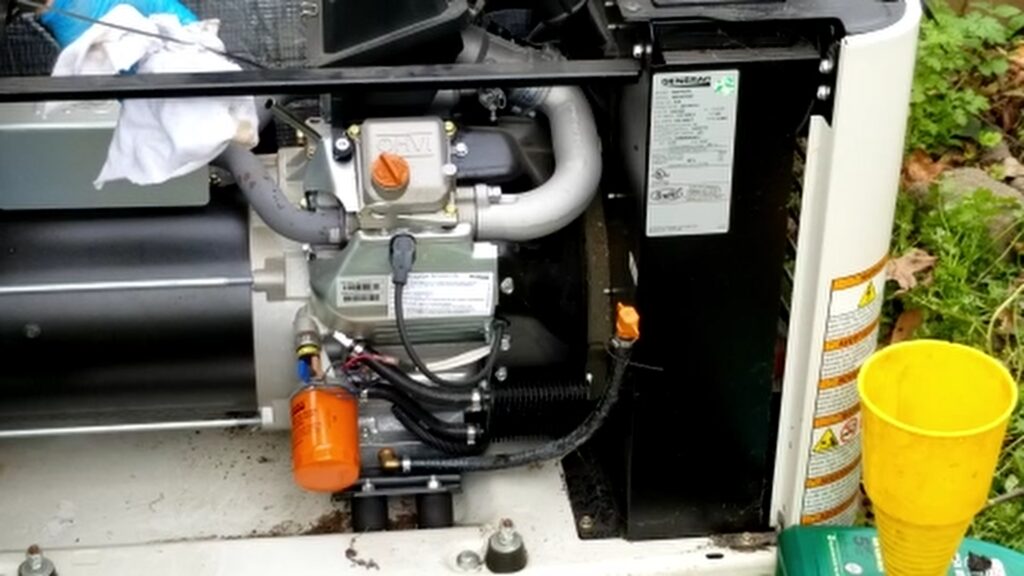
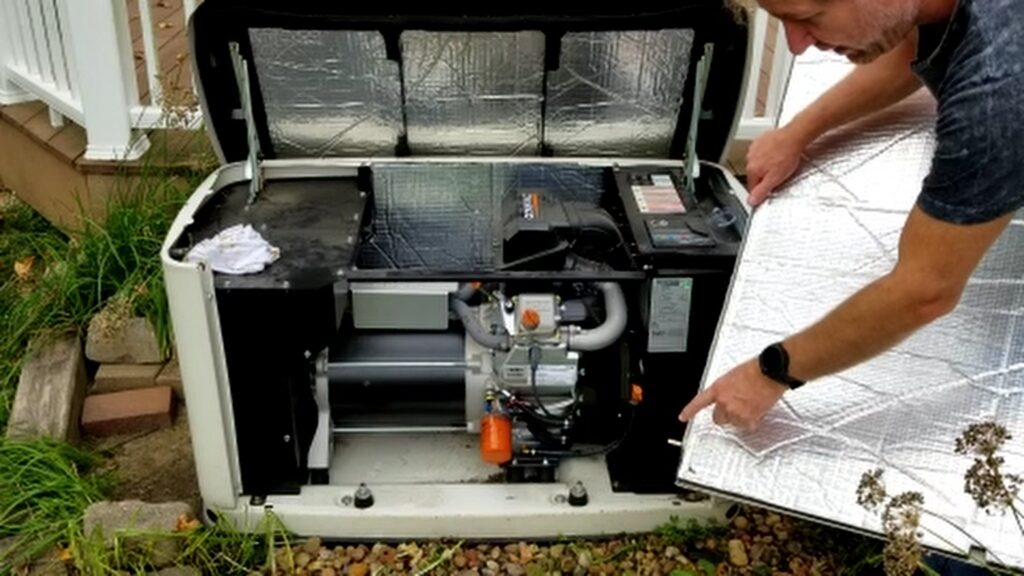
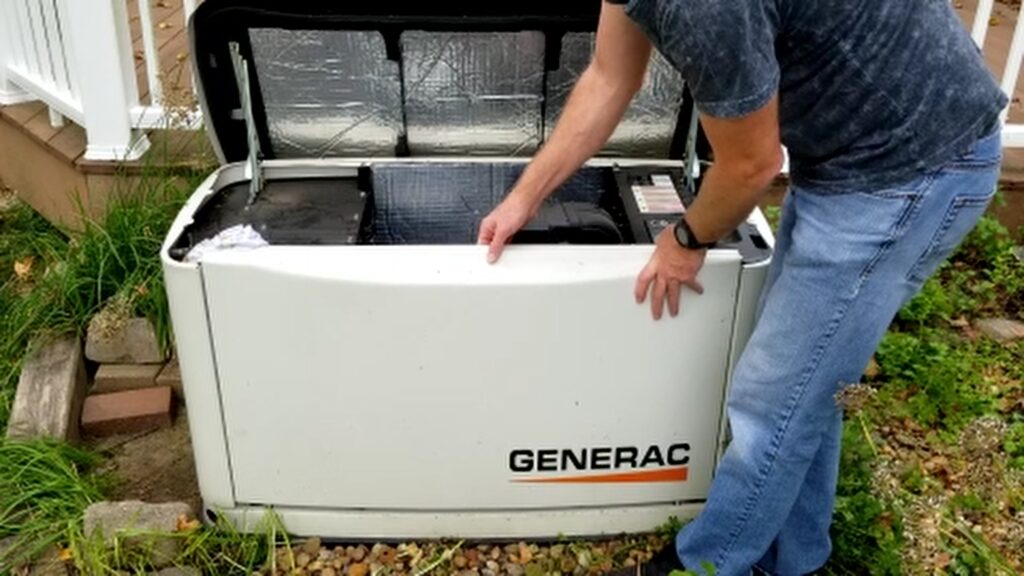
Lift up and pull out the front cover to access the engine compartment.
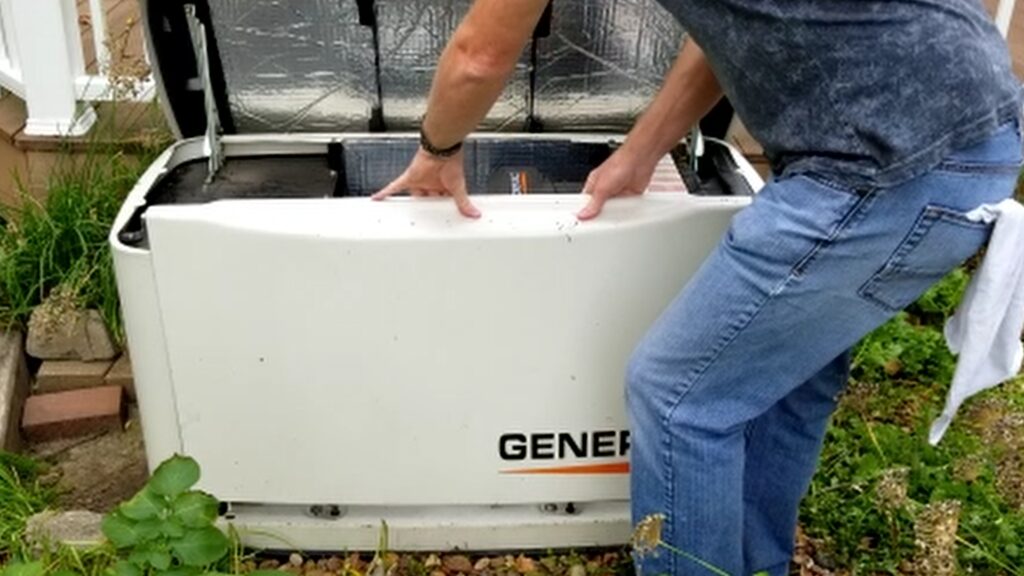
Inside you’ll find:
- Oil filter
- Oil drain hose
- Oil fill cap
- Dipstick
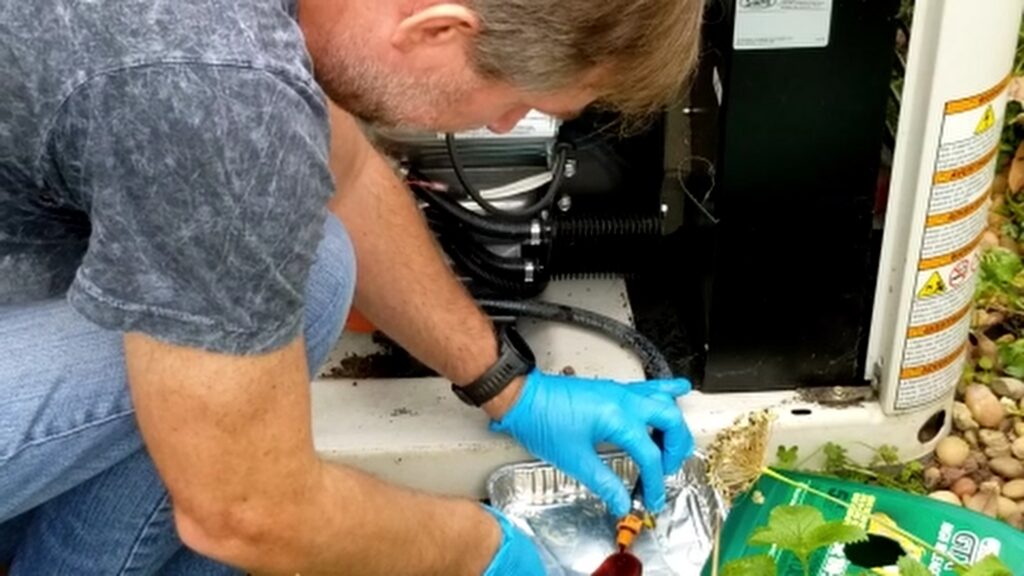
Step 2: Drain the Old Oil
Pull out the oil drain hose and remove the cap. Let the oil fully drain into a container. If your generator is high enough up, you can drain it directly into a waste oil container; otherwise, you may need to transfer it as I did.
💡 Removing the oil fill cap may help the oil drain faster.
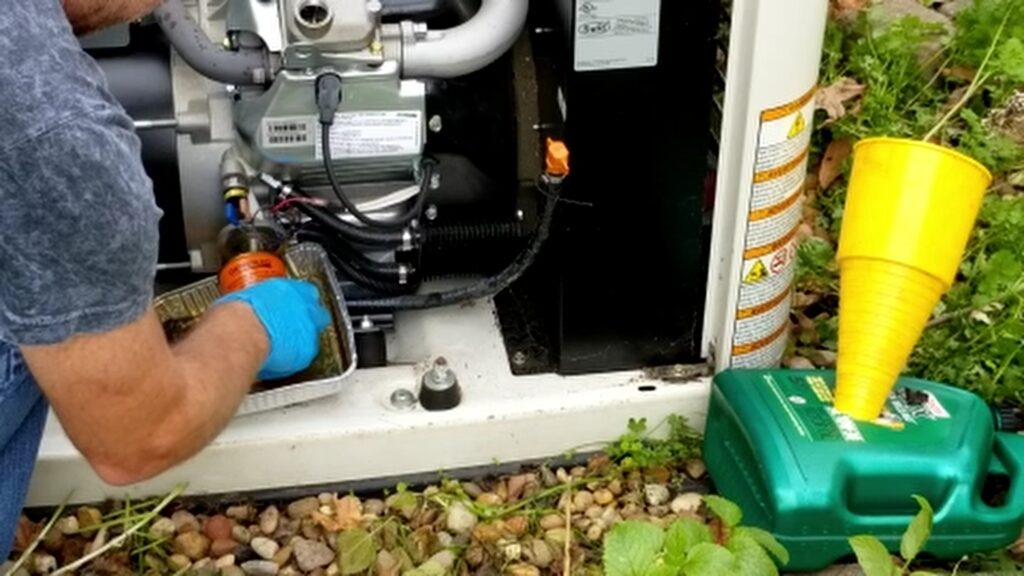
Step 3: Remove the Old Oil Filter
Place a pan or cardboard underneath to catch any oil.
- Unscrew the old filter
- Let excess oil drain
- Compare the new filter to ensure it matches. Always use genuine replacement parts.
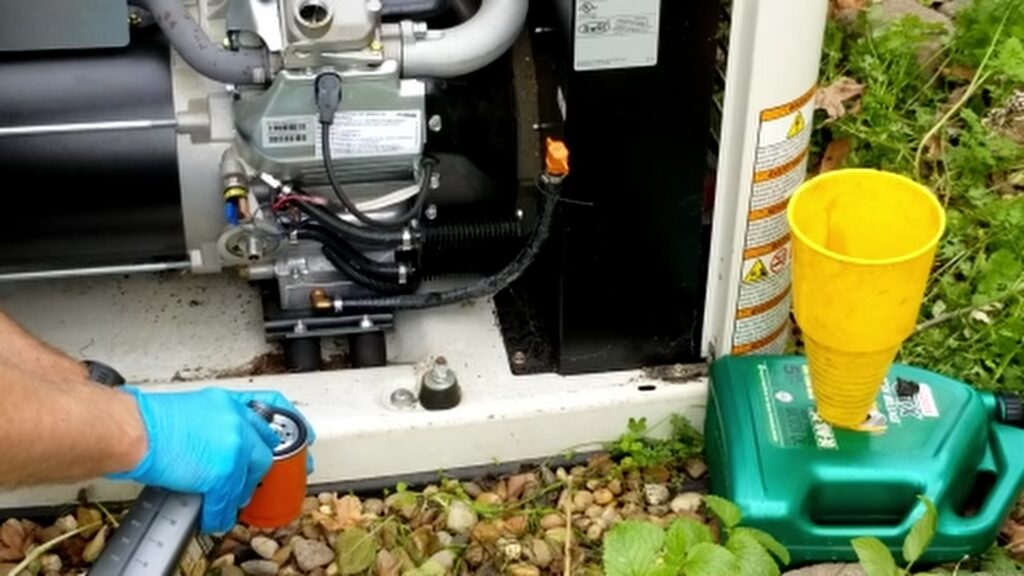
⚠️ Always check that the old gasket is removed to avoid leaks.
- Pre-fill the new filter slightly with oil, but do not fill it up completely unless the oil filter can stay vertical to avoid spillage.
- Apply new oil to the rubber gasket
- Hand-tighten, then turn an additional ¾ to 1 full turn
This ensures a proper seal without overtightening.
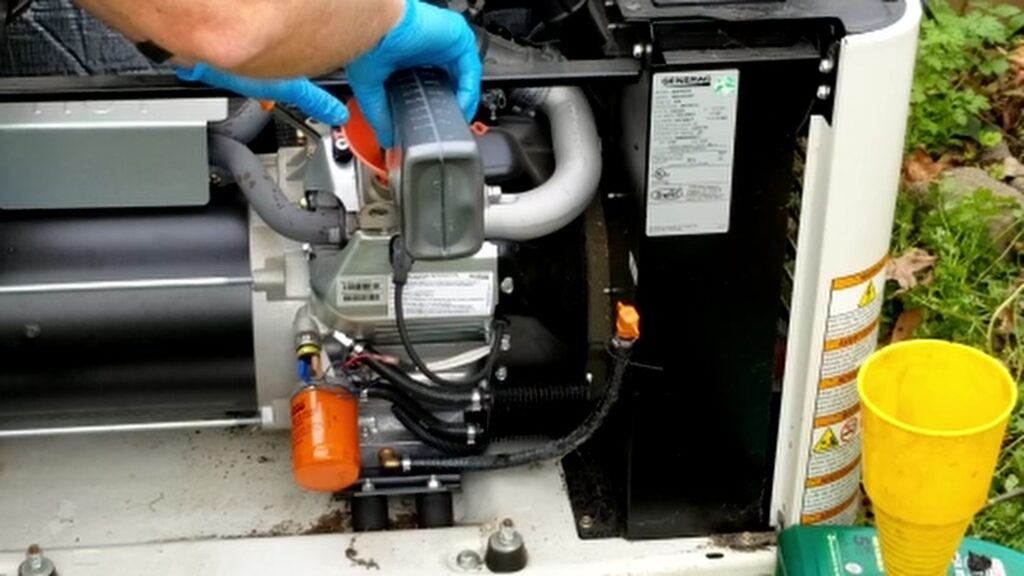
Step 4: Add New Oil
Slowly pour in new oil through the fill port. Use high-quality replacement oil that matches your owner’s manual specifications.
- Typical amount: ~1.9 quarts
- Avoid overfilling
Use the dipstick to check the oil level. If it is below the full mark, add more oil.
Performing regular oil changes is similar to other maintenance tasks like oven repairs—see my step-by-step oven heating element replacement guide.
Step 5: Run and Recheck Oil Level
Start the generator and let it run for about one minute. Turn it off and allow the oil to settle for a few minutes.
Recheck the dipstick and add oil if necessary.
Check for leaks around
- Oil filter
- Drain hose
- Engine area
Everything should be clean and dry before moving on.
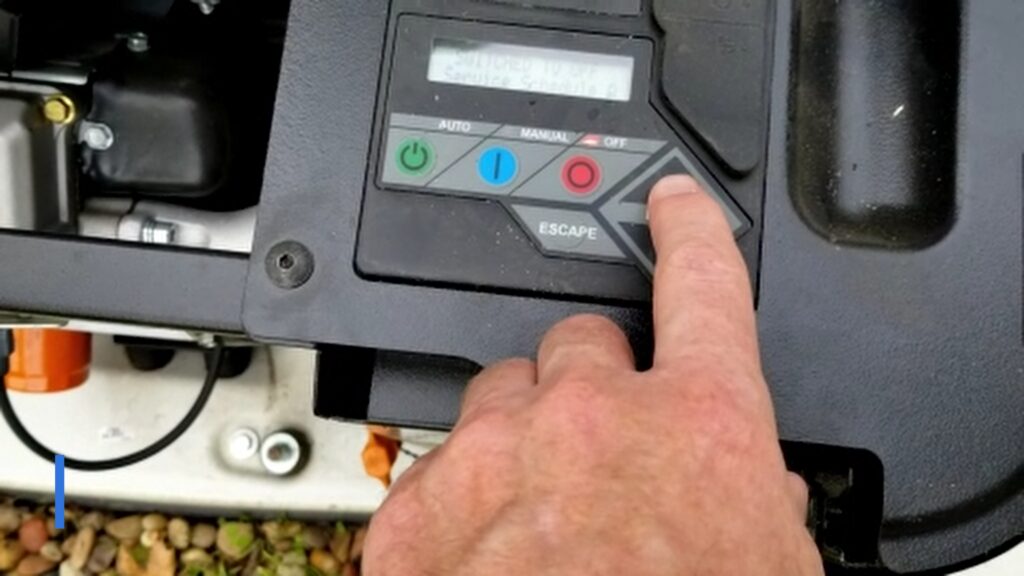
Step 6: Generac Schedule A Service Light Reset
Now, complete the Generac Schedule A service light reset:
The following steps may vary but brand and model but these are the steps I had to do.
- Set generator to OFF
- Hold the OFF button for 3 seconds to access the Reset Service Menu
- Select the service option
- Confirm that maintenance was performed
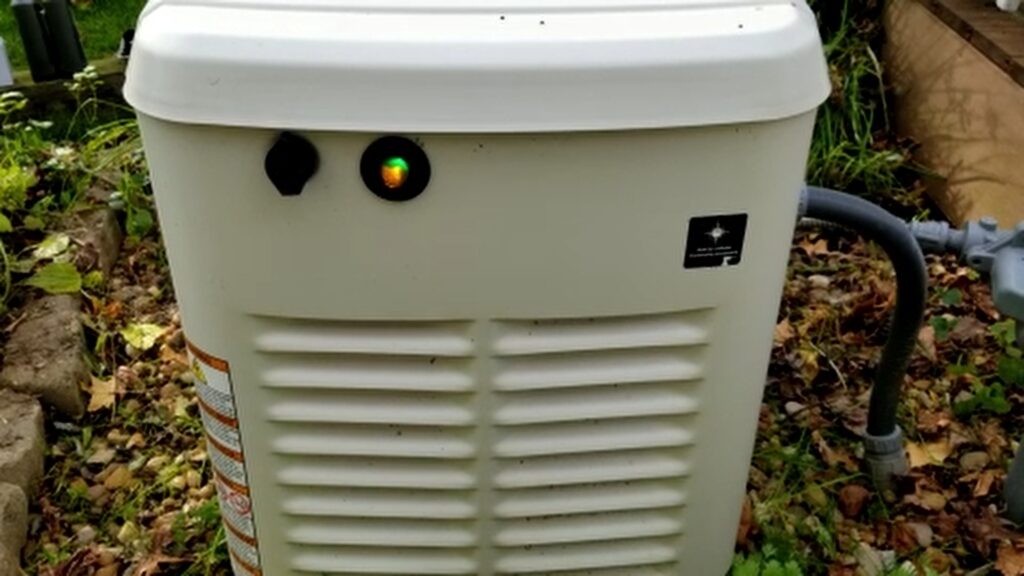
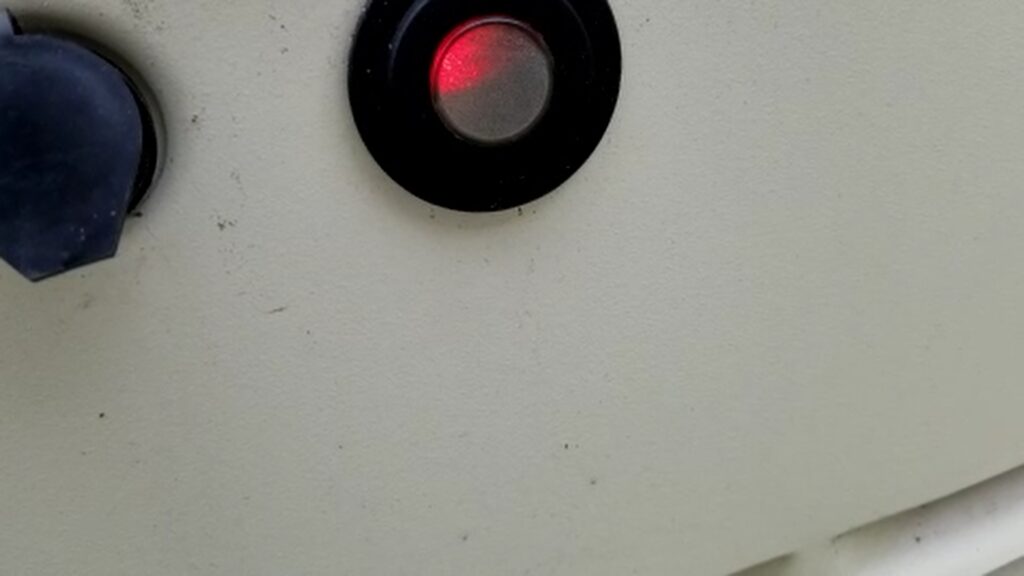
The service light should return to red, indicating normal OFF operation.
Switch the generator back to AUTO mode when finished. The service light should now show green, indicating normal Automatic Run operation.

Step 7: Reinstall the Front Cover
Align the bottom pegs and snap the panel back into place securely.
Pro Tips for Generac Schedule A Service Light Reset
To get the best results from your Generac Schedule A service light reset, keep these tips in mind:
- Always recheck the oil after running the generator
- Use high-quality synthetic oil for better protection
- Inspect for leaks after every service
- Keep a maintenance log for future reference
These simple steps help extend the life of your generator and ensure reliable performance.
Proper Oil Disposal
Never dispose of oil improperly. Take used oil to:
- Local auto parts stores
- Recycling centers
Most locations accept small amounts like this free of charge.
Why DIY Saves You Money
Performing your own Generac Schedule A service light reset can:
- Save $200–$400 per service
- Take less than 30 minutes
- Require only basic tools
It’s one of the easiest and most cost-effective maintenance tasks you can do.
Want more DIY repair tutorials like this? Browse our full collection of step-by-step repair guides.
Frequently Asked Questions
How often should I perform Generac Schedule A service?
Typically, every 100–200 hours of operation or at least once per year. The Schedule A service light will come on after 200 hours of operation, denoting that it is required.
What oil should I use in my Generac generator?
Most models require 5W-30 full synthetic oil, but always confirm in your owner’s manual.
What happens if I ignore the service light?
Ignoring it can lead to engine damage, reduced efficiency, and expensive repairs.
Final Thoughts
Completing a Generac Schedule A service light reset, along with an oil and filter change, is simple, fast, and saves money.
With regular maintenance, your generator will stay reliable and ready when you need it most.
Watch the Full Step-by-Step Video
For a complete visual walkthrough of performing the Schedule A service, watch the full tutorial on my YouTube channel.
The video shows:
- Real-time service
- Where and How to change the oid
- How to reset the service light
- Where to properly dispose of used motor oil
👉 If you found this helpful, subscribe to the channel for more simple DIY home improvement projects.
You can also help support my Channel at Buy Me A Coffee.
Some of the links in my video description and article above are Amazon Affiliate links. As an Amazon Associate, I earn from qualifying purchases. If you would like to make a purchase from Amazon, you can also use the storewide link.