Powerful Fix: Broken Portland Chainsaw Oiler Not Working (8 Easy Steps)
If your Portland chainsaw oiler not working issue has you stuck, you’re not alone. A Portland chainsaw oiler not working problem is one of the most common failures with electric chainsaws, especially after extended use or age.
The good news? This frustrating issue is usually caused by a simple failure—like a deteriorated oil line—and can be fixed quickly with basic tools.
In this step-by-step guide, you’ll learn exactly how to diagnose and repair a Portland chainsaw oiler not working problem so you can get back to cutting safely and efficiently.
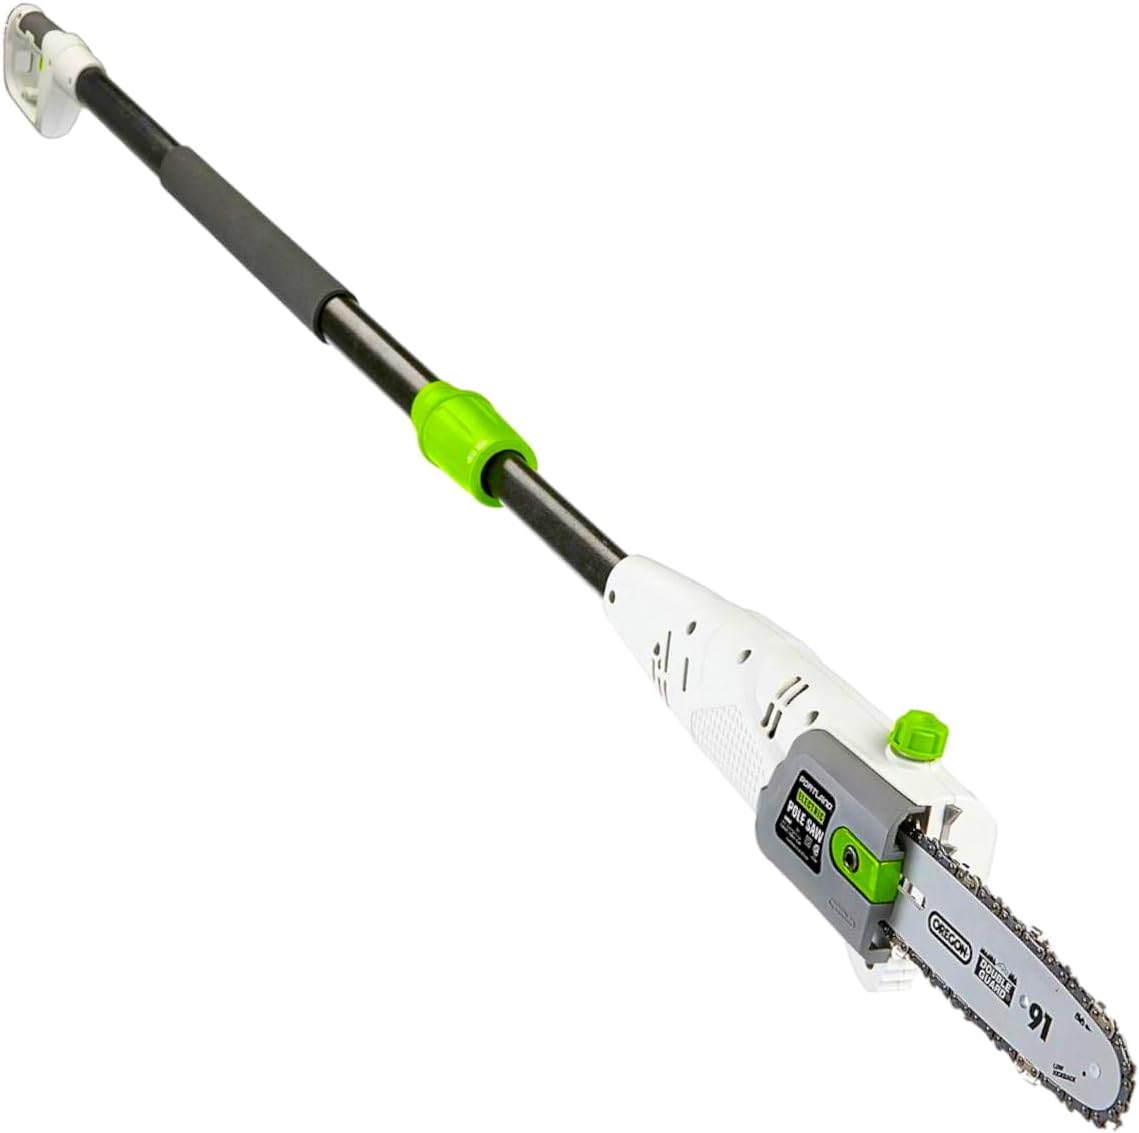
6.5 Amp 9.5 Inches bar with 3/8 in. pitch Oregon 8 feet Max Reach chain with easy chain adjustment
If your Portland chainsaw oiler is not working (Quick Answer)
If your Portland chainsaw oiler not working, the most common cause is a cracked or deteriorated oil hose. Unfortunately, the silicone tubing used for the automatic oiler is prone to breakdown due to petroleum products such as bar and chain oil. Replacing the tubing and ensuring the oil pump moves freely will usually restore proper oil flow and prevent damage to the bar and chain.
Table of Contents
Why Your Portland Chainsaw Oiler Is Not Working
A Portland chainsaw oiler not working issue typically comes down to a few common causes. These saws, often sold through Harbor Freight, are reliable but use components that wear over time and degrade with age and heat.
Most common causes:
- Cracked or deteriorated oil tubing
- Blocked oil ports
- Misaligned or stuck oil pump
- Worn internal components
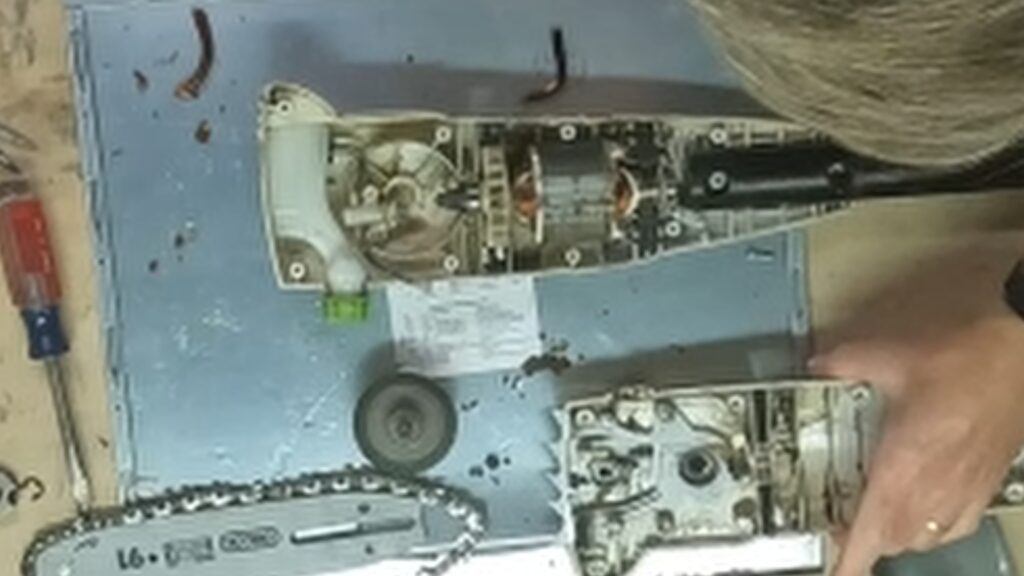
In this repair, the problem was clear:
👉 The oil hose had completely disintegrated and split, preventing oil from reaching the chain. Instead, the oil was dumping out directly into the casing of the saw around the oil pump and leaking down and out the bottom.
Symptoms of a Chainsaw That Is Not Oiling
If you suspect your Portland chainsaw oiler not working, look for these warning signs:
- The chain appears dry during operation
- Bar overheats quickly
- Excessive chain wear
- No oil visible near the tip of the bar
- Oil reservoir level stays the same, or oil is leaking out of the saw case.
⚠️ Ignoring these symptoms can lead to permanent damage to the bar and chain.
Tools and Materials Needed
Before starting this repair, gather:
- Replacement silicone tubing
- Screwdrivers
- Cordless Drill (optional)
- Small file (optional)
- Clean rags or paper towels
- Nitrile gloves
- Bar and Chain oil
💡 This job can get messy due to oil residue.
How to Fix a Portland Chainsaw Oiler Not Working (Step-by-Step)
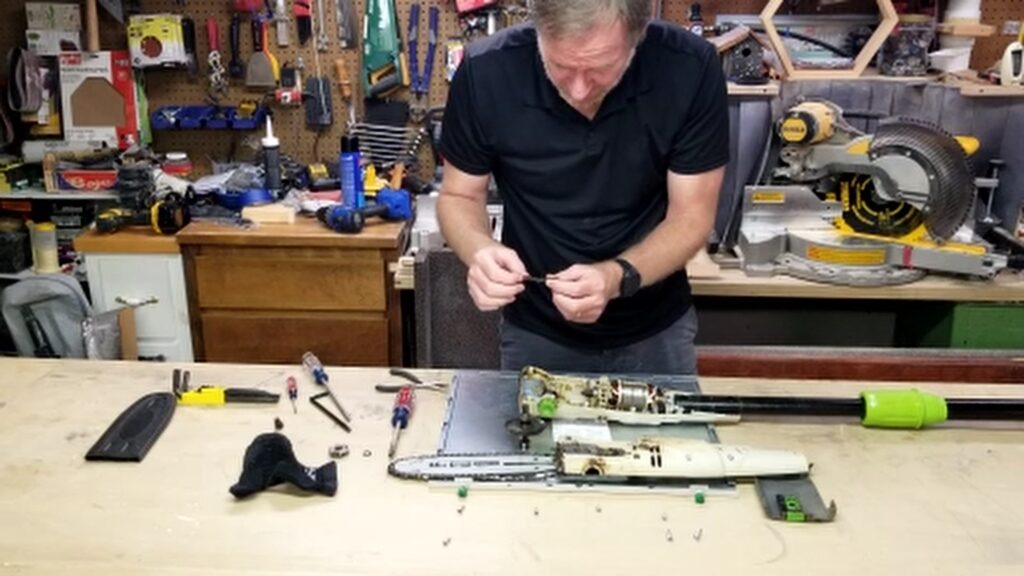
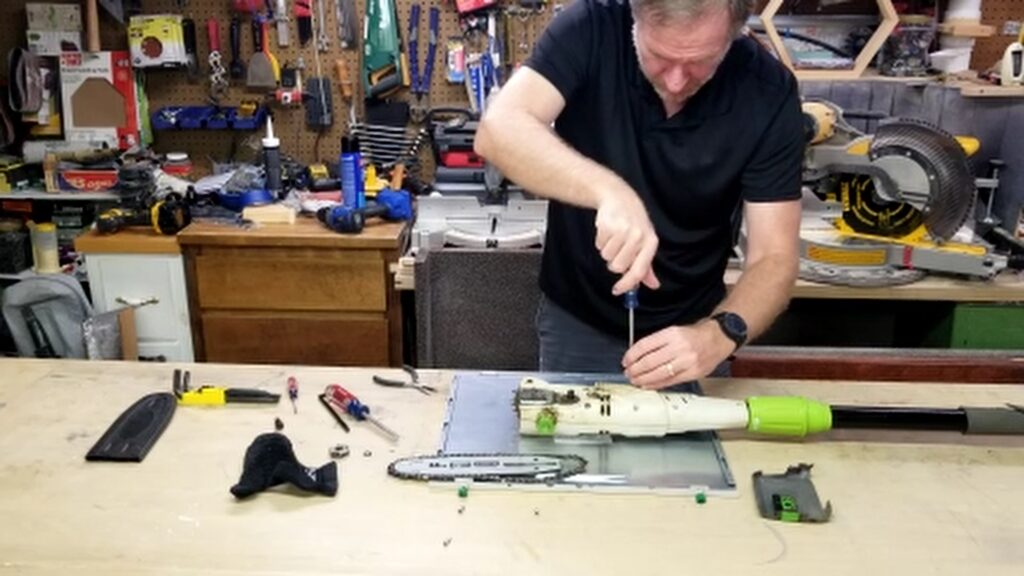
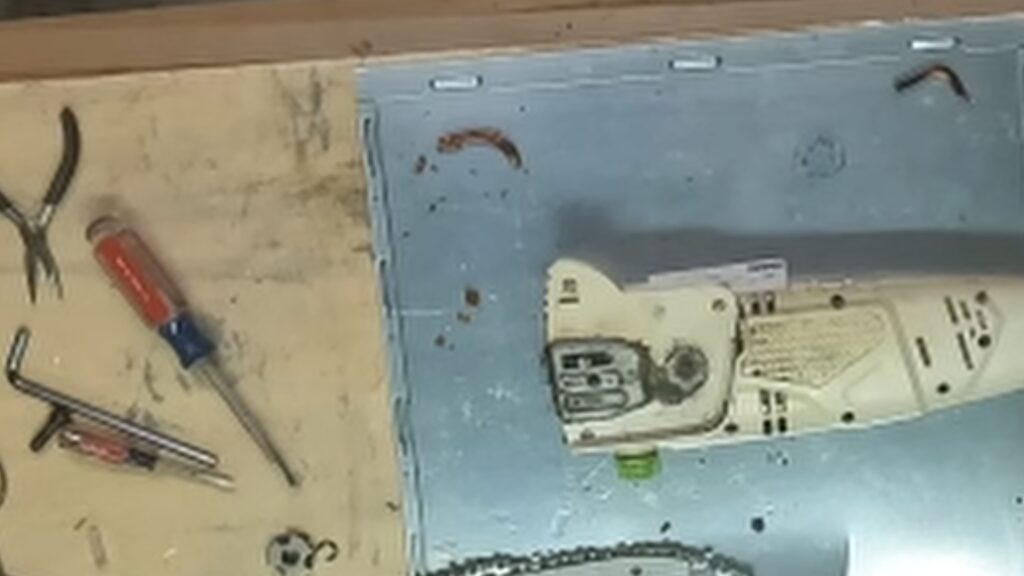
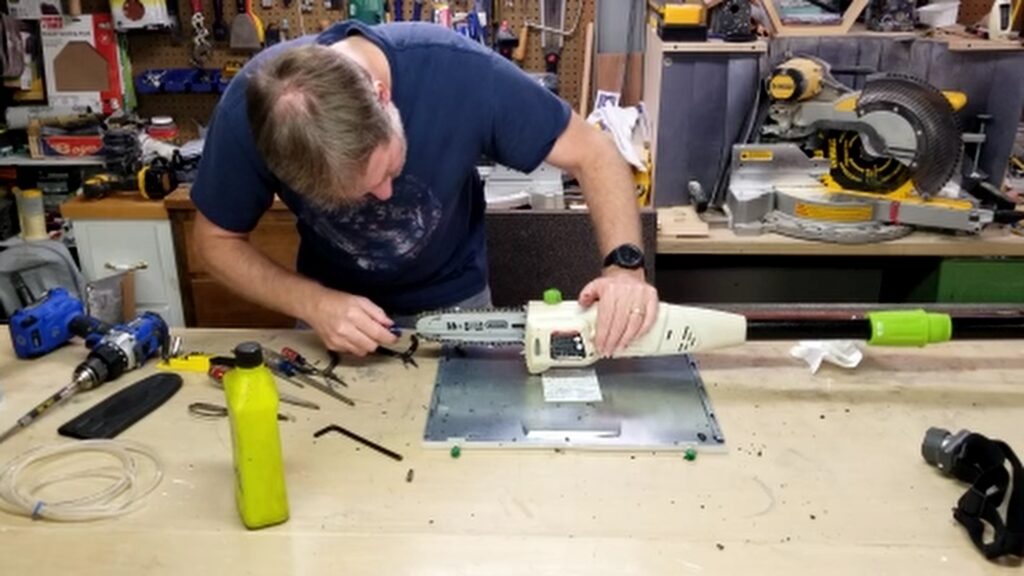
Step 1: Unplug and Disassemble the Chainsaw
Always unplug the saw before working on it.
Remove the housing. To do so, you’ll need a screwdriver or cordless drill with the proper screw bit to remove all the screws. You’ll also need a flat screwdriver to remove the snapring holding the drive sprocket on the drive gear. This will allow you to access:
- Oil lines
- Pump assembly
- Internal components
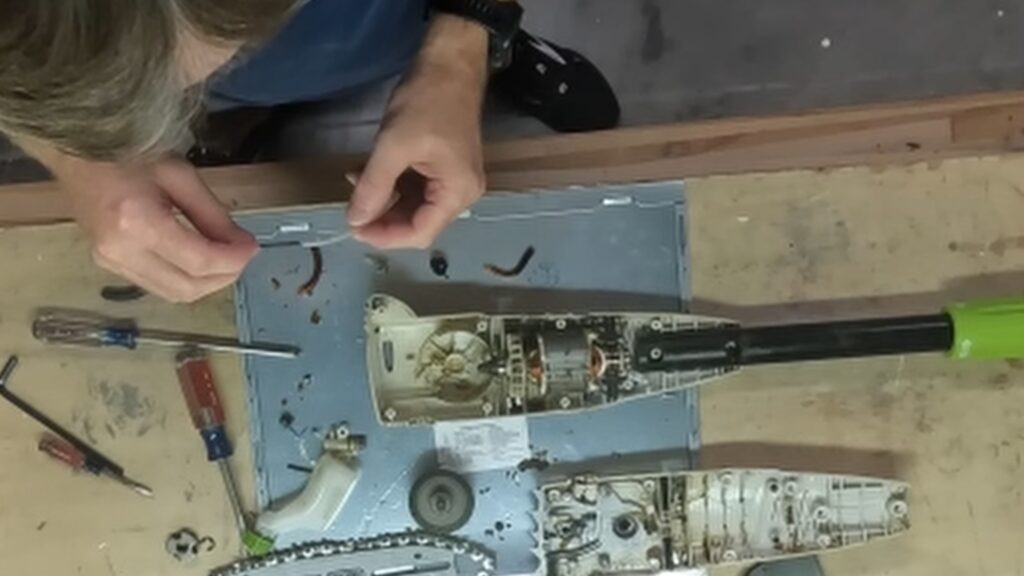
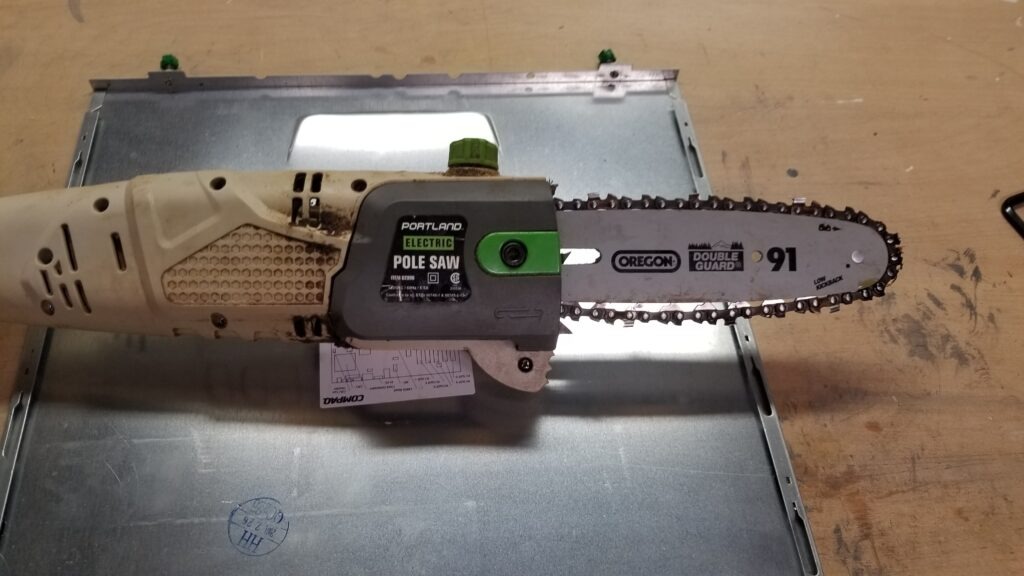
Step 2: Inspect the Oil Line
Carefully examine the tubing.
In my case:
- The hose was cracked and split
- Oil flowed directly into the case of the saw and ran out the bottom
👉 This is the most common reason for a Portland chainsaw oiler not working.
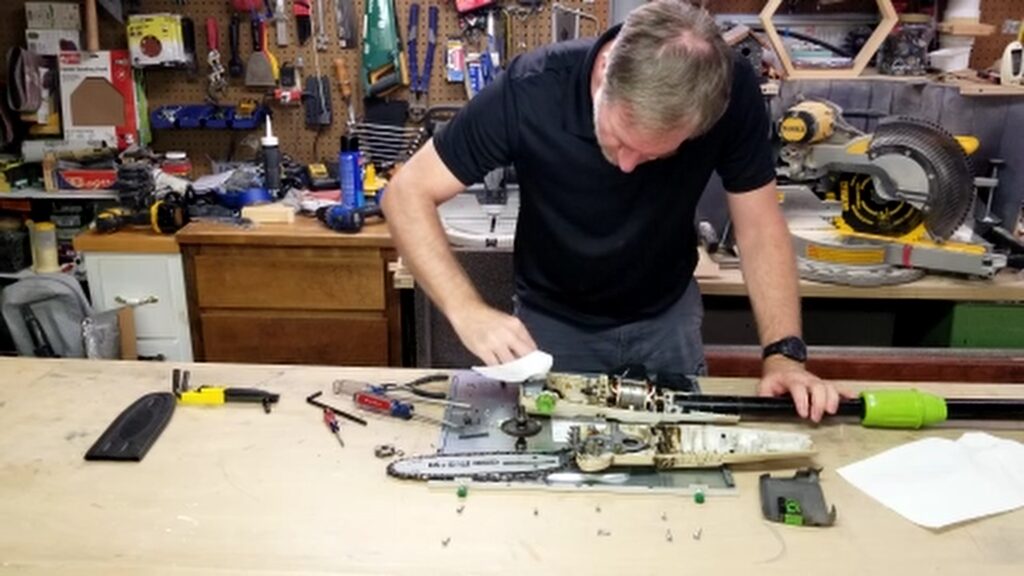
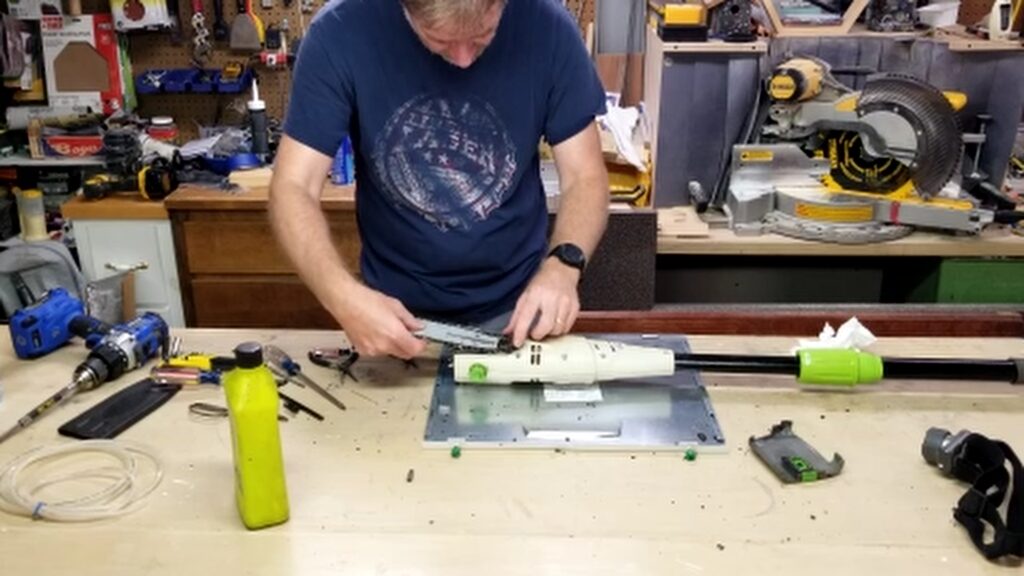
Step 3: Clean up all the Oil
Since you have the unit apart, go ahead and clean up all the oil.
Step 4: Replace the Oil Tubing
Install new silicone tubing.
Make sure to:
- Match the original routing
- Avoid kinks (remove and reinsert the springs from the old tubing for this)
- Secure both ends tightly
⚠️ Silicone tubing will eventually degrade again due to oil exposure.
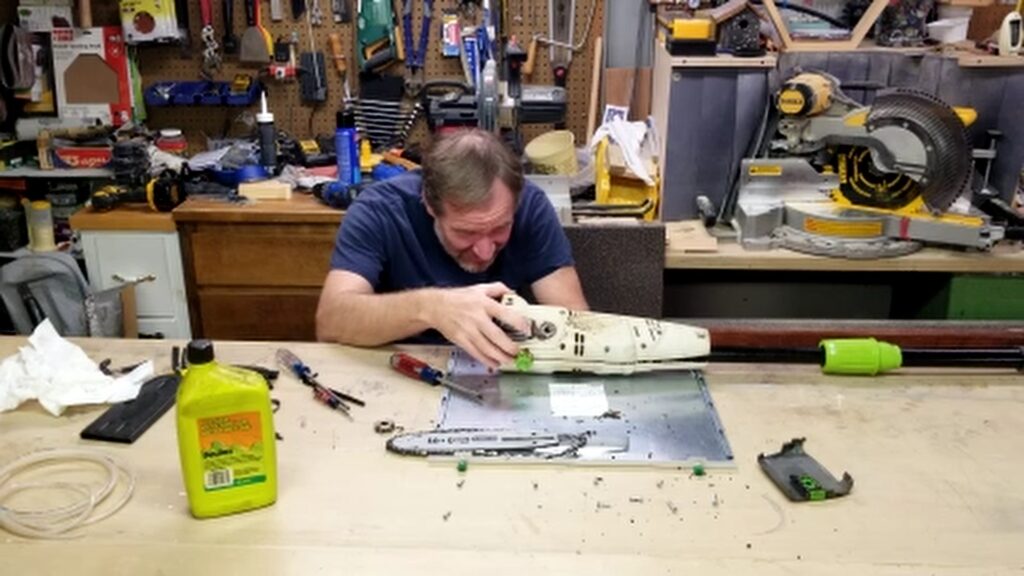
Step 5: Reassemble and Test
Reassemble the saw partially and test oil flow.
If your Portland chainsaw oiler not working problem continues, move to troubleshooting.
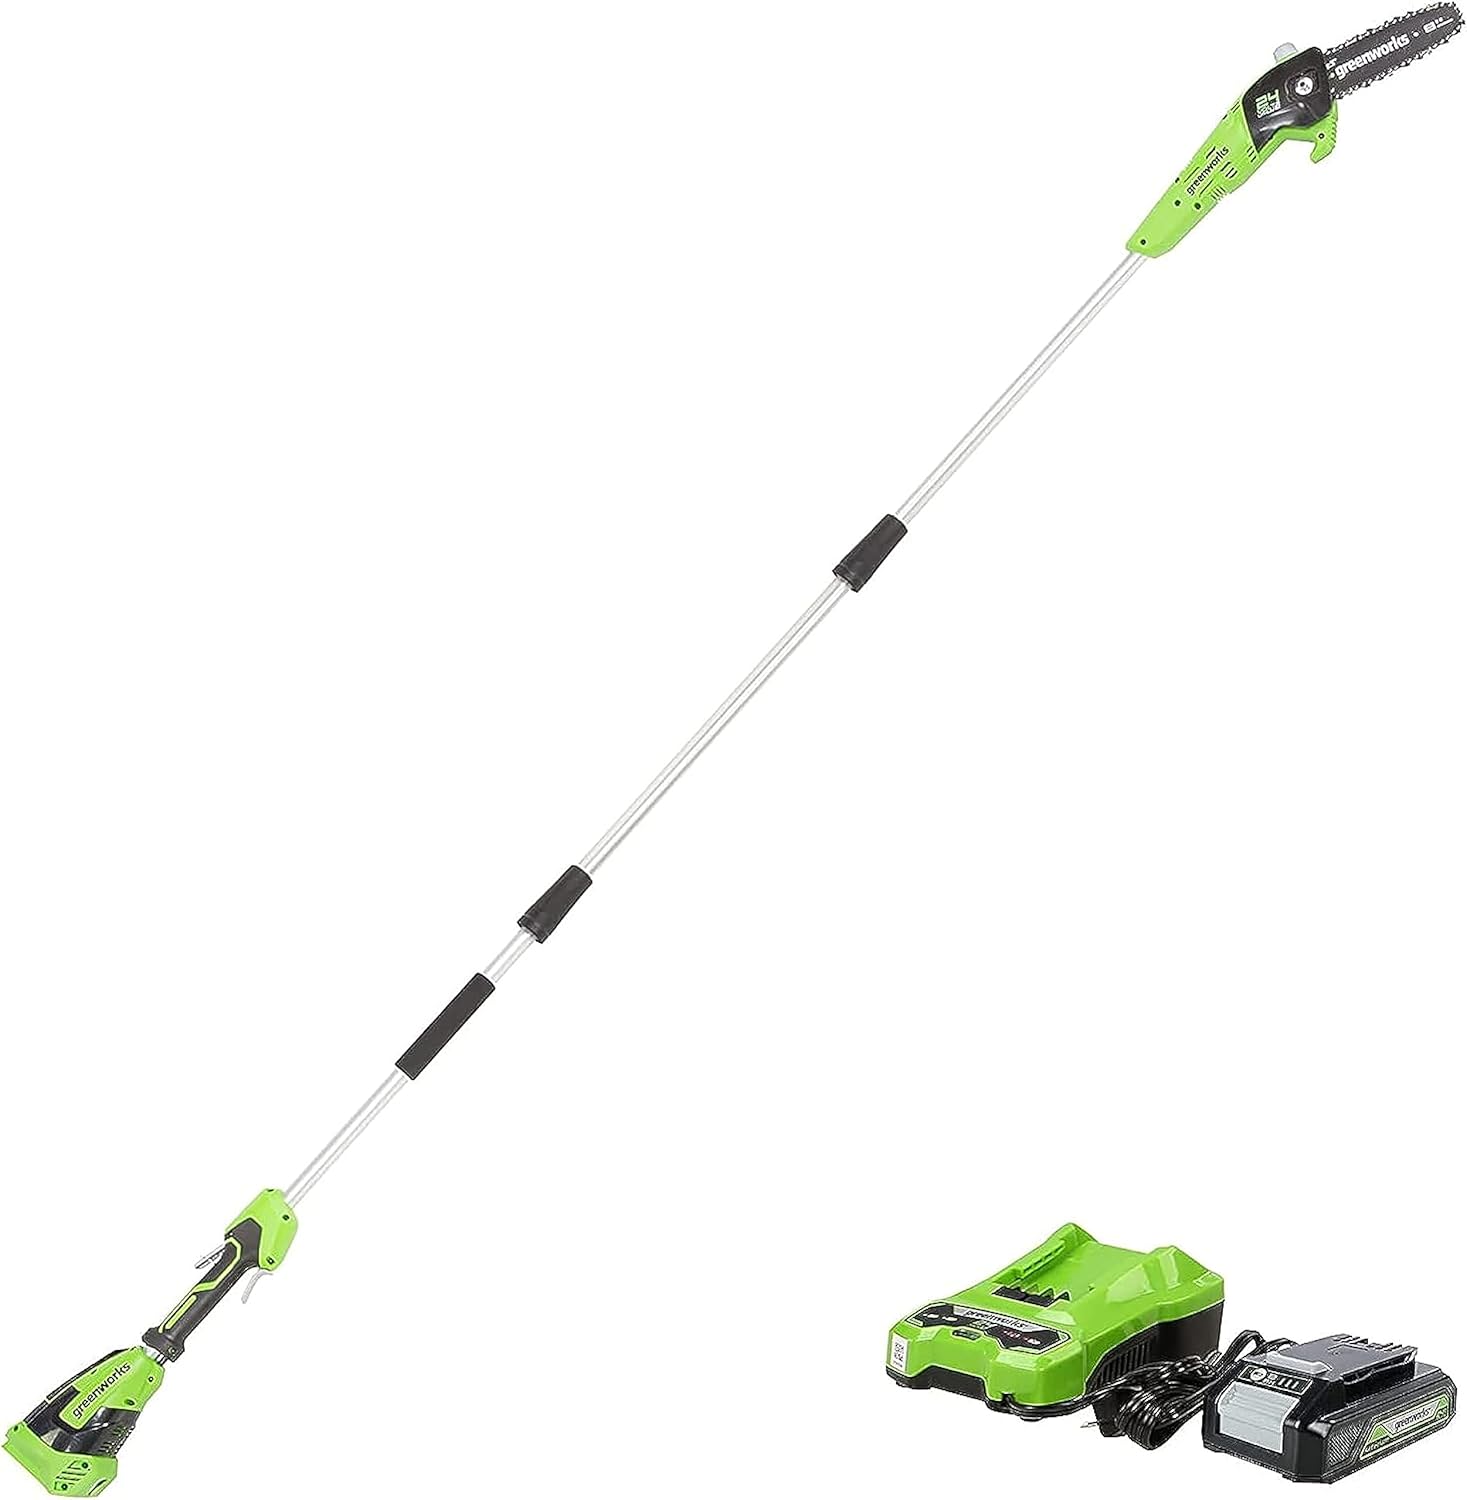
Great For Pruning and Trimming Branches / 125+ Compatible Tools, 2.0Ah Battery and Charger Included.
Troubleshooting a Portland Chainsaw Oiler Not Working After Hose Replacement
Sometimes replacing the hose isn’t enough.
In my case, the issue was also:
- New tubing was slightly stiffer
- The pump could not oscillate fully to pump oil, so I had to file down a spot of the oil pump to allow for proper oscillation.
Fix:
- Lightly file down the contact area
- Slightly adjust the spring
👉 This restored proper pump movement and oil flow.
Step 6: Confirm Oil Flow
Plug in the saw and check:
- Oil exiting the weep hole
- Oil reaching the bar groove
✅ Once fixed, oil should visibly pump.
Step 7: Reassemble the Chainsaw
Reinstall all components:
- Sprocket
- Cover
- Bar and chain
Clean the bar track and oil ports before finishing. If the bar contains a sprocket at the end, ensure it is properly greased with bar grease.
Step 8: Adjust Chain Tension Properly
Correct tension is critical.
- The chain should be snug but not overly snug.
- Slight movement is okay
- Not overly tight
- There should be about 1/16 inch when pulling the chain away from the bar, but the chain teeth should not come out of the bar groove.
💡 Chains expand when hot, so avoid over-tightening or under-tightening as the chain’s teeth can come out of the bar groove and potentially fly off.
Pro Tip: Flip Your Chainsaw Bar
To extend lifespan:
👉 Flip the bar periodically
Benefits:
- Even wear
- Better performance
- Longer life
Preventative Maintenance Tips
To avoid another Portland chainsaw oiler not working issue:
Do this regularly:
- Clean oil ports
- Inspect tubing
- Use proper bar oil
- Check pump operation
Avoid:
- Running the saw dry
- Ignoring oil issues
- Using incorrect lubricants
For general chainsaw safety and maintenance, refer to the owner’s manual or U.S. Consumer Product Safety Commission guidelines.
Why Fixing This Problem Is Critical
A Portland chainsaw oiler not working problem can lead to:
- Overheating
- Rapid wear
- Chain damage
- Complete saw failure
👉 Fixing it early saves time and money.
Frequently Asked Questions (FAQ)
Why is my Portland chainsaw not oiling?
The most common reason is a damaged oil line or a stuck oil pump.
Can I run a chainsaw without bar oil?
No. Doing so will quickly destroy the bar and chain by overheating them.
How do I know if my chainsaw oiler is working?
Check for oil near the bar tip or weep hole while running. The chain should be well lubricated on the teeth that run inside the bar groove.
How often should oil tubing be replaced?
Every few years would be ideal; however, depending on usage and oil exposure, you can go longer.
What oil should I use?
Always use the proper bar and chain oil recommended by your manufacturer. If you don’t know, then use a high-quality brand such as Stihl Bar and Chain oil. Cheaper oils can increase wear and/or degradation of the oiling system.
Final Thoughts
Fixing a Portland chainsaw oiler not working issue doesn’t have to be complicated. It took me approximately 1 hour and 45 minutes to do this work. As always, filming doubles the time for me, but if it can help you, I’m happy to do so.
In most cases:
- The tubing has failed
- Or the pump needs a minor adjustment
Once repaired, your chainsaw should function properly and last much longer.
👉 If your Portland chainsaw oiler not working, start with the hose—it’s the most likely cause.
Helpful Resources
For more DIY repair guides, check out:
- My appliance repair tutorials archive
- Washing machine and dryer repair guides on your site
Watch the Full Repair Video
For a complete visual walkthrough of how to repair this saw’s oiler failure, watch the full tutorial on my YouTube channel.
The video shows:
- Real-time repair
- Saw disassembly and reassembly
- Beginner-friendly pacing
👉 If you found this helpful, subscribe to the channel for more simple DIY home improvement projects.
You can also help support my Channel at Buy Me A Coffee.
Some of the links in my video description and article above are Amazon Affiliate links. As an Amazon Associate, I earn from qualifying purchases. If you would like to make a purchase from Amazon, you can also use the storewide link.