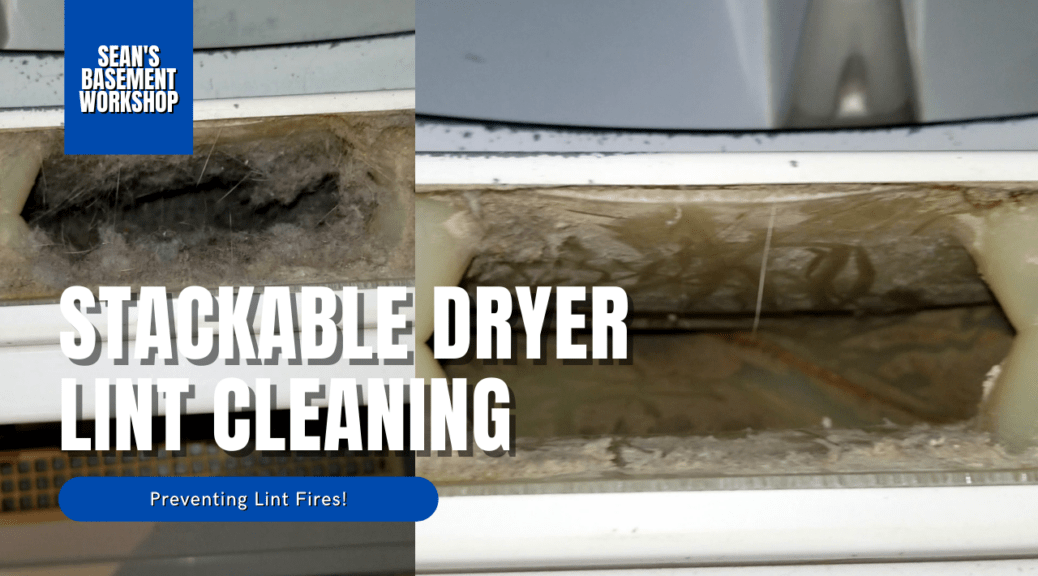
Did you know that your dryer, whether electric or gas, could be a fire hazard? Well, it can if you do not properly maintain it. Yes, there’s the obvious lint screen that hopefully everyone cleans between loads but there are also many other places that lint can collect which can be a potential ignition point for fire.
Now that I have your attention with the worse case possible, you can also improve the efficiency of your dryer by doing these types of lint cleaning procedures every so often. Remember a dryer works by heating air and blowing that across your close and exhausting it out. If any part of that airflow becomes restricted, it will lower the drying efficiency, resulting in more expense to use it and result in longer drying times for your clothes.
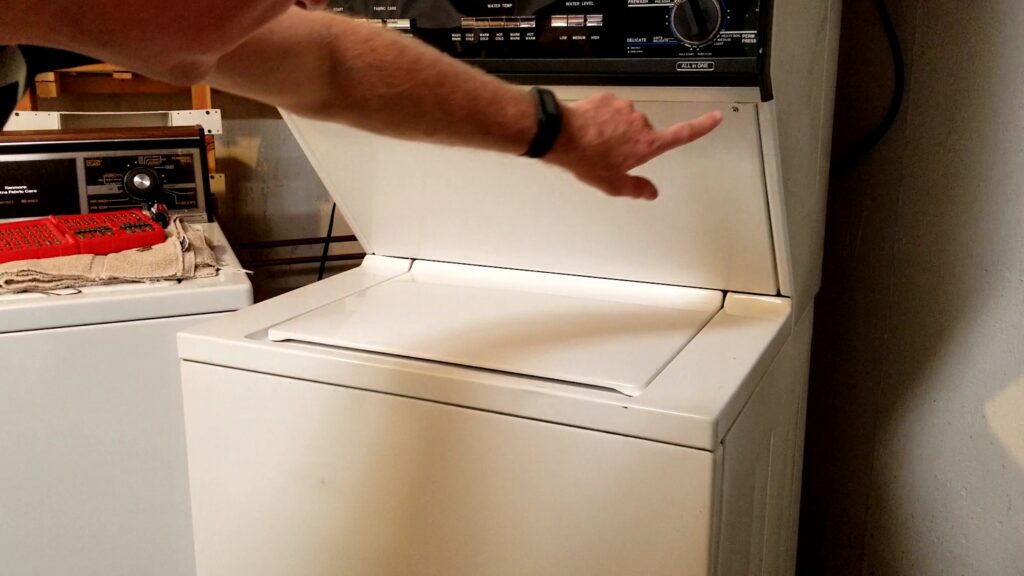
It’s been a while since I’ve cleaned out my washer/dryer combo unit. This might also be known as a stackable washer/dryer depending on where you are. So, I’m going to take you through the procedure to go about doing it. I do not touch on cleaning out the dryer exhaust vent line because I regularly do that. However, if you want to do that I would be more than happy to make an article and video on how to do that, just let me know below in the comments or on the accompanying video’s comment section.
My combo unit is a Kenmore Washer Dryer Combo unit and it’s fairly old. However, the same basic principles still apply – open up the access panels, clean and vacuum, and put them back together.
Let’s get started. First and foremost whenever working with appliances unplug them. Never risk working on appliances or anything that is plugged in. Your life has more value than the appliance!
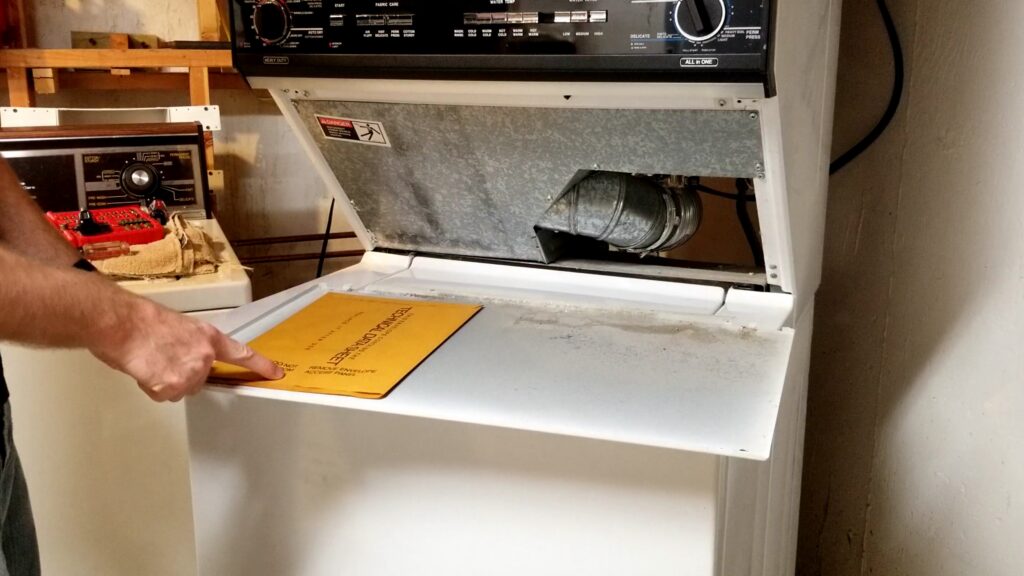
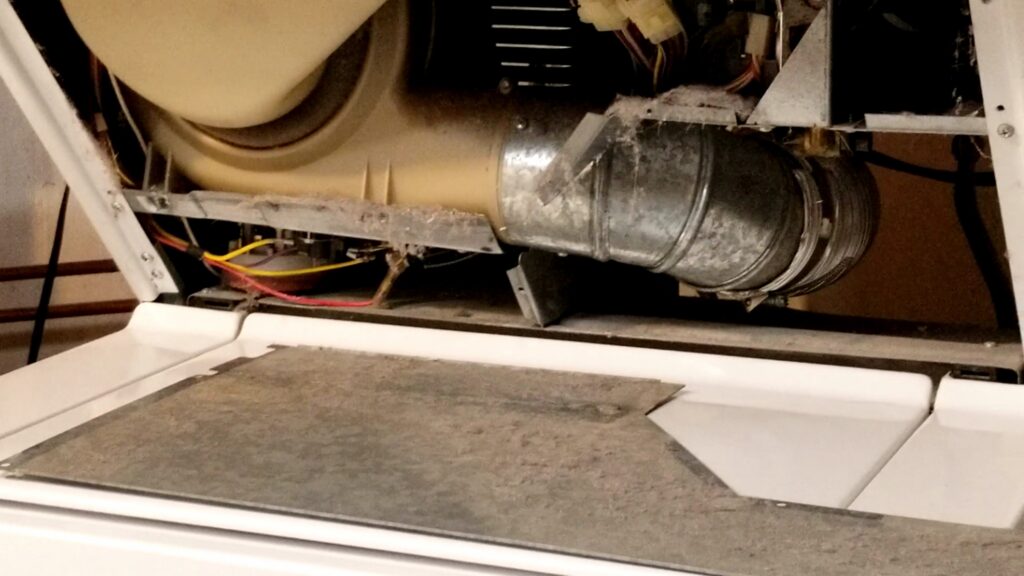
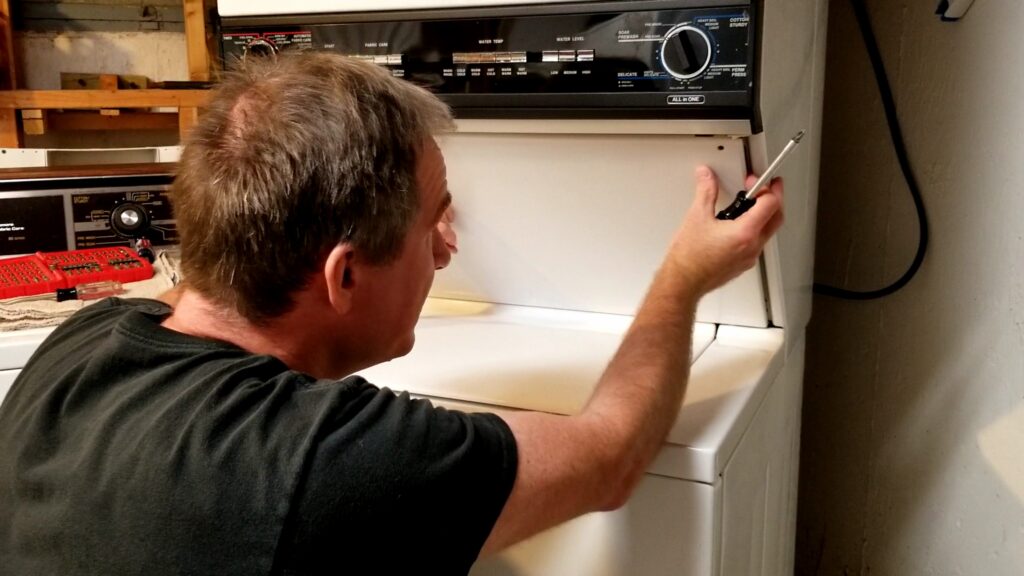
Okay, now that we’ve unplugged it, I start by removing the screws holding the outer access panel on. This will expose two things. On mine, it exposes this hidden technical data sheet for the unit and another sheet metal panel.
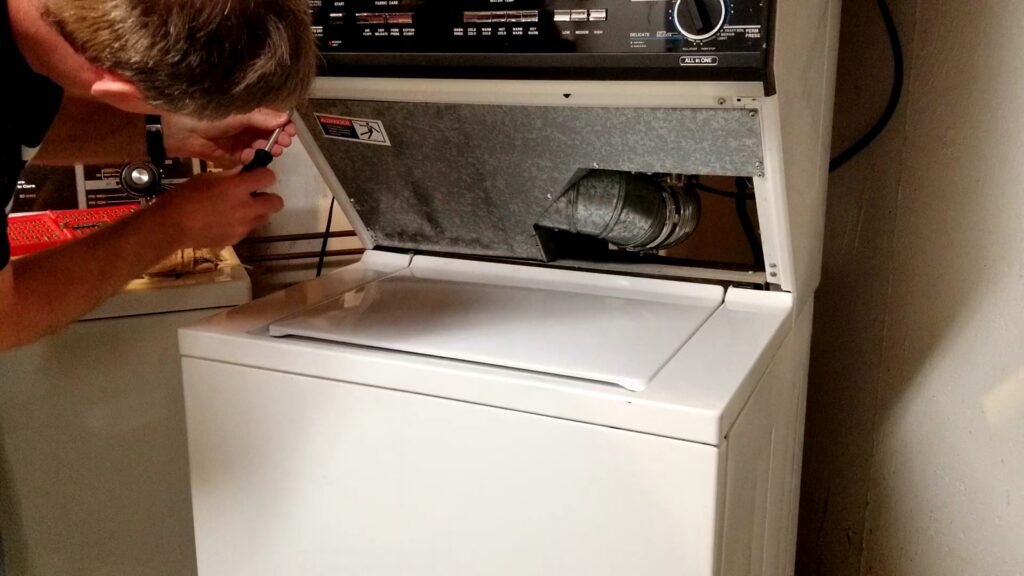
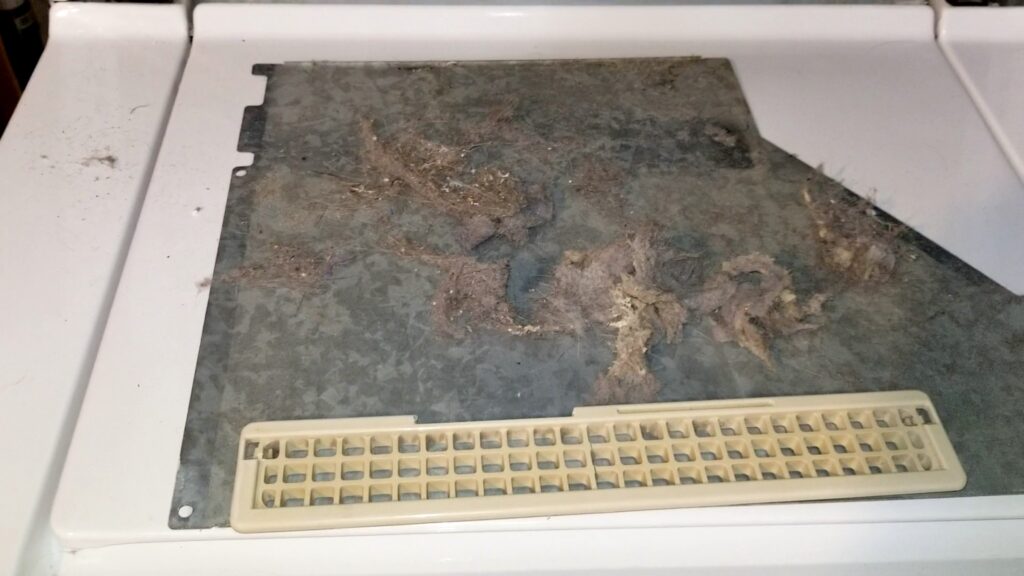
Remove the screws to this panel as well. Once you have them removed and the panel detached, simply set it aside. Visually inspect for any damage, burn marks, or anything else that needs attention.
Look at that lint! Actually, you may have a little to a lot depending on the frequency of using your dryer and how often you clean it out.
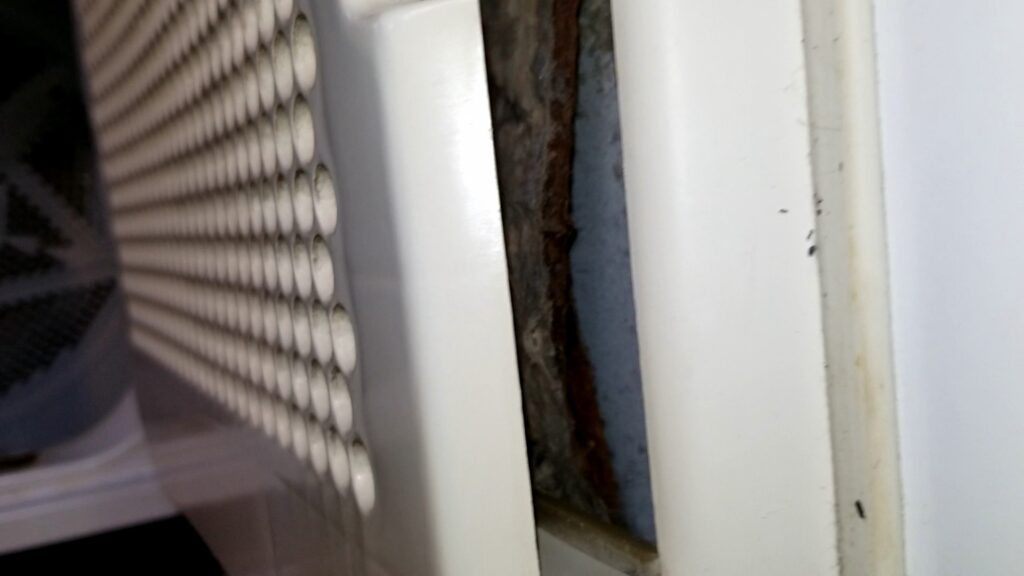
Let’s vacuum this out. I use a crevasse attachment for my vacuum but if you don’t have one of these use anything you can to get in there and suck that dust and lint out. The main goal is to get the lint out so worse case use your hands to pull any loose lint out taking care not to damage any of the internal components.
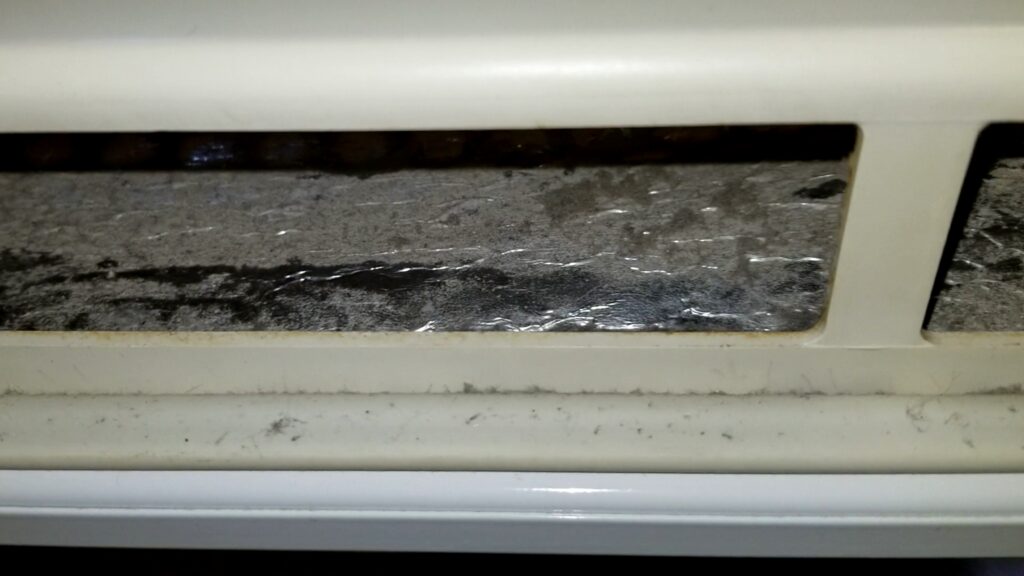
Next, we’ll need to open the door and thoroughly clean inside the door panel. This is where the lint screen is for mine and lint always gathers around and inside of the door. Try to get as much out as possible.
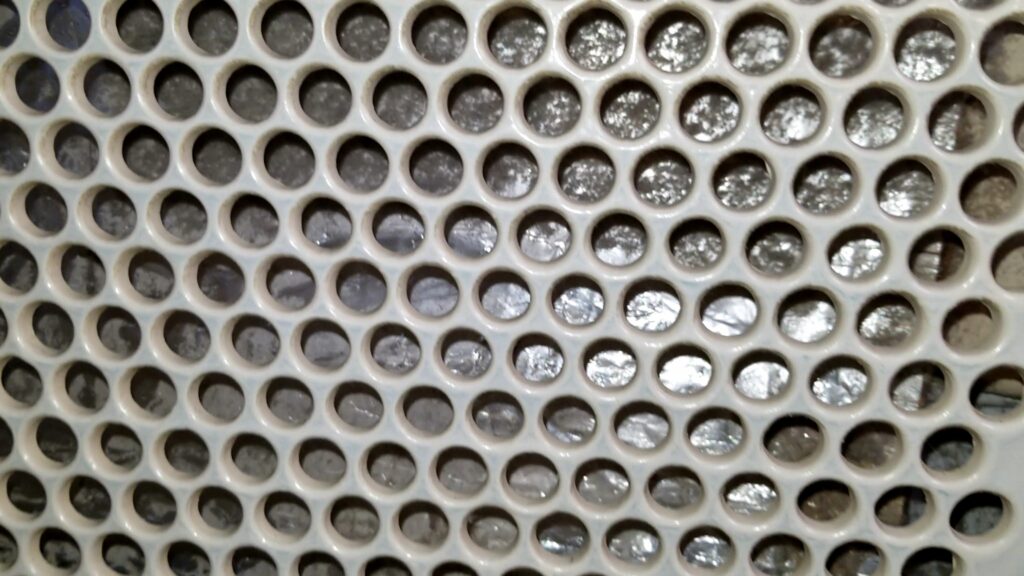
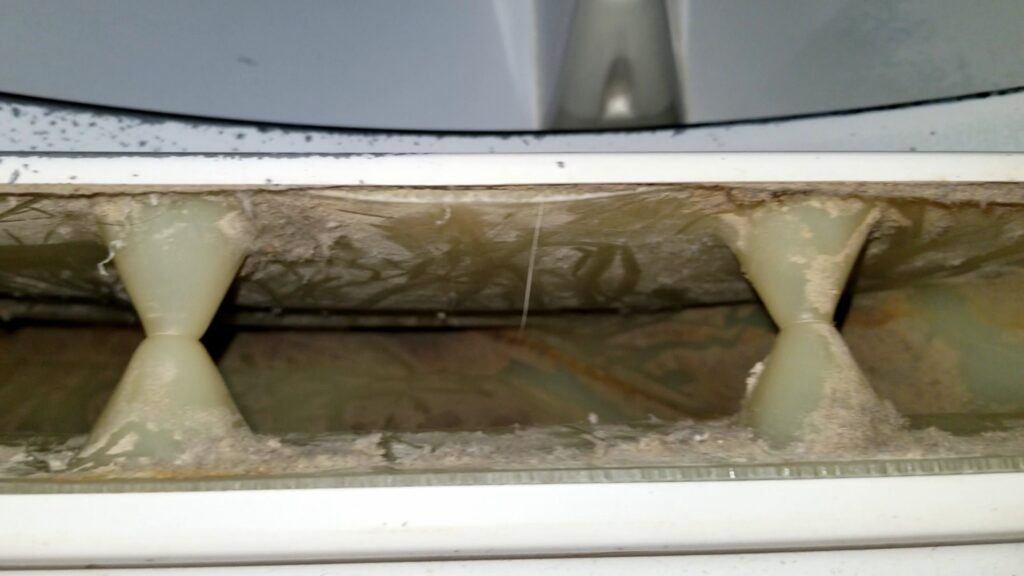
Now, we’ll tackle a piece of plastic that almost looks like a storm great. This is on the dryer cabinet underneath where the door closes. This allows air to flow through the door lint screen, out the bottom of the door, and through this grate into where the blower is.
Inside of the dryer drum, there are two screws holding this grate on. The technical term for my dryer part is “Laundry Center Dryer Lint Screen Cover”. Remove those screws and you’ll probably need a small screwdriver to release the clips hold it in. Be careful not to break the grate or the clips. Mine is broken on one side because of the shoe shelf that goes into the dryer that hooks on there.

After removing this plastic grate, take a brush or crevice tool on your vacuum and clean this air passageway out. This is the last step of the line before the blower. Do the best you can because chances are something is better than what it was.
Now that you have it clean, go ahead and start putting stuff together again. I put the Laundry Center Dryer Lint Screen Cover back in remembering to screw the two attachment screws.
Next, I reattach the inner guard panel and finally the out cabinet panel.
Again, I’m not showing the how to clean the dryer vent line.
As always if you have any questions or comments post them below or on my YouTube video comments section and I’ll do my best to respond.
I’ve included a few links to the equipment I used and Amazon Links below for the equipment and materials I used.
Equipment and Materials
I hope you find this video useful and can use some of the tips presented. Feel free to leave any comments, suggestions, or experiences you have had below.
Some of the links in my video description and article above are Amazon Affiliate links. As an Amazon Associate, I earn from qualifying purchases. If you would like to make a different purchase from Amazon, you can also use the storewide link.