Unless you are a professional cabinet maker, work in a production shop or know someone how has access to a 36″ wide belt sander chances are you are going to need to sand the frames by hand and yes, it is a labor intensive job.
Now, if you happen to have a Jet 16/32 Drum Sander you may be able to get away with sanding the frames carefully by either extending the bed so the frame does not tilt or holding it really level. Keep in mind most of the frames are going to be 30″ tall give or take a few inches depending on the customization, that is unless you are making 42″ upper cabinets which case unless you’re frame is less than 36″W x 42″H you may not even be able to it it in Jet 16/32 Drum Sander or even a professional commercial grade sander.
This article and the accompanying video focus on how I sanded my frames with nothing more than a belt sander, a random orbital sander and a palm sander – oh, and sandpaper.
Before doing any of this work I would recommend you make sure you have your safety equipment in order because you’re going to need hearing protection, a dust mask or respirator and dust collector / adapters are highly recommended. I even use a box fan with a Merv 5 filter over it to pull dust away from my work.
You’ll want to put something soft down on your workbench to avoid scratching your frame as well as hold the frame in place. For me when belt sanding I have a couple of low blocks nailed to my bench since I don’t have any bench dogs.
I start by sanding the back of the face frames first with 80 or 100 grit paper. This allows you to get used to the wood you’re sanding as well as get your technique down before moving onto the front sides which will be seen.
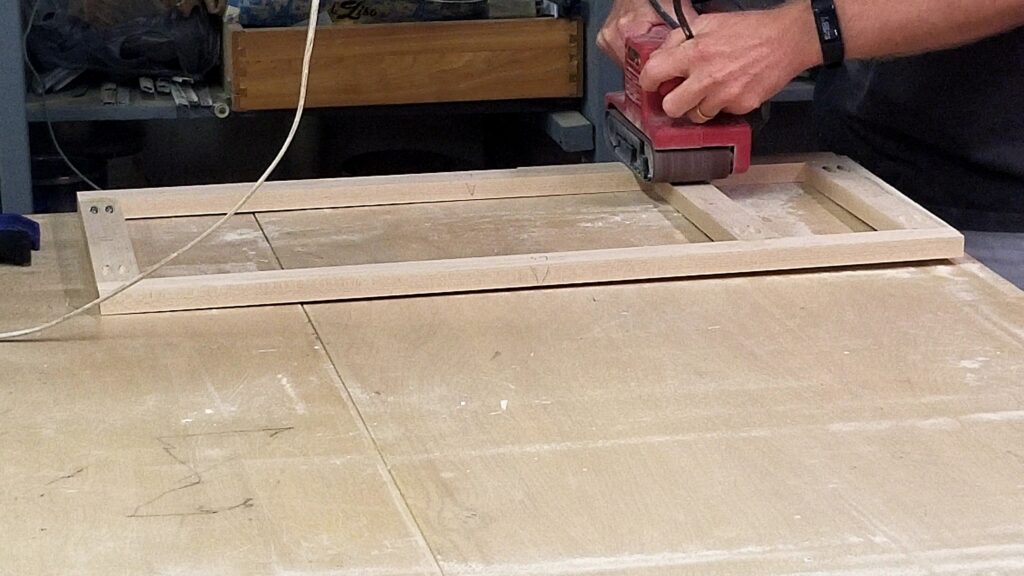
First you want to belt sand any drawer dividers. These are going to be the little short 4″ to 6″ pieces of wood that go between the rails. You want to sand them down until the joint is smooth. You’ll want to follow the grain until you’re sanding against the grain of the rail. You’ll want to move the belt sander back and forth on this part of the rail so you don’t create a depression right where the divider joins in. Continue to do this until the joint is smooth. Don’t worry about the cross grain scratches on the rail, we’ll take care of that in a bit.
Next, tackle the rails. You’ll want to do the same thing you with the drawer dividers. Follow the grain taking long passes so you don’t create any dips in the sanding widening out over the stiles which you’re now creating cross grain scratching. Be sure to sandy out the cross grain scratches created when you sanded the drawer dividers.
Once you’ve completed the rail sanding now you’ll belt sand the stiles. Be sure to continue to take long passes and remember to sand out the cross grain scratches created when you sanded the rails. It’s okay if the rails get a few light cross gain scratches again near the joint – just don’t go more than 1/4″ into the rail when sanding.
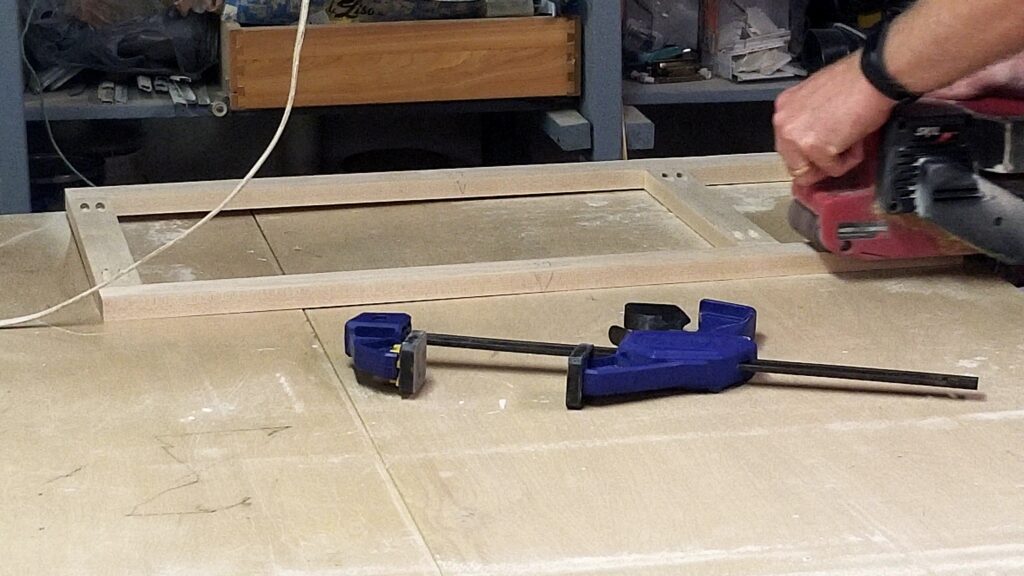
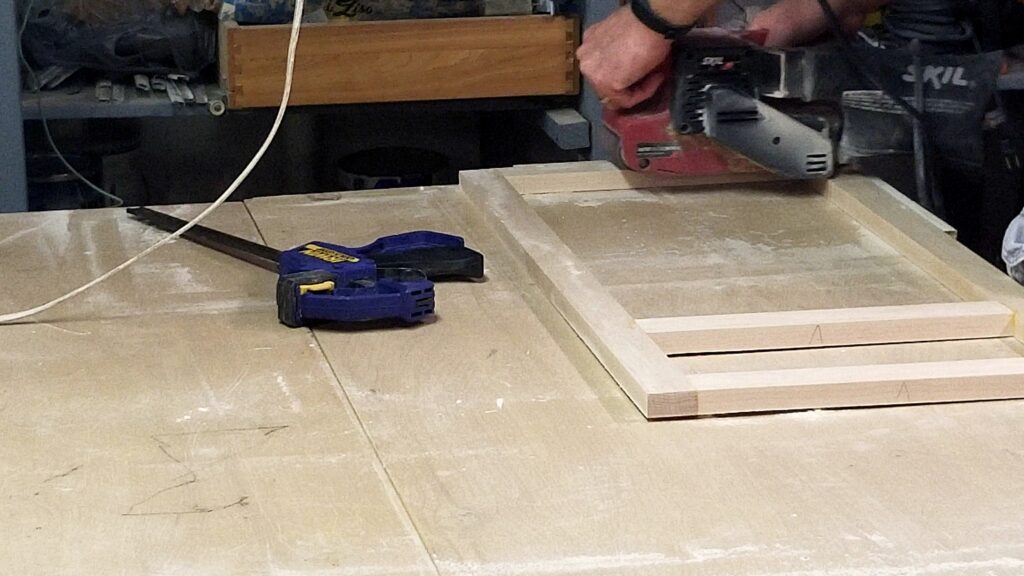
Once you’ve got the back side complete, flip the frame and repeat the process on the front.
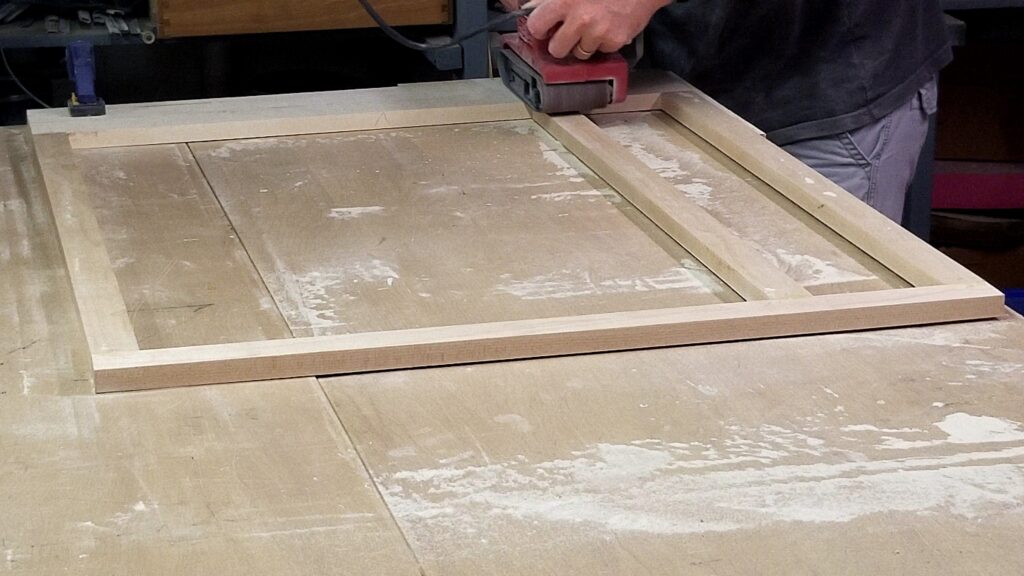
Once you’ve gotten all the rough sanding done it’s time to move onto the random orbital sander. Start with 80 or 100 grit (depending on what you used on your belt sanding) and work your way up to at least 220 grit. For me, a 100 grit to 220 grit was an okay jump. For smoother surfaces you may want to take it up further to like 320. Also keep in mind the higher the grit you end with the lighter the stain (if staining) will be.
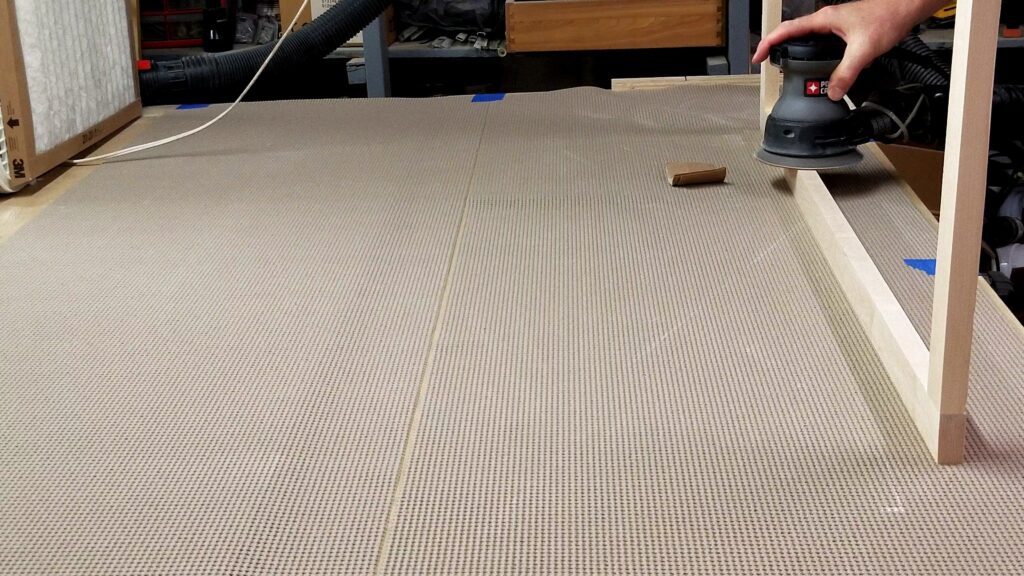
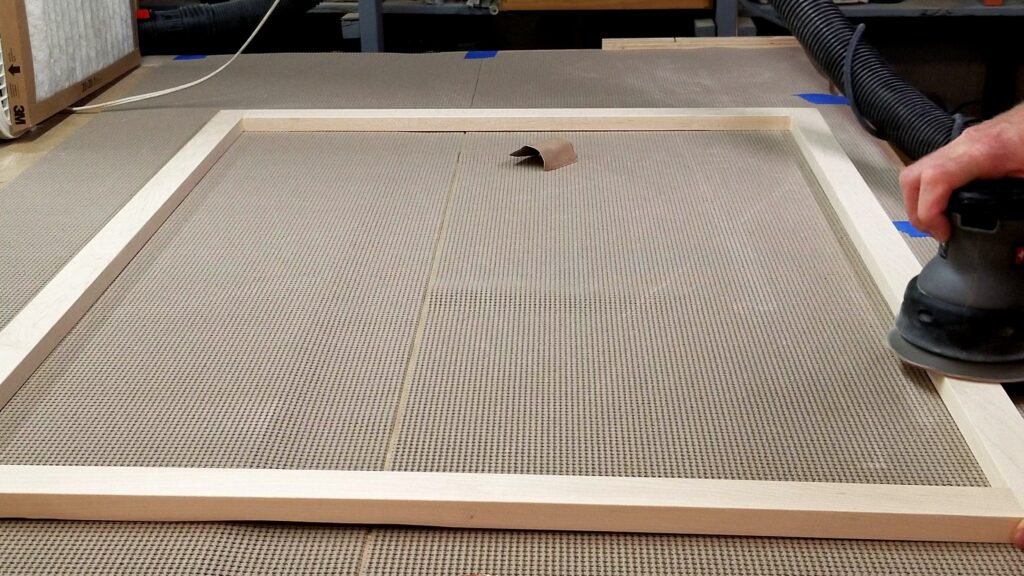
When using the random orbital sander be sure to make sure you get any and all cross grain scratching out. Also do not press to hard, just use good sandpaper and let the weight of the machine do the work. If you press too hard or use cheap sandpaper you may end up with little swirl marks.
Finally, you can use a quarter palm sander (but not necessary) to go over every surface (front and back). I used a combination of my random orbital and palm sander to get the edges of the frames.
Yes, don’t forget the inside and outside edges of the frame. You’ll need to get any say marks from them as well. Any place where you have edge grain next to end grain a hit with a belt sander to knock them smooth would be quickest. If you have to do this, don’t forget to smooth them back out with a random orbital or palm sander. Take note though not to get too close the the joining side when using these as it can leave marks or actually sand away material on the other board.
Finally, touch up any areas with a sheet of sandpaper. I usually 1/4 or 1/3 my sheets so I can fold them back on themselves. Go over any areas you’re not completely happy with OR you see any cross grain scratches or swirls as these WILL show up if using stain.
Regardless of whether you’re staining or painting you’ll want to knock down all corner edges. These sharp edges will easily break paint off and can catch hands with their sharpness.
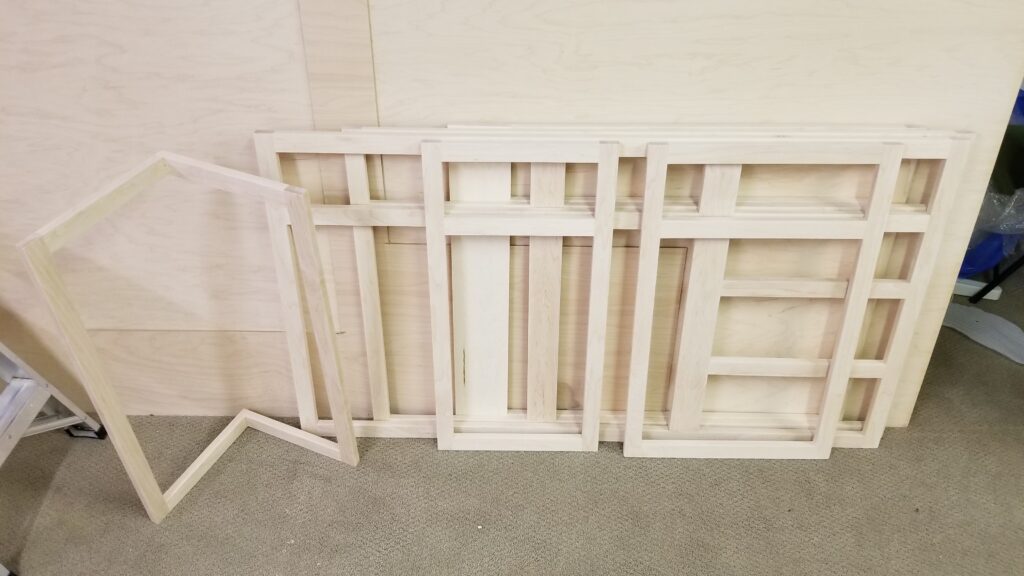
My video below shows how I went about sanding just one of my smaller frames. I did this same process to all my frames until I was satisfied.
I’ve included a few Amazon Links below for the equipment and materials I used. Some of the tools I’ve used are older models and I’ve linked newer or different brand’s equivalent.
Equipment and Materials
- Jet 16/32 Drum Sander
- SKIL Belt Sander (new model)
- DeWalt Random Orbital Sander
- DeWalt Palm Sander
- Powertech 3″ x 18″ Sanding Belts
- S SATC Hook and Loop Sandy Dics
- Assorted Grit Sandpaper Sheets
- Wet/Dry Vac Universal Tool Adapter
- Assorted Zip Ties
- Box Fan
- 3M Merv 5 Filters
- 3M N95 Dust Mask
- Eclipse Half Mask Respirator S/M
- Maple (from a hardwood supplier)
I hope you find this video useful and can use some of the tips presented.
Some of the links in my video description and article above are Amazon Affiliate links. As an Amazon Associate I earn from qualifying purchases. If you would like to make different purchase from Amazon, you can also use the storewide link.
Pretty terrible instruction.
If you think it is terrible instruction then how would you improve? I’m always open to constructive comments and willing to learn other methods.