We’re finally down to the 11th-hour cutting and preparing the material. The only thing left is the bottom, back, and top stretchers. Will there be enough time to complete it? Of course, there will be.
When I’m cutting smaller components I like to use a small scrap material that I can. That way, I’m getting the best use of my scrap. In the instance of what we have left to cut – the bottom, back, and top stretchers – it will all be leftover scrap from when I made the upper cabinets.
If you have ever been to a home center or any place that sells pre-built cabinets you know what I’m talking about – all widths are multiples of 3 (generally) so you end up with widths like 30″, 33″, 36″, and so on. Then, to make up that difference you use fill pieces. This all wastes valuable cabinet space in my opinion but does make things a little more complicated when building cabinets. But then again, this is about custom cabinets, not prefab cabinets.
First things first, we need to figure out the size of the bottom panel. Note the width of this panel will also be the width of the back panel because of the way I cut my dados and rabbits. So, I tend to maximize the width of my cabinets which means I cannot rubber-stamp out material that will be used as the width.
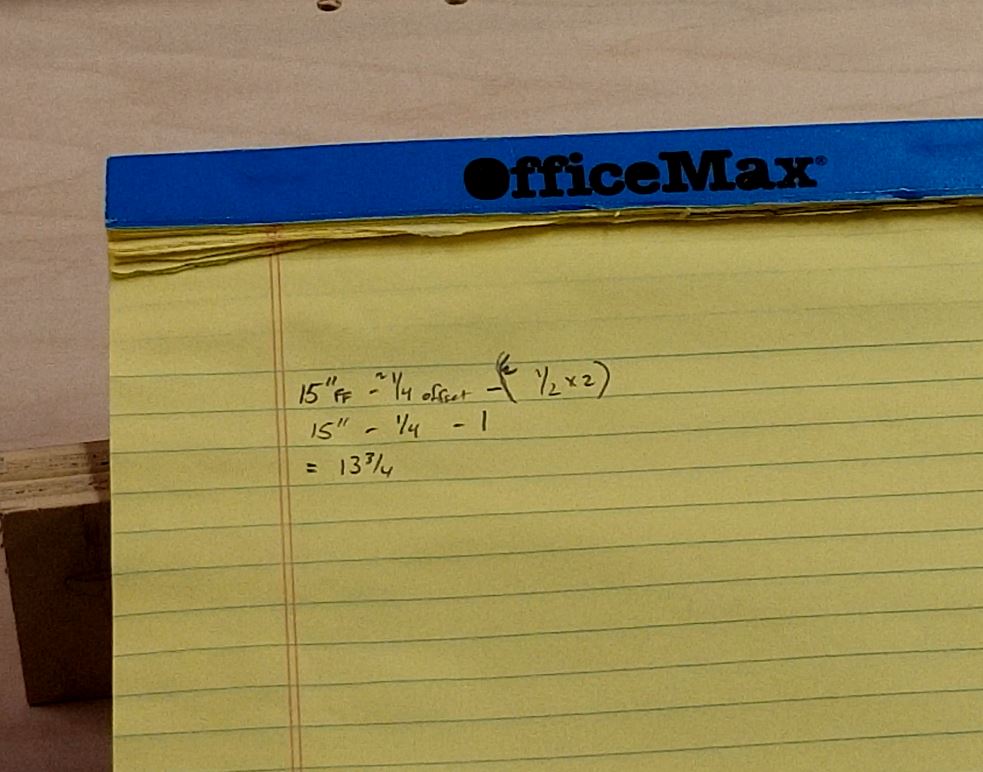
To get the width, I use a simple formula. That formula is Face Frame Width (FF) – any offsets on the sides – ( remaining side material after dado x 2). So in my formula, the only things that change will be FF and offsets. In case you’re wondering what I mean by offsets. This is what I call the amount of overhang a face frame has on the cabinet carcass. If the face frame is flush with the side, the offset is 0″. A pretty standard offset is 1/4″ unless it’s a finished cabinet size and that would be 0″.
So, the 3 different variations of my formula are:
- FF – 0″ – (1/2 x 2) OR FF – 1″ (no offsets, both sides finished)
- FF – 1/4″ – (1/2 x 2) OR FF – 1 1/4″ (one offset, one side finished)
- FF – 1/2″ – (1/2 x 2) OR FF – 1 1/2″ (two offsets, no side finished)
In the example I’m doing for this article and video, I will be using variation #2 with one side finished.
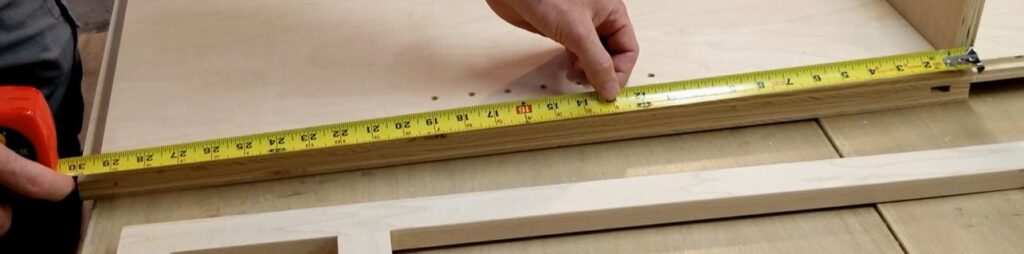
So looking at my face frame it is 15″ wide so my FF = 15. We will have one finished side so only one 1/4″ offset is needed and the remaining material after my dado cut is 1/2″ (3/4″ thick material – 1/4″ dado cut = 1/2″). When we plug all these numbers in we get the following:
15 – 1/4″ – 1 OR 13 3/4″. This will be the width of the bottom panel AND the width of my back panel.
Now that we have the width of the bottom and back panel we need to determine the depth. Well, my cabinet is a standard depth of 24 inches. I have a 3/4″ thick face frame and will have a 1/4″ back panel that fits into a rabbit on the back. So, the resulting measurement is 24 – 3/4 – 1/4 or 23″ for the depth.
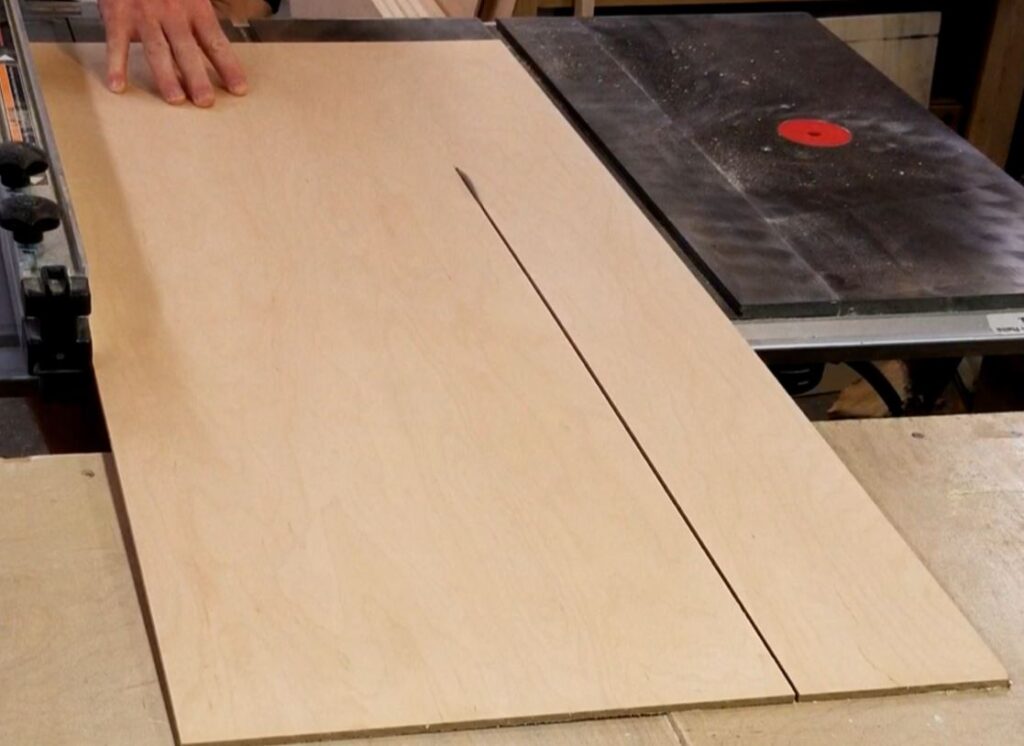
I want to cut the plywood in a way that the grain pattern appears to come down the sides and across the bottom. This way, the grain will all be going in the same direction.
I ensure both cuts on the bottom panel are accurate and move onto the back panel.
With the leftover scrap from the bottom panel waste cut, I will cut it the right length and rip it in half to create the two top stretchers. These will be flat sections of plywood that keep the top of the cabinet from spreading apart while allowing the countertop to be affixed to the cabinet – either by screws or silicone.
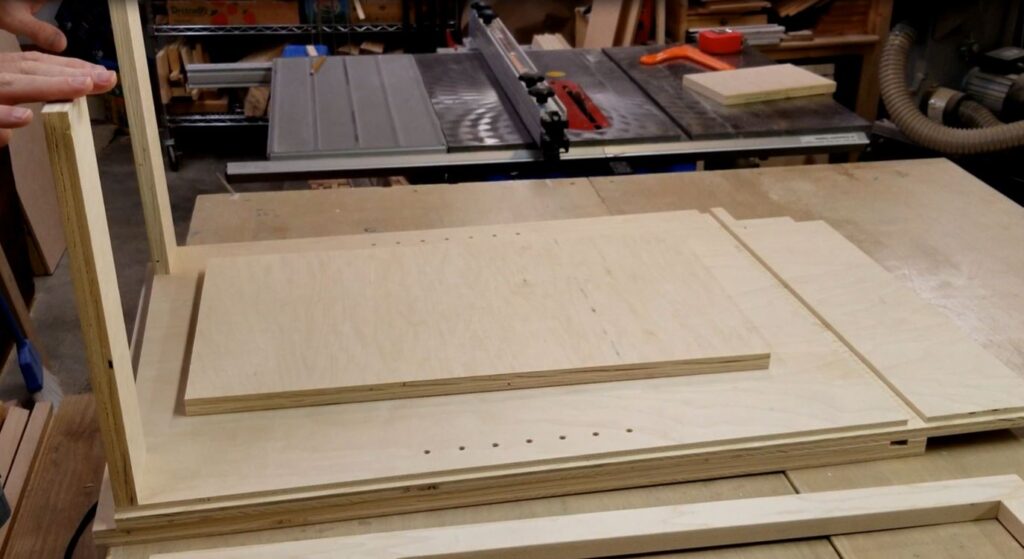
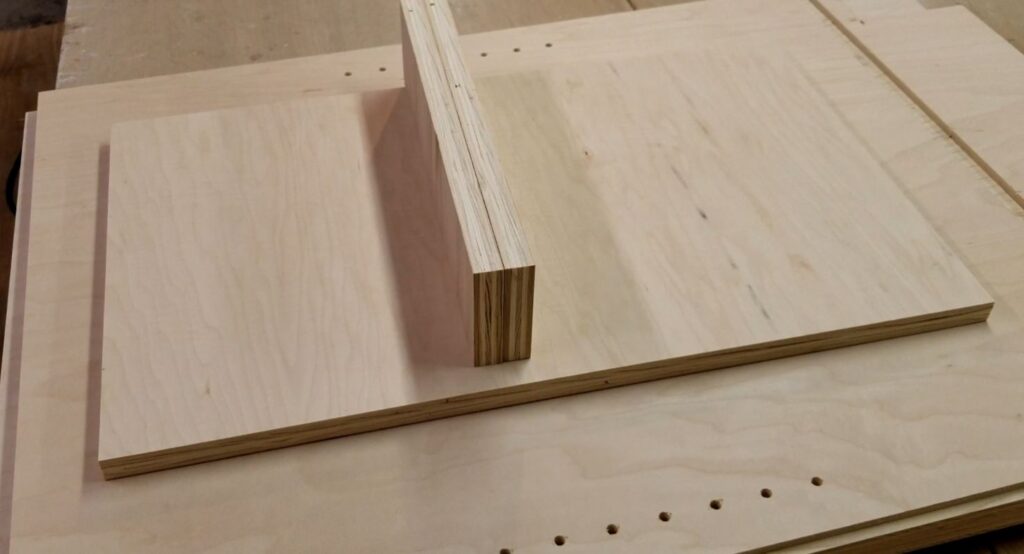
Here are all the pieces to the cabinet except the back. From top to bottom on the layers, we have the top stretchers, the bottom panel, the two sides, and the face frame. We’ll tackle the back panel next.
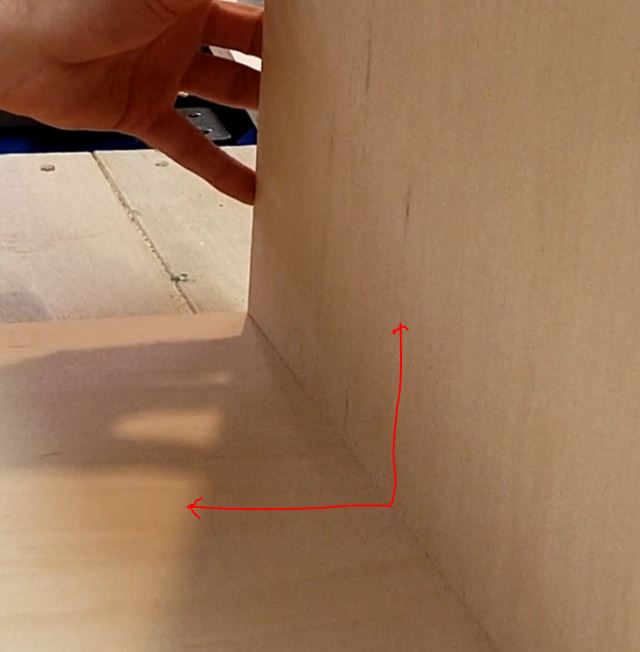
The back panel consists of 1/4″ Maple veneer plywood that will fit into a rabbit on the sides. It will overlap the bottom panel. I want the back panel to be the distance from the top of the cabinet to the bottom of the bottom panel. This will allow me to use it to square up the cabinet carcass by flushing up all the sides of the back panel. This works provided your back panel is square. If it’s not, then your cabinet will be wracked at the same angles as your back panel is.
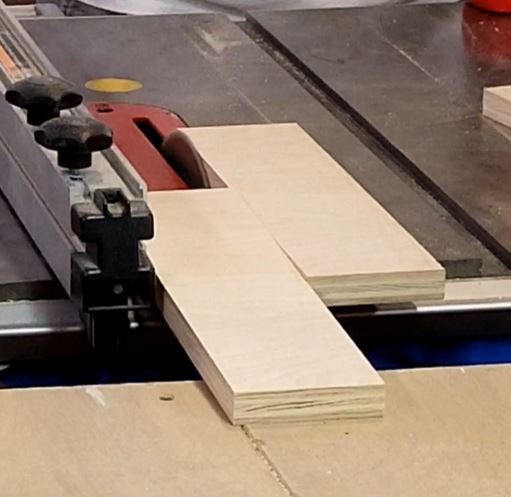
I cut the back panel using scrap and determine how I’m going to cut it to maximize the leftover scrap for future use. I carefully perform stop cuts on my table saw shutting the saw off between each cut to avoid any kickback. If you’re not comfortable doing this type of cut then I suggest ripping all the way through the material. It will however create less versatile waste pieces.
first cut 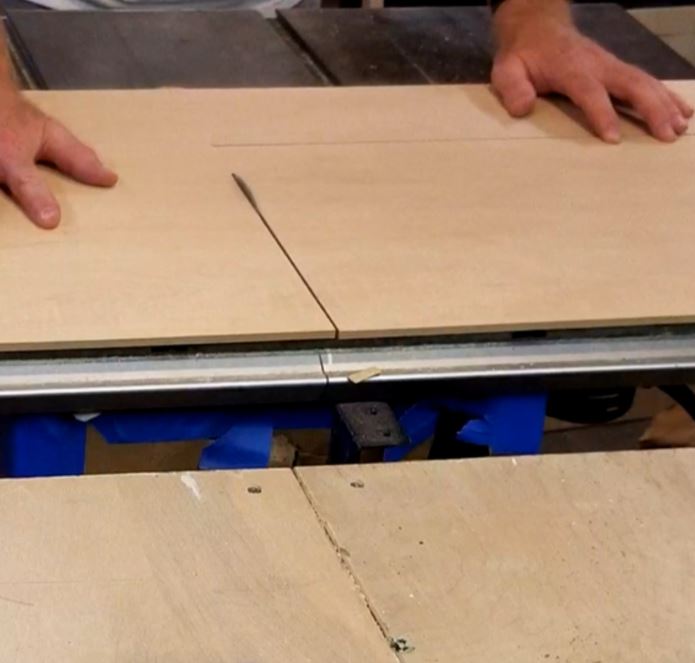
second cut 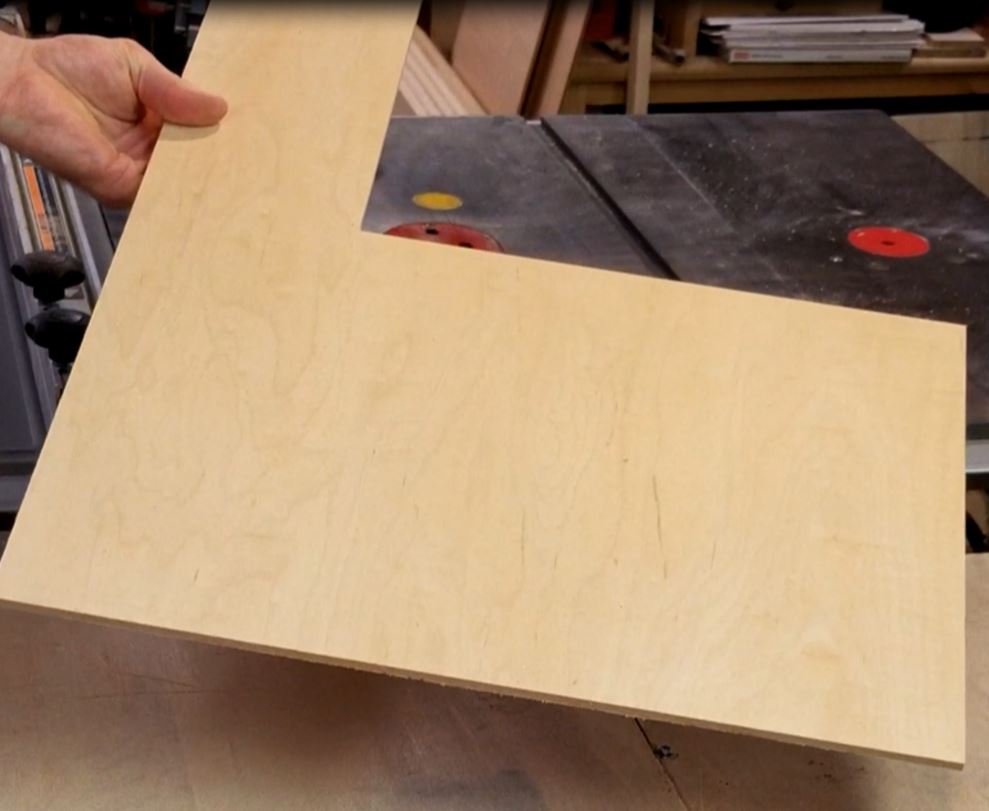
waste piece 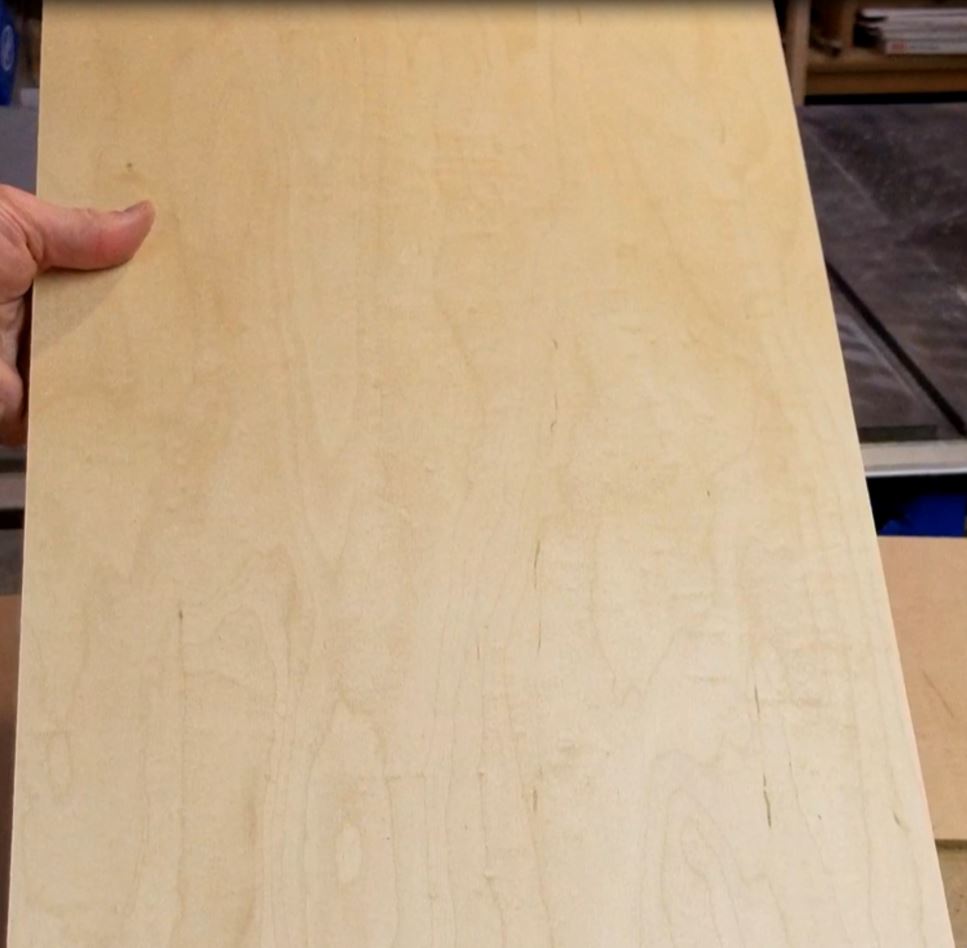
back panel
Now that we have all that material cut to size I’ll sand these pieces now before assembly and assemble the cabinet – that will be the next article. Stay tuned for it.
As always if you have any questions or comments post them below or on my YouTube video comments section and I’ll do my best to respond.
I’ve included a few Amazon Links below for the equipment and materials I used.
Equipment and Materials
I hope you find this video useful and can use some of the tips presented. Feel free to leave any comments, suggestions, or experiences you have had below.
Some of the links in my video description and article above are Amazon Affiliate links. As an Amazon Associate, I earn from qualifying purchases. If you would like to make a different purchase from Amazon, you can also use the storewide link.