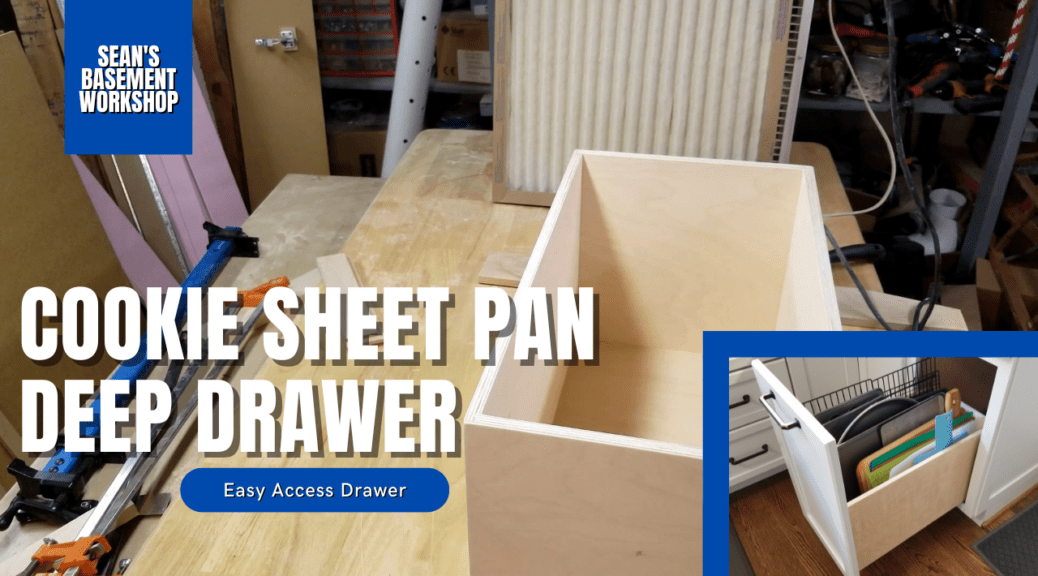
How many people just have their baking pans or cookies vertically slide in a base cabinet? That is what we used to do and it was a pain to get them in and out. However, since we are redoing our kitchen the way we want (including the cabinets), I’m going to build a Baking Pan / Cookie Sheet Drawer.
This is not your ordinary drawer though. This drawer is the entire height of what would have been a normal base cabinet door section. So, essentially, this cabinet will have a standard 4-inch drawer on top and a nearly 12-inch drawer on the bottom that pulls out so you can lift any pans or sheets out vertically.
I’m going to build this drawer using the same method I used to build the rest of the smaller drawers except due to the size of the side panels I will not be using solid Maple but instead be using 1/2 inch, Baltic Birch. A potential problem with that though is plywood typically does not take routing very well and since my joinery used at the corners of the drawers uses a drawer lock bit, this could pose some issues.
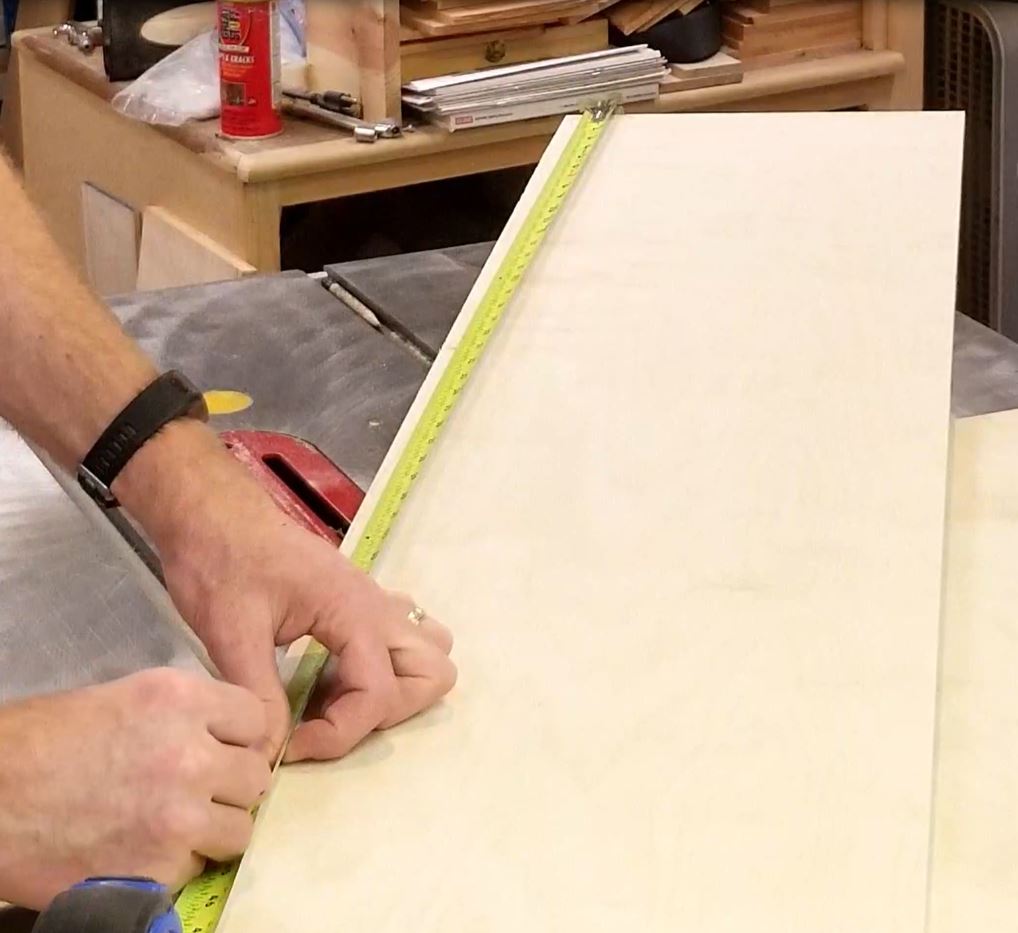
I start out determining the width and depth of my drawer using the same method as the other ones I made basing them on the BLUM Tandem Plus Concealed Slides I will be using. The height isn’t as critical because I’m not going to have the sides go clear to the top of the opening as I did the standard drawers.
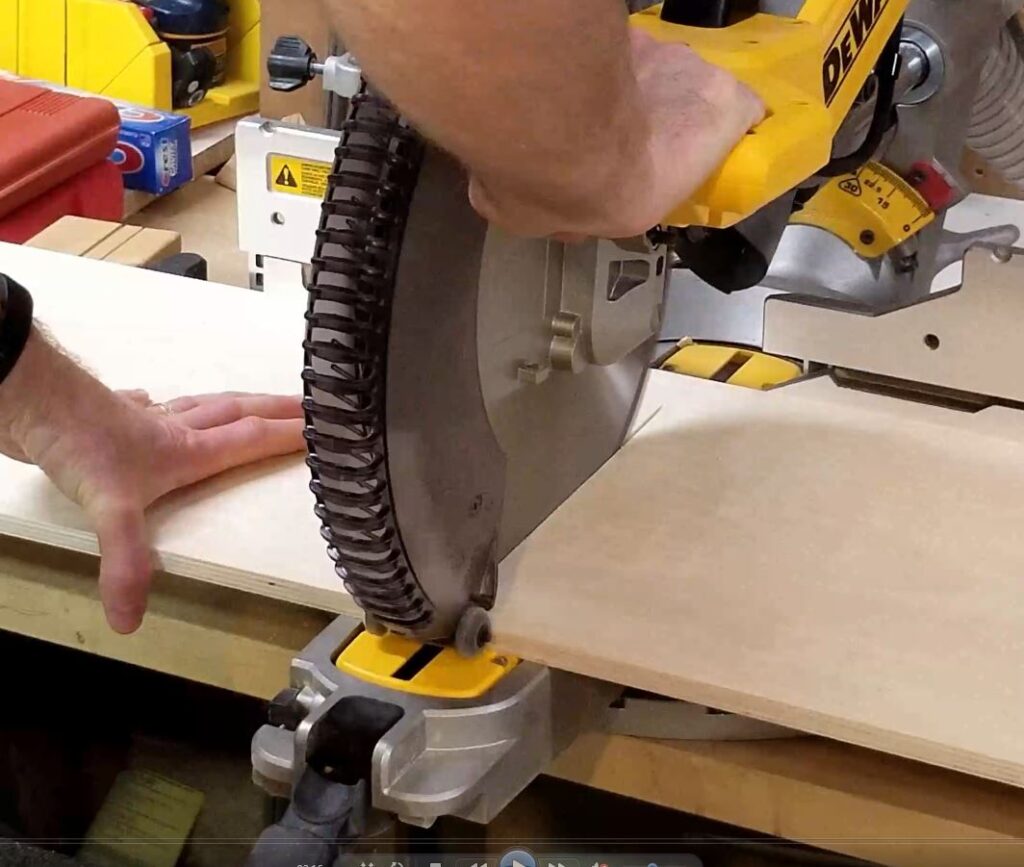
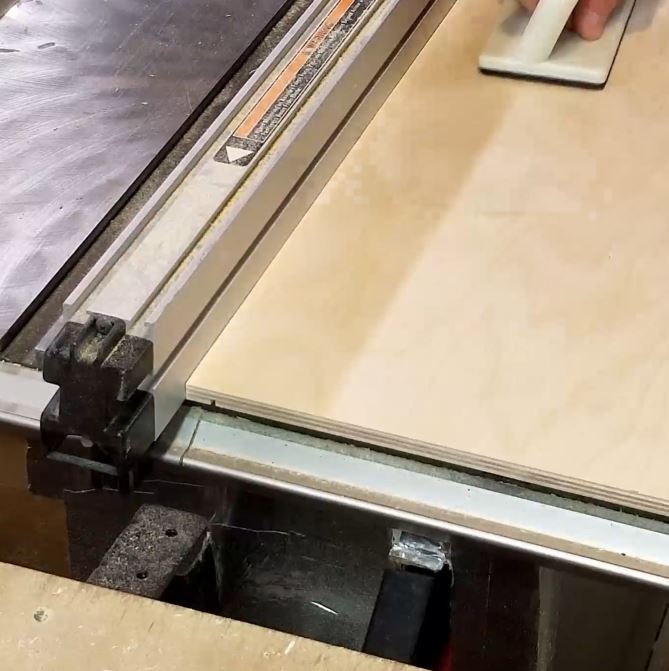
Once the sizes have been determined I need to cut the side panels out of Baltic Birch on my table saw.

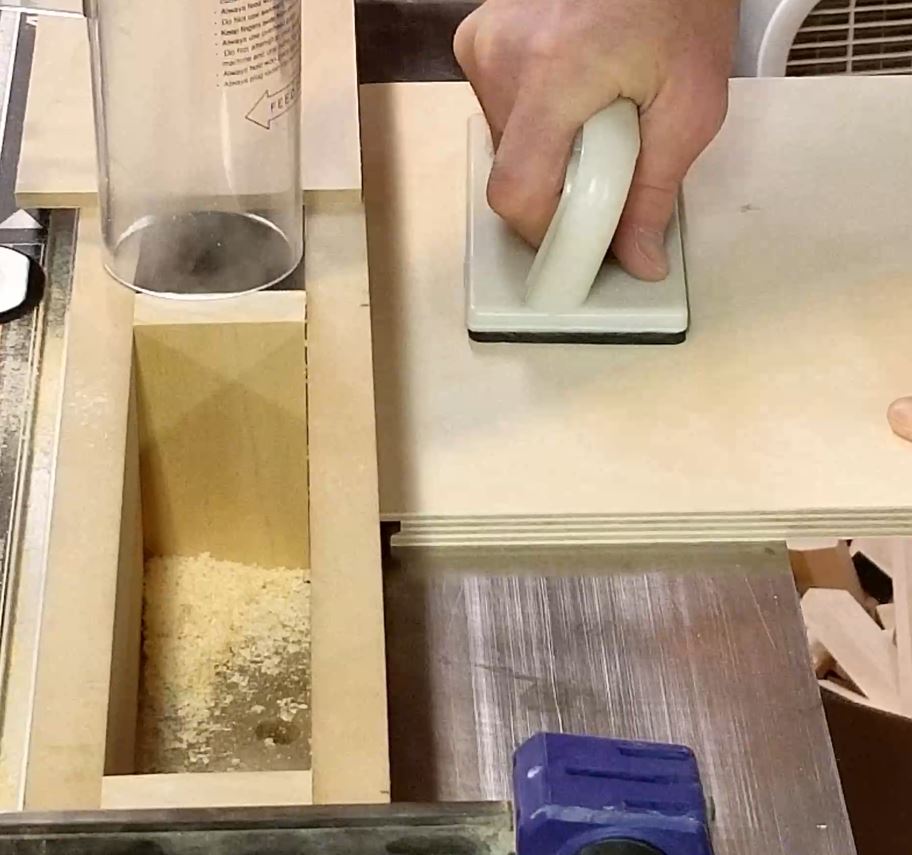
Once I have the sides cut it is time to use my router to cut the drawer lock. I do this using the Rockler Drawer Lock bit. This bit has made making drawers very easy once you dial in the settings – which should be 1/4″ up and 1/4″ sticking out of the fence.
I route the lock but instead of doing it all at once, I take shallow passes to avoid tearing out any plywood until I get the final depth I need. I do this for all the sides using my Milescraft Feather boards.
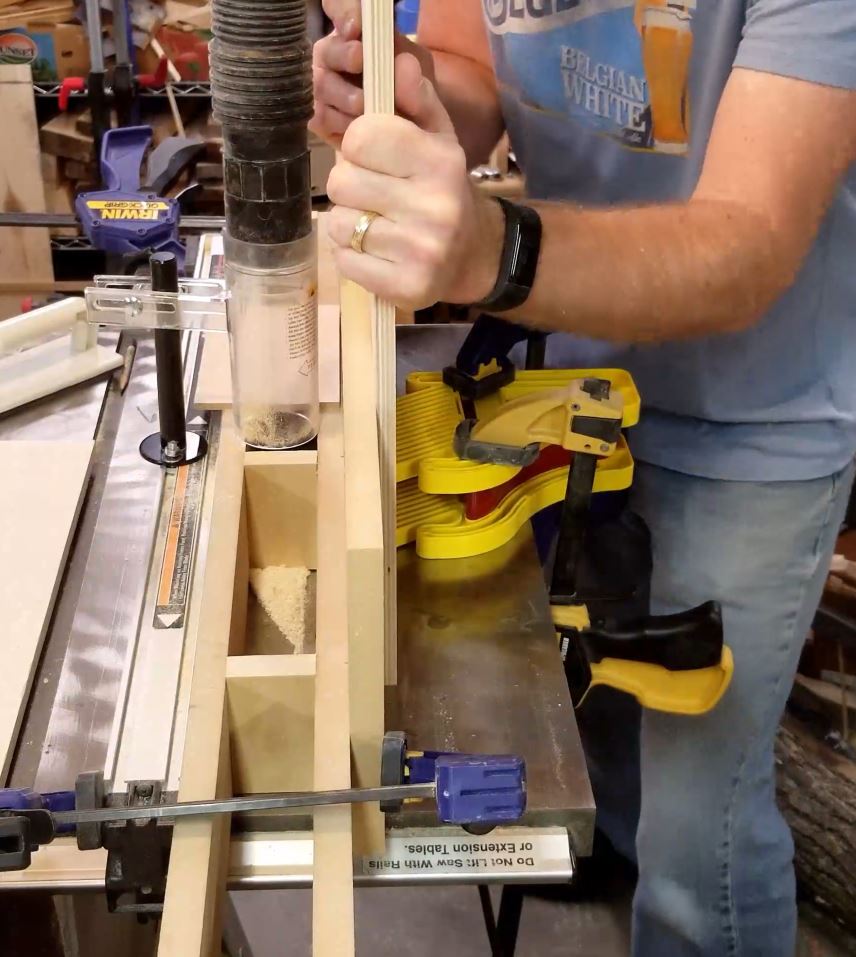
Now I need to cut a 1/4″ dado 1/2″ from the bottom on each side so the bottom 1/4″ panel can slide into there. Even though this drawer will hold much heavier items than normal drawers and certainly take more abuse dropping pans and sheets into it, a 1/4″ bottom panel is sufficient because the drawer slides help support the bottom which will keep it from sagging out of the dado cuts.

Once all the cuts are made I’m able to easily get the bottom panel size by measuring the distance plus the dado depths.
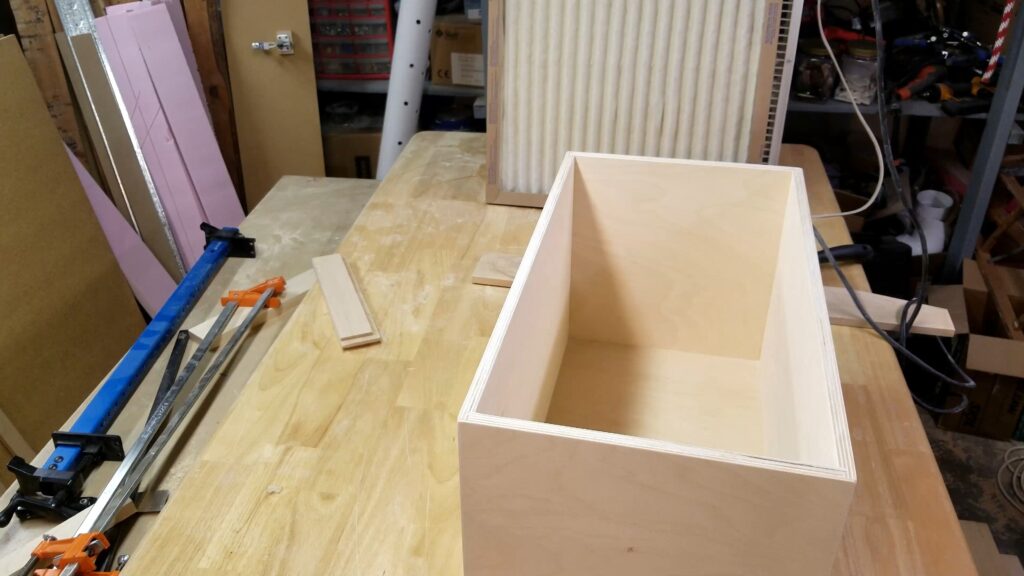
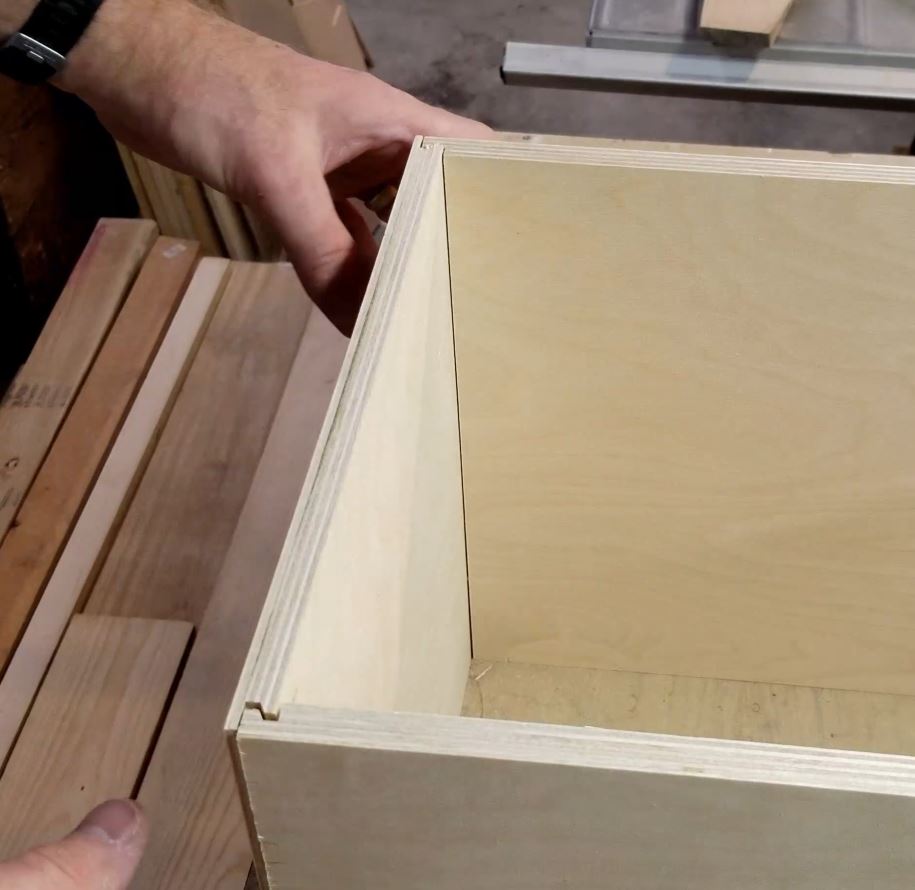
After cutting the bottom out, it is time to dry-fit the drawer box together. I highly recommend always dry-fitting your projects together so you can make any final adjustments prior to any assembly.
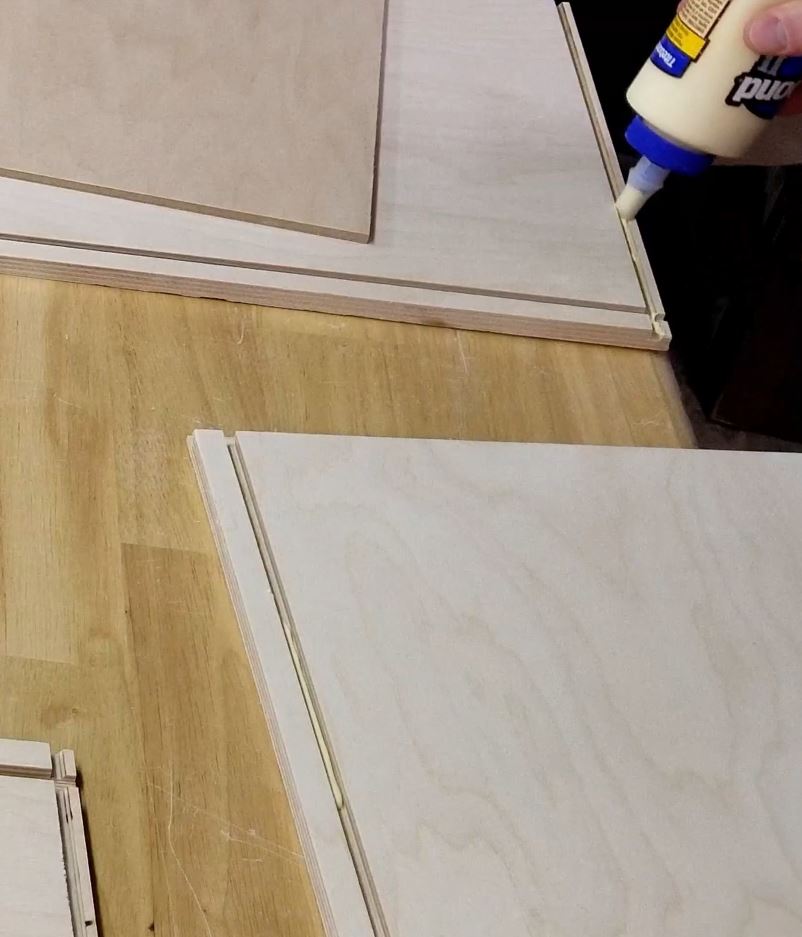
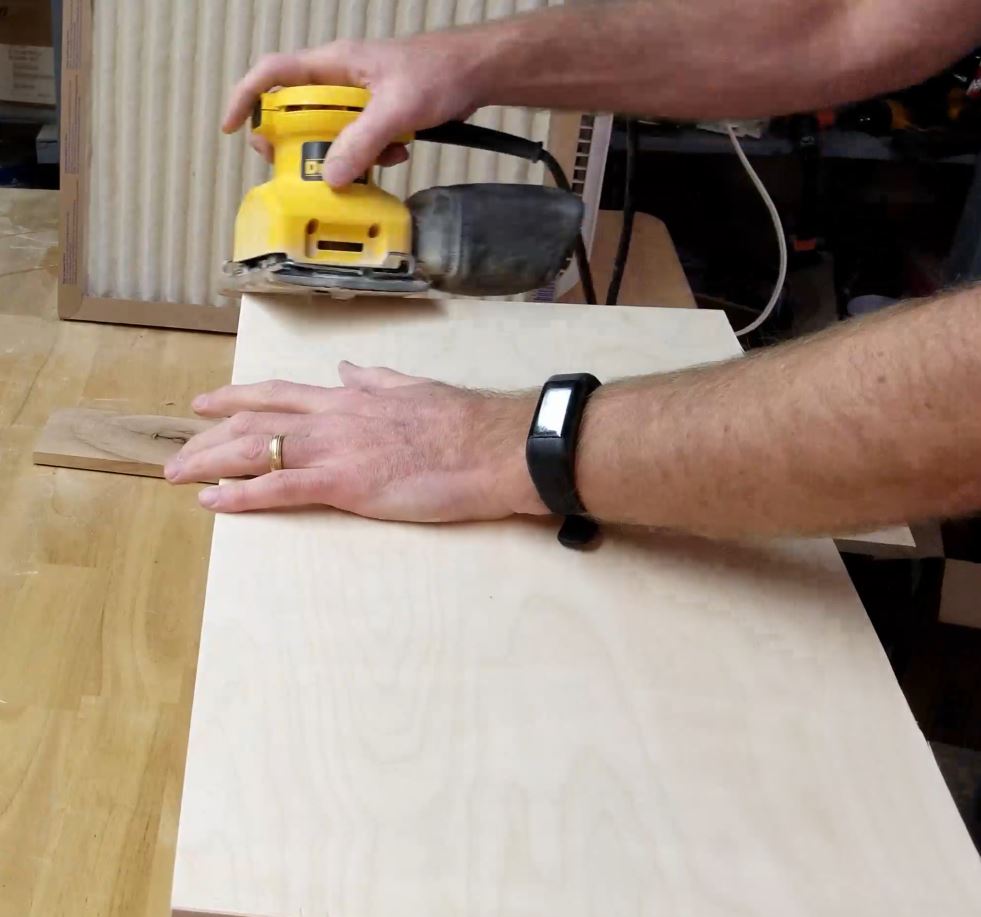
After I’m happy with the dry-fit, I sand every board down because when it comes to drawer boxes it is easier to sand the pieces prior to gluing up. I sand them with a random orbital sander and then I’m ready to start gluing things up with Titebond Glue. I start first but add beads of glue to the pieces that will form one corner. I add glue to not only both sides but also the dado where the bottom panel will fit. I continue this process all the way around.
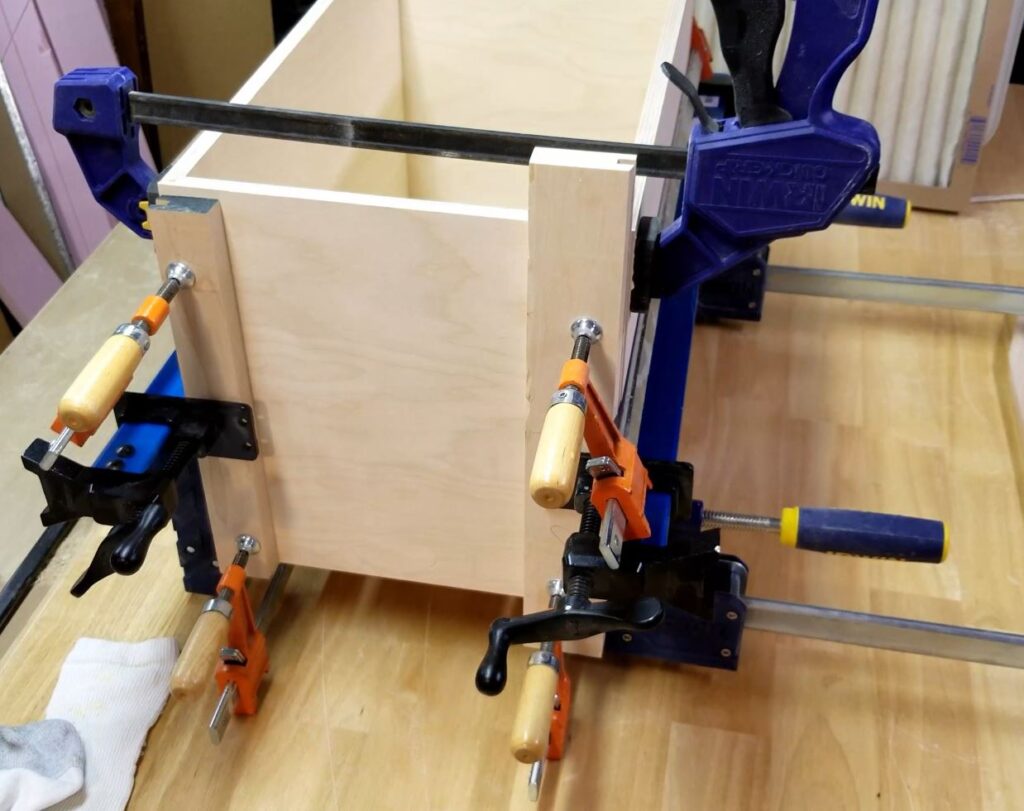
Now, using lots of clamps of varying varieties from parallel clamps, F style clamps to speed clamps, I put enough pressure (being sure to use culls were necessary to avoid damage) to provide a good tight joint with glue squeeze-out.
I let the glue dry for a bit and then come back through and clean up the glue with a putty knife. In addition, I also use a damp paper towel to clean up any glue as this will get a clear coat finish and nothing will show up worse than missed dried glue. Keeping in mind the moister from the towel will cause the grain to raise and I’ll need to resand those locations.
After several hours of sitting, I remove all the clamps, scrape any remaining glue squeeze out and prepare for final sanding.
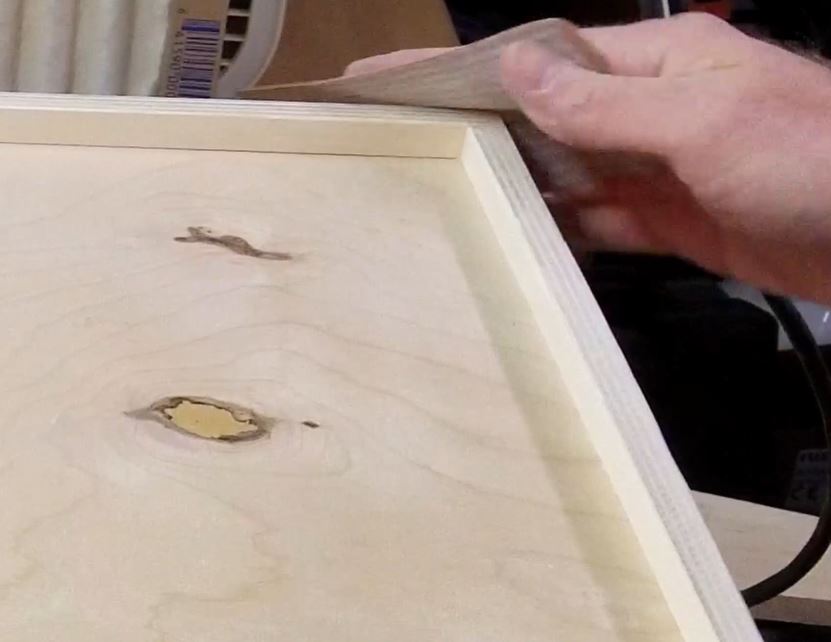
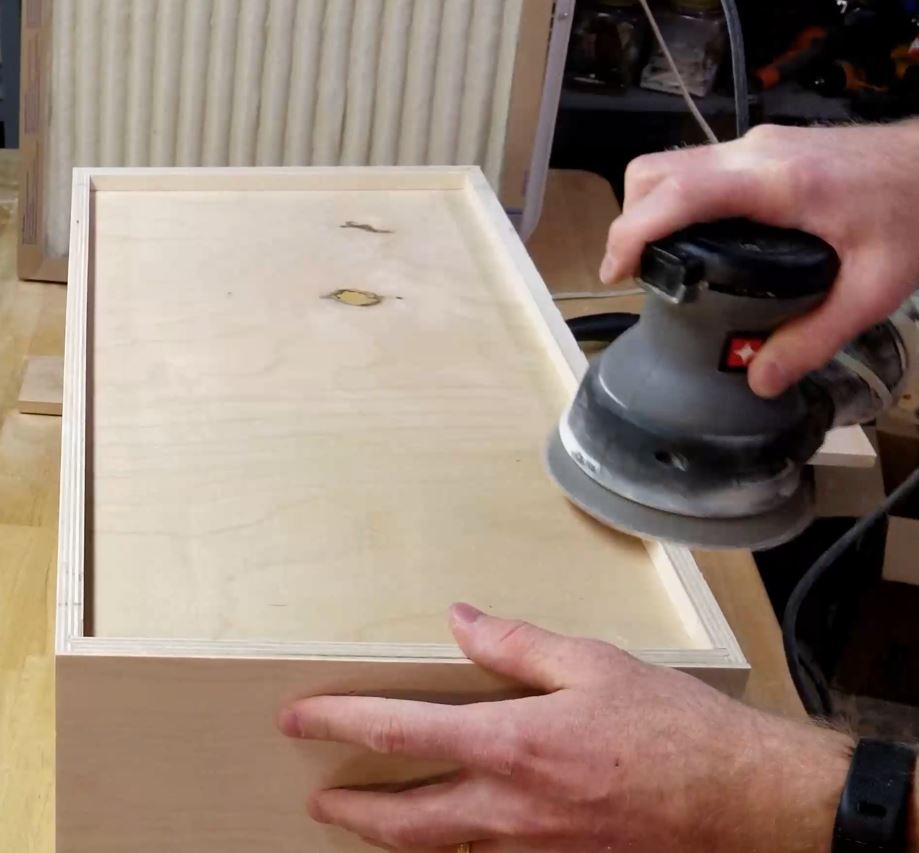
I sand all the joints with my random orbital sander including the top and bottom edges to create a smooth finish. Then I hit it one last time with finer sandpaper on my palm sander. Next, I hit the inside edges where the grain was raised with a sanding sponge to smooth that back out. Finally, I ensure I go over all edges and corners with my palm sander and a piece of sandpaper to knock down any sharp edges where the finish can chip off once dry.
My next steps are simply to cut notches out of the bottom for the drawer slides, wipe the entire box down with a tack cloth, and spray with a clear polyacrylic finish using my Earlex 550 HVLP sprayer
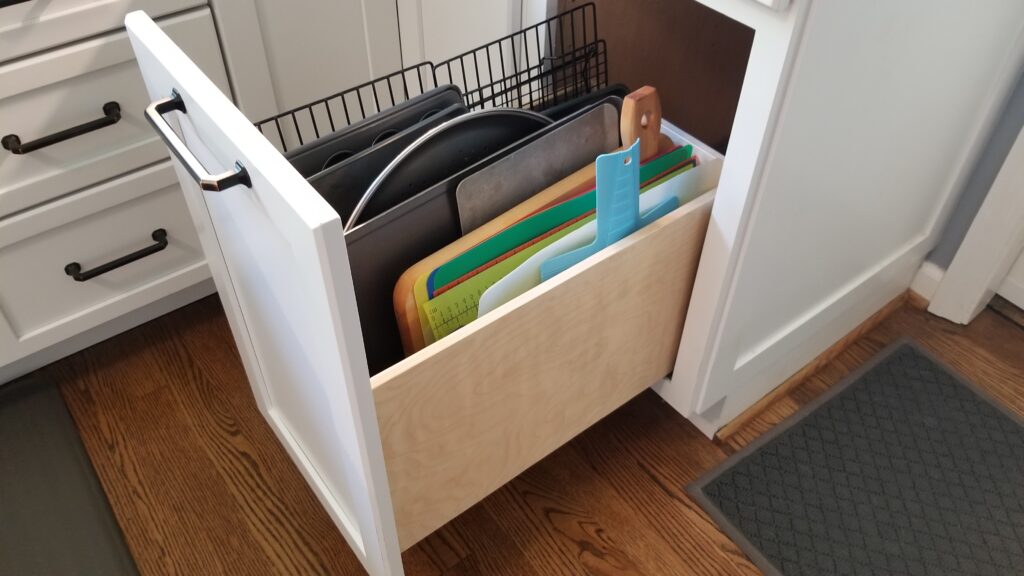
You can see the finished product here with the attached cabinet door and the type of items you can store in it.
As always if you have any questions or comments post them below or on my YouTube video comments section and I’ll do my best to respond.
I’ve included a few Amazon Links below for the equipment and materials I used. By clicking on any of the links in this article you help support my channel as I earn from qualifying purchases.
You can also help support my Channel by dropping a Tip at https://withkoji.com/@sean.moenkhoff
Equipment and Materials
*Disclaimer: While I attempt to list the equipment I use, some items have been discontinued or have newer models.
- Assorted Grit Sandpaper Sheets
- BLUM 21″ Tandem Plus BLUMOTION Drawer Slide Kit
- DEWALT Bar Clamp with Trigger, Medium, 12-Inch
- DEWALT Palm Sander 1/4″ Sheet
- DEWALT Sliding Compound Miter Saw, 12-Inch (DWS779)
- Drawer Lock Router Bit
- Earlex 5500 HVLP
- Eclipse Half Mask Respirator S/M
- IRWIN Parallel Jaw Box Clamp 48″
- IRWIN QUICK-GRIP Bar Clamp, One-Handed, Medium-Duty, 12-Inch
- Jorgensen 3724-HD 24-Inch Heavy-Duty Steel Bar Clamp
- Kobalt 24-Volt Max Lithium-Ion (Li-ion) 1/2-in Cordless Brushless Drill
- Kobalt 25-ft Tape Measure
- Milescraft 1407 D/TFeatherBoard Dual or Tandem FeatherBoards
- Minwax Clear Polycrylic Water-Based Protective Finish Satin
- MLCS 9167 Safety Push Block and 5-Piece Stick Package
- Porter Cable Random Orbital Sander
- Rockler Sure-Foot Aluminum Bar 36″ Clamp
- Sanding Sponges (Assorted)
- Stainless Steel Corked Backed Metal Ruler
- Titebond II Glue
I hope you find this video useful and can use some of the tips presented. Feel free to leave any comments, suggestions, or experiences you have had below.
Some of the links in my video description and article above are Amazon Affiliate links. As an Amazon Associate, I earn from qualifying purchases. If you would like to make a different purchase from Amazon, you can also use the storewide link.