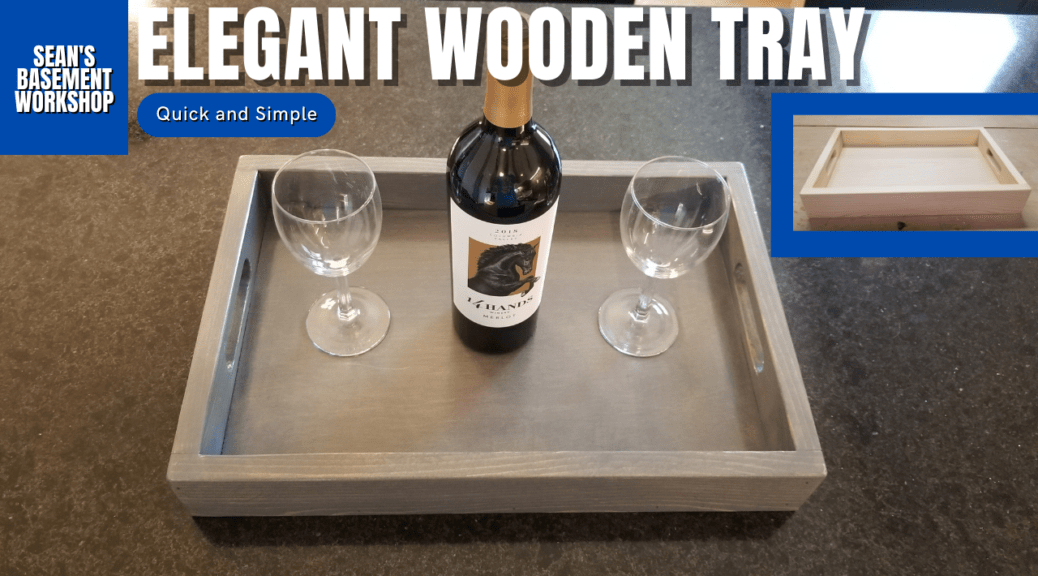
Looking for a new project to tackle? Why not try building a rustic wooden serving tray? Not only is it a fun and easy project, but it’s also a great way to add a touch of character to your home decor. In this DIY guide, we’ll show you how to build your own wooden serving tray from scratch.

1. Gather Materials
Before you get started, you’ll need to gather your materials. For this project, you’ll need a scrap piece of plywood, a piece of 1×6 wood, and some clearance wood. A complete list of equipment and materials used can be found below:
- Scrap piece of plywood
- Piece of 1×6 wood
- Spade bit
- 18 gauge nailer
- 1 1/2″ brads
- Jigsaw
- Drill press
- Wood rasp
- Sandpaper (120 grit)
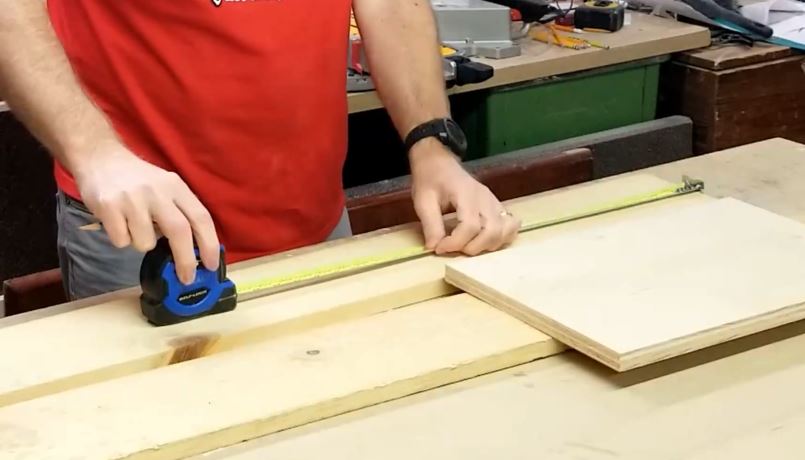
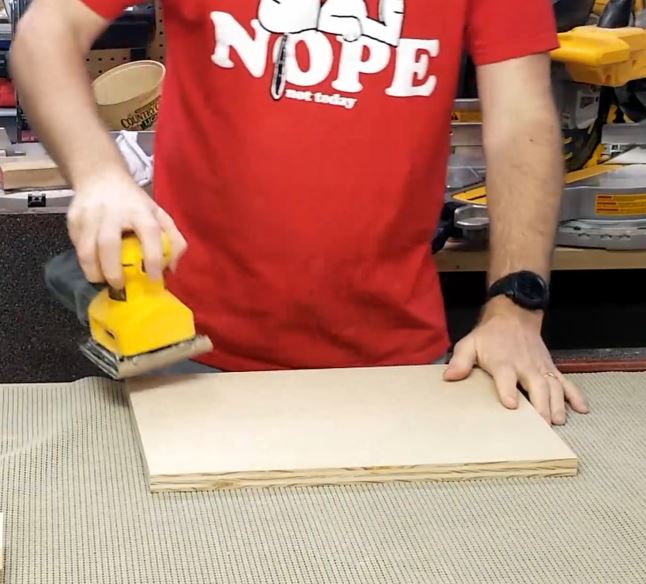
2. Cut the Plywood to Size
To start, cut the plywood to the correct size for your tray. In this example, we’re making a tray that is 12″ x 18″. Be sure to measure your space carefully so that your tray fits perfectly.
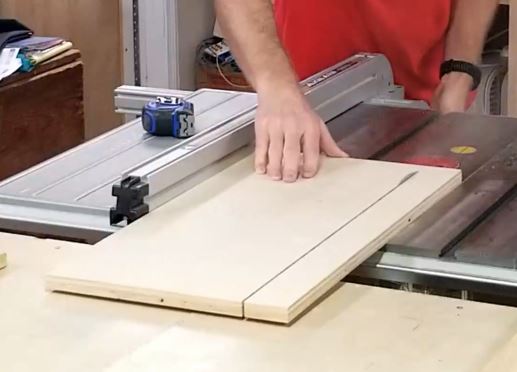
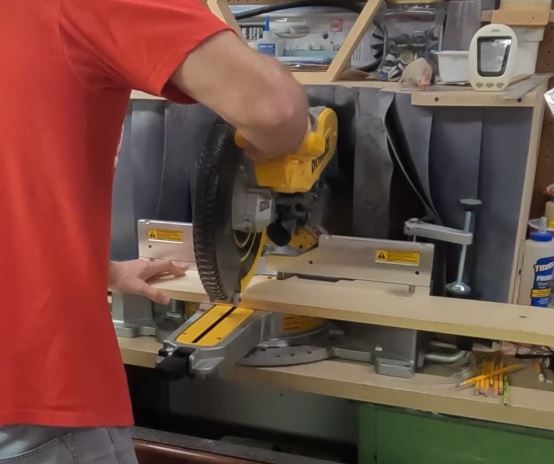
3. Cut the Sides
Next, cut the sides of your tray. Rough cut the lengths of your sides first to make it easier to rip them to the correct width. For this project, we want the sides to be no more than 2 1/2″ tall. After rough cutting, run the sides through a table saw to rip them down to 1 1/2″ wide. You should end up with four boards, two at 18″ and two at 12″.
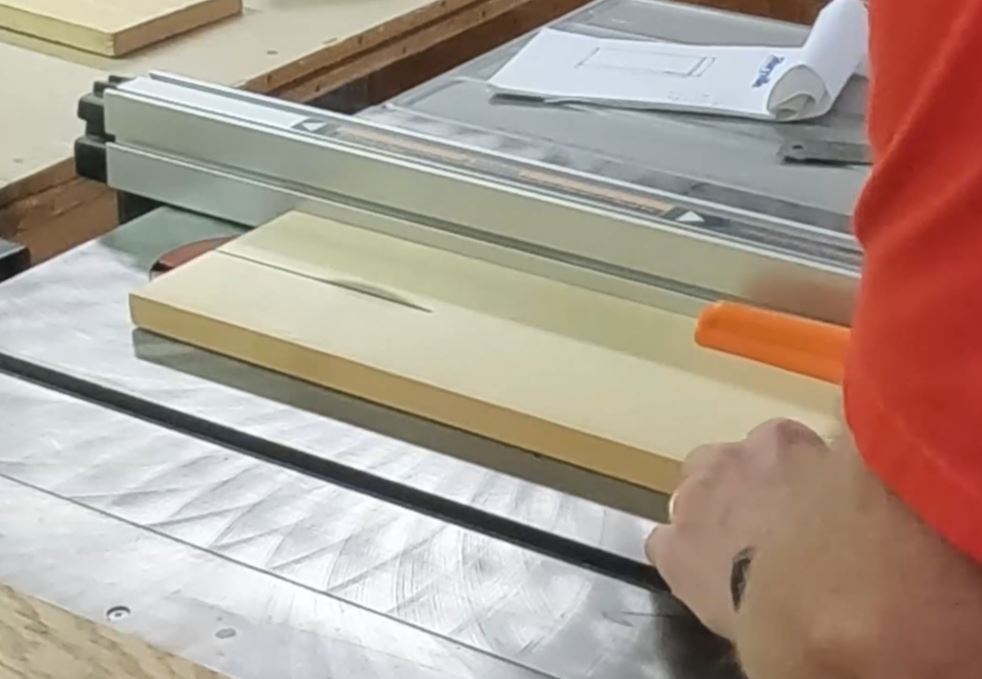
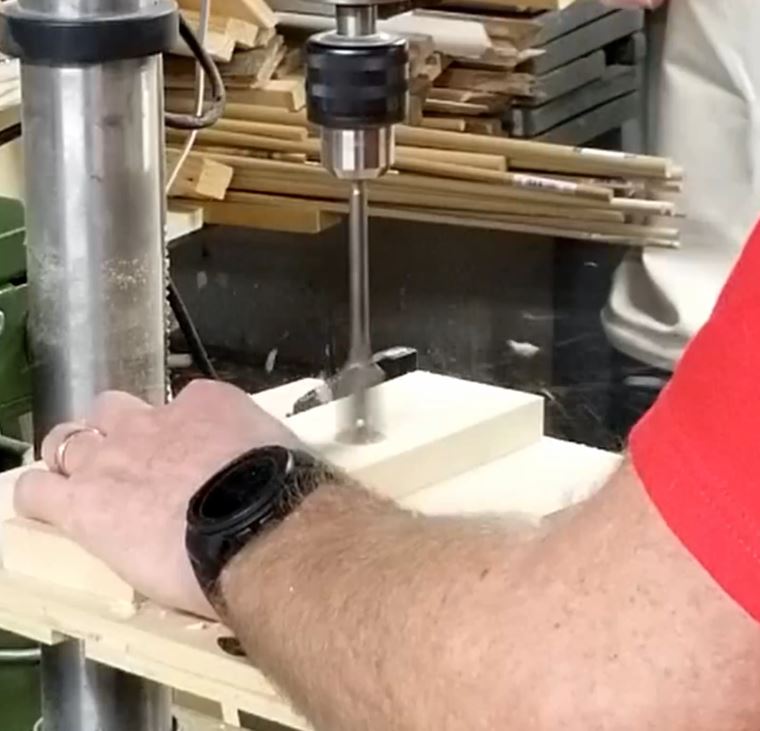
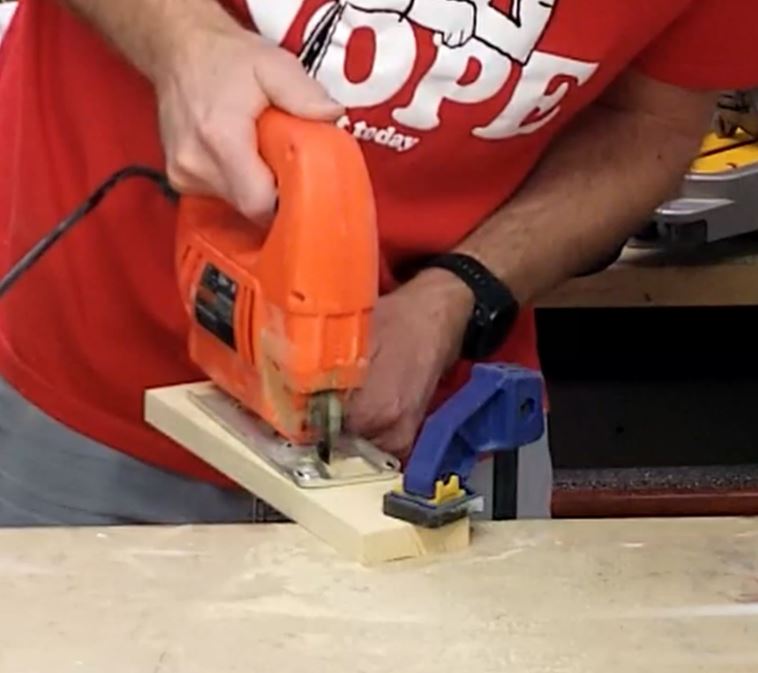
4. Cut the Hand Holds
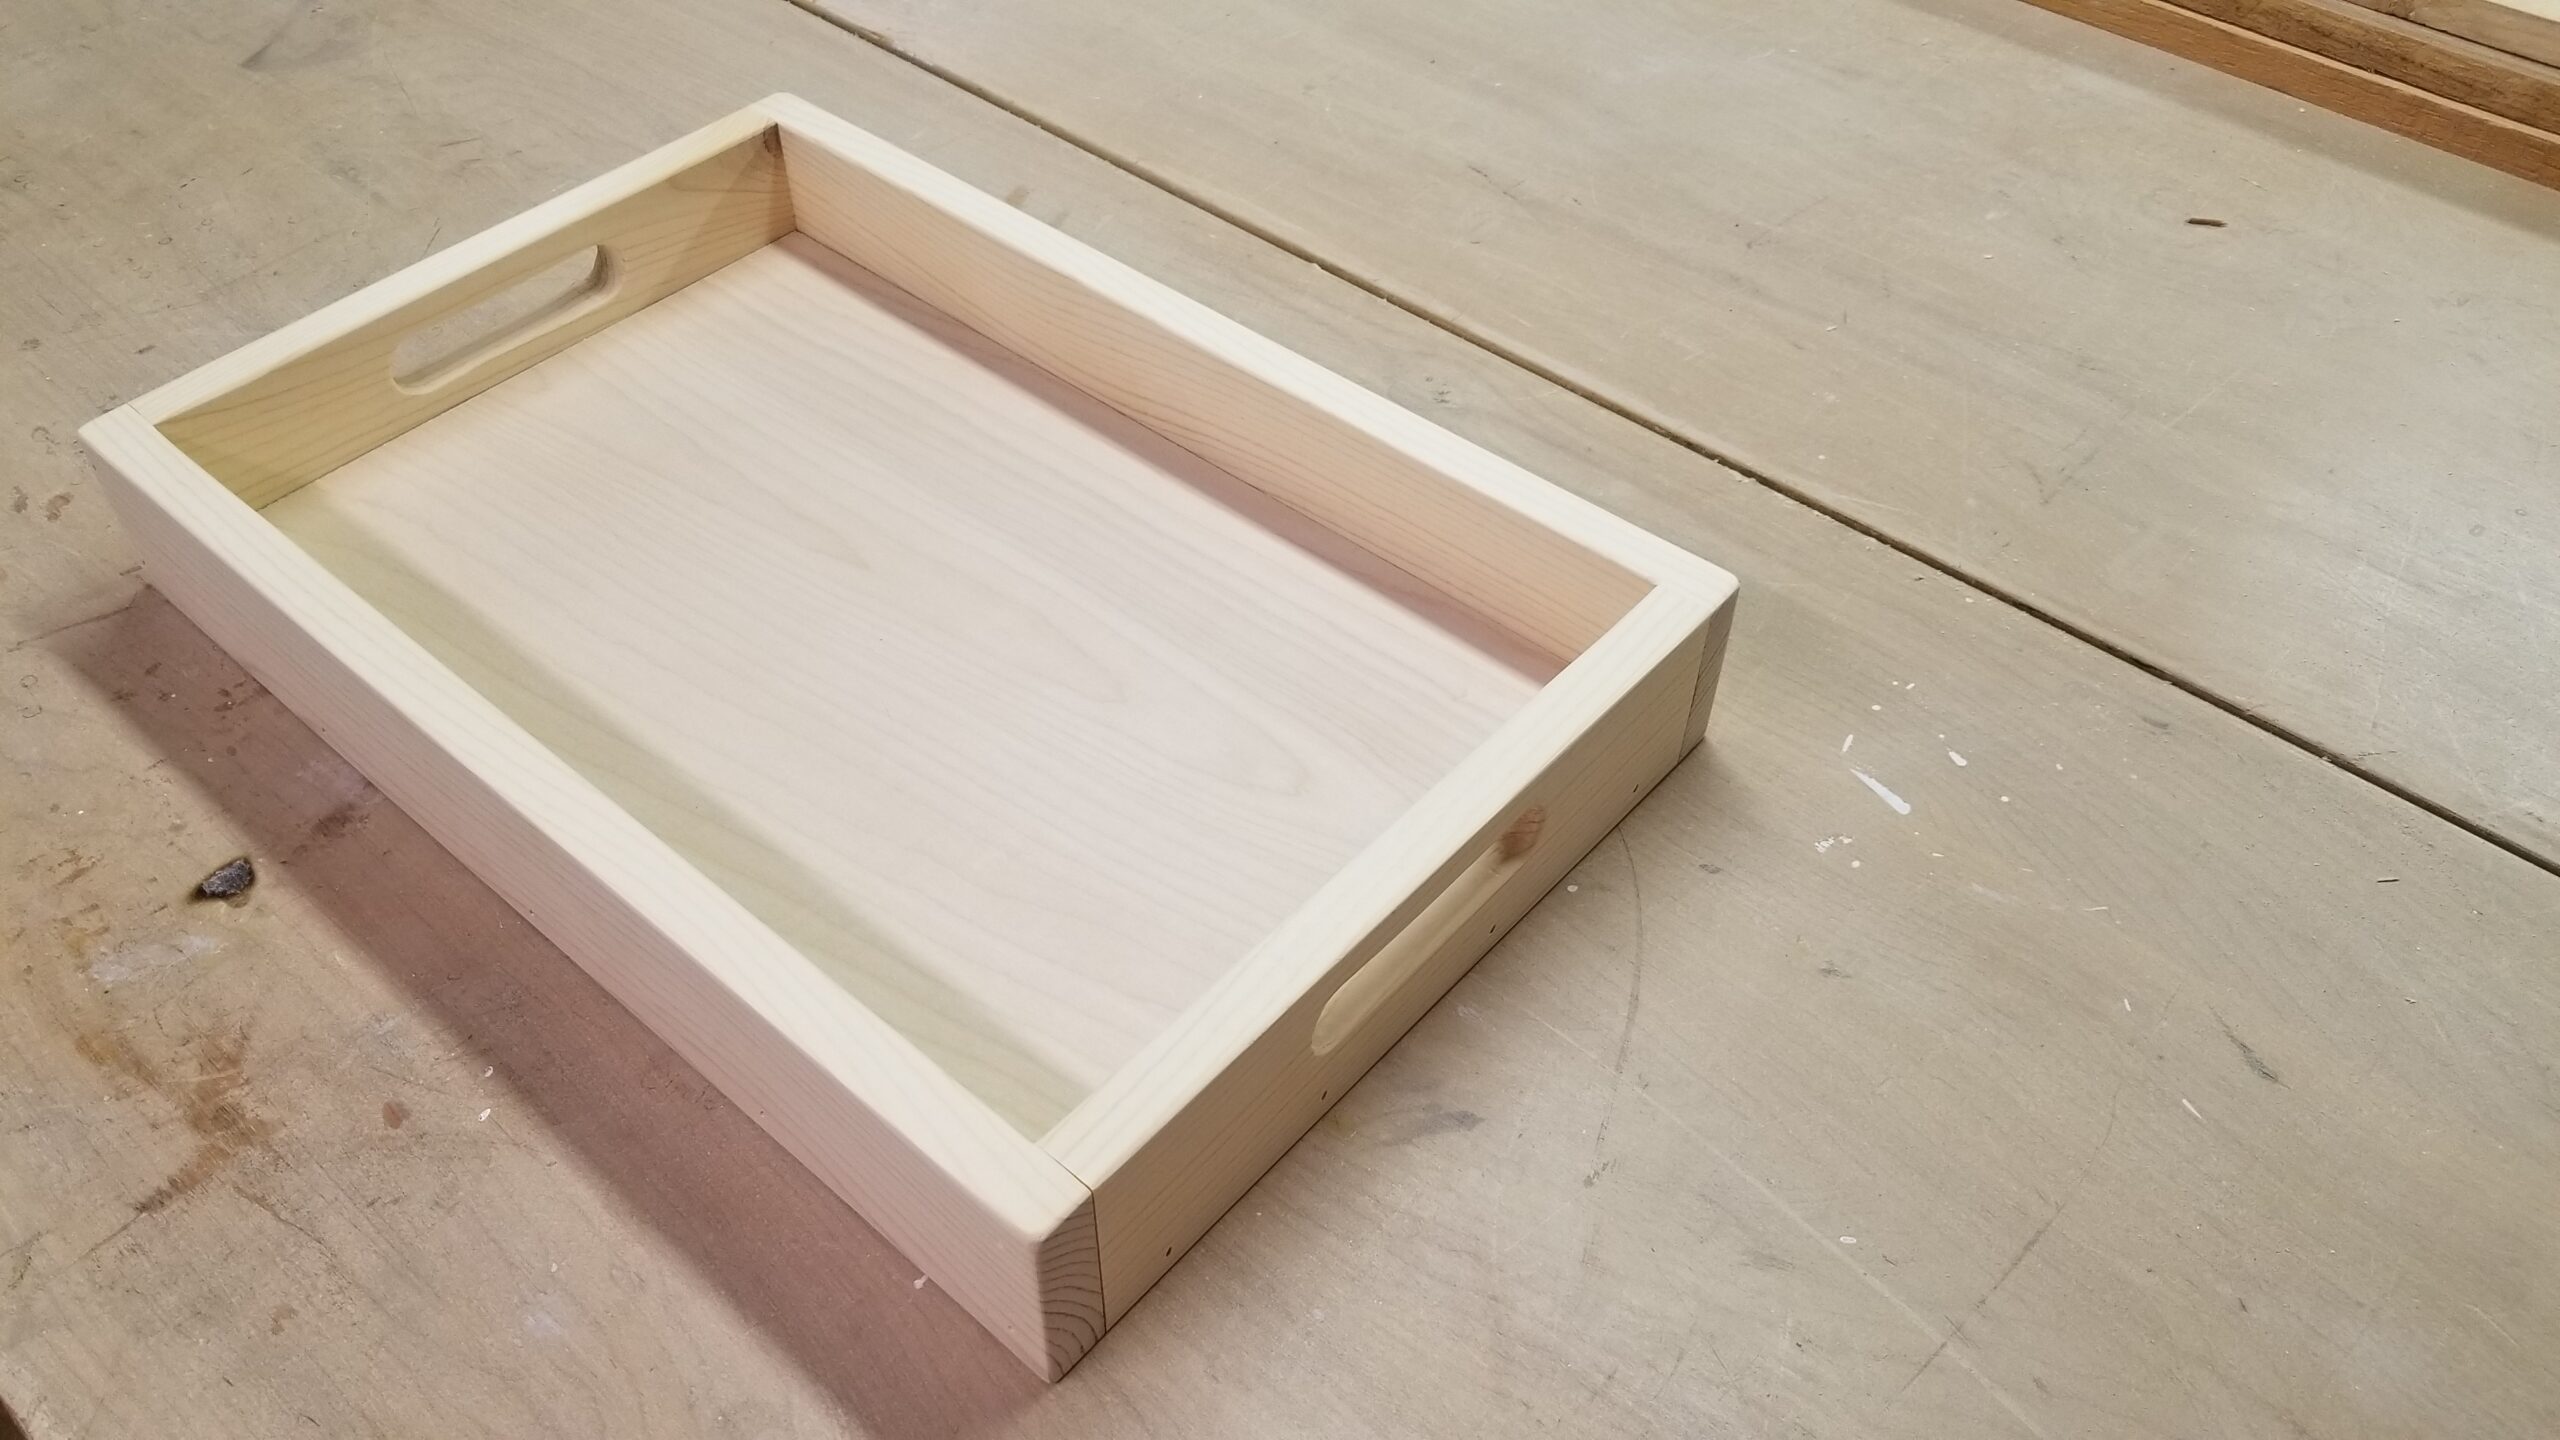
If you want hand holds on your tray, mark the centers of the short side and use a spade bit to create round ends of the slot. Drill the holes at a drill press and flip the material over once the tip has poked through to avoid any tear-out. Finally, connect the two holes using a jigsaw to create the handle.
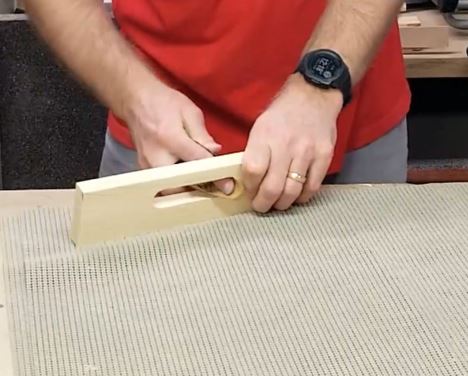
5. Sand the Pieces
For a rustic look, sand the pieces using a wood rasp to smooth out the inside of the handles, and then again with 120 grit sandpaper to “smooth” it out. Don’t sand it too much or you’ll sand out all the marks or imperfections.
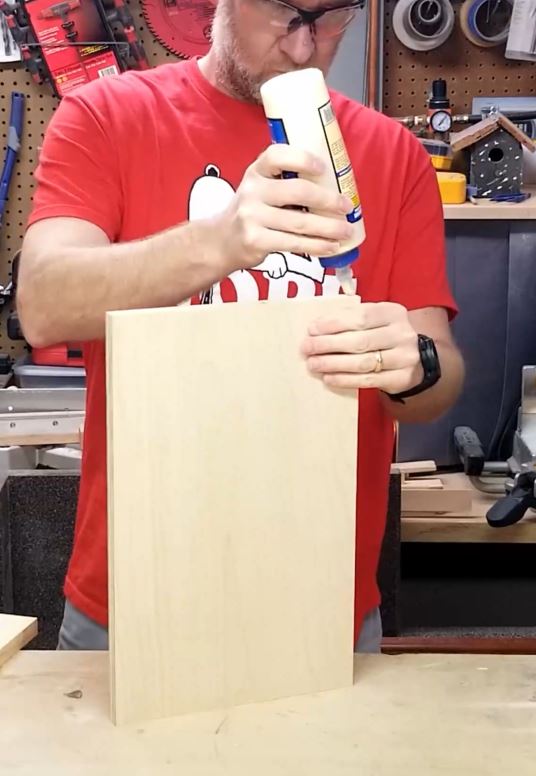
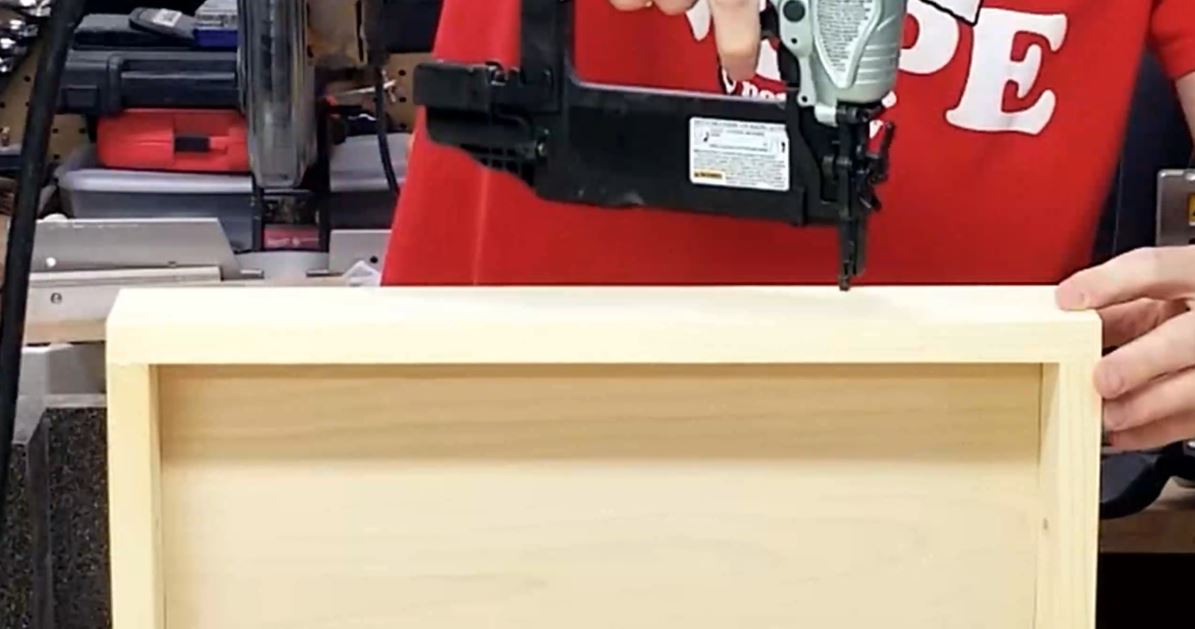
6. Assembly of the Pieces
Assemble the pieces, making sure the long side runs the entire length so you’re not seeing the end grain on the front side. Spread some glue on the edge of the plywood and use an 18 gauge nailer to shoot some 1 1/2″ brads into the sides. Also shoot a couple of brads into the sides directly where they meet at the corner.
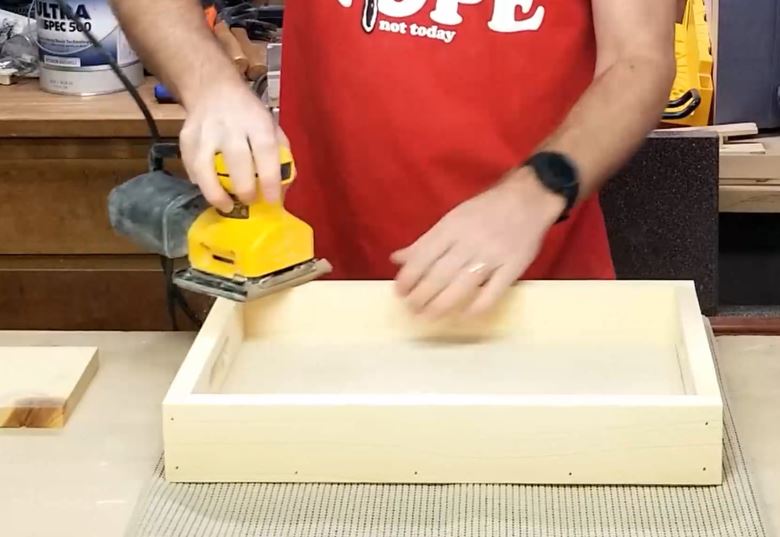
7. Final Sand
Do one last final sanding rounding over the corners and edge so they are not sharp. This gives it a worn appearance and prevents the stain and finish from chipping off if hit.
8. Finished Project
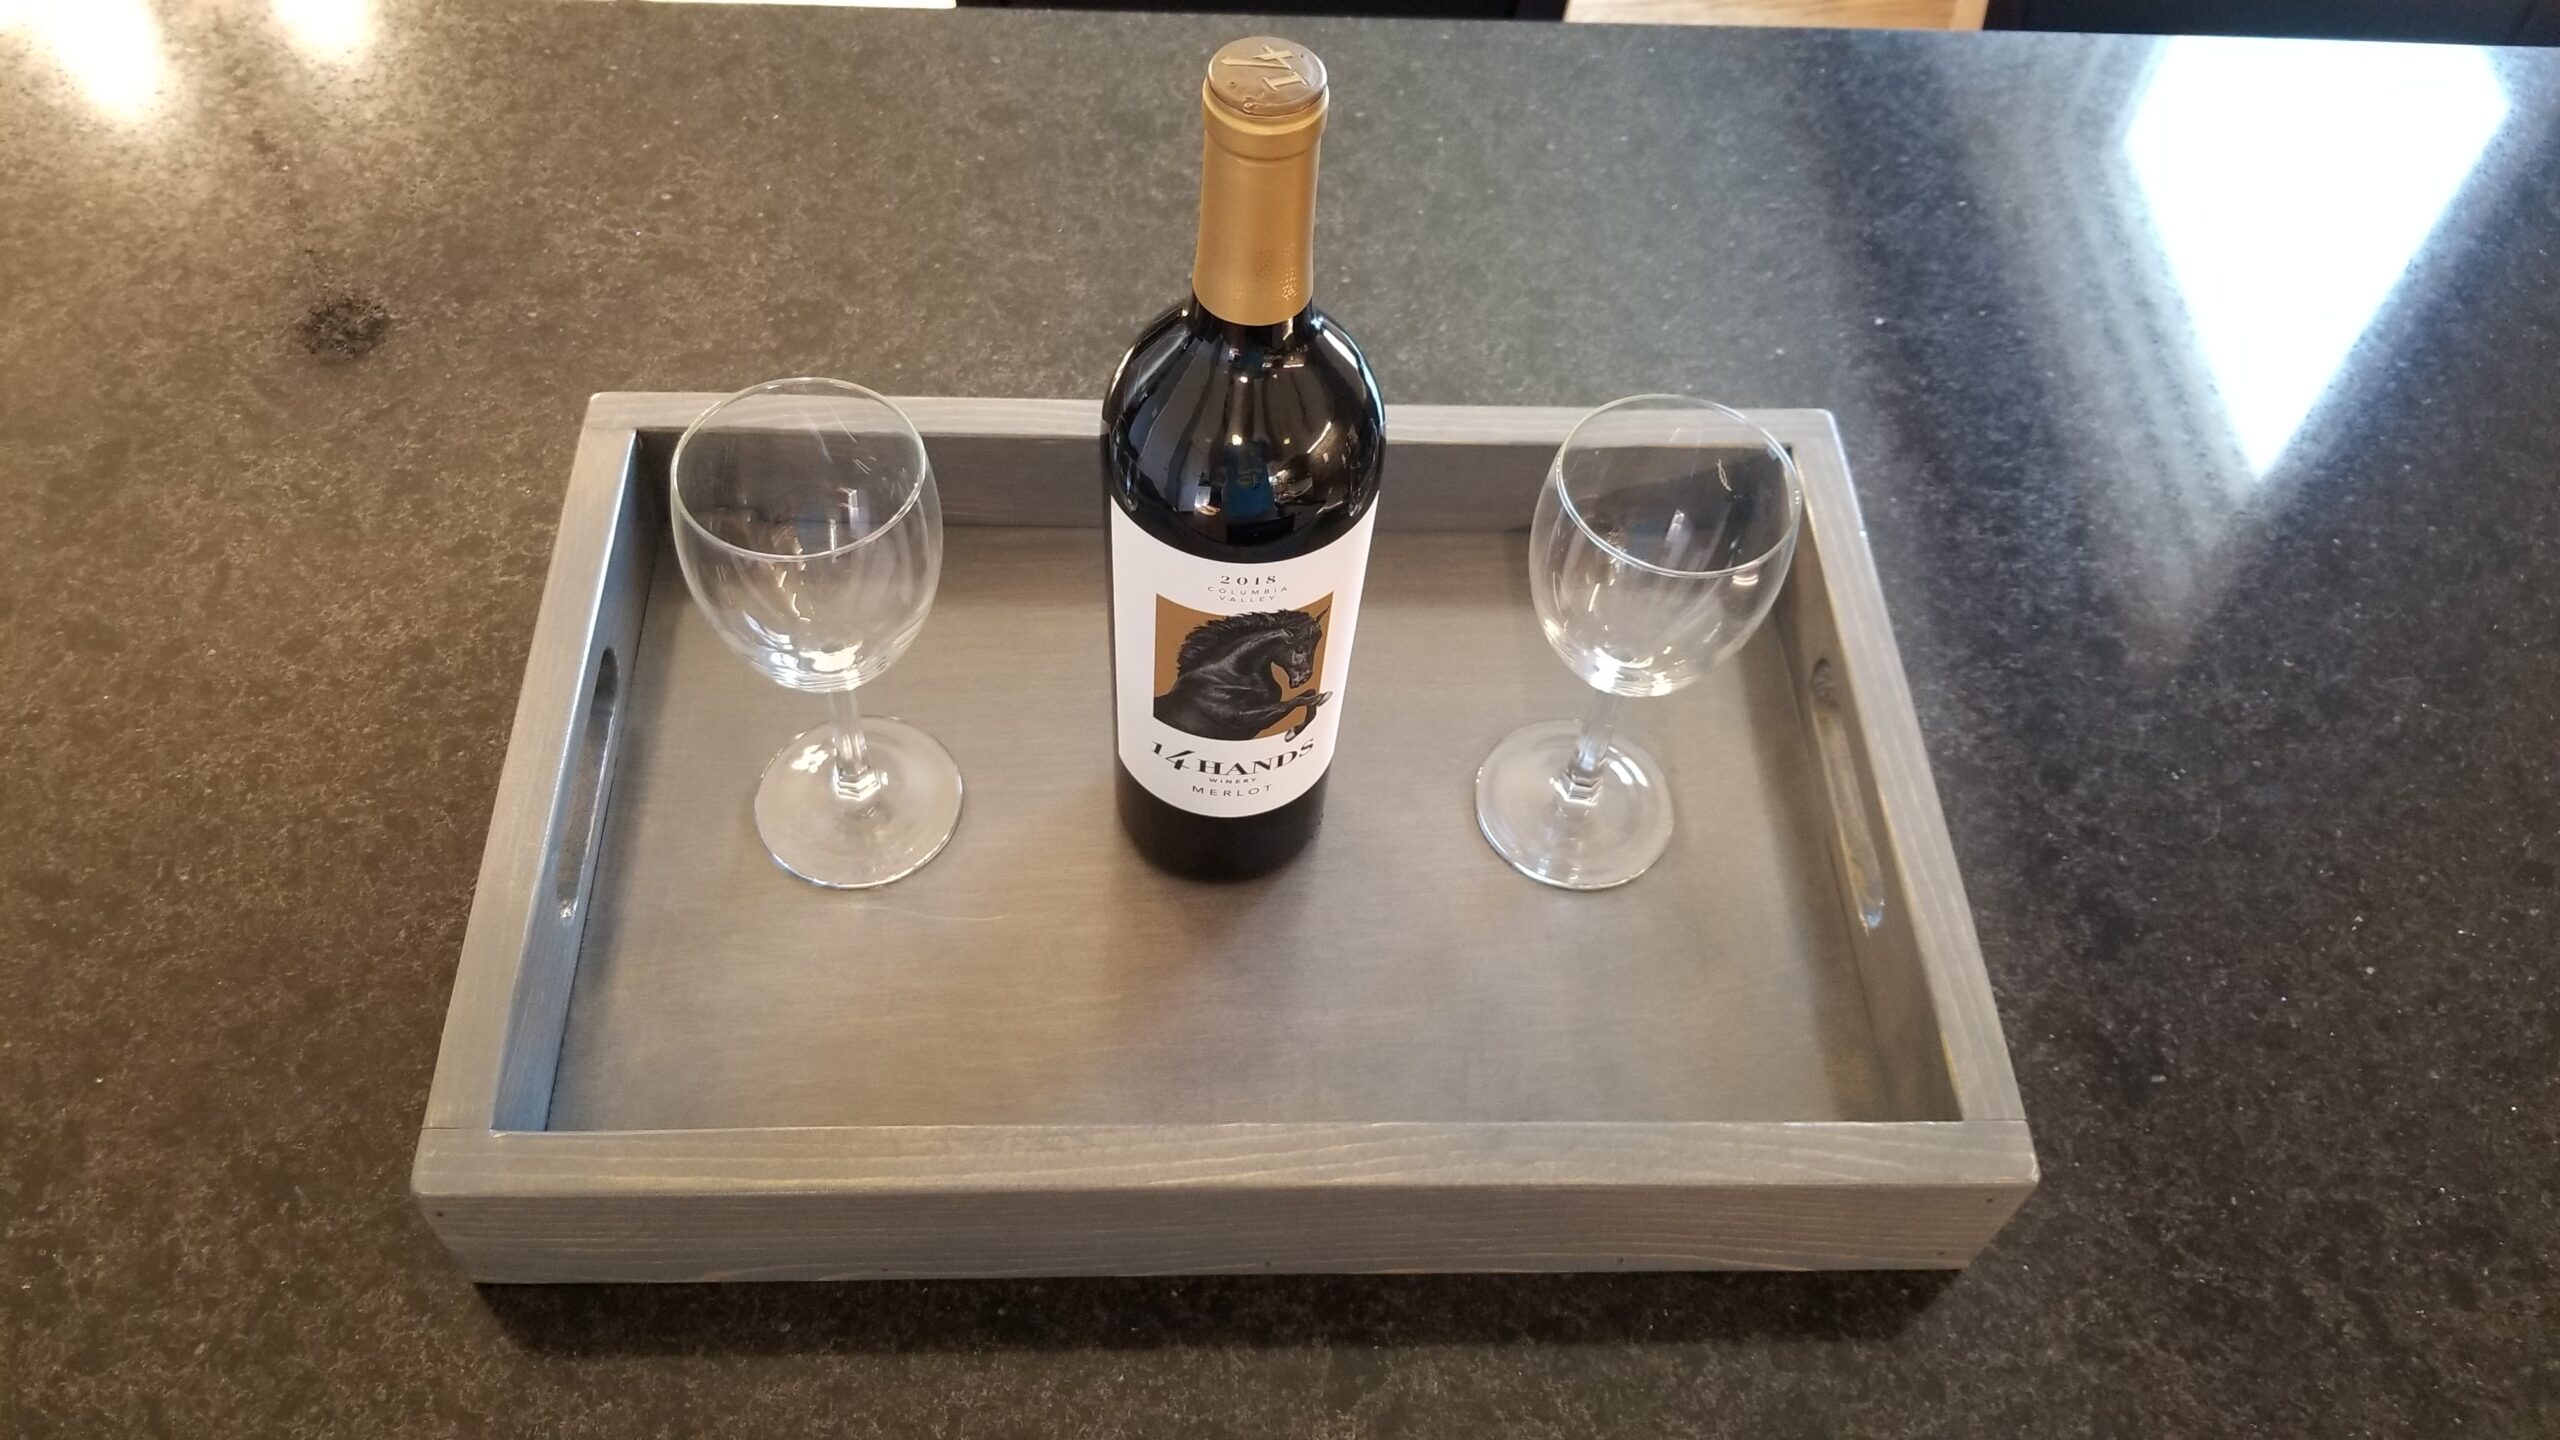
Congratulations, your rustic wooden serving tray is complete! Feel free to paint, finish, or even leave it as raw wood depending on your personal taste. These trays are inexpensive and can be used for a variety of purposes, from serving wine to holding firewood by your fireplace. The possibilities are endless.
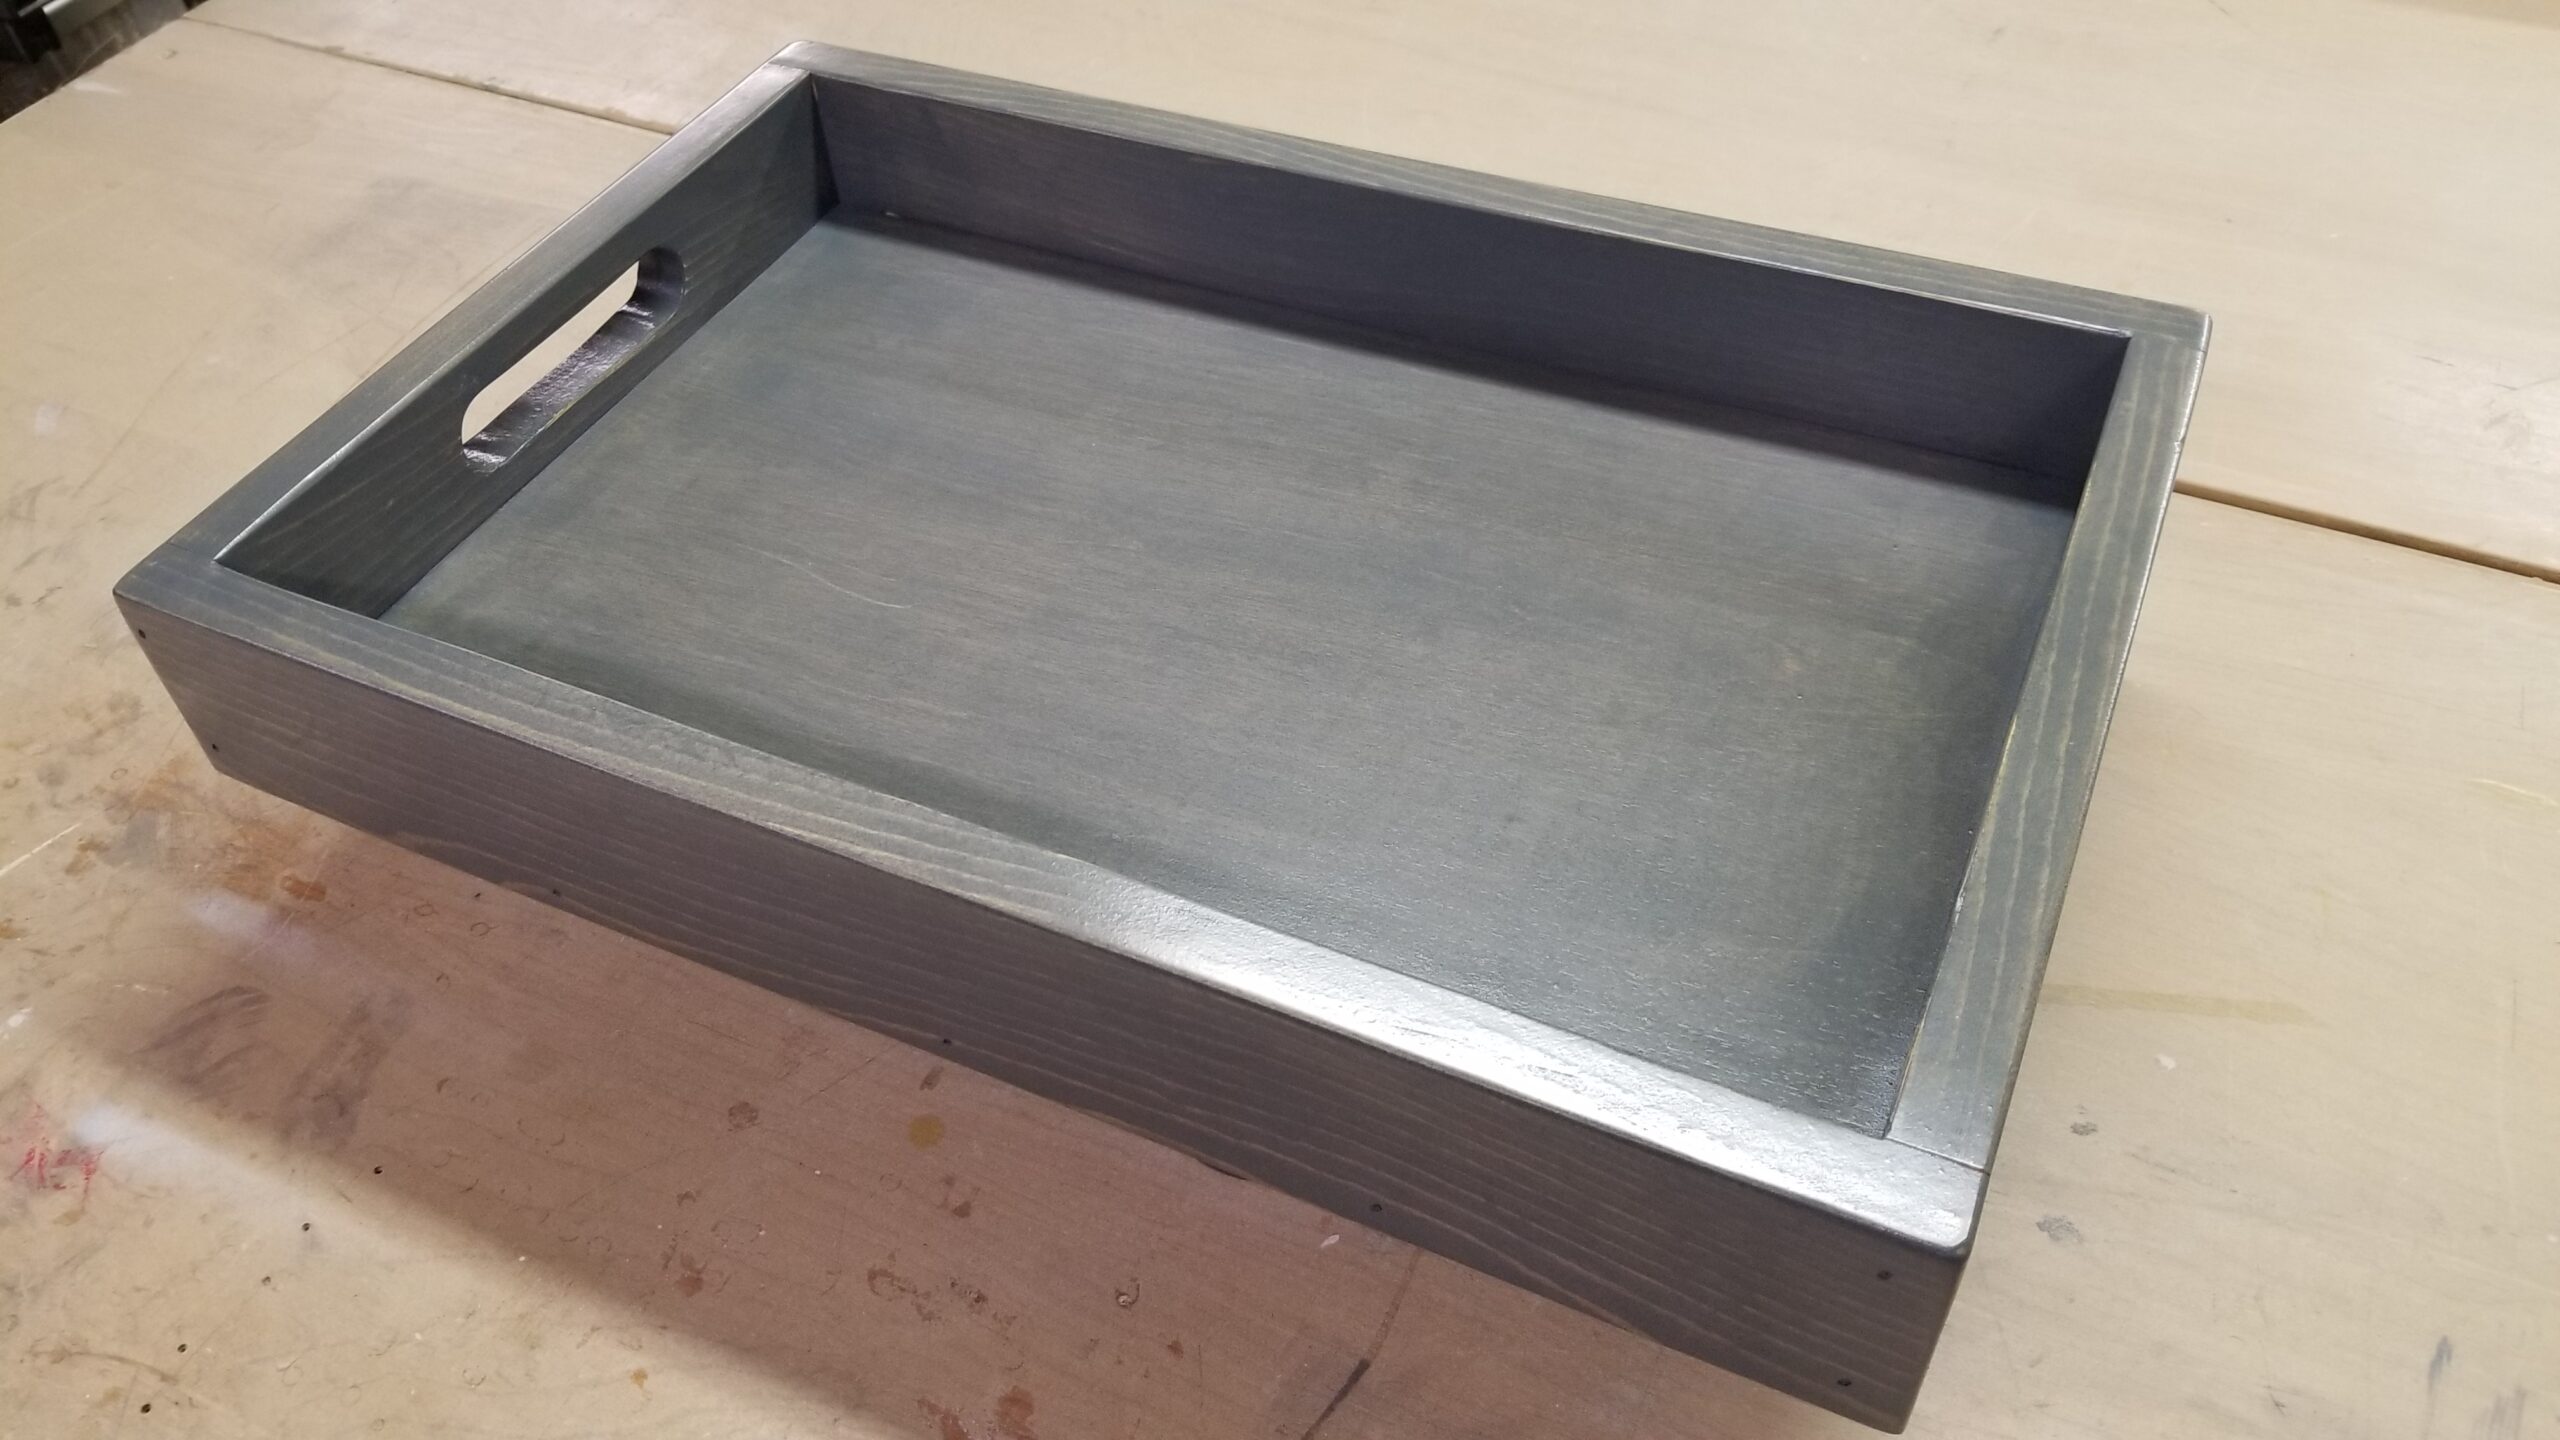
In conclusion, building wooden serving trays is a simple and quick DIY project that can add character to any space. Don’t be intimidated by the thought of building one yourself – with a little bit of time and effort, you can have a beautiful, functional tray in no time.
As always if you have any questions or comments post them below or on my YouTube video comments section and I’ll do my best to respond.
I’ve included a few Amazon Links below for the equipment and materials I used. By clicking on any of the links in this article you help support my channel as I earn from qualifying purchases.
You can also help support my Channel by dropping a Tip at https://withkoji.com/@sean.moenkhoff
Equipment and Materials
*Disclaimer: While I attempt to list the equipment I use, some items have been discontinued or have newer models.
- BLACK+DECKER Jig Saw (new model)
- Craftsman 10″ Table saw (with upgrades)
- DeWalt Palm Sander 1/4 Sheet
- DEWALT Sliding Compound Miter Saw, 12-Inch (DWS779)
- Kobalt 25-ft Tape Measure
- IRWIN QUICK-GRIP Pipe Clamp, 1/2-Inch (224212)
- Metabo HPT Brad Pneumatic 18 Gauge Nailer
- Metabo HPT 1-1/2 Inch x 18 Gauge Brad Nails
- SKIL 3320-01 3.2 Amp 10-Inch Drill Press (out of production – links to similar bench top models)
- Stainless Steel Corked Backed Metal Ruler
- Titebond II Glue
I hope you find this video useful and can use some of the tips presented. Feel free to leave any comments, suggestions, or experiences you have had below.
Some of the links in my video description and article above are Amazon Affiliate links. As an Amazon Associate, I earn from qualifying purchases. If you would like to make a different purchase from Amazon, you can also use the storewide link.