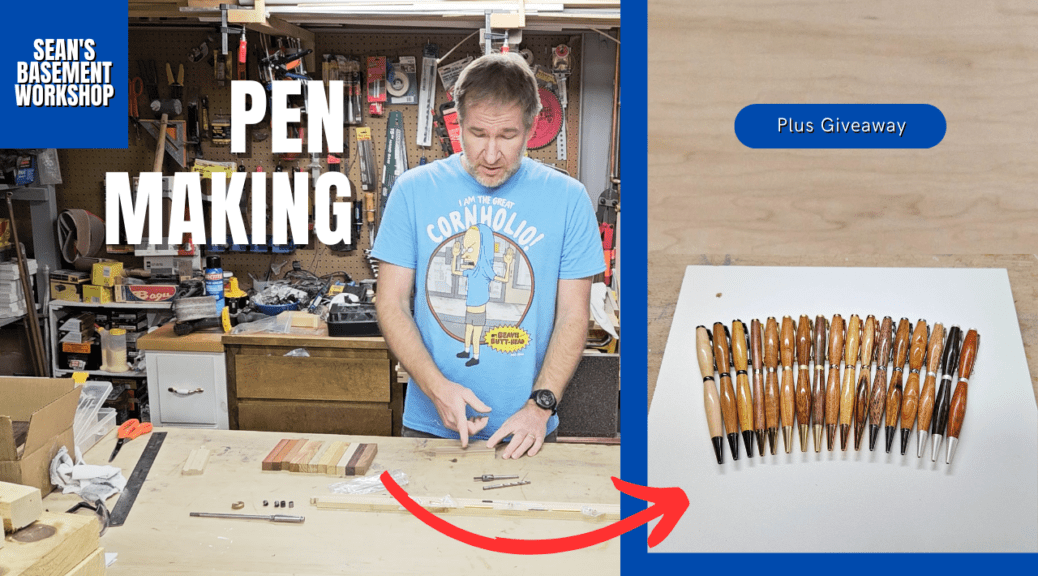
Have you ever thought about turning pens on a wood lathe? Well, it’s quite simple and doesn’t require a lot of fancy tools. You can turn whatever shape pen you desire generally in less than 30 minutes.
In addition, for those who are interested, I’m going to give away one pen that I made. Find out more below in the Giveaway Contest Section.
Don’t get me wrong, there are a few specialized tools you will need. I’ll go over those here and what each one is used for.
Required Tools (Affiliate links in Material Section):
- Wood (or something to turn) – Wood is generally the easiest thing to turn and best for beginners. You can also use Acrylics or other materials as your pen base. These can come in pre-made “blanks” or create your blanks. Just make sure they are stabilized.
- Lathe – A mini lathe is just fine for this purpose. I have a Craftsman benchtop model that I picked up many years ago.
- Lathe Chisels – I use just my roughing gouge and a skew.
- Pen Mandrel – This is a specialized tool that goes onto the lathe. You’ll need to get a pen mandrel to fit whatever pen kit you are going to make.
- Pen Bushings- These will vary depending on the kit you’re going to use. The kit you choose will tell you what size to use. For example, for a slim-line pen kit, you’ll want to use 7mm bushings
- Pen Mill Barrel Trimmer – This specialized drill bit will allow you to clean any CA glue out of the brass tubes and flush the turning stock (wood, acrylic, etc) down to the brass tube ends.
- Pen Kit – Pen kits are generally best for beginners. They have all the pen hardware necessary from the brass tubs, the tips, ink refills, spacer rings, and clips. Slimline kits are the easiest to start with.
- Drill Bit – This drill will be used to drill the hole through the turning stock so the brass tubes can fit it. Its size will be specified in the pen kit you choose.
- Sandpaper – This is important. It will provide the base for the finish. Typically, I use 100, 150, 200, 300, 400, 600, 1000, 1,500, 2,000, 3,000 grit papers. At around 600 I start to wet sand. There are sandpaper kits for pen making if you want a ready-made kit.
- CA Glue (thin and medium) – While not necessary (as you can see in the video below), using this will create a much better finish.
- Polishing Compound – Some sort of polishing compound. I use Meguiar Automotive Polishing Compound. This will help create a shiny finish.
- Wax – I have found and used Renaissance Wax. This stuff will go a long way and help keep the finish shiny while keeping fingerprints off.
- Pen Press (or some clamps) – While you don’t need a pen press you will need something to press the pen kit parts into the brass tubes. I use a 1/2″ diameter steel rod in my drill press.
- Denatured Alcohol – used to clean ALL dust from the pen.
Okay. Now that we have a basic ingredient list to make a pen, let’s start. The first thing we need to do is select some wood. This will generally will be about 3/4 x 3/4 inch square and about 5-6 inches long. We need it long enough that we can insert the brass tubes into it.
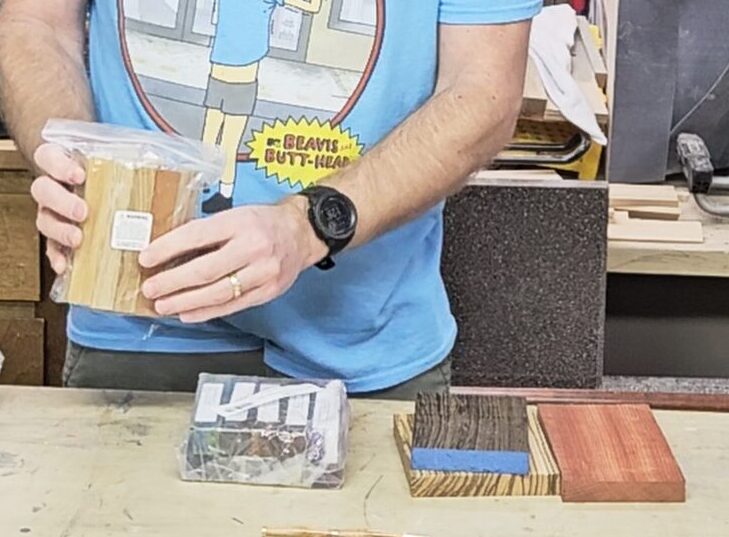
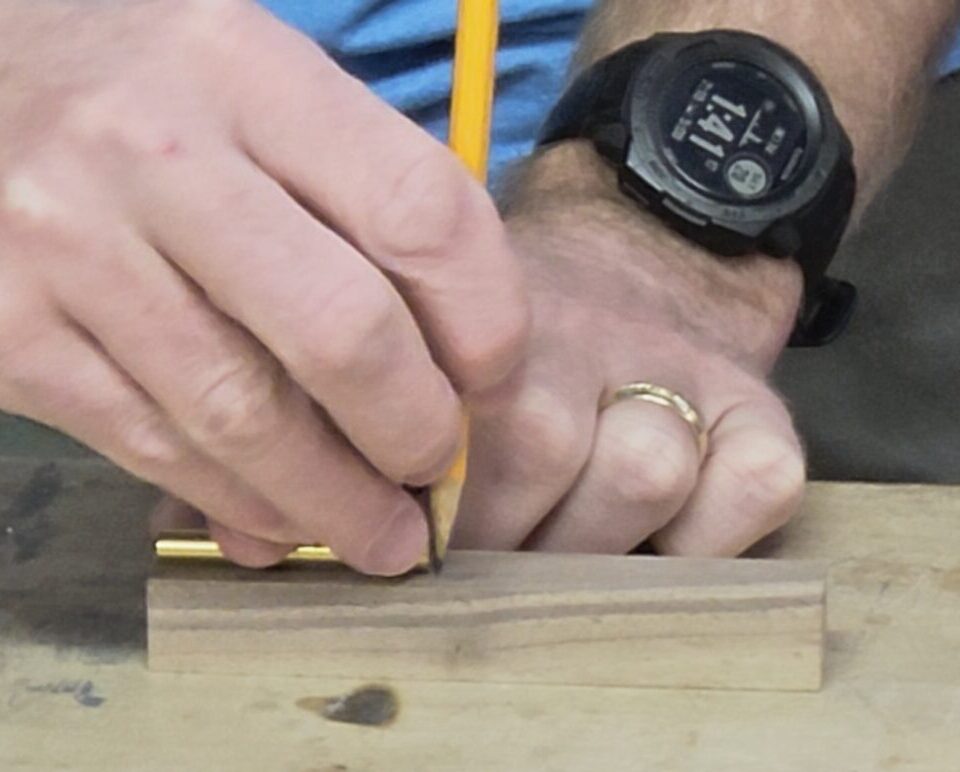
To do this, the first thing we need to do is put the brass tubes on the wood and mark a line where we want to cut. We want to cut the wood into pieces that are 1/16 to 1/8″ longer than the brass tubes. Much more and you’ll have a lot of pen milling to flush up the brass tubes with the end of the wood. Before cutting I recommend putting a line on one side so you can match up the grain later.
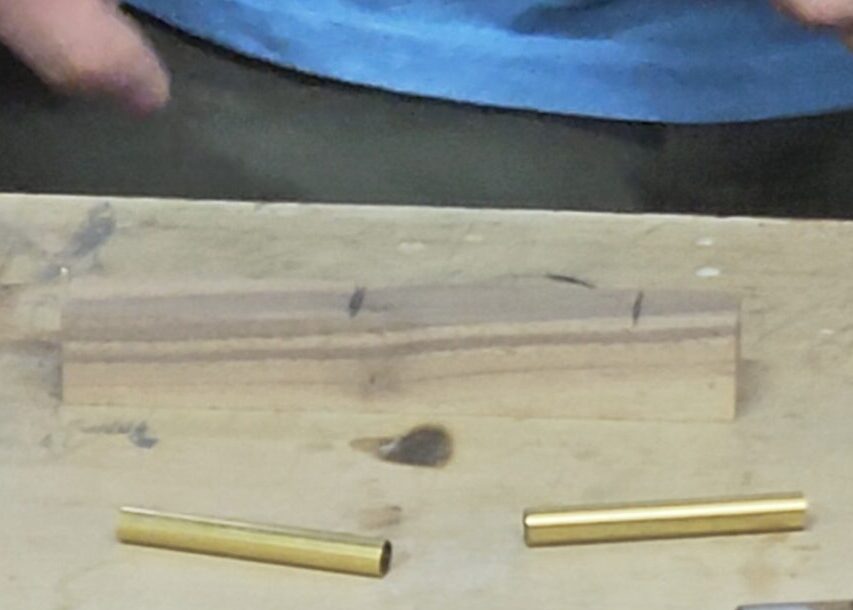
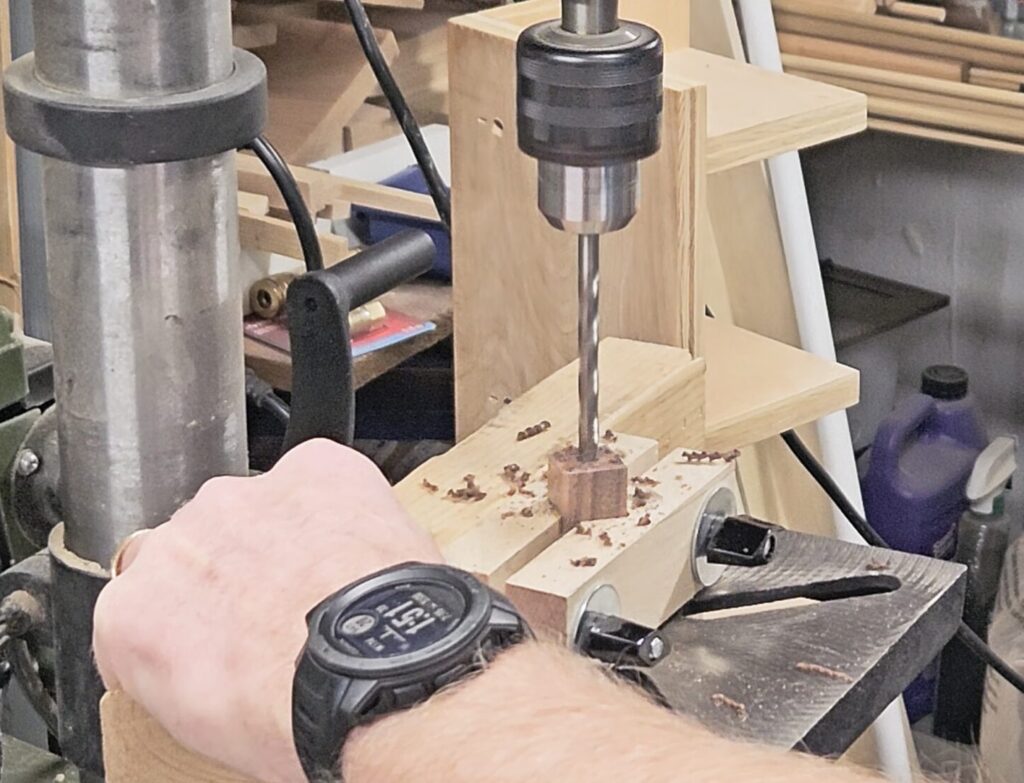
Once you’ve cut the wood into sections you’ll want to use something to hold the blank halves vertically to drill a hole through the center. I use a custom-made jig here to hold it vertically but you can also use a clamp or a pen vice.
Once this hole has been drilled using a drill bit (again, 7mm for slimline kits) you want to insert the brass tubes into them. However, do not just insert them first, you’ll need to scuff them up with some sandpaper so the CA glue will adhere best. Then put medium CA glue on about 1/2″ of the outside of one end and work it into the hole, turning it back and forth and sliding it in. The object here is to ensure the glue is evenly spread around the entire length of the brass tube as you insert it into the hole you drilled. Push it in so it’s just barely below the surface (or evenly in the blank). Let this dry for several hours if not overnight. I generally let mine go overnight so a good bond is ensured.
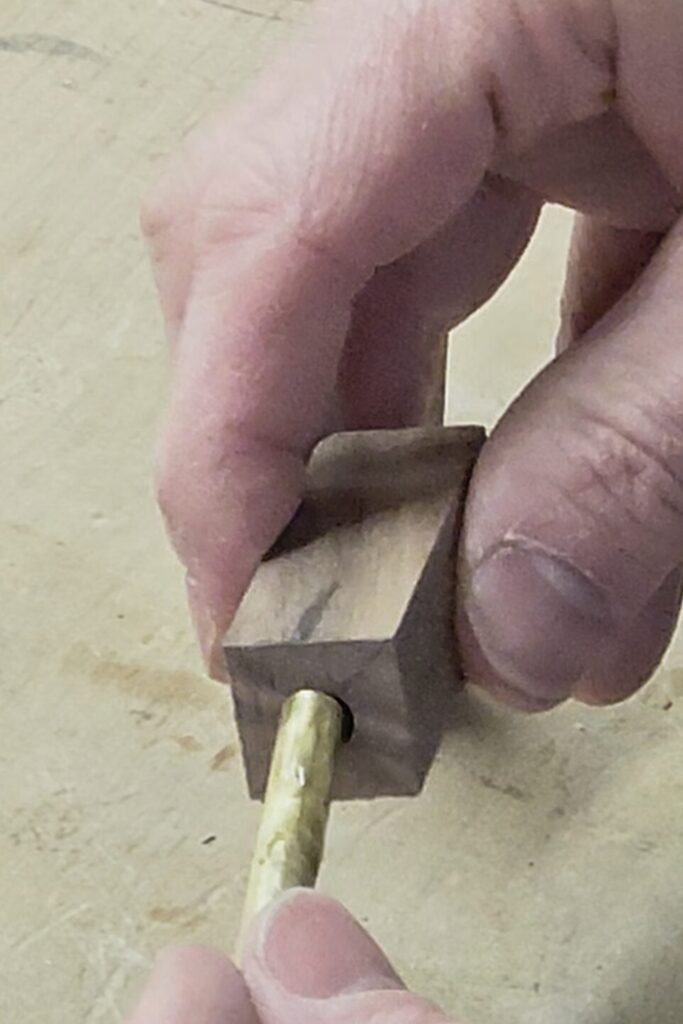
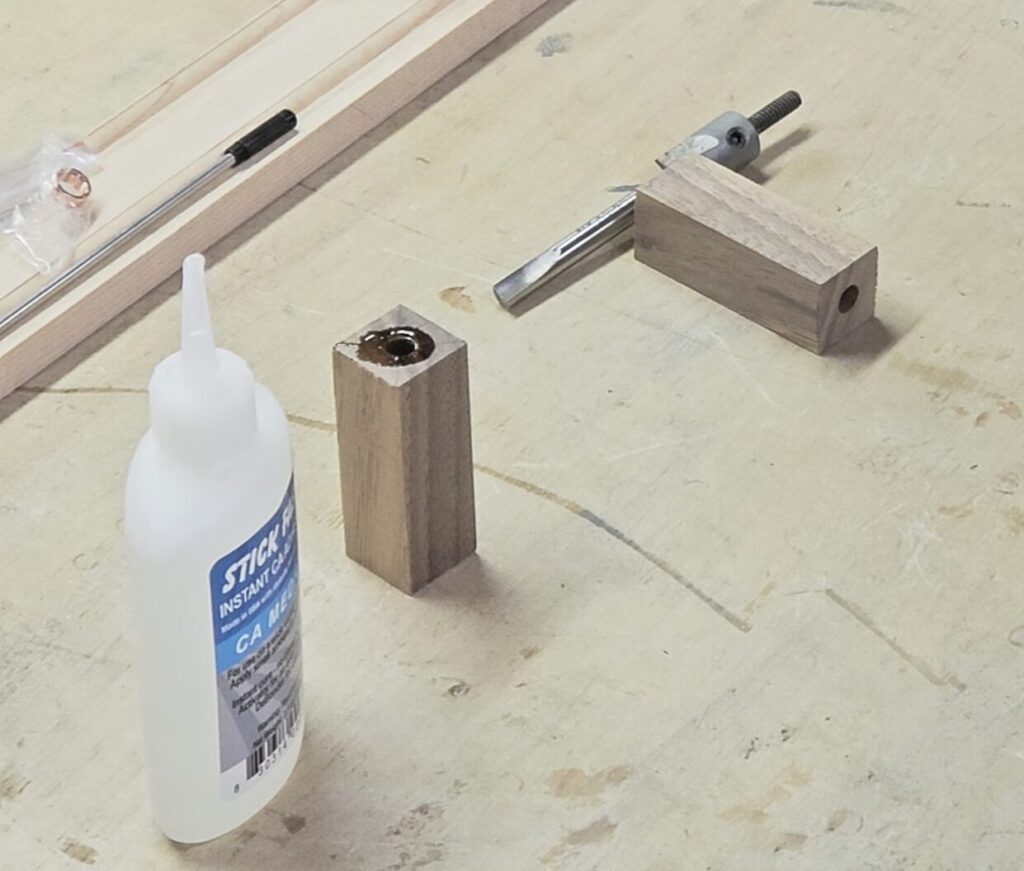
Now that everything is dry you’ll need to use the pen barrel mill to drill out the the wood down to the brass tube. Take care not to drill the brass tube as this can make it too short for the kit. I recommend putting the pen mill in a drill and using a clamp to hold the wood blank. Again I use my homemade jig. The important thing is to allow the blank to move and adjust to the pen mill so the hole does not drill wonky and is parallel to the brass tube.
TIP: Using a sharpie or something else, mark on the inside of the brass tube where your grain alignment mark is. After you turn on the lathe, that mark will be gone and you’ll still need a way to align the grain. This mark inside the brass tube will allow that.
Brita Standard Water Filter for Pitchers and Dispensers, BPA-Free, Reduces Copper, Cadmium and Mercury Impurities, Lasts Two Months or 40 Gallons, Includes 3 Filters for Pitchers
$16.16 (as of July 4, 2025 20:51 GMT -05:00 – More infoProduct prices and availability are accurate as of the date/time indicated and are subject to change. Any price and availability information displayed on [relevant Amazon Site(s), as applicable] at the time of purchase will apply to the purchase of this product.)Now, once all that is done, in this order put these parts on the pen mandrel. bushing, blank, bushing, blank, bushing, mandrel screw end (or mandrel saver if you’re using one). Slip the assembly into your lathe.
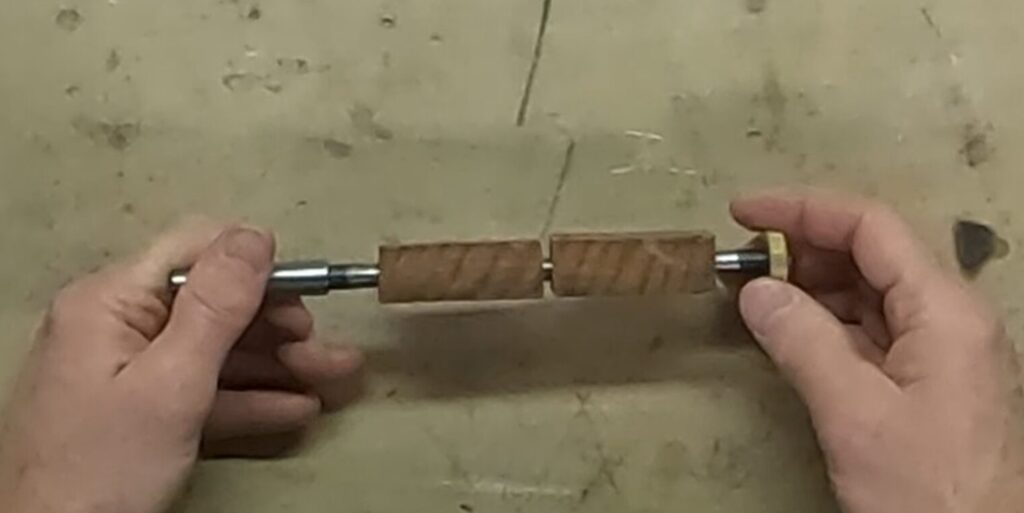
At a medium speed setting you want to round over you’re blank and from there you can shape it however you want. You just need to make sure the end of the blank is flush down to the bushings.
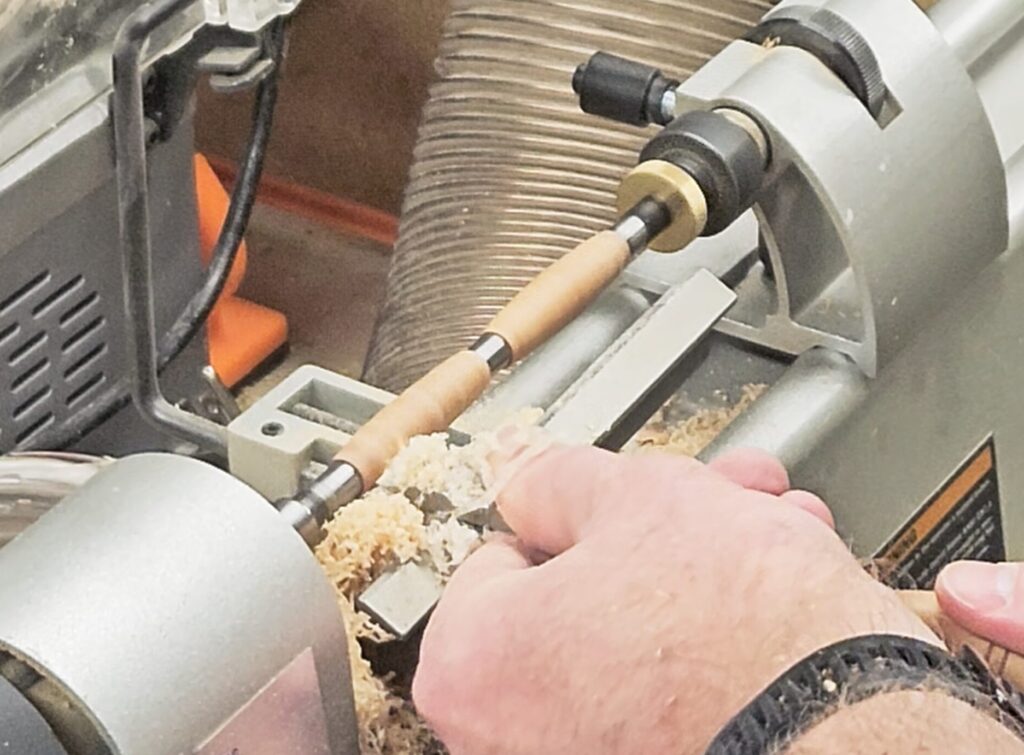
Once done using the lathe chisels you’ll want to sand it down. Start at 100 grit while the lathe is running. Turn it off and sand with the grain. Repeat this process until you get up to about 600 grit.
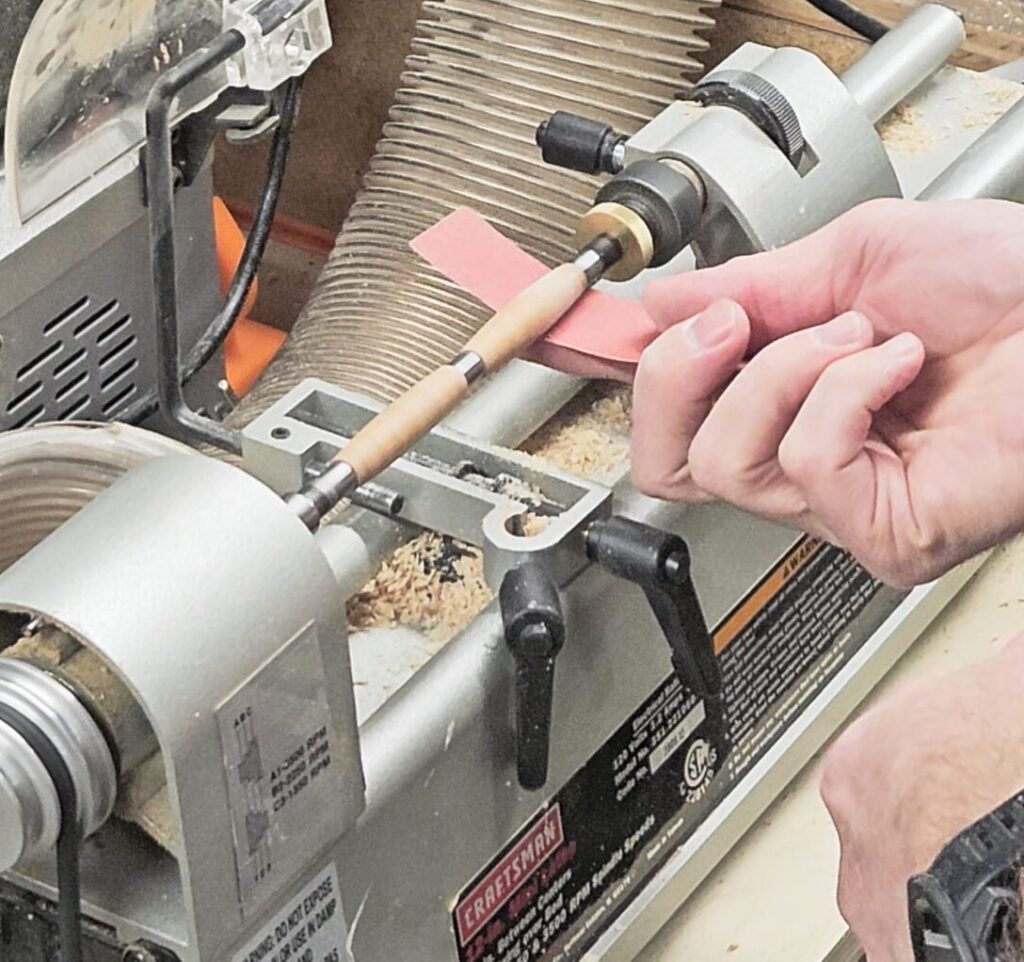
Now, take some denatured alcohol and remove ALL dust. If you do not remove all dust you’ll end up with white spots in your finish and the only way to get rid of them is to resand. Continue to use clean wiping clothes and alcohol until nothing more comes off.
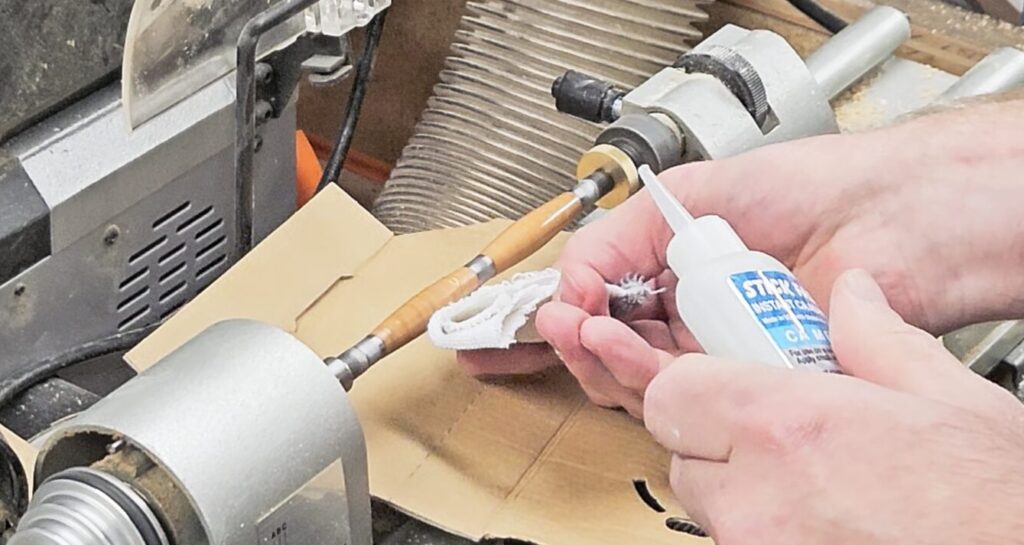
Once this is done, I do is put on 5 coats of thin CA glue by applying it to a paper towel piece (the blue shop towels work great). To speed up each layer process you can use CA Activator. This process soaks into the wood and pores and closes them up.
Now, after that is done apply 5-7 coats of medium CA glue just like the thin CA process.
Once this is done, you’ll start standing over again. Start at 100 or 150 grit working your way back to 600 grit. Remember to top and sand with the grain in between each grit to remove the spiral sanding marks. Do not sand too much otherwise you’ll sand away all the CA glue and need to re-apply CA glue again.
After you get to 600 grit I start wet sanding. I do this up through 3000 git although you can go much higher if desired. This can get messy so I recommend putting a piece of cardboard down to protect the area from sling off.
Once you reach your final grit you should have a smooth surface. Wipe it down thoroughly. Now, apply some polishing compound to a rag or shop towel and apply to the pen at high speed on the lathe. This coat is to polish it down some but not too hard. Using a clean towel now polish it off. Repeat this process at least once more. By now you should start seeing a nice shine form. If not, you’ve either sanded or burned through the CA glue.
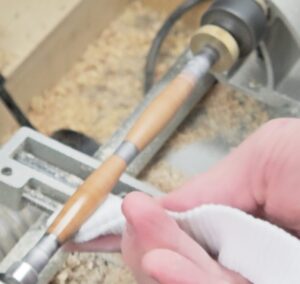
Now, using the Renaissance Wax, wipe a good coat on. With the lathe running at high speed wipe it off. Repeat at least once more.
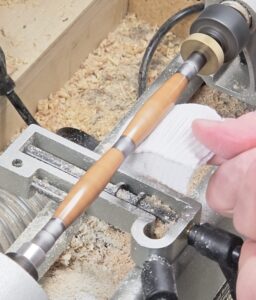
Take the pen off the lathe and back to your work area. You’ll need to separate the individual pieces as the CA glue may have glued the bears to the wood stock. A quick tap on something like metal will break the bond.
Now, holding the pen pieces vertically sand the ends to remove anything that will not provide a clean surface down to the brass tubes.
Now, you’ll want to open up your pen kit and start the assembly process. I start by pushing the pen tip into one blank half. Then I move onto the transmission of the pen pressing it in down the the bevel ridge. Do not press too far otherwise the pen refill will not retract all the way. Test it out by putting the refill in and working it to see if it opens and closes far enough.
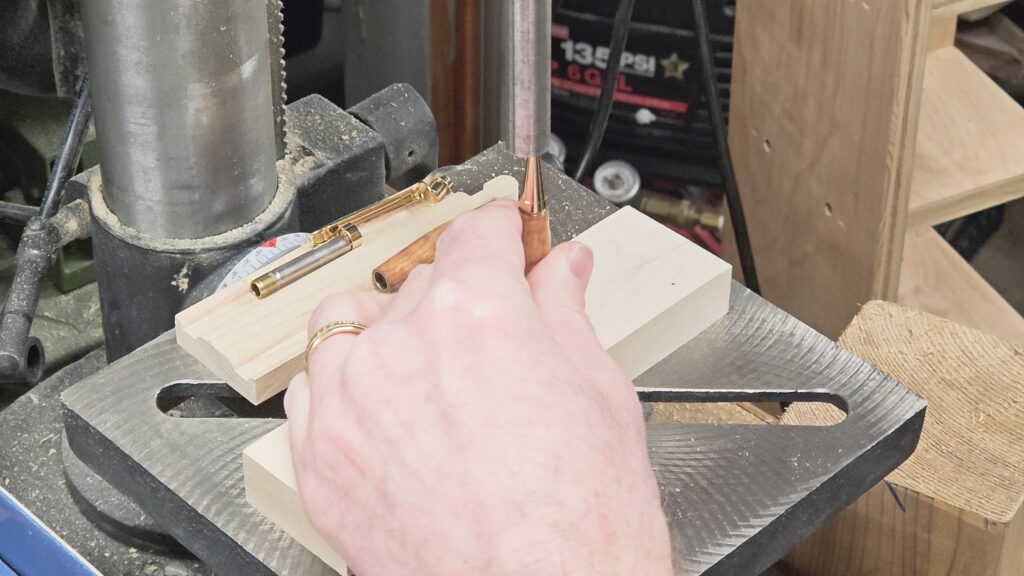
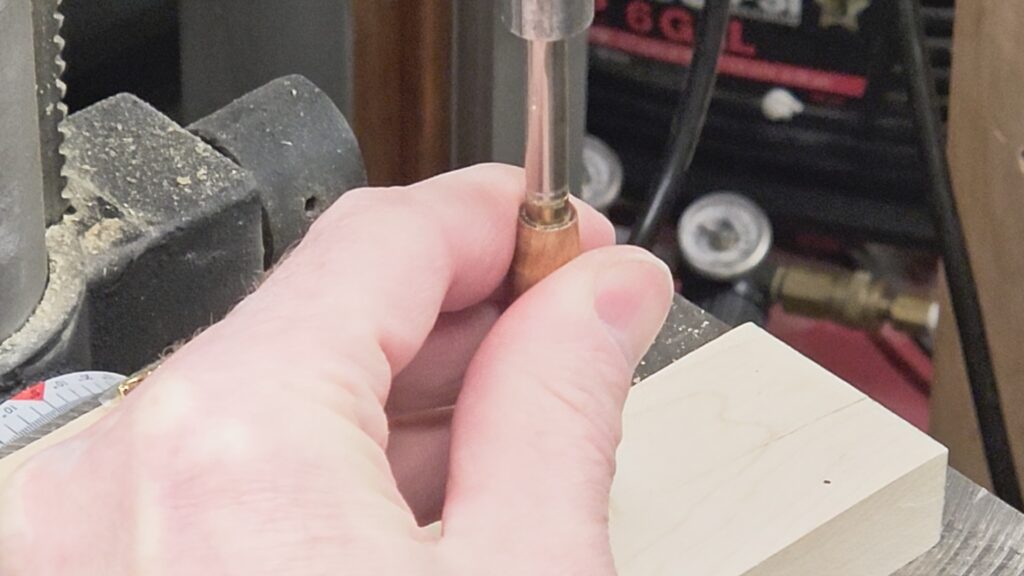
Now, take the other end and put the clip onto the cap. Push the cap into the pen’s blank end. Now, put the ring on the transmission and push the two halves together by hand.
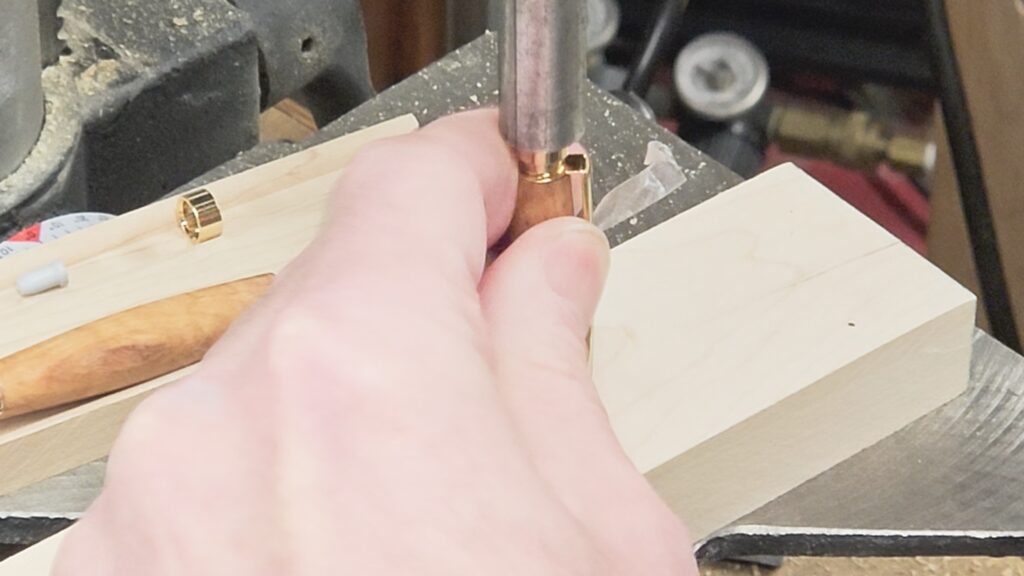
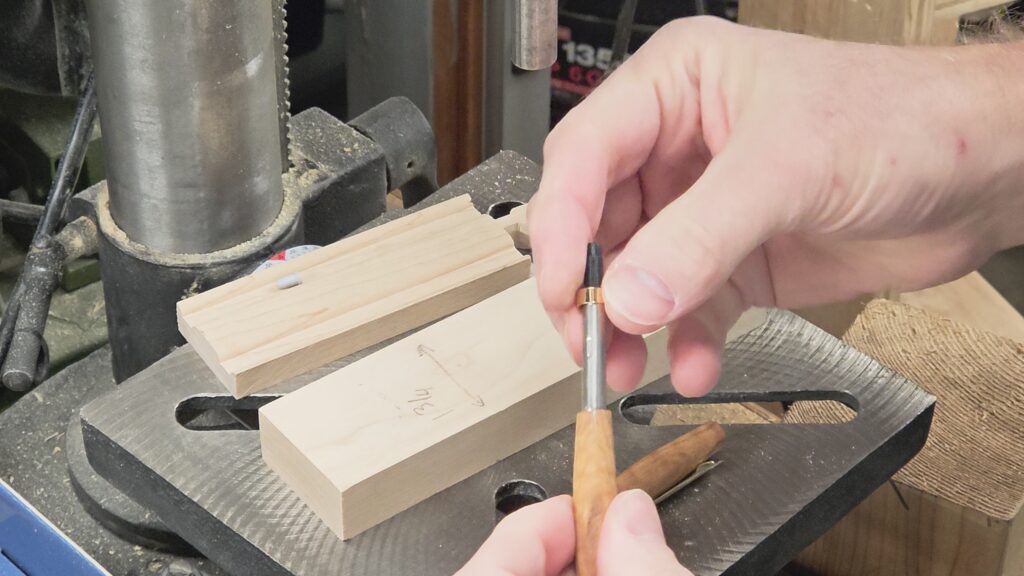
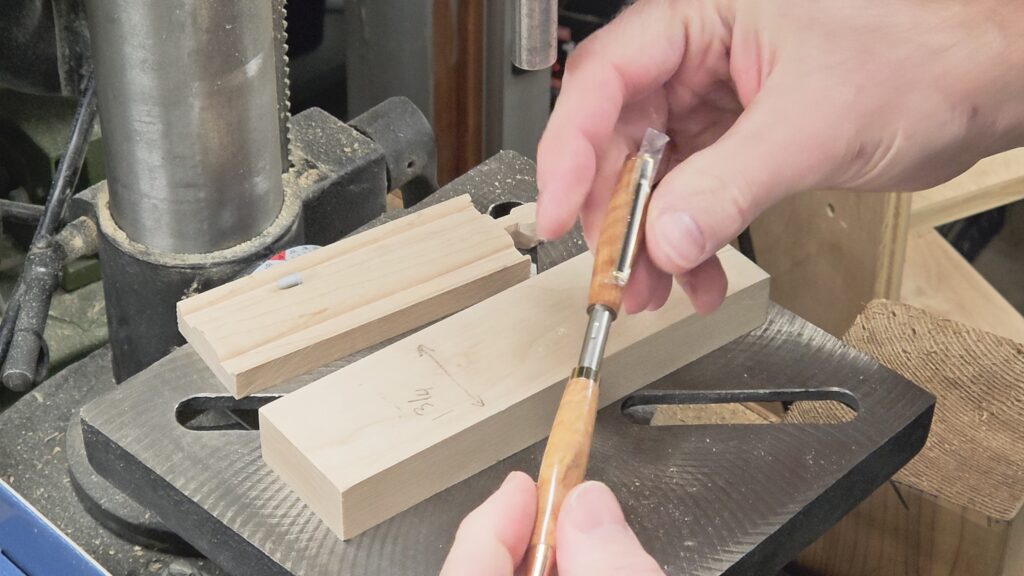
You’ve now finished making a Slimline pen.
Equipment and Materials
Giveaway Contest
If you made it this far you may be interested in the Giveaway Contest. Be sure to watch the entire video below to know how to enter. Content Rules are located here.
I hope you find this helpful video useful and can use some of the tips presented. Feel free to leave any comments, suggestions, or experiences you have had below.
Some of the links in my video description and article above are Amazon Affiliate links. As an Amazon Associate, I earn from qualifying purchases. If you would like to make a different purchase from Amazon, you can also use the storewide link.
Auto Amazon Links: No products found.
