What is a drawer box? Simply put it is the part of the drawer that forms the box shape. Drawer fronts on the other hand are the decorative fronts that go onto that draw box and you see from the front of the cabinet.
This article addresses the first – the drawer box and while you may think just slapping four sides together with a bottom creates one, there’s actually more that needs to go into the process than that to create a sturdy and strong drawer box that will last through all the use it will get.
So how do we go about making one? Well, let’s first start by choosing our drawer slides. It may seem a little backward but keep in mind the width of the drawer box is not only determined by the drawer opening but also by the slides that it will ride on. If you choose side mount drawer sides, for example, you will need to subtract the manufacturer’s specified amount from each side of the drawer opening before getting the width. If you’re going with concealed under-mounted slides, you’ll need to subtract the specified amount from the height but can go wider than side mount slides.
Now that I’ve got all the confusion cleared up let’s get down to how I made these particular drawer boxes using concealed under-mounted slides.
So I chose BLUM 21″ Tandem Plus Blumotion slides. These slides are by the same manufacturer as my door hinges and are pretty high quality from what I’ve seen and read. I chose 21″ slides because I wanted my drawers to go the full depth of the base cabinets – not just part of the way. In addition, the particular slide is a full extension which allows the drawer to come all the way out of the cabinet, and thus you’re able to get to those hard-to-reach back parts of the drawer where things go to get lost. They match the door hinges in the fact they also have a built-in soft close feature so no additional hardware is needed.

So whatever slides and manufacture you choose, start there first. Then you can begin the process of laying out the width and height of the drawer box.
Because I’m going to use a Drawer Lock Router Bit, I’m choosing to make my sides, fronts, and backs from solid Maple. While you can make them from Baltic Birch or other woods, this particular drawer lock bit does not act kindly to plywoods – it causes a lot of chip-outs.
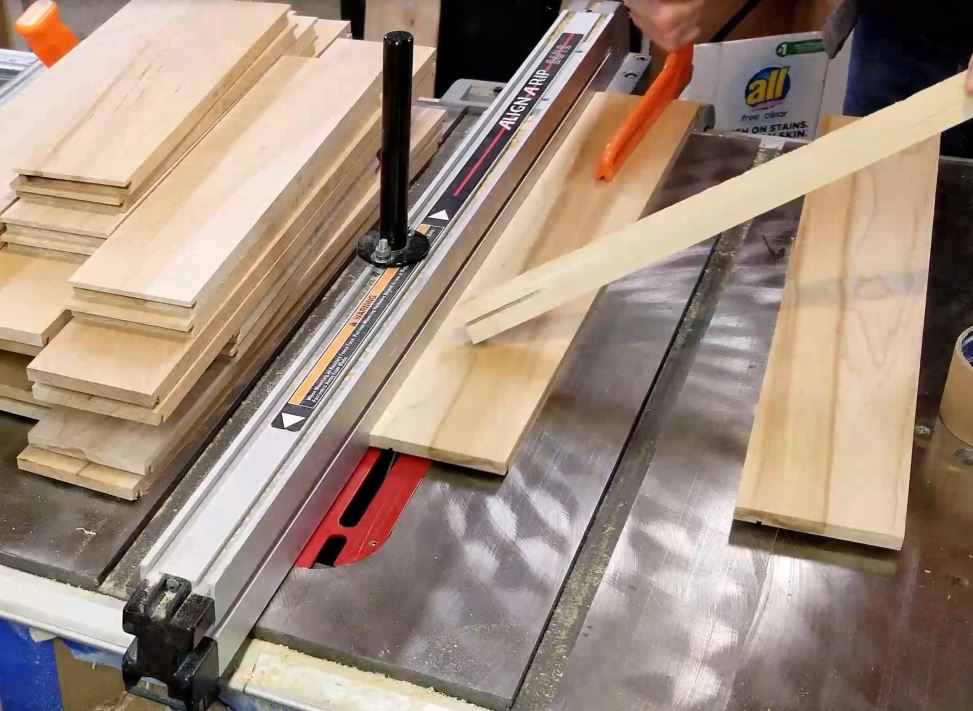
I select 1/2″ Maple for all this verticle stock and rip it to the appropriate width. Now, BLUM specifications after say to leave 1/2″ under the drawer box for clearance which in reality would make my sides 3 5/8″ sides but 3 1/2″ is easier to work with so that is what I went with.
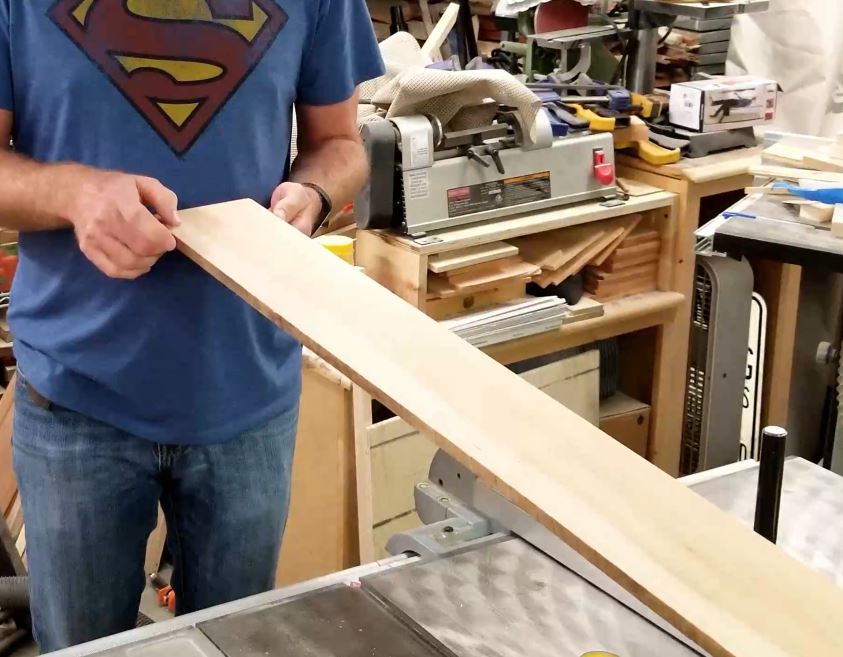
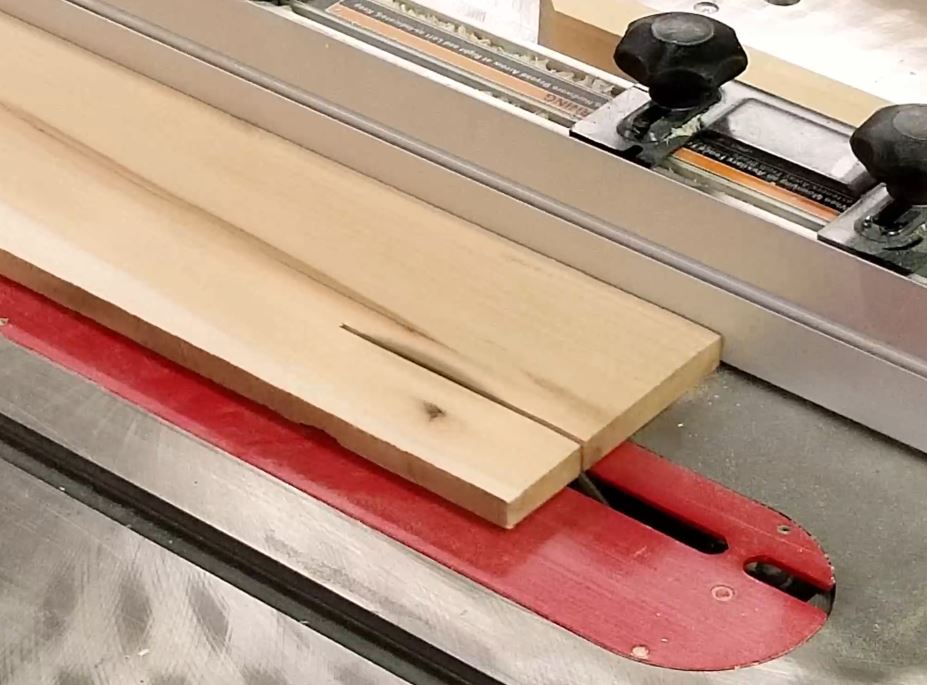
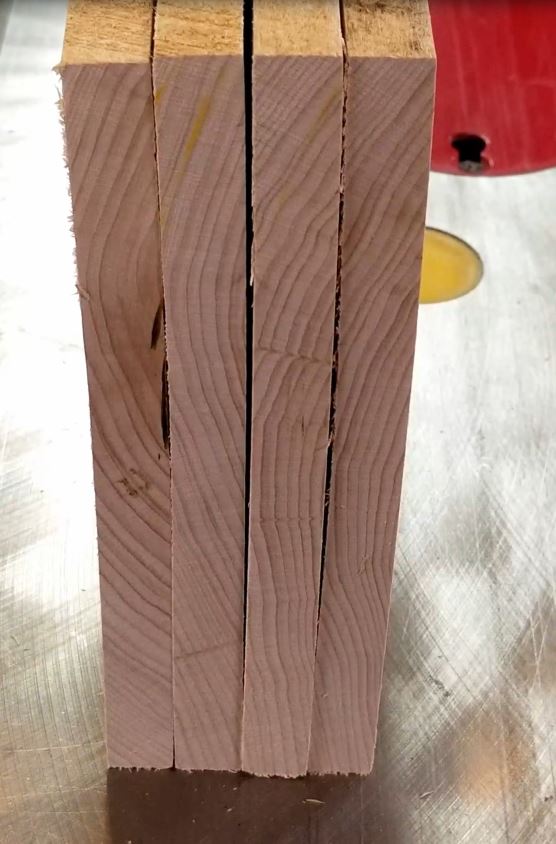
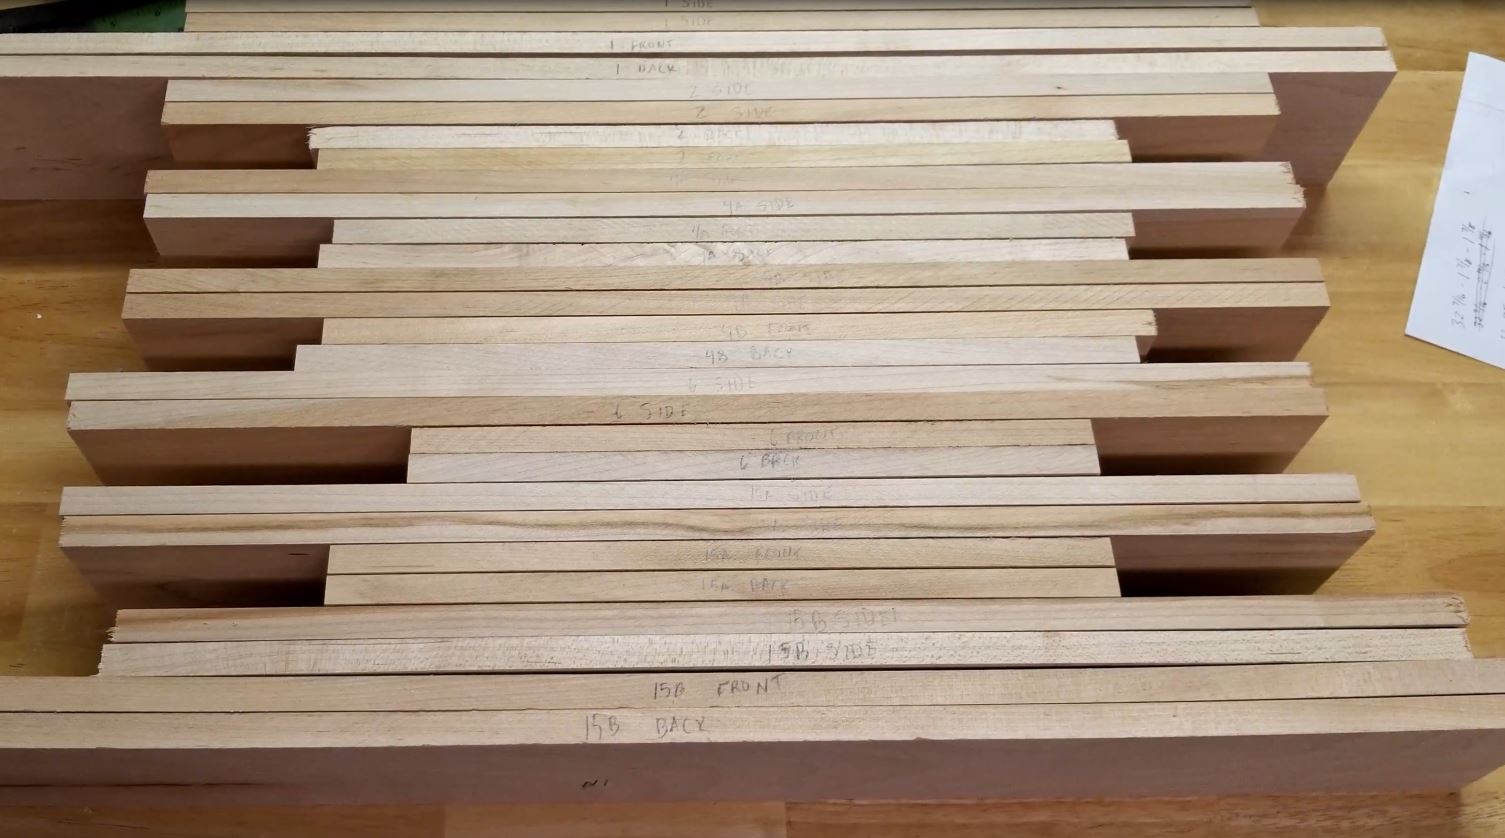
I rip enough stock to cut out the fronts, backs, and sides. I currently leave my sides oversized at 21″ long knowing that I’m going to have to trim them down but want to make sure the lengths are perfect for the draw lock joints that will be cut into each end. Some of my drawers are deeper than 3 1/2″ and because I was using real Maple cupping was going to be a problem. To solve this I simply ripped the larger stock into several smaller strips, jointed them on my jointer to create a gluing edge, and glued them together to form a panel. This would remove and prevent any future cupping. I also cut the fronts and backs to the exact length. I label my pieces accordingly and hide any imperfections in the wood either in the back or front (that will be covered by the drawer front) so they are not seen.

My next step is to set up the drawer lock bit so that I can cut the fronts and backs. I do so following the manufacturer’s recommendations for the height and fence setbacks. I run a few test pieces through and ensure it’s going to create the correct cut before doing my actual fronts and backs. I initially started without a backing block but quickly learned that it either caused a little chip out or a little peeling that would need to be cleaned up so I started using one to prevent this.
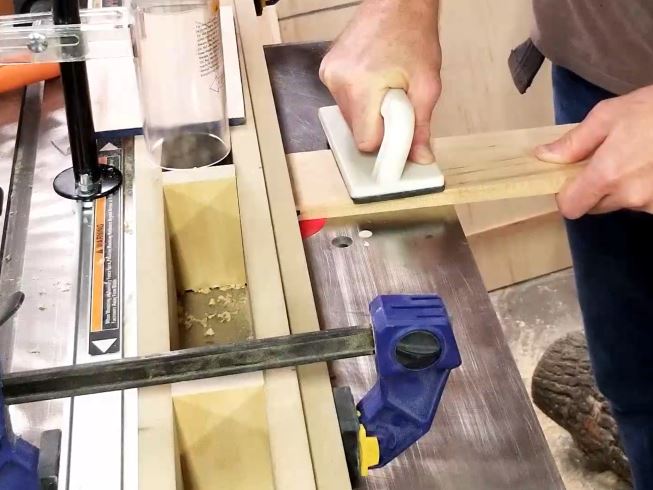
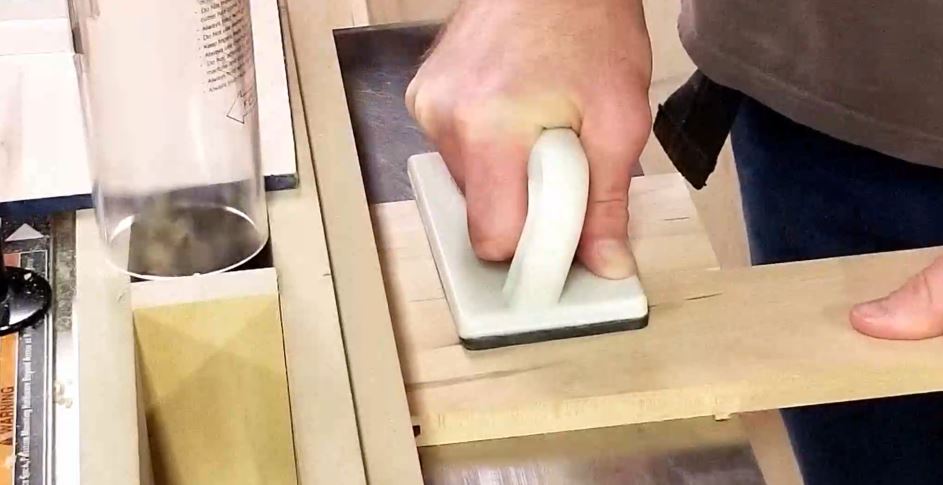
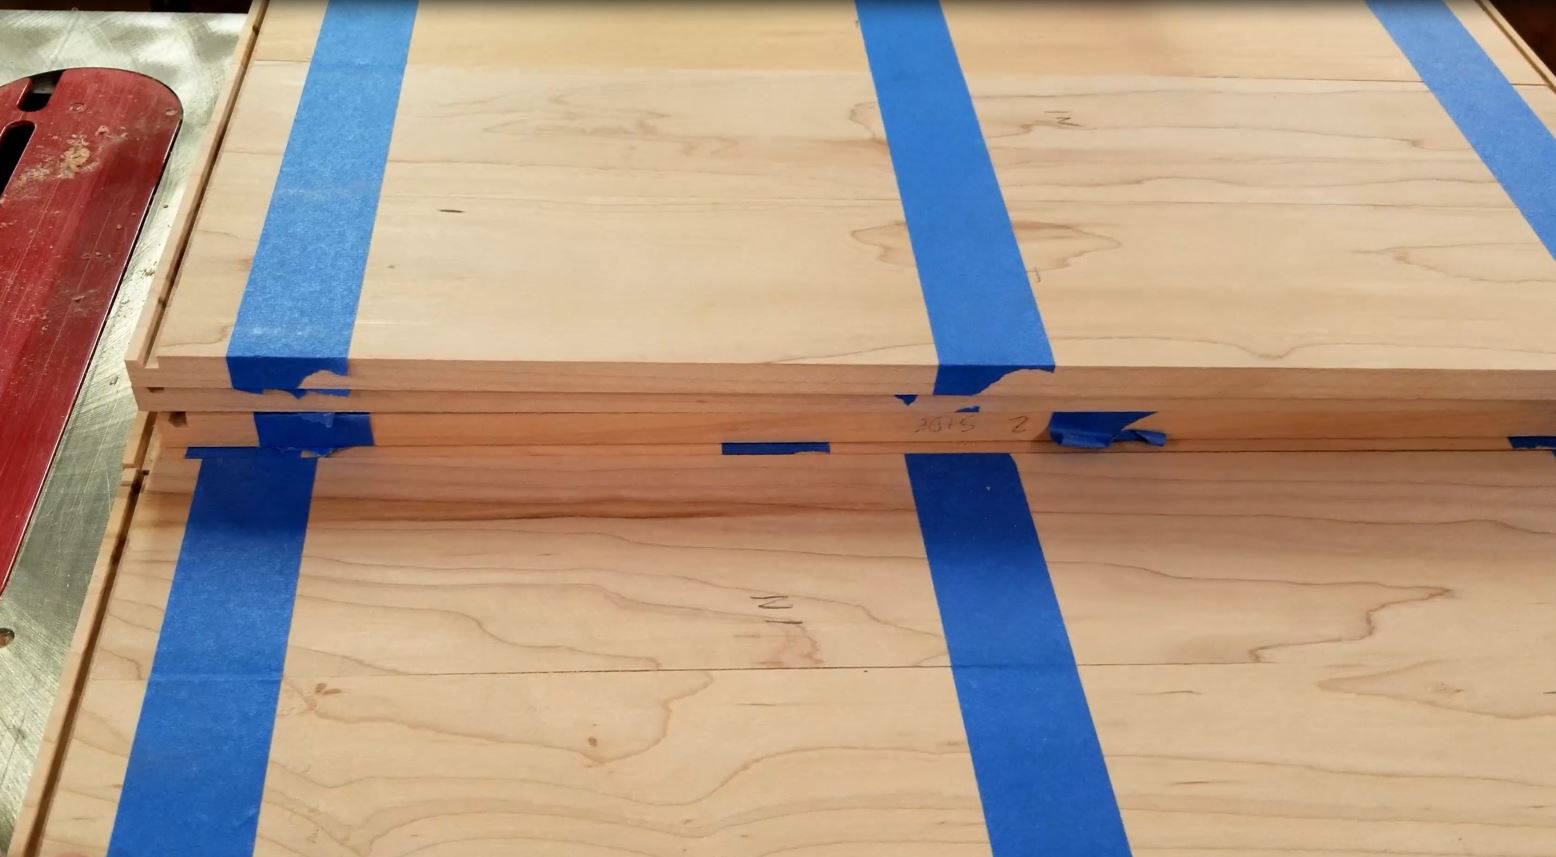
After cutting all the fronts and backs then I had to adjust the router fence only. The height of the bit was already set and now I needed to use my Milescraft 1407 D/TFeather Board to hold the material up against a tall fence as the drawer box sides need to be run vertically. I used painter’s tape to tape several sides together to create larger panels which created more stability when routing vertical like this.
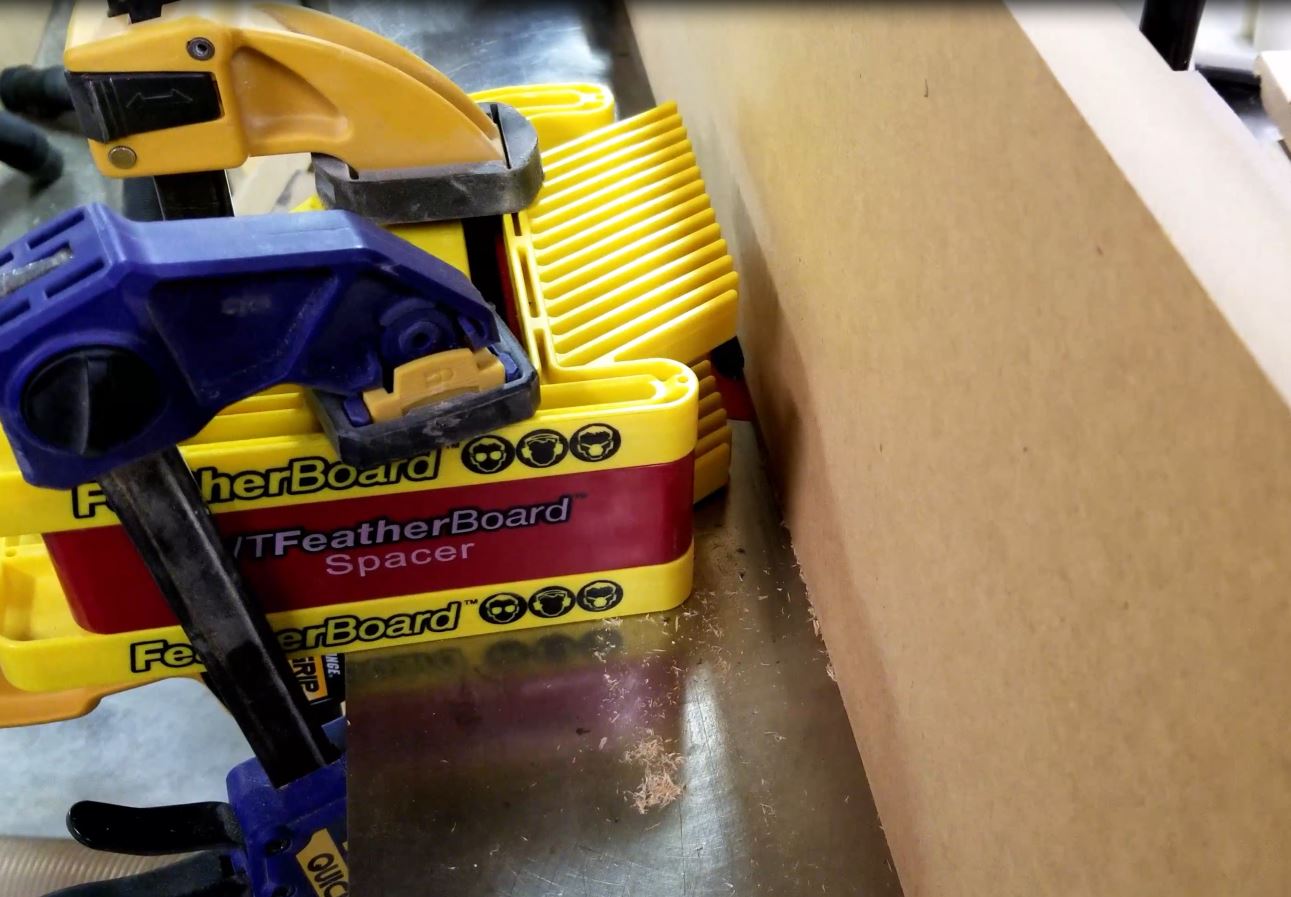
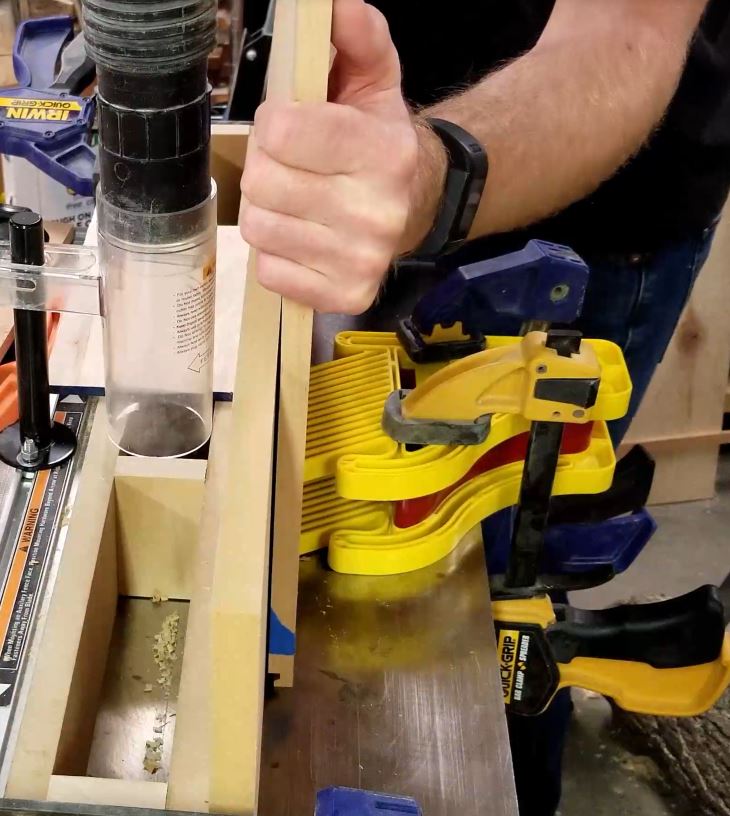
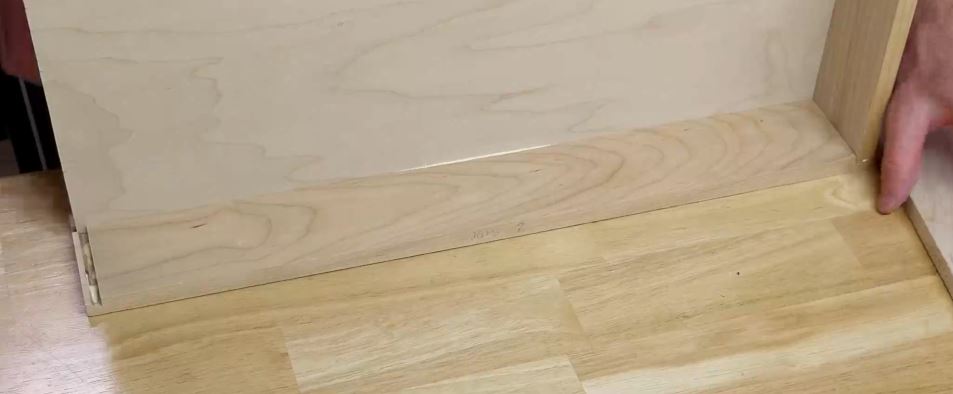
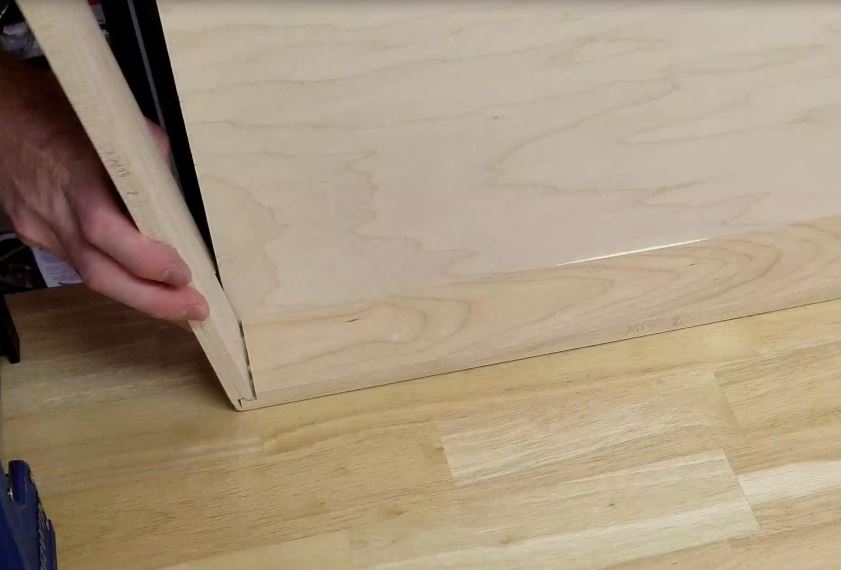
I made several passes each getting progressively deeper into the stock until the side and front/back pieces “locked” together. At this point, I was done routing the boards.
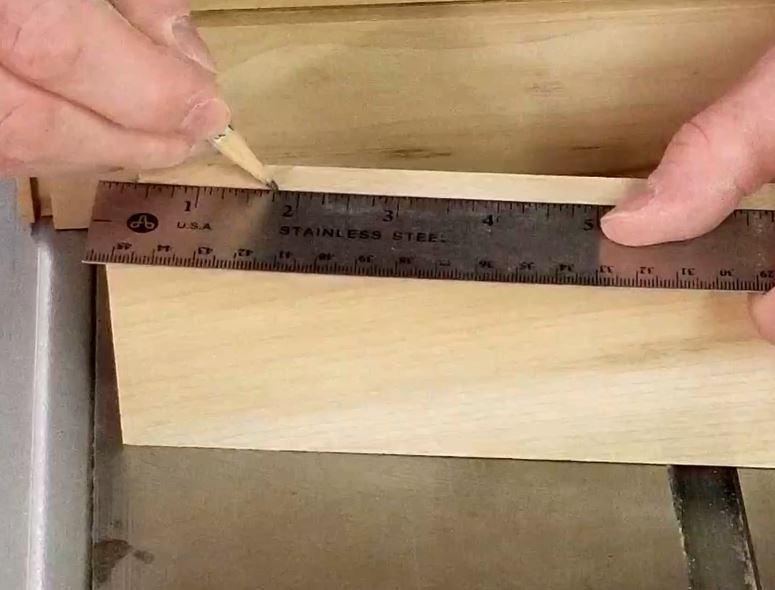
The next step was cutting the 1/4″ dados around the interior of the front, back and side pieces of the drawer box. I cut this about 1/4″ deep and this would allow the bottom of the drawer to slide right into it. This dado was cut up 1/2″ from the bottom for my particular slides but measurements may vary based on yours. I didn’t use my dado blade for this but instead just made two passes until the bottom would fit in.
Once done cutting the dado I measure the size for the bottom of the drawer panel. I cut all the drawer bottom panels out of the same 1/4″ material I used to make my door panels and back panels for my cabinets. Even at a 1/4″ thick this bottom panel would support anything put in the drawers because my slides screw to the side and help support the bottom.
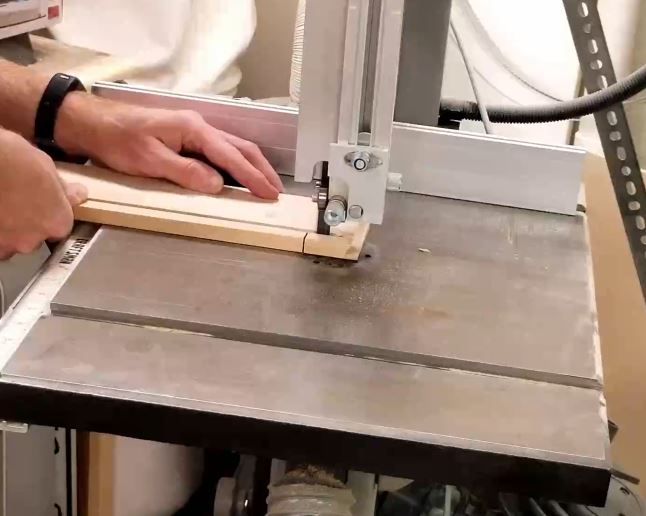
I dry-fit the drawer together to ensure everything looked good before following the specifications for the notch that needed to be cut out of the back stock piece. This allows for the drawer slide to come out the back at the bottom. Doing this at the bandsaw made pretty fast work of cutting all these little notches out.
Next is that fun task that everyone loves doing – sanding. I sanded down every piece of material that would go into making the drawer boxes because it is much easier to sand them down when they are not glued together. No need to try to get into corners, etc.
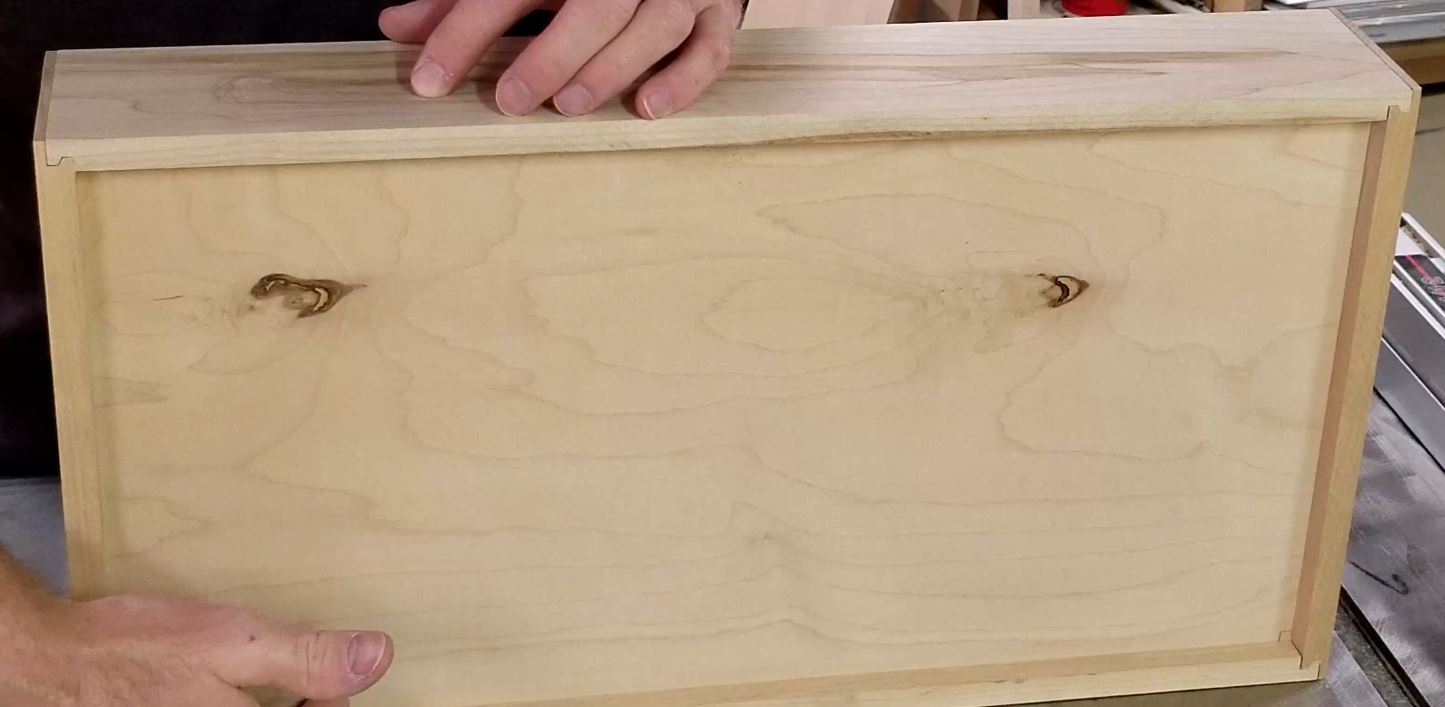
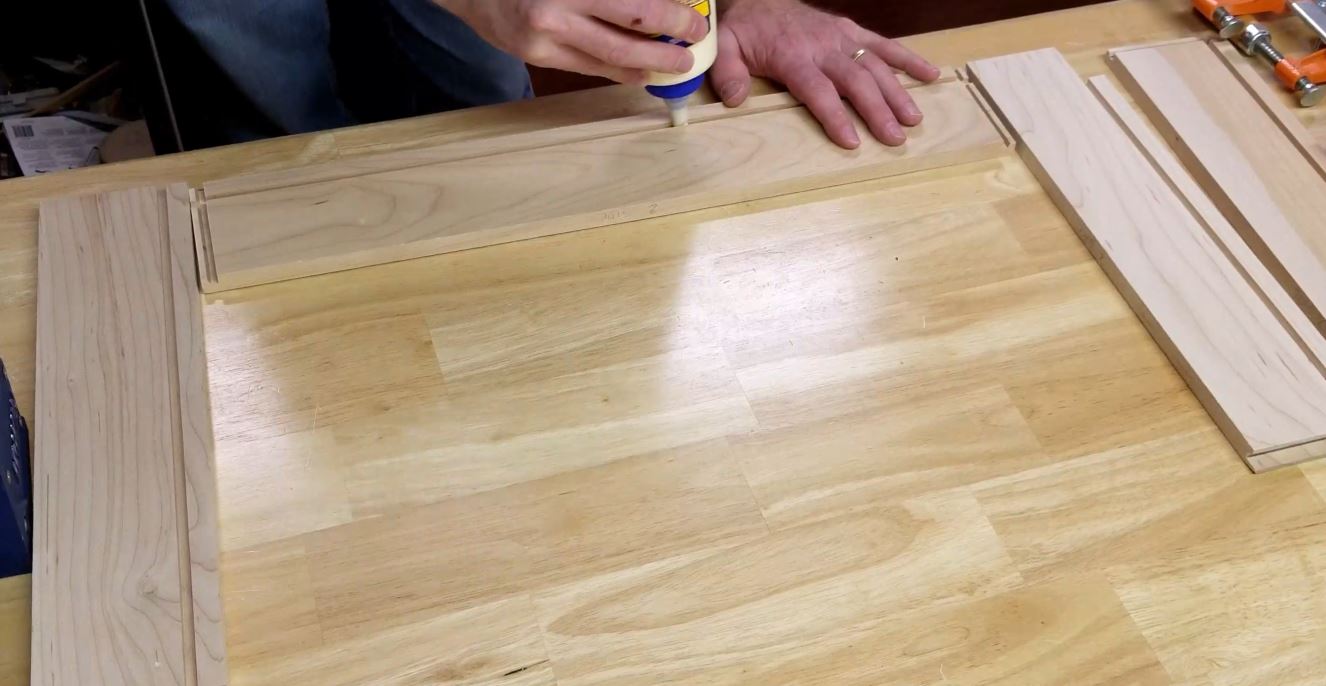
Once sanded I began assembling the drawer boxes. I added enough glue to both pieces of the drawer lock joint as well as about a 4″ bead of glue in the dado joints in the center. This would be plenty of glue to hold the vertical stock together and allow the panel to be held in place.
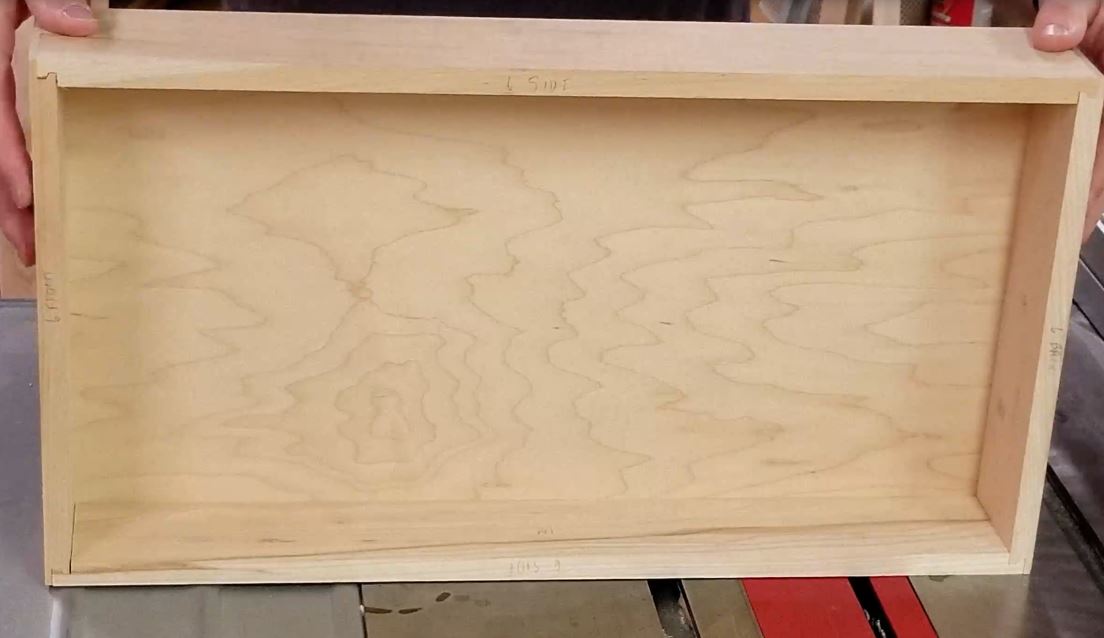
Finally, after fitting all the glued pieces together and cleaning up any glue squeezed out, I added clamps. I used my Irwin parallel clamps to the length of the drawer box and then used additional 24″ Steel Bar Clamps on the sides with some protective culls. This provided enough pressure to hold all the joints tight.
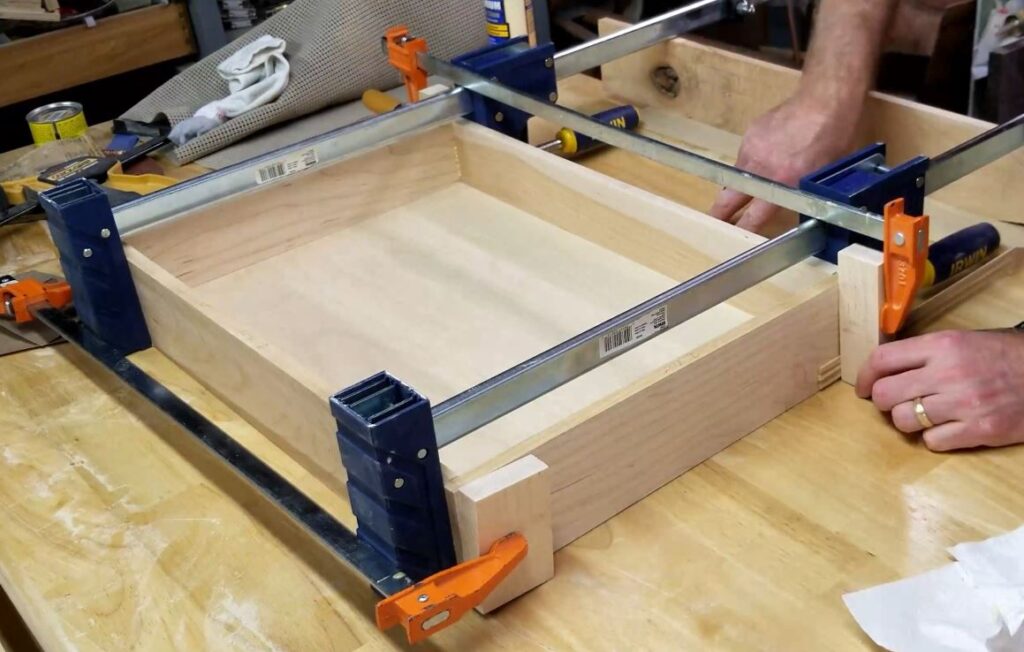
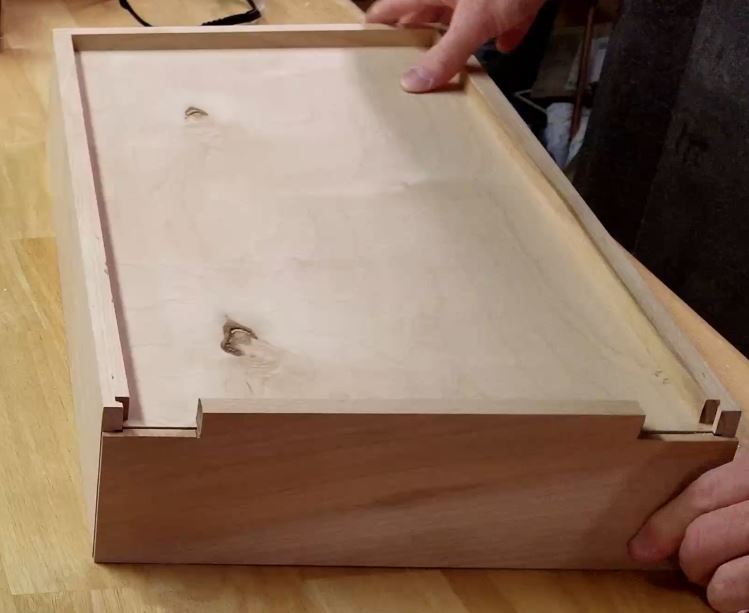
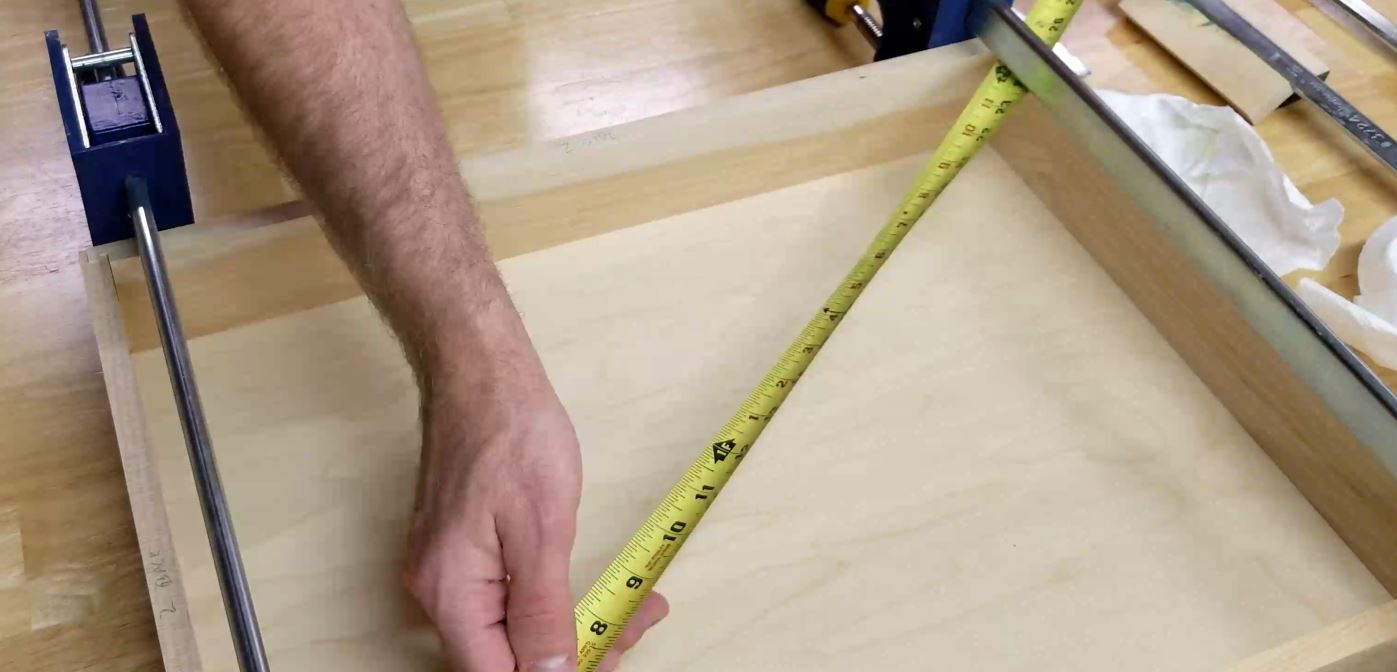
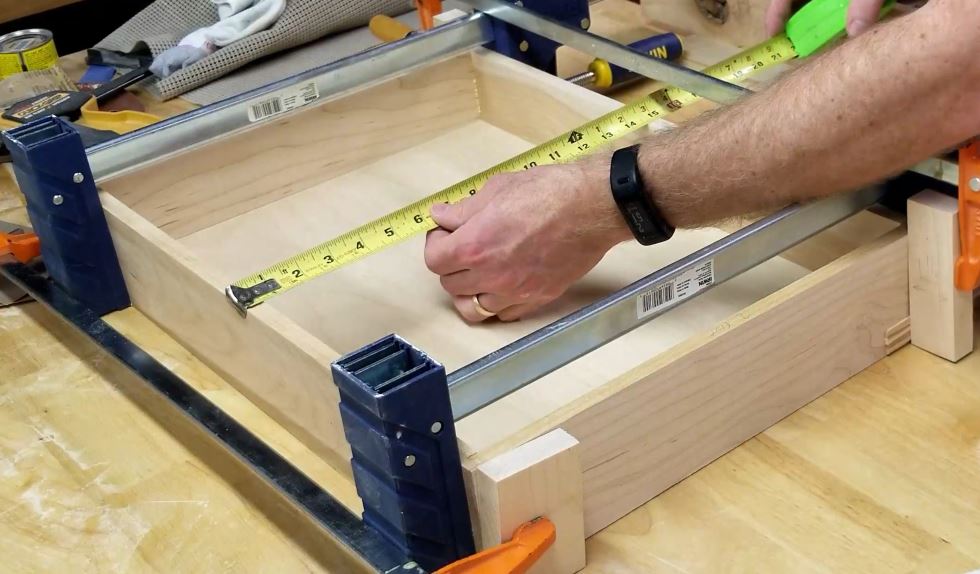
Lastly, I measured the diagonals to ensure the drawer boxes were square and most importantly I measured down the sides. This needed to be the exact same measurements at different points along with the drawer box because you don’t want the front to be narrower than the back, middle, or vice versa since this will affect the way your drawer slides in and out of the drawer slot in your cabinets. It will also cause drawer slide pinching which will not allow them to pull out or push in smoothly and can affect any soft-close features.
I did any final sanding where the joints were to create a nice smooth surface after I removed the drawer from the clamps.
That’s pretty much how I made the drawer boxes for my new kitchen cabinets. Just rinse and repeat until I had them all made.
As always if you have any questions or comments post them below or on my YouTube video comments section and I’ll do my best to respond.
I’ve included a few Amazon Links below for the equipment and materials I used. By clicking on any of the links in this article you help support my channel as I earn from qualifying purchases.
Equipment and Materials
*Disclaimer: While I attempt to list the equipment I use, some items have been discontinued or have newer models.
- Assorted Grit Sandpaper Sheets
- BLUM 21″ Tandem Plus BLUMOTION Drawer Slide Kit
- DEWALT Bar Clamp with Trigger, Medium, 12-Inch
- Drawer Lock Router Bit
- Eclipse Half Mask Respirator S/M
- HYDE 1-1/2-Inch Flexible Putty Knife
- IRWIN Parallel Jaw Box Clamp 48″
- IRWIN QUICK-GRIP Bar Clamp, One-Handed, Medium-Duty, 12-Inch
- Jorgensen 3724-HD 24-Inch Heavy-Duty Steel Bar Clamp
- Kobalt 24-Volt Max Lithium-Ion (Li-ion) 1/2-in Cordless Brushless Drill
- Kobalt 25-ft Tape Measure
- MLCS 9167 Safety Push Block and 5-Piece Stick Package
- Milescraft 1407 D/TFeatherBoard Dual or Tandem Feather Boards
- Porter-Cable Random Orbital Sander
- ScotchBlue Original Multi-Surface Painter’s Tape, 1.88 inches
- Stainless Steel Corked Backed Metal Ruler
- Titebond II Glue
I hope you find this video useful and can use some of the tips presented. Feel free to leave any comments, suggestions, or experiences you have had below.
Some of the links in my video description and article above are Amazon Affiliate links. As an Amazon Associate, I earn from qualifying purchases. If you would like to make a different purchase from Amazon, you can also use the storewide link.