While determining the stile length is pretty straightforward for a cabinet door, the rail length is a little more complicated. I’ll go through I validate my rail measurements for the formula I created in the previous article.
This is the second part of this video mini-series. To determine the stile and rail length you’ll want to read the previous article.
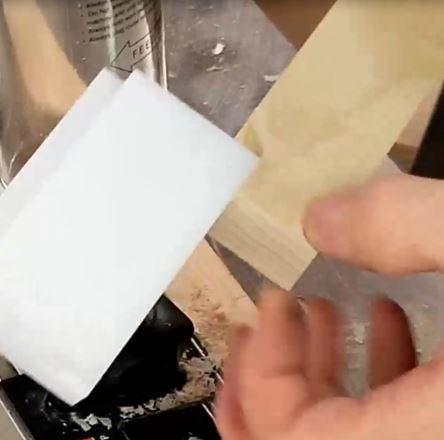
So, to ensure my measurements are spot on I start by using scrap material as I normally do. However, I end up using this piece of scrap because as it turns out even though the edges are marred up with the profile cuts of the router bits I will be using that marring gets removed. Win-Win!
After confirming my rail length was indeed 10 3/4″ I went ahead and cut the other one. I already cut had cut my stiles at 23 3/16″ in the previs video so we are good now with the framing of the door.
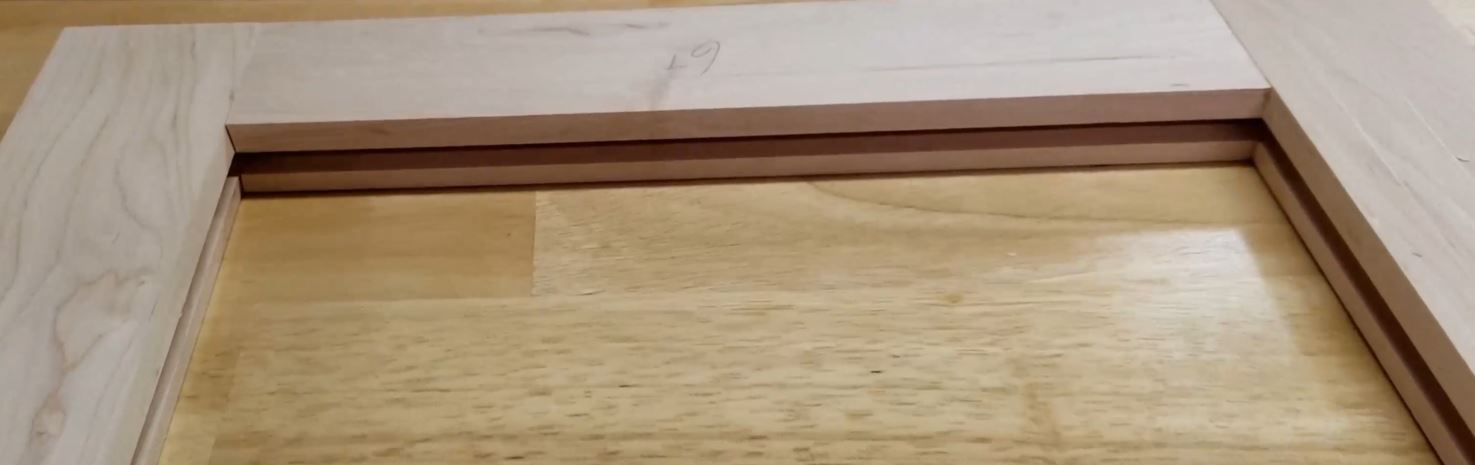
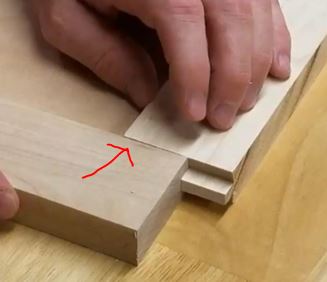
Now with the door frame all sized up the next step for me is to cut the profiles for the frames on my router using my stile/rail door set. I’m using a Shaker profile but you could use any profile. The key here is you want to make sure your stile/rail set work together because the rail end cut is the negative of the stile cutter as it will fit perfectly into this cut. You’ll see that a little bit later below as I dry fit the frame together.
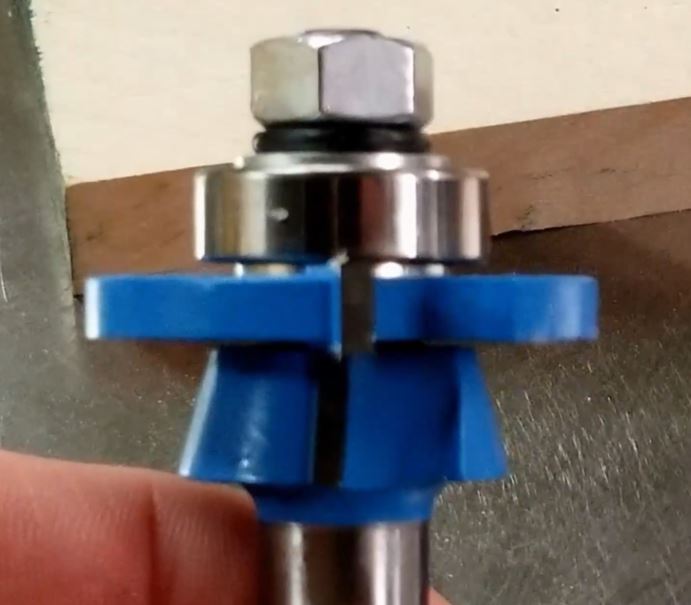
Stile Bit 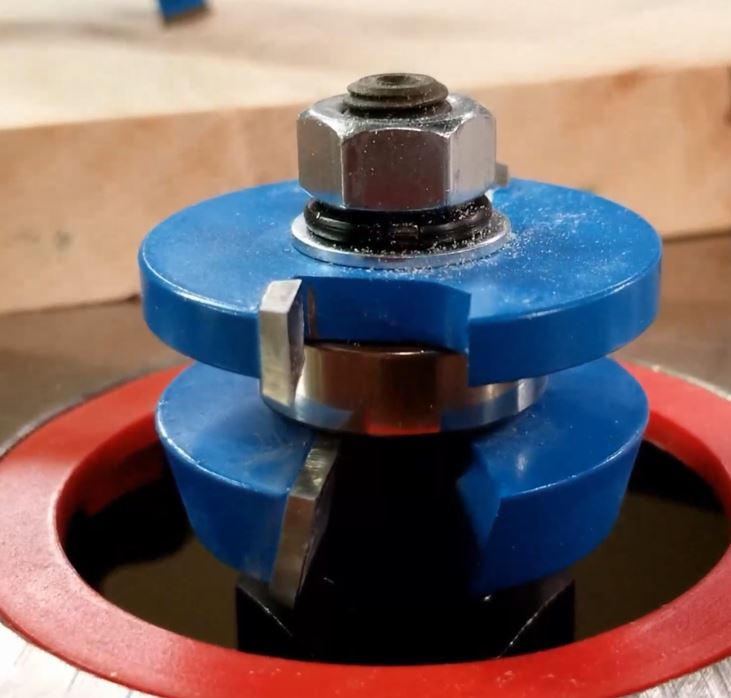
Rail Bit
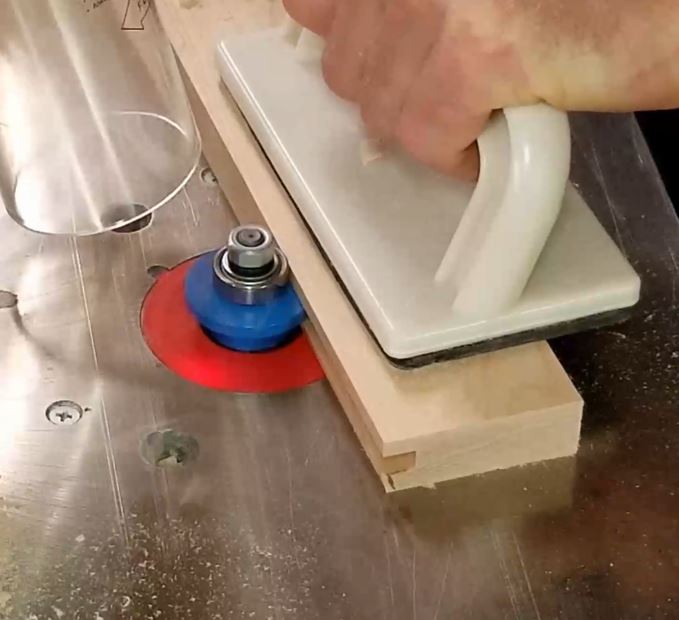
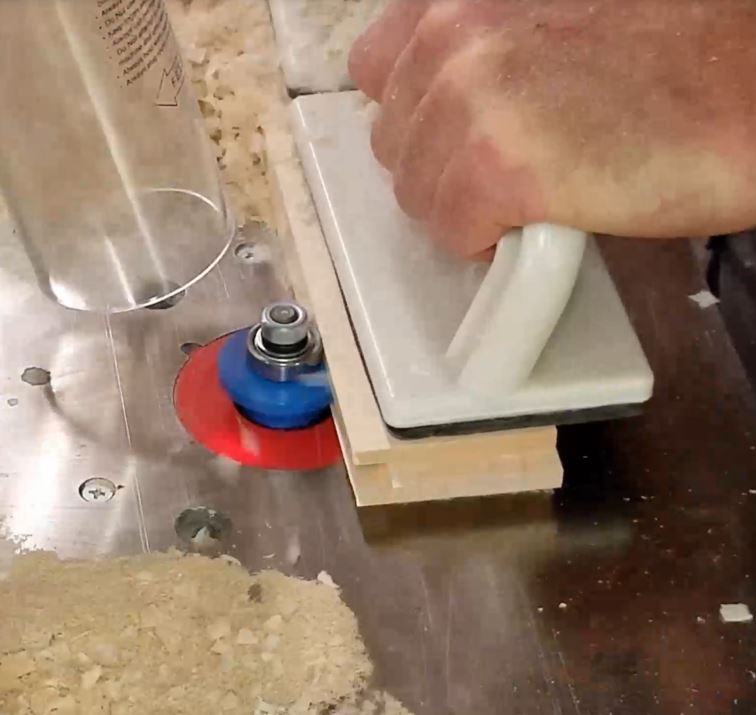
I’ll want to make sure the height is set perfectly because you want to have a flush connection on both front and back surfaces. Any place it’s not perfect will require sanding on the finished product to get it smooth. Do the work upfront rather than the repair in the end. However, you may not always end up with perfectly flush mating surfaces and sanding may be necessary. My order of sanding would be a drum sander, belt sander, and lastly a random orbital sander.
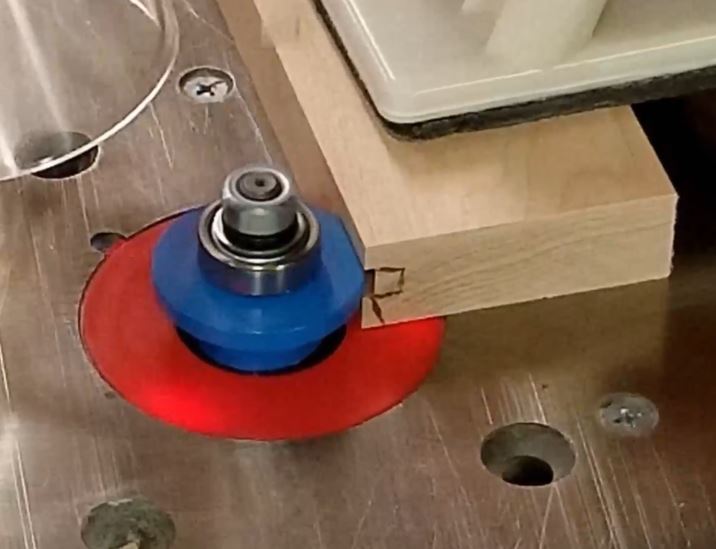
In the image below I’m using a jig that matches the bit set I’m using. This allows me to get the cuts as perfect as possible. Use scrap during the process to avoid material waste.
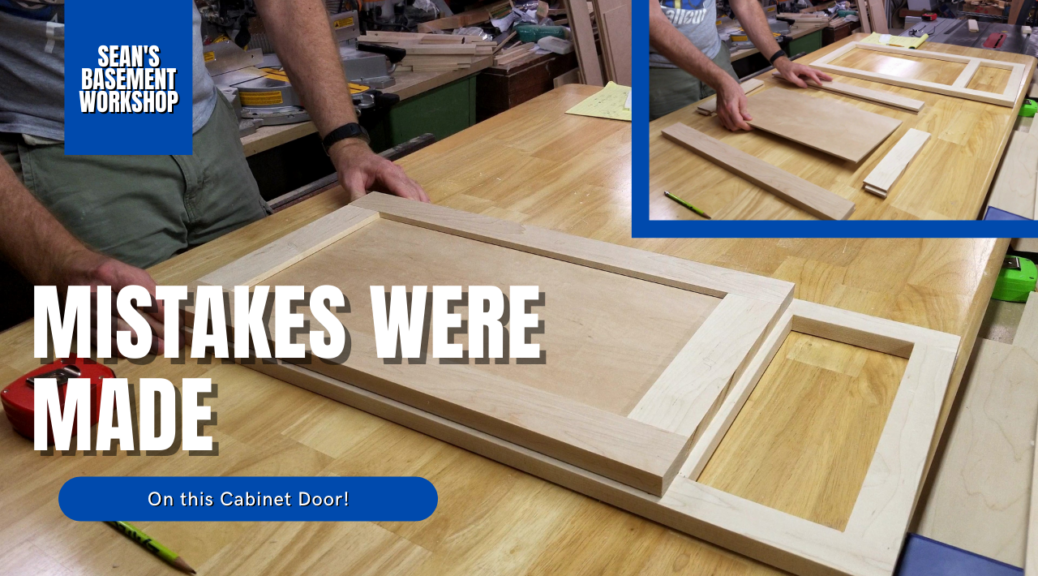
Once everything is set up the way you like it go ahead and cut your components that match the bit you have installed. And that is what I did not do. Yes, Mistakes Were Made! I had the rail bit installed but cut all the inside board profiles which should have been the stile bit. Now, I get to recut the stiles and rails for this door. This is why you also have extra material machined just in case. It is why I recommend you do 1 door first before doing ALL of your doors.
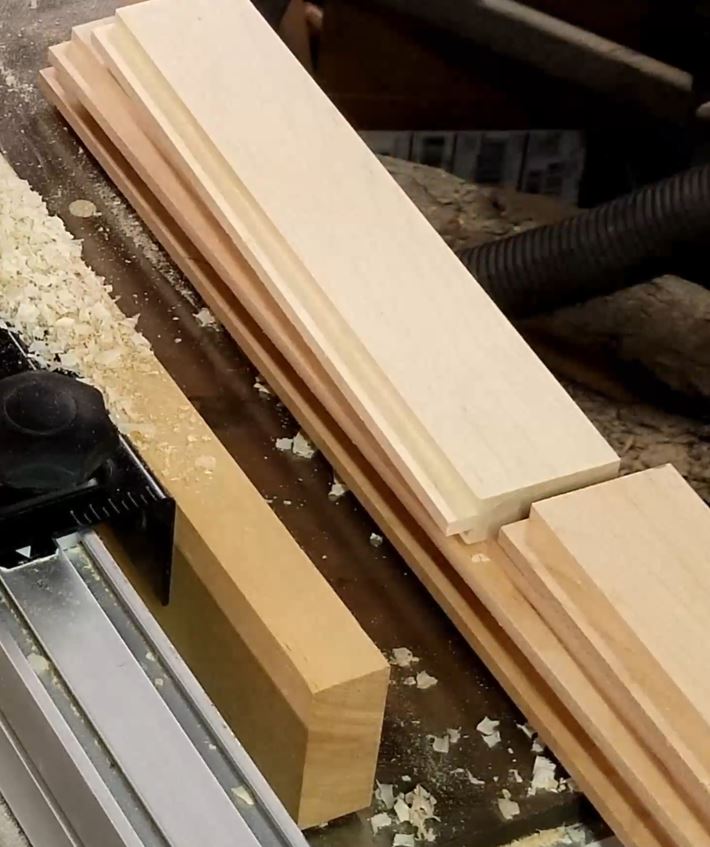
So after cutting all the components to length again for this door frame I use my Rockler Rail Coping Sled to cut the rail ends. This sled makes cutting the ends of rails so easy and in my opinion, a coping sled is a must for safety whether it is Rockler’s or a different coping sled.
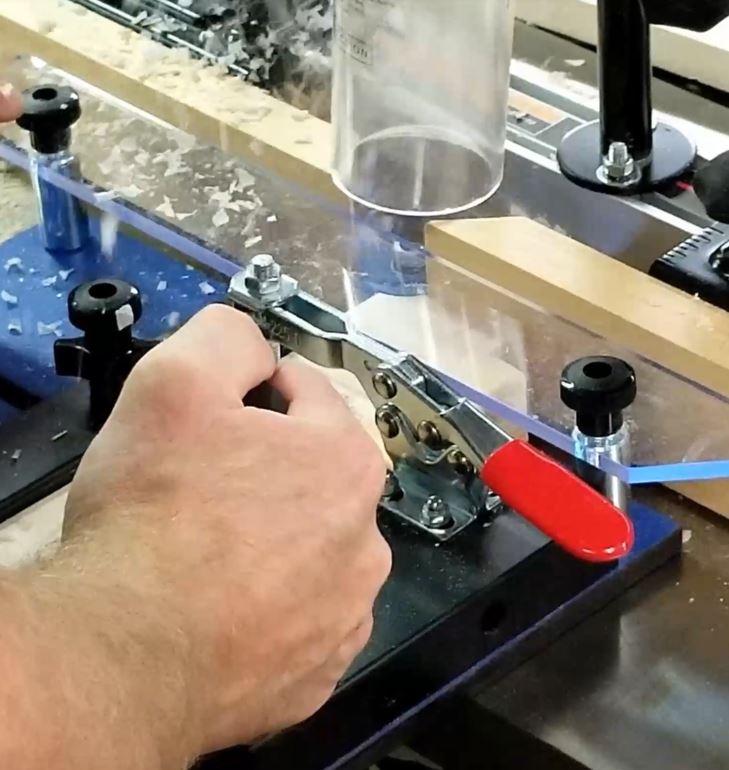
After cutting all 4 ends, rotating after each cut – NOT flipping – I swap out bits and cut the stile profile. Ensure your boards are in the correct orientation for the bit cutting profile. In my case, I have to flip my boards over to cut the stile profile.
Remember this is the cut that forms the inside door frame profile so both stile and rails need this cut. You should always use push blocks for safety when working with small material on a router.
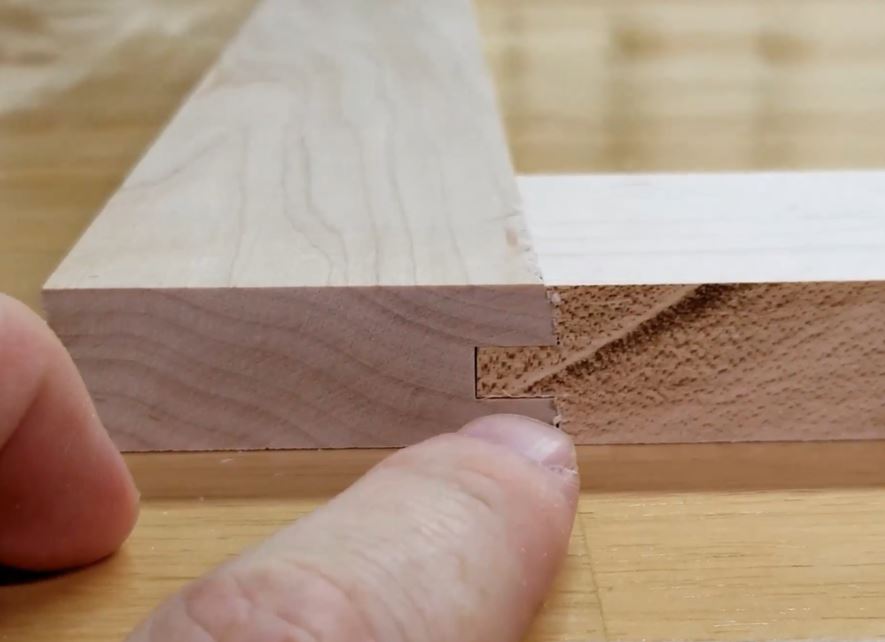
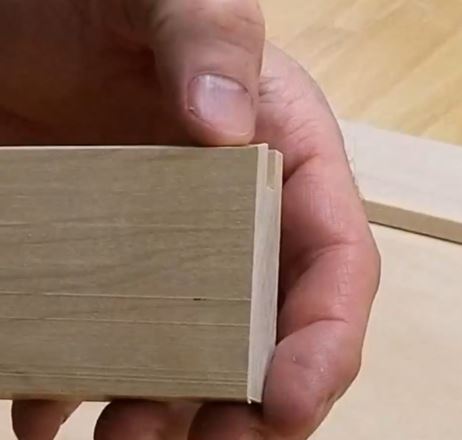
This is what the joints will look like after I got done with all the cuts.
Next, we determine the panel size. Now your panel can be whatever you want. I’m using a flat panel but you use a flat panel. The way you figure the size is the same.
To get the dimensions is quite easy. For the width, it is just the length of the rail (from tenon edge to tenon edge). For the height, you need to measure the depth of the opening, making sure your rails are flush on the outside of your stile ends. So, take this opening measurement and add 2 x the depth of the tenon length.
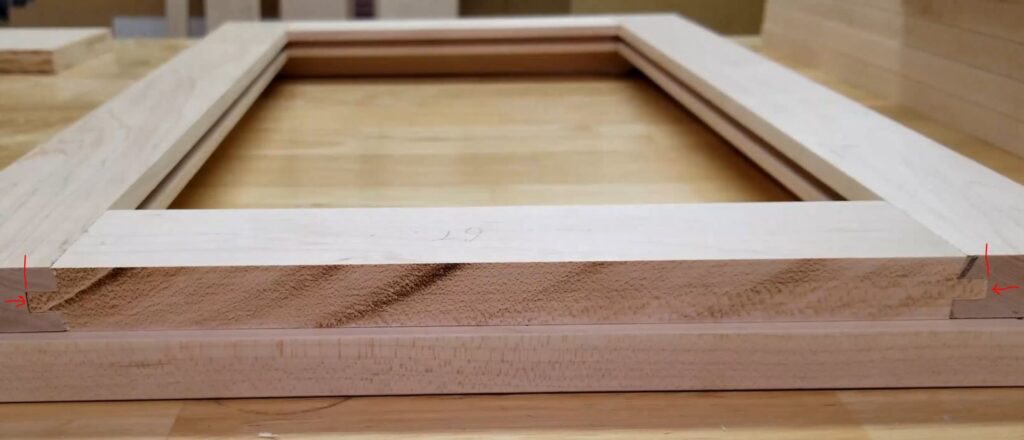
width 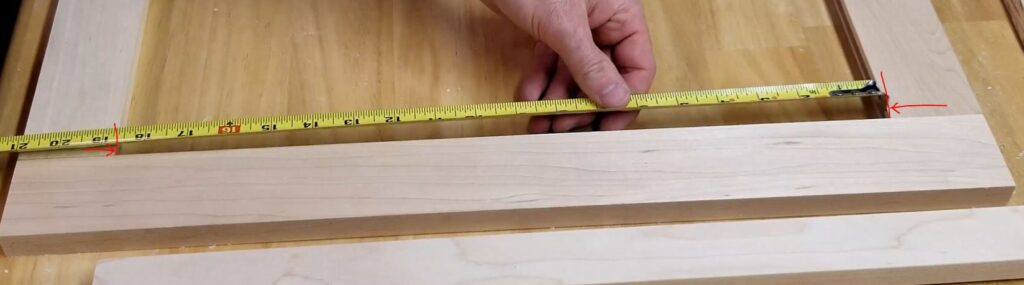
height 
tenon length
Now you’ll want to subtract about 1/16″ or 1/8″ for panel expansion. For MDF you can probably get away with 1/16″. For solid wood panels you’ll need more like 1/8″. For simplicity and keeping this standard I like to use 1/8″. So If I make my panel 1/8″ smaller for the width and height, this allows for the panel to expand or shrink without cause frame damage or failing out. If you do not allow this extra room if humidity causes the panel to expand it can warp or blow the frame apart.
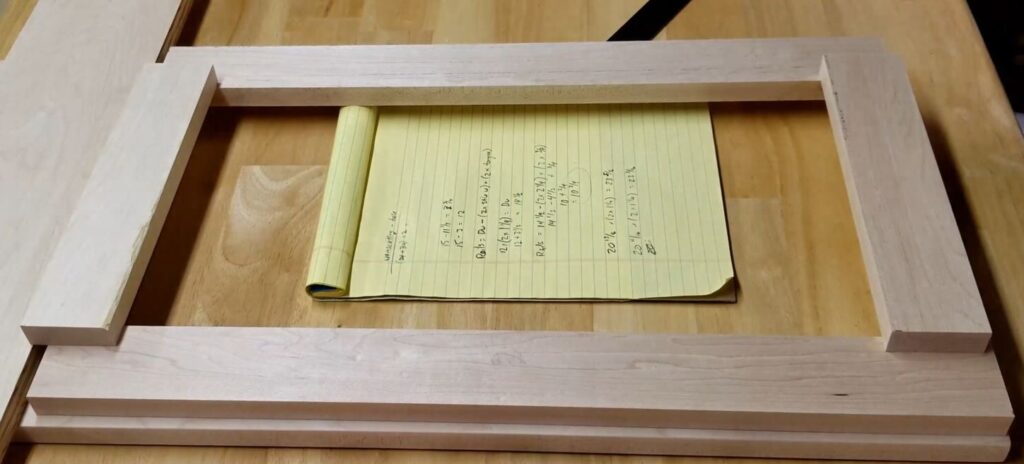
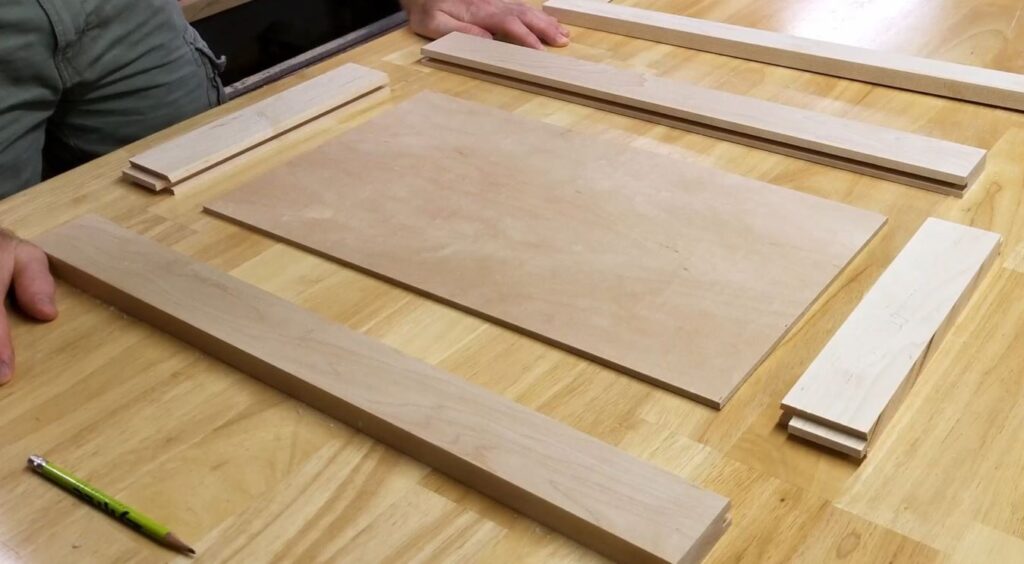
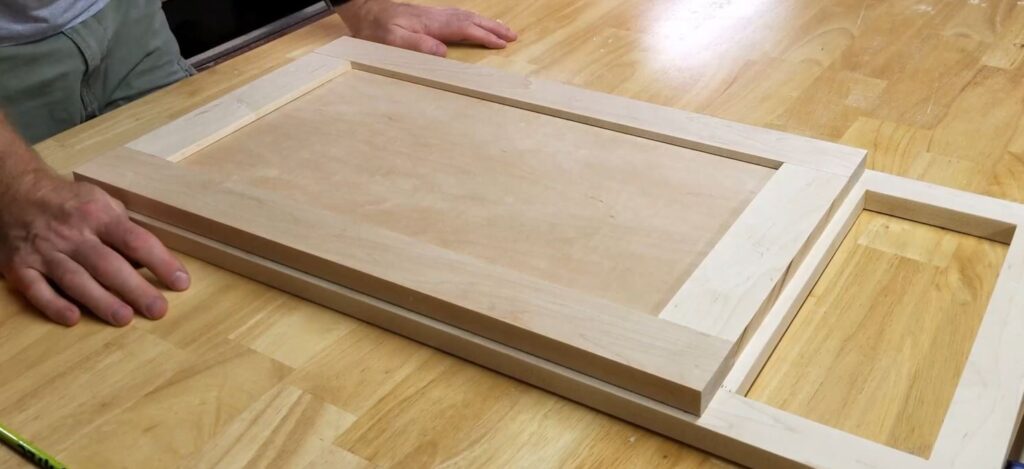
So, now that I have all of our components for the door cut to size I want to dry-fit them to ensure everything looks good. Yes, I do this for every door I make because I want to ensure they are perfect now rather than after I get them assembled.
Here is what the door looks like dry-fit assembled. I have the rails flush with the stile ends but I can push them down 1/8″ on one side to ensure the expansion gap exists.

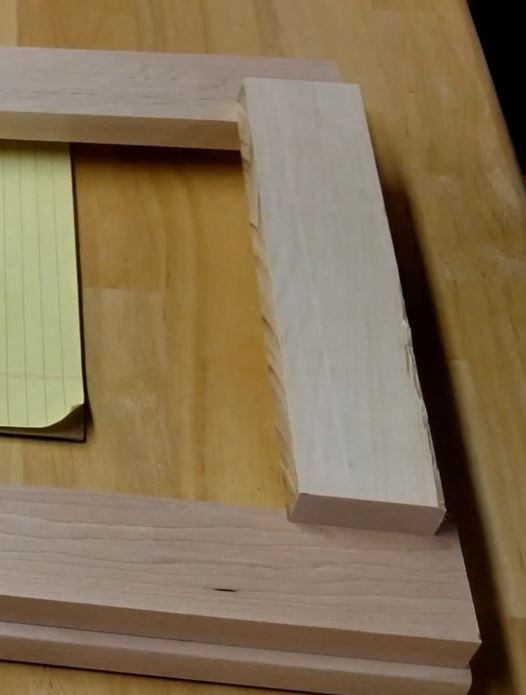
I did have an issue with one of my stiles where I pulled it away from the router bit a little soon which caused extra material to be left. This can be fixed by simply filing this down on the beveled edge and the back flat edge. This will allow this piece to fit snugly. Otherwise what happens is you end up with a gap since it will now allow a tight fit.
All dry fit-up and laying on the cabinet face frame looks perfect. There’s a 1/4″ reveal all the way around. The next step is just cleaning it all up and getting it assembled – but that’s a separate article 🙂
And for those who want some stats, the video below is a result of 12 videos totaling 34 minutes, 38 seconds edited down to 10 minutes, and 4 seconds. It took a long time to edit this video using my current software that I use and I’ve begun exploring new software but am still learning it so bear with me.
As always if you have any questions or comments post them below or on my YouTube video comments section and I’ll do my best to respond.
I’ve included a few Amazon Links below for the equipment and materials I used.
Equipment and Materials
- Rockler 2-pc Rail/Stile Shaker Cutter Router Bit Set 1/2″ Shank
- Freud 1-11/16″ (Dia.) Premier Adjustable Rail & Stile Bit with 1/2″ Shank (Shaker) (99-762)
- Rockler Router Bit Set-Up Jig for 40431 Shaker Stile and Rail Router Bits
- Rockler Rail Coping Sled
- Push Blocks
- Legal/Wide Ruled 8-1/2 by 11-3/4 Legal Pad
- Metal Ruler 24 Inch – Stainless Steel Corked Backed Metal Ruler
- Kobalt 25-ft Tape Measure
- DEWALT DPG94-1C Dominator SAFETY Glasses
- Maple (from a hardwood supplier)
I hope you find this video useful and can use some of the tips presented. Feel free to leave any comments, suggestions, or experiences you have had below.
Some of the links in my video description and article above are Amazon Affiliate links. As an Amazon Associate, I earn from qualifying purchases. If you would like to make a different purchase from Amazon, you can also use the storewide link.