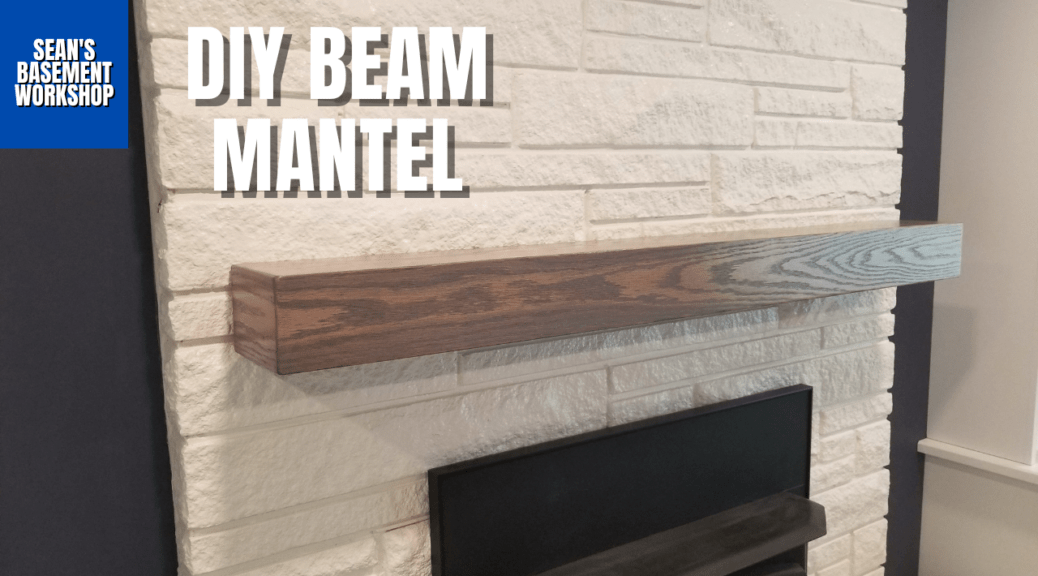
Best Rustic Faux Beam Mantel Build (Step-by-Step Guide)
Building a rustic faux beam mantel is one of the easiest ways to transform your fireplace into a stunning focal point—without the cost or weight of solid wood. This step-by-step guide will show you exactly how to build your own faux beam mantel using basic tools and affordable materials.
Unlike solid beams, faux beam mantels are lightweight, easier to install, and can still deliver an authentic wood look when finished properly.
The mantel I originally made for my fireplace was over 22 years old. The style had become dated, and with the entire room being renovated, so did the mantel. With many different mantel styles out there, I had to choose which one. I like how a floating beam mantel looks, so I decided to go with that style.

This was the original mantel I had. As you can see, it was quite dated. During our living transformation (another story series) we decided to replace it.
Now comes the next decision. Do I acquire a 6″ x 10″ oak beam, approximately 5 feet long, or do I create one? I think I’ll go with creating one since I still have 100s of board feet of red oak. Follow along and see how it turns out.
Table of Contents
Why Choose a Rustic Faux Beam Mantel?
A rustic faux beam mantel offers several advantages over traditional solid wood mantels:
- Lightweight construction – easier to install
- Lower cost compared to solid wood beams
- Custom sizing to fit your fireplace perfectly
- Realistic appearance when stained properly
Faux beams are typically hollow, making them easier to handle while still replicating the look of real timber.
Tools and Materials Needed
Before starting your rustic faux beam mantel project, gather the following:
*Disclaimer: While I attempt to list the equipment I use, some items have been discontinued or have newer models.
Materials:
- 1×6 or 1×8 wood boards (hardwood: oak or similar; softwoods: pine or similar)
- JB Weld 5 Minute Epoxy
- Minwax Slate 284 Wood Stain
- Nitrile Gloves
- Painter’s Tape
- PORTER-CABLE PPN23063 5/8-Inch, 23 Gauge Pin Nails
- Sandpaper
- Titebond II Glue
- Varathane Gallon Satin Interior Polyurethane
Tools:
Step 1: Measure Your Fireplace
Measure the width of your fireplace and decide how far you want your mantel to extend on each side.
Pro tip: Add 2–6 inches on each side for a balanced look.
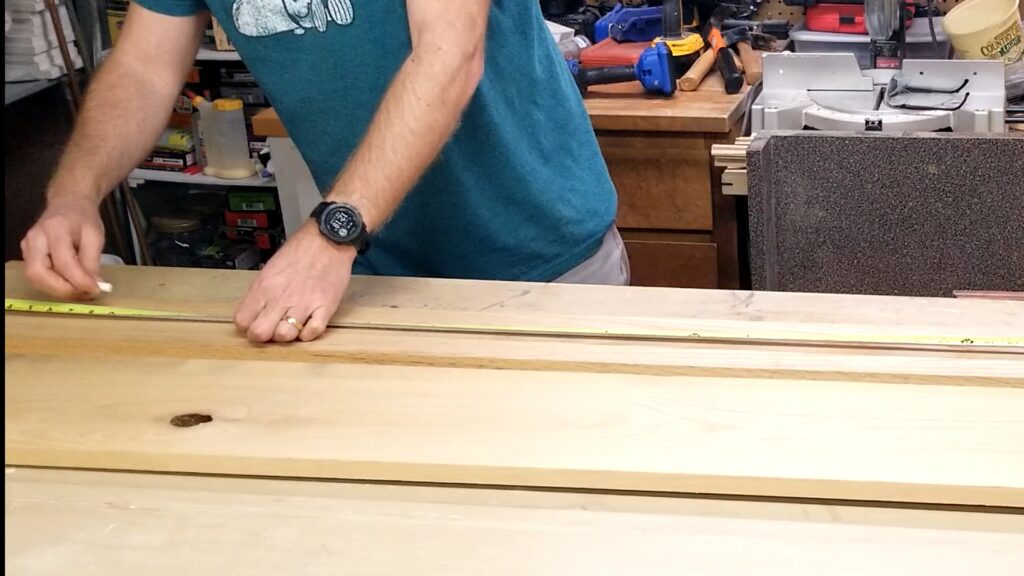
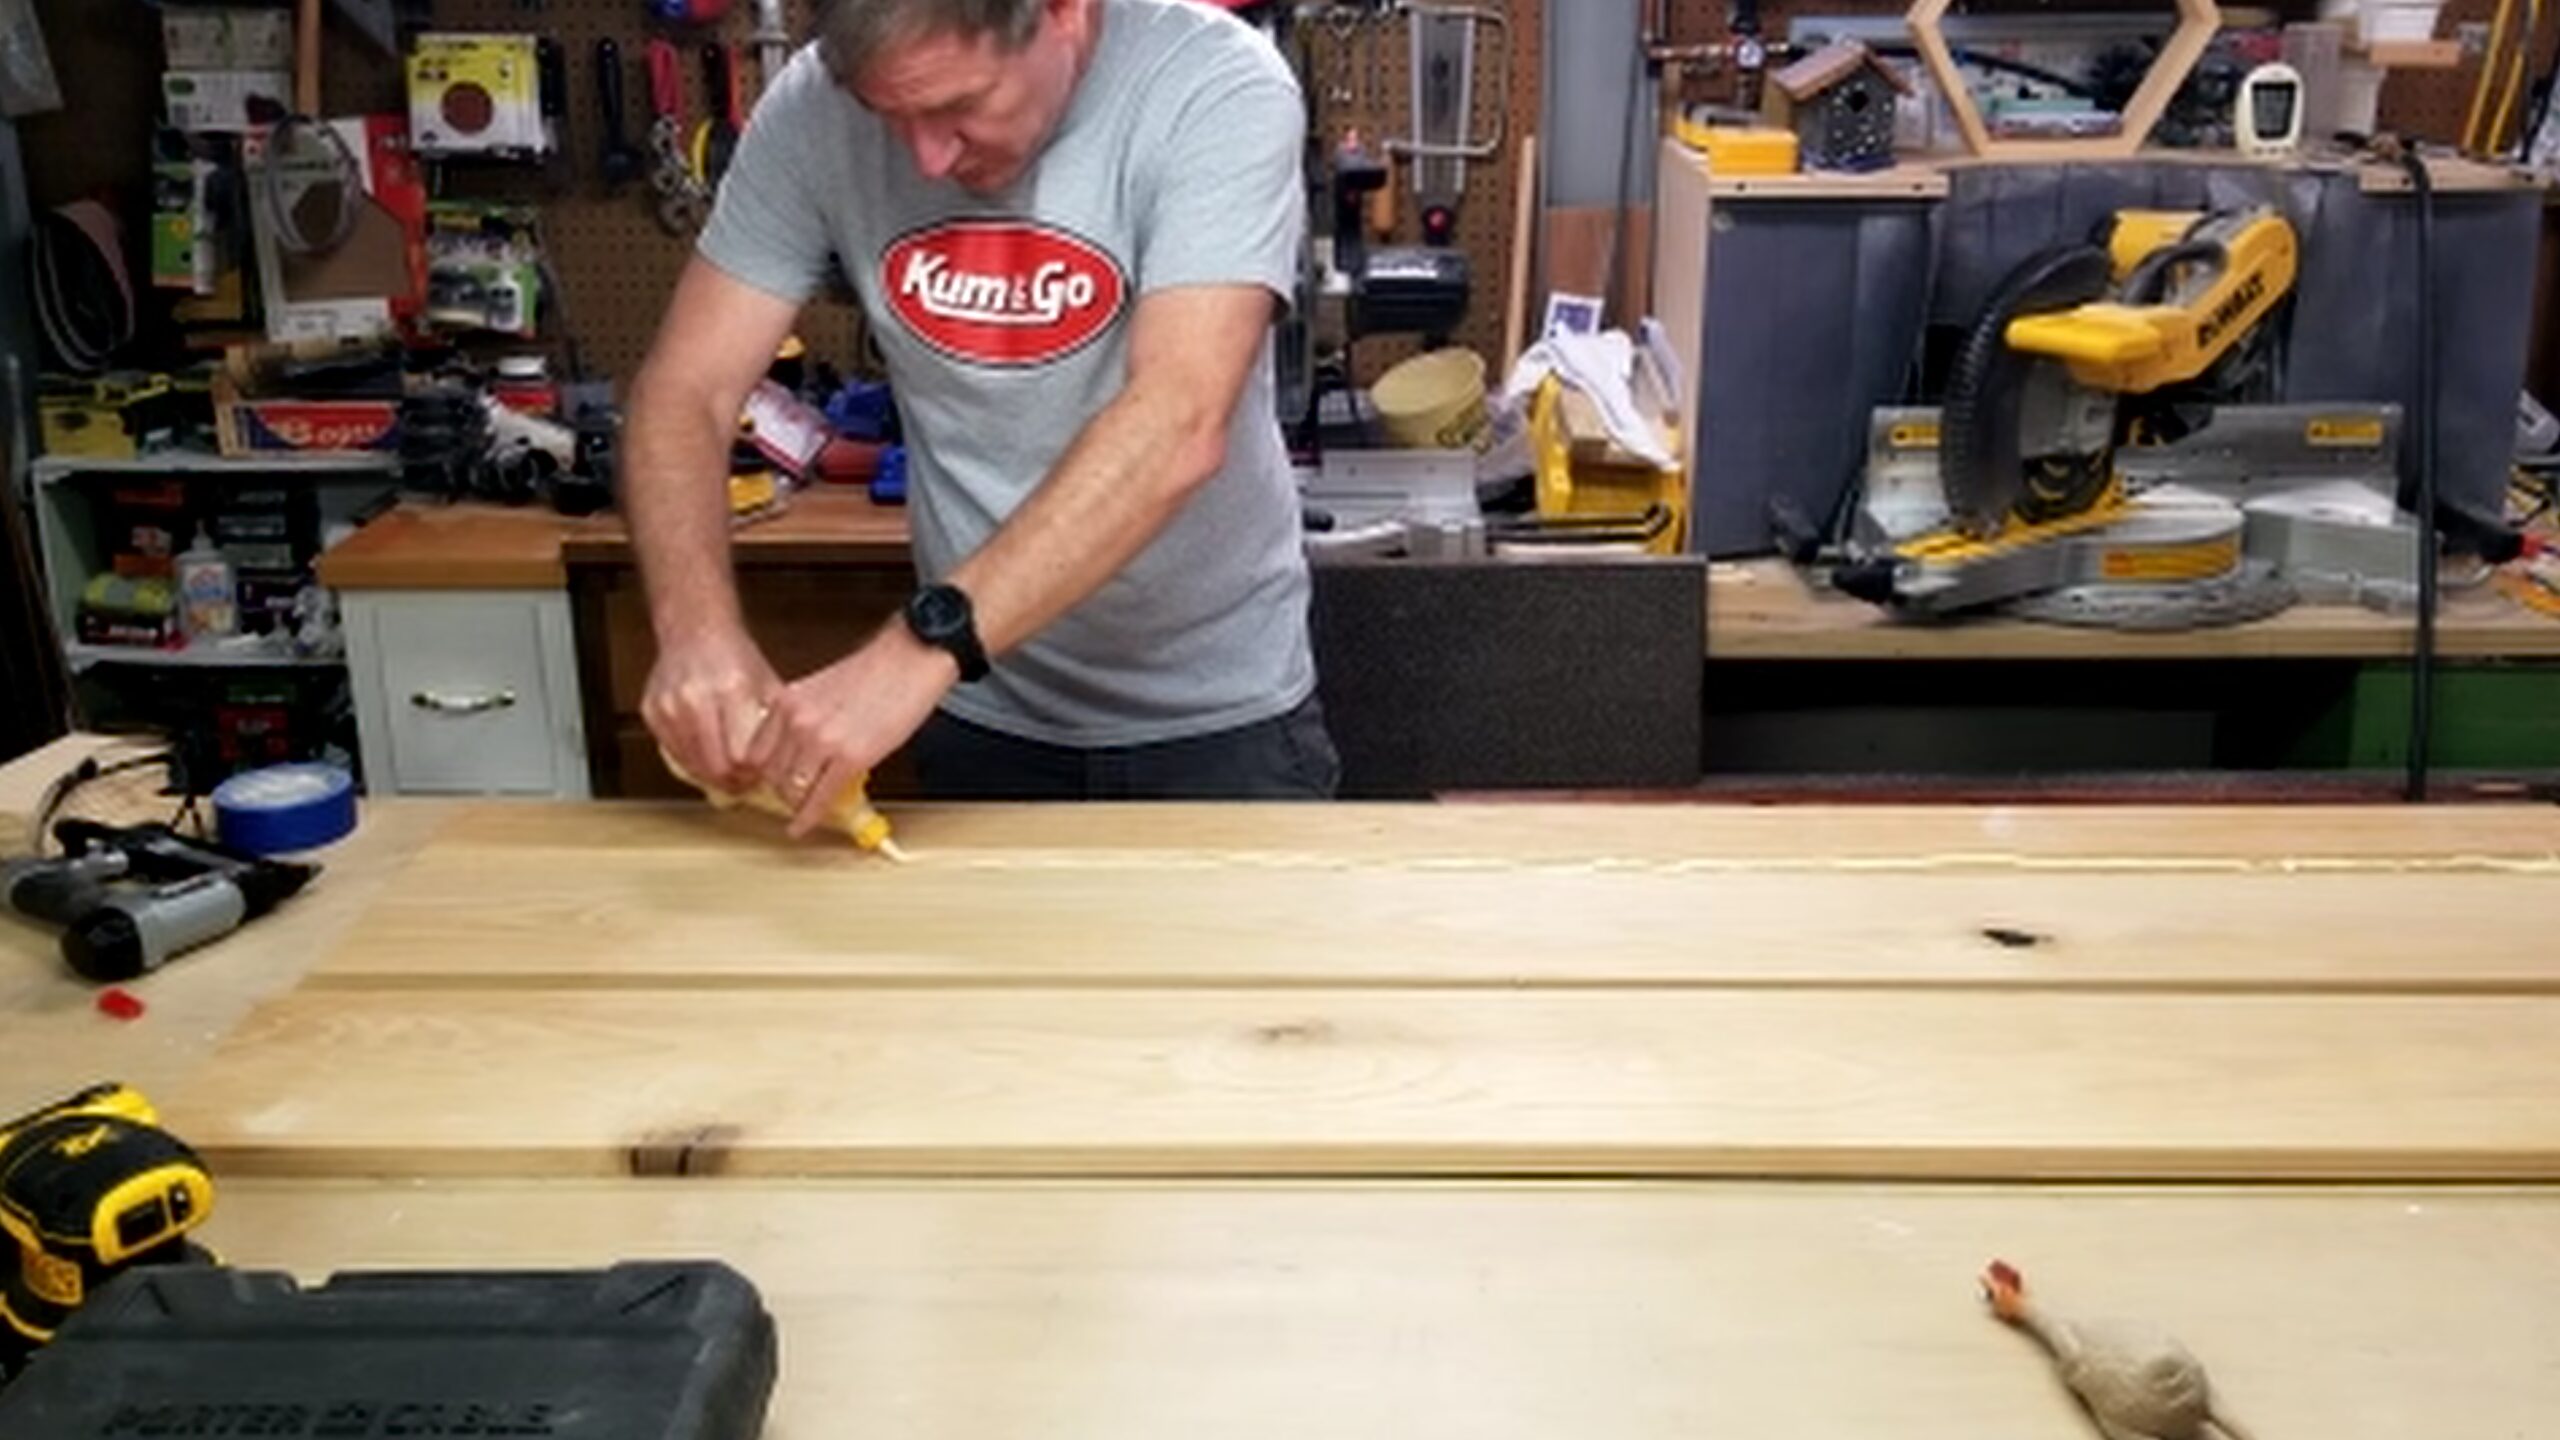
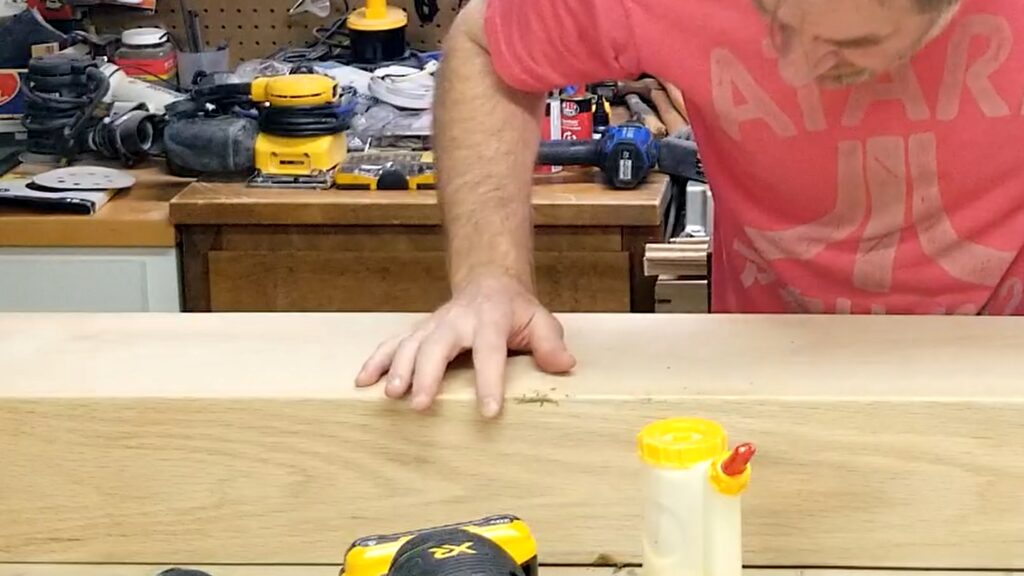
I start by grabbing several oak boards. I don’t care if they have knots or not because these will only add character to the mantel. After this, I quickly just rough-mark out the pieces using some chalk to make sure the pieces I want to use don’t fall anywhere that might cause problems.
Step 2: Cut the Material for the Faux Beam
Cut your boards to create a 3-sided box:
- Top piece
- Front face
- Bottom piece
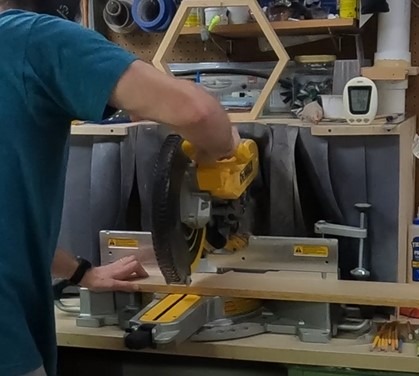
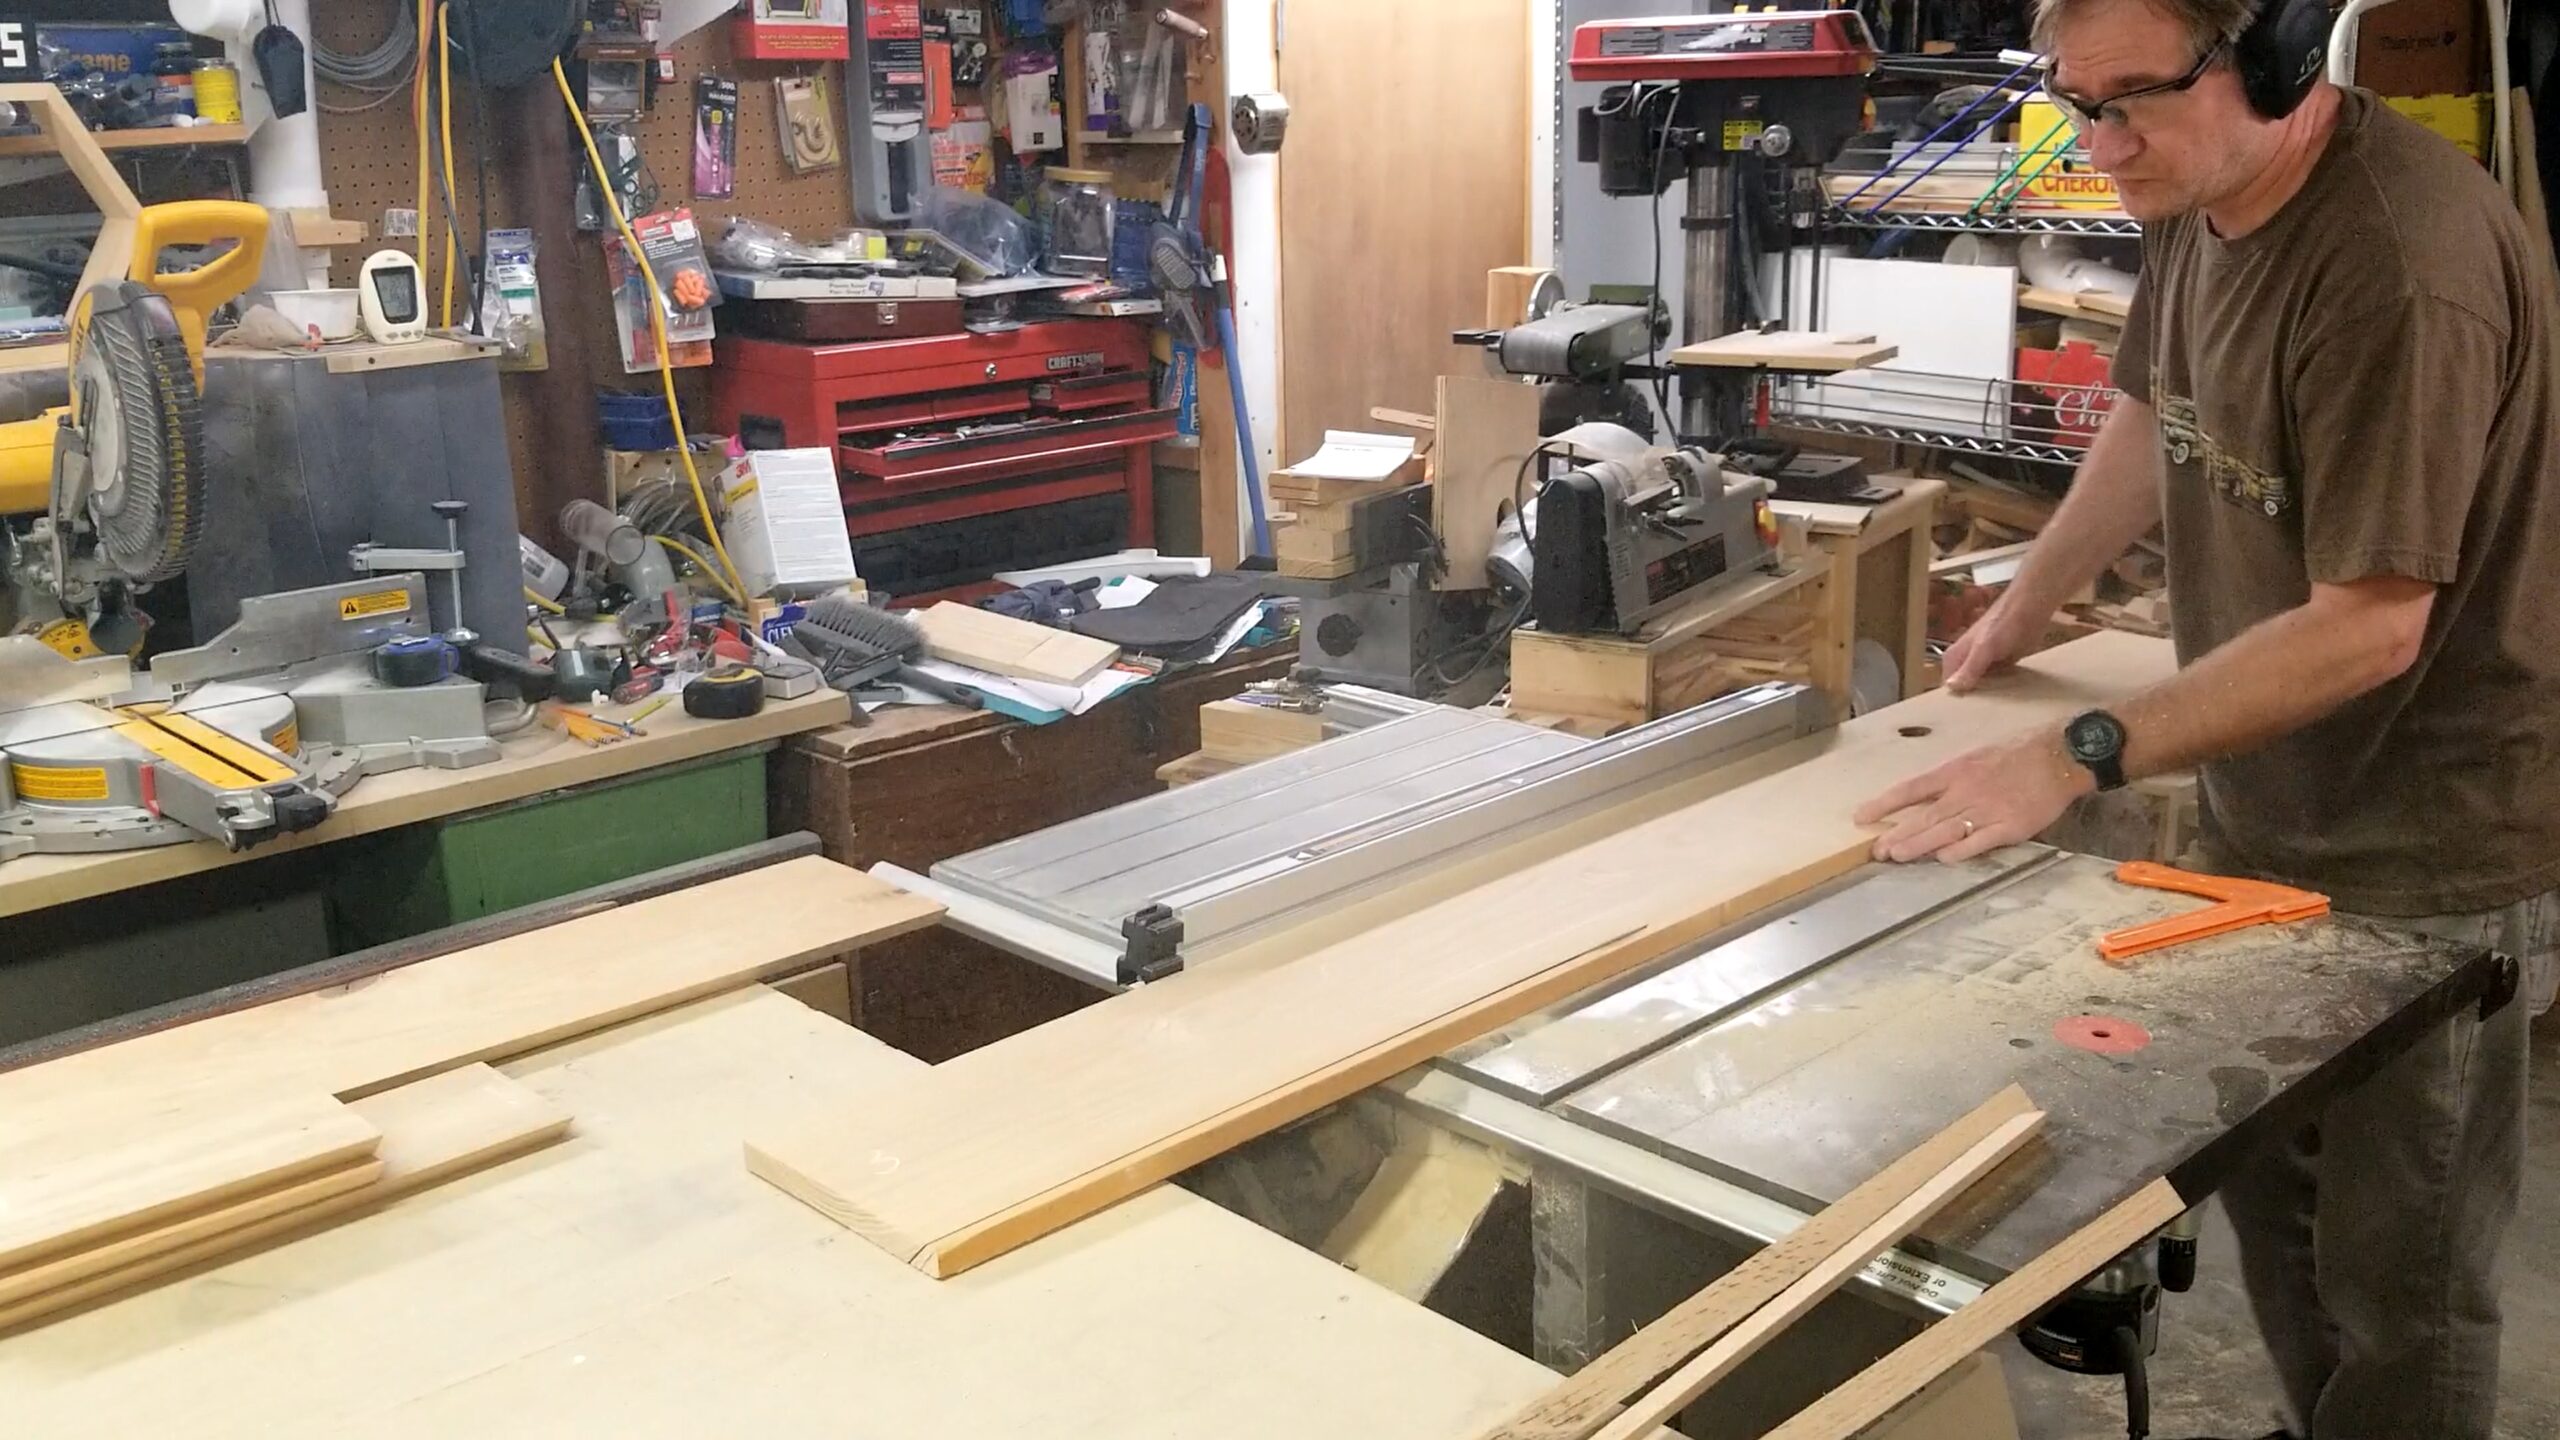
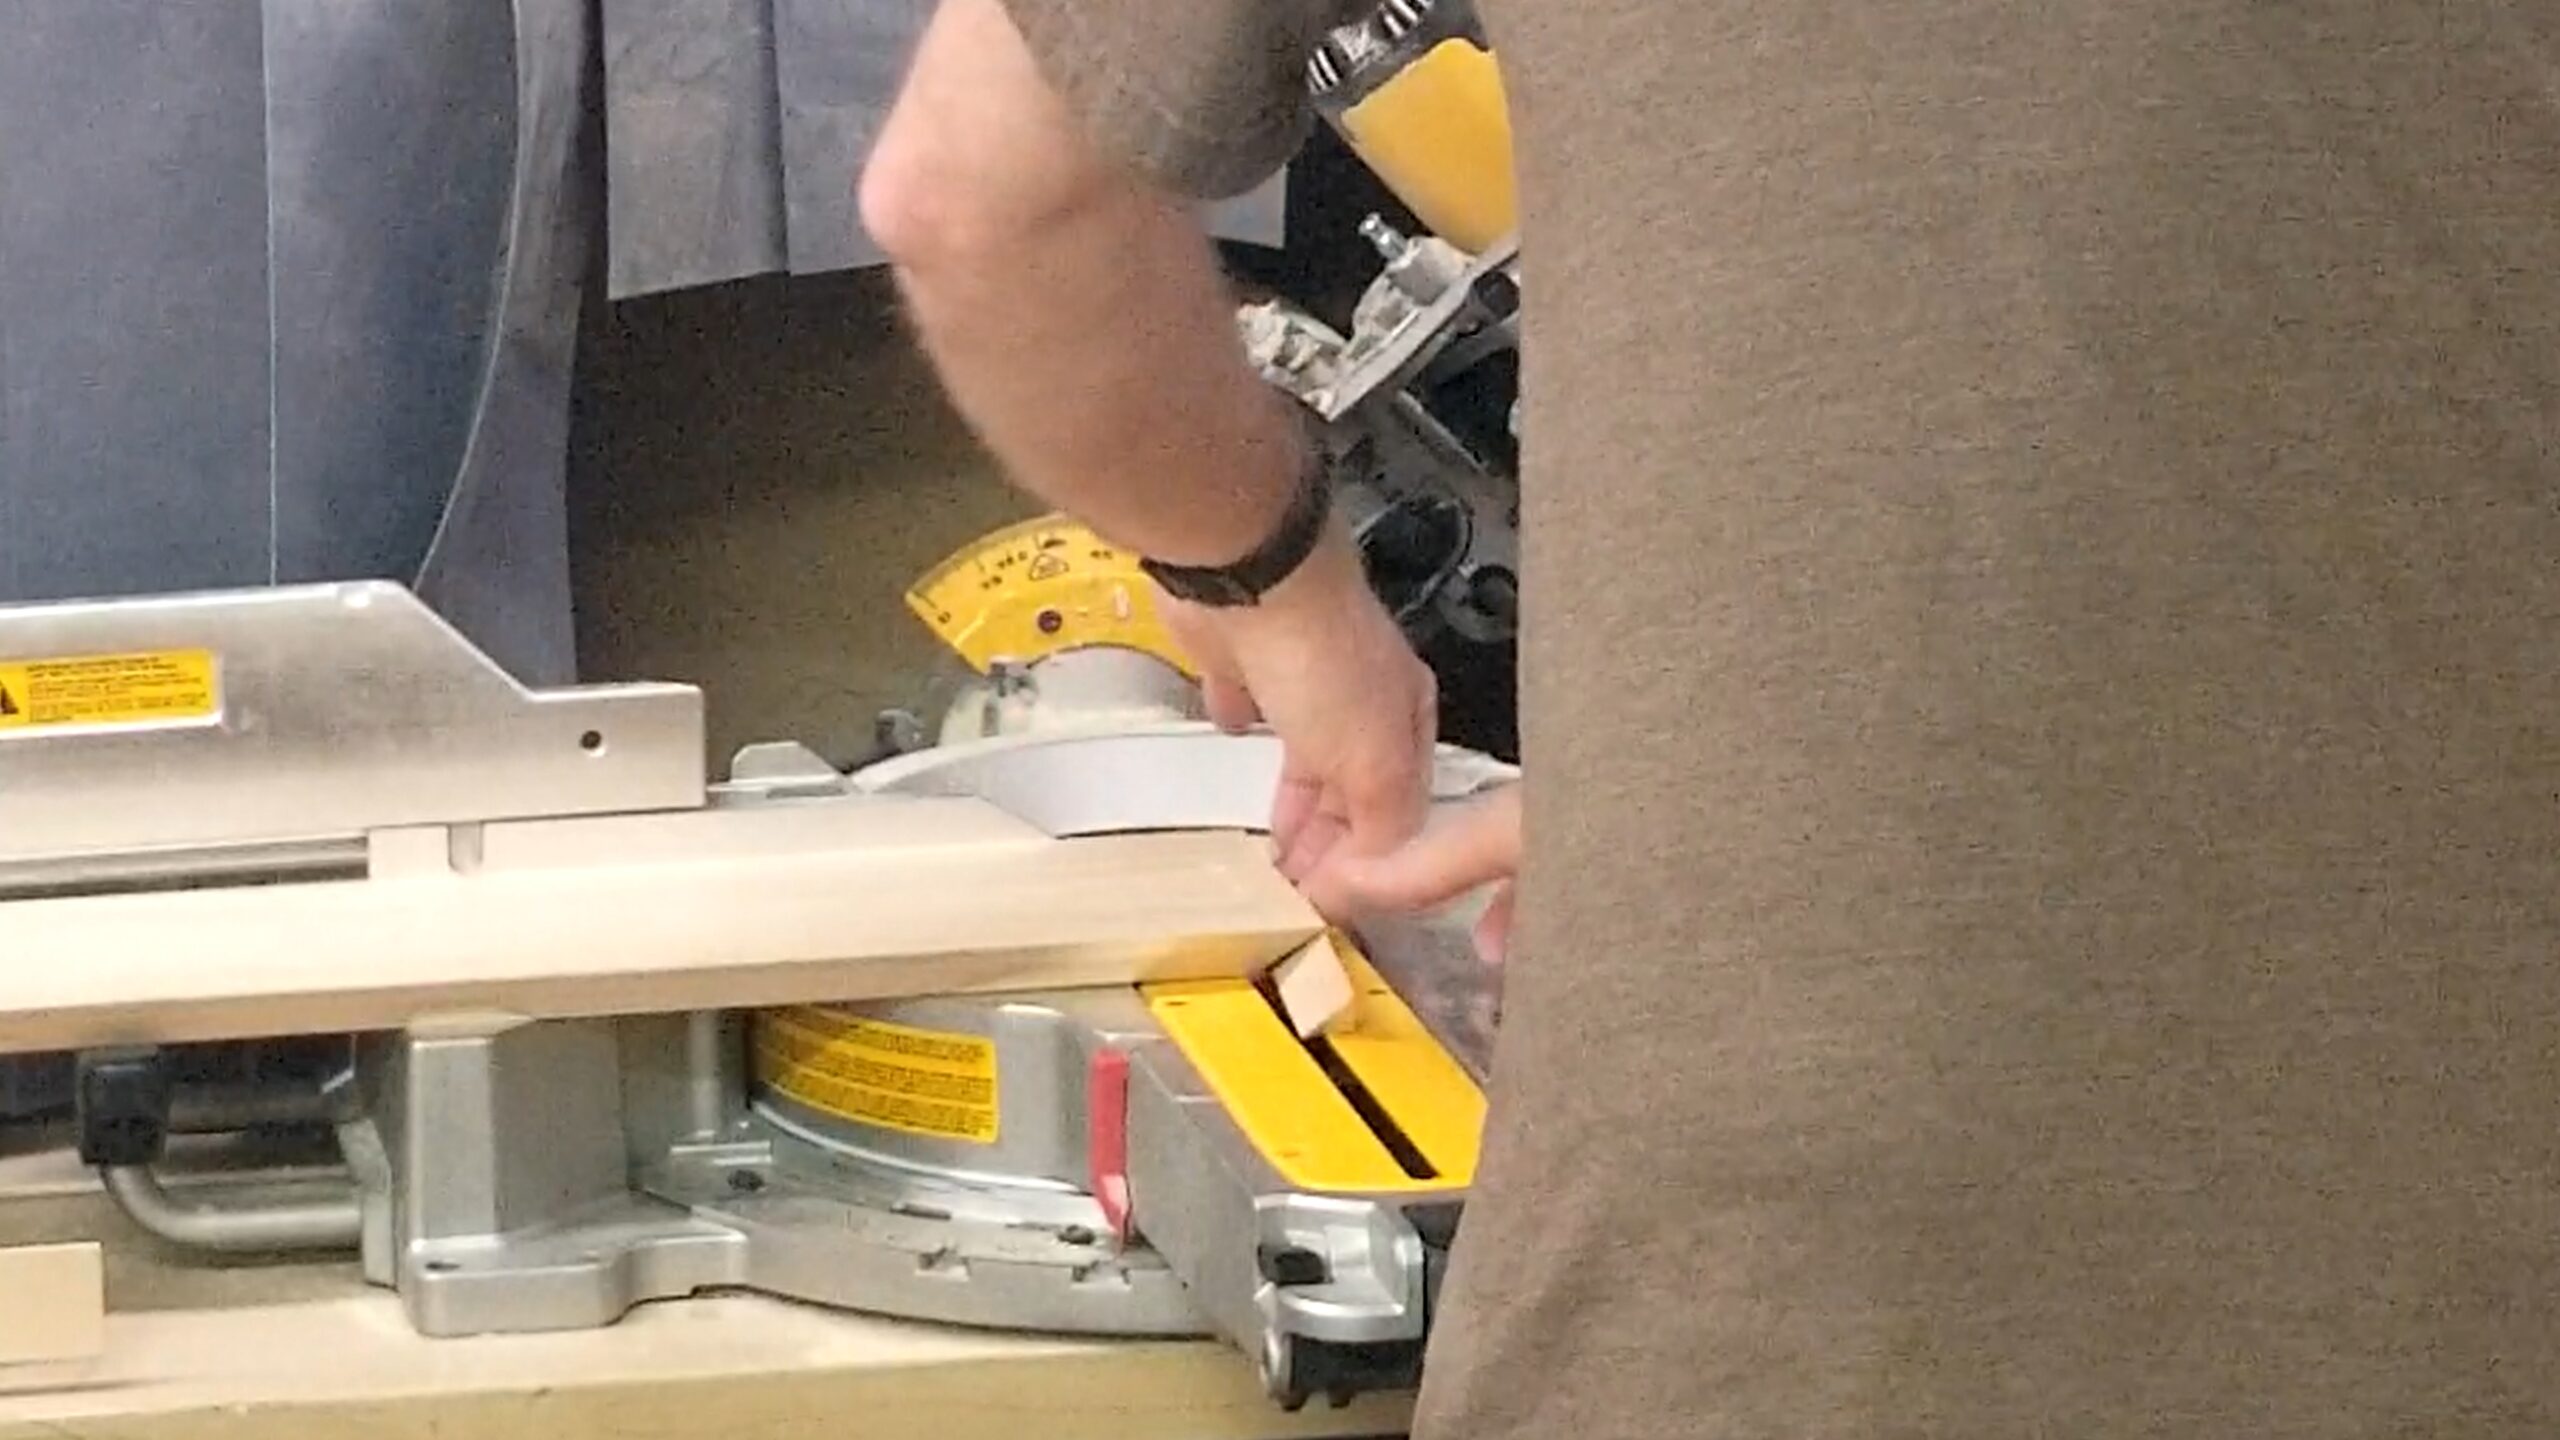
Once laid out, I take the pieces over the miter saw and cut the boards into their corresponding lengths. I then start running the pieces through my table saw to cut them to the proper width. I do this by setting the saw blade at 45 degrees because I will use a mitered joint look to help blend the grain.
Step 3: Fill Knots and Cracks
Stabilize knots and cracks in the boards
- Two-part epoxy
- Glue
- Wood filler
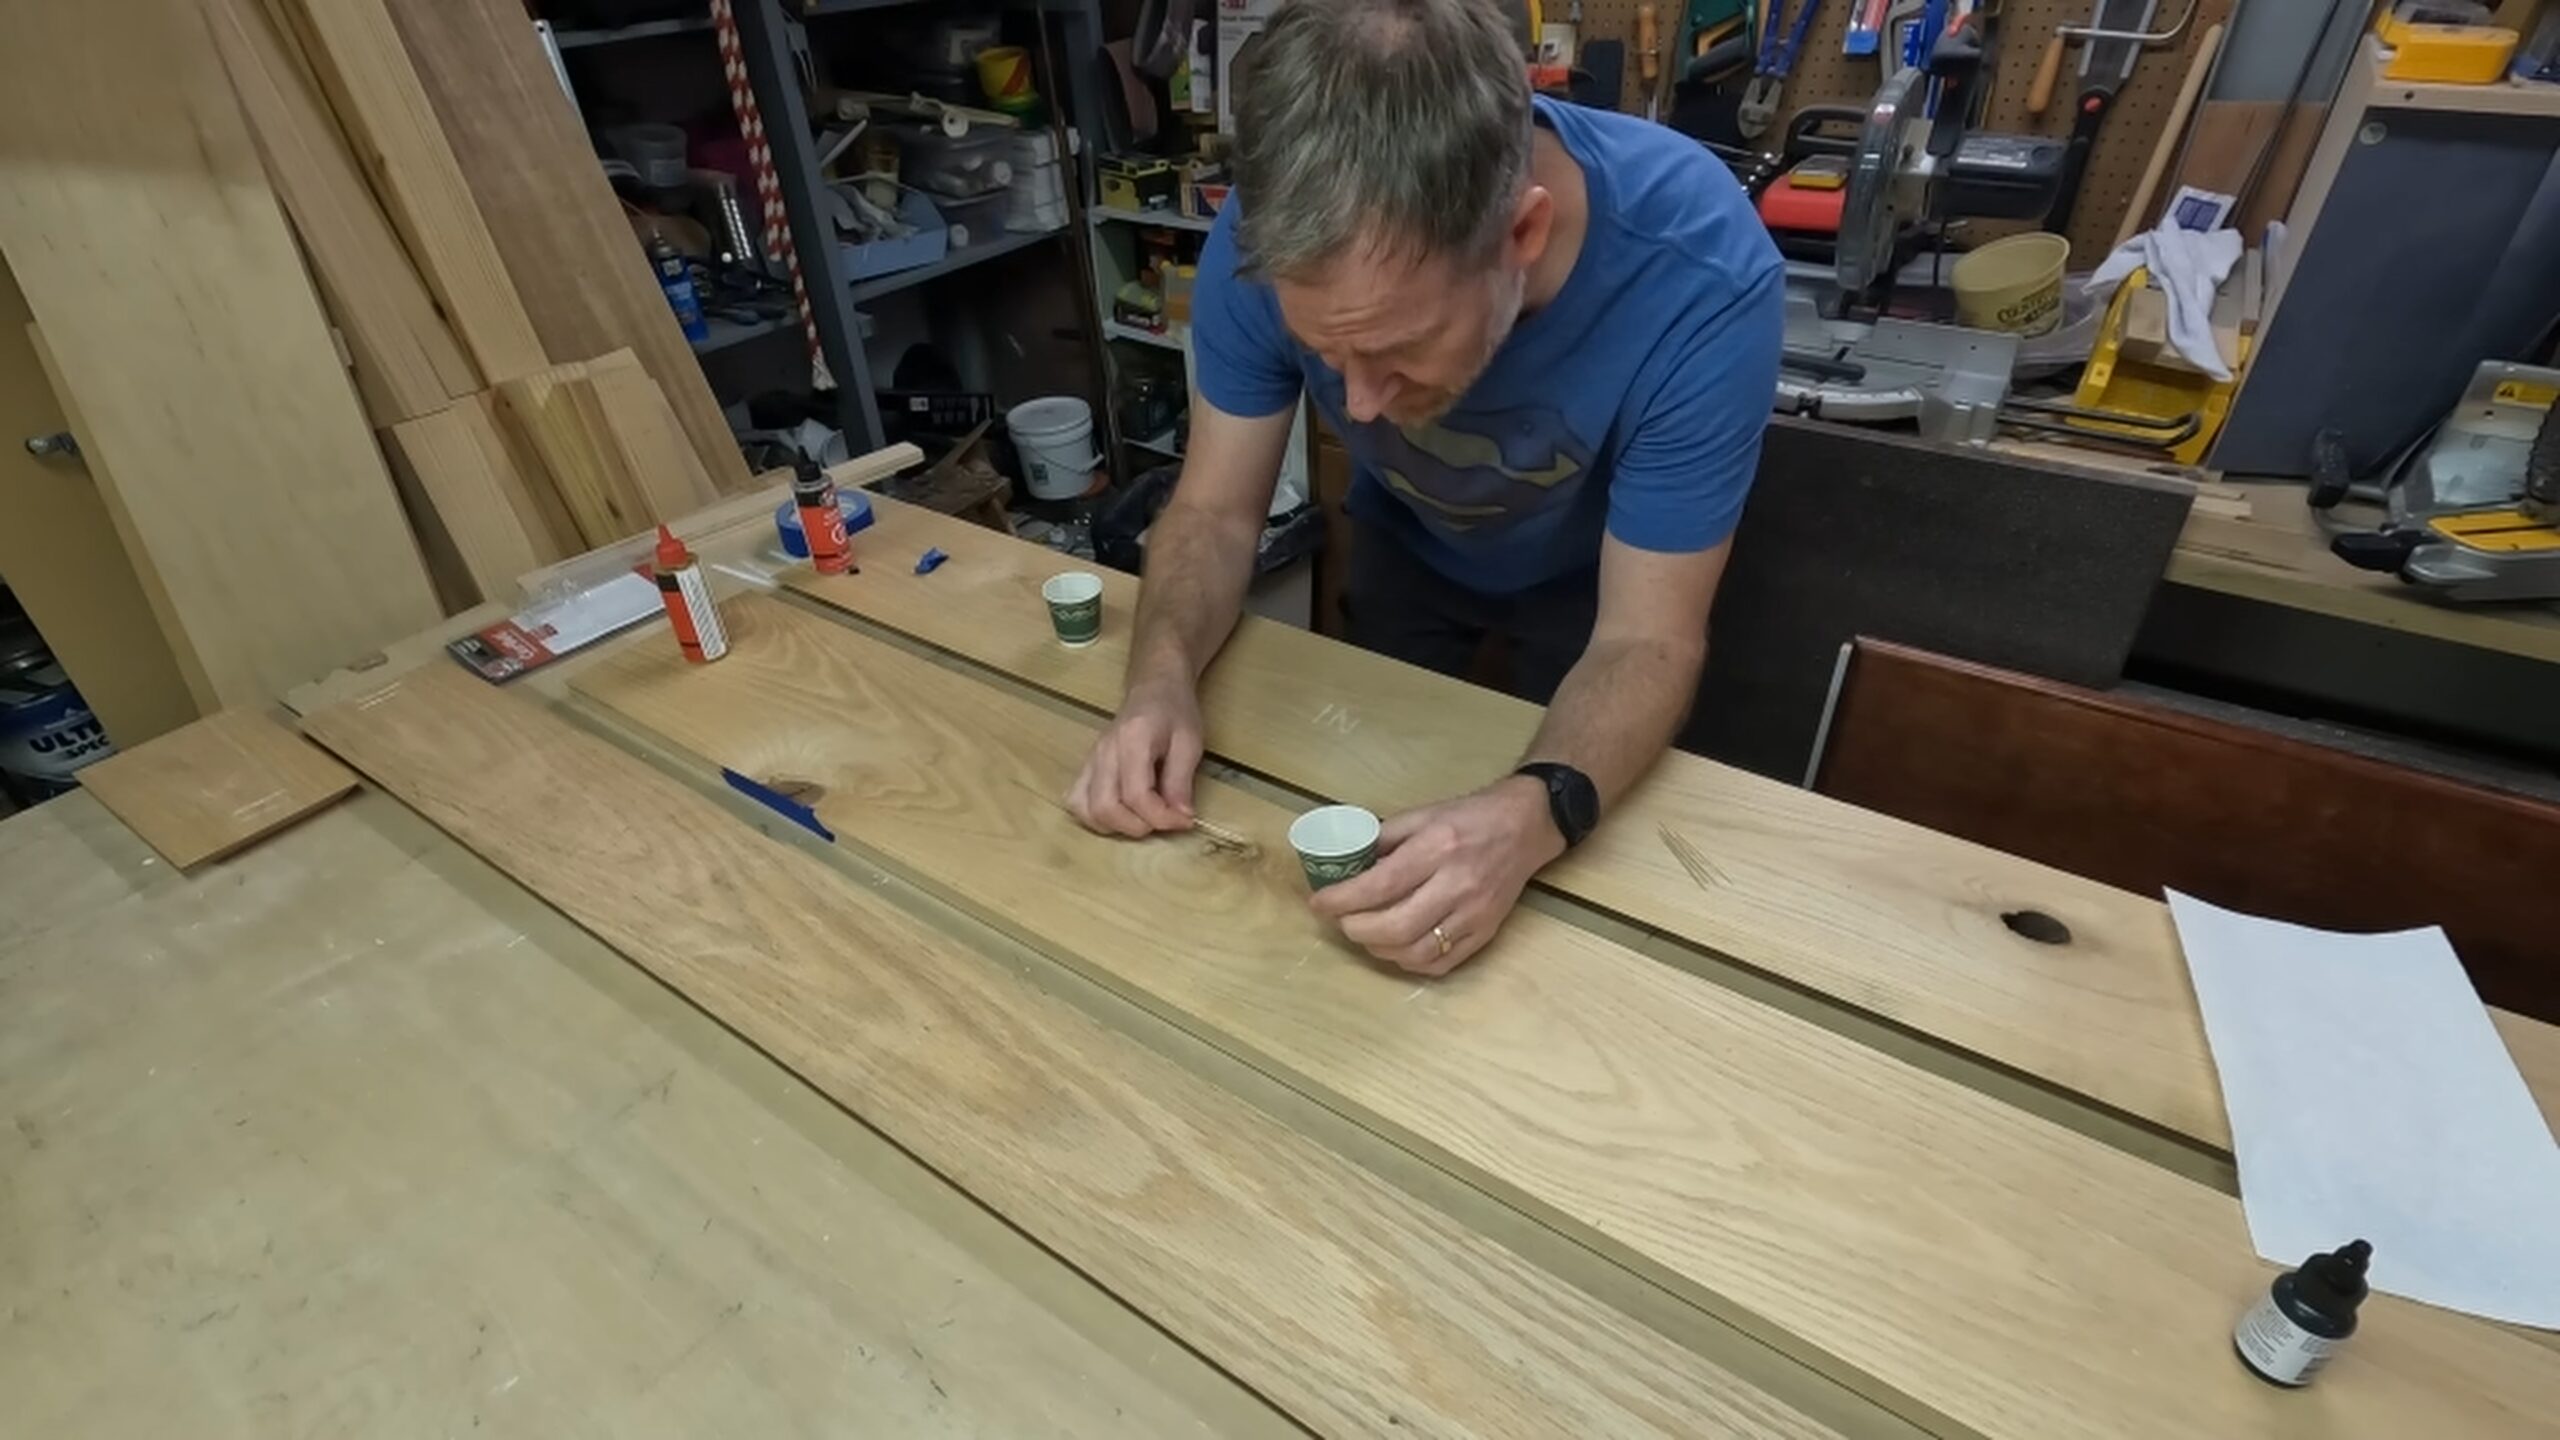
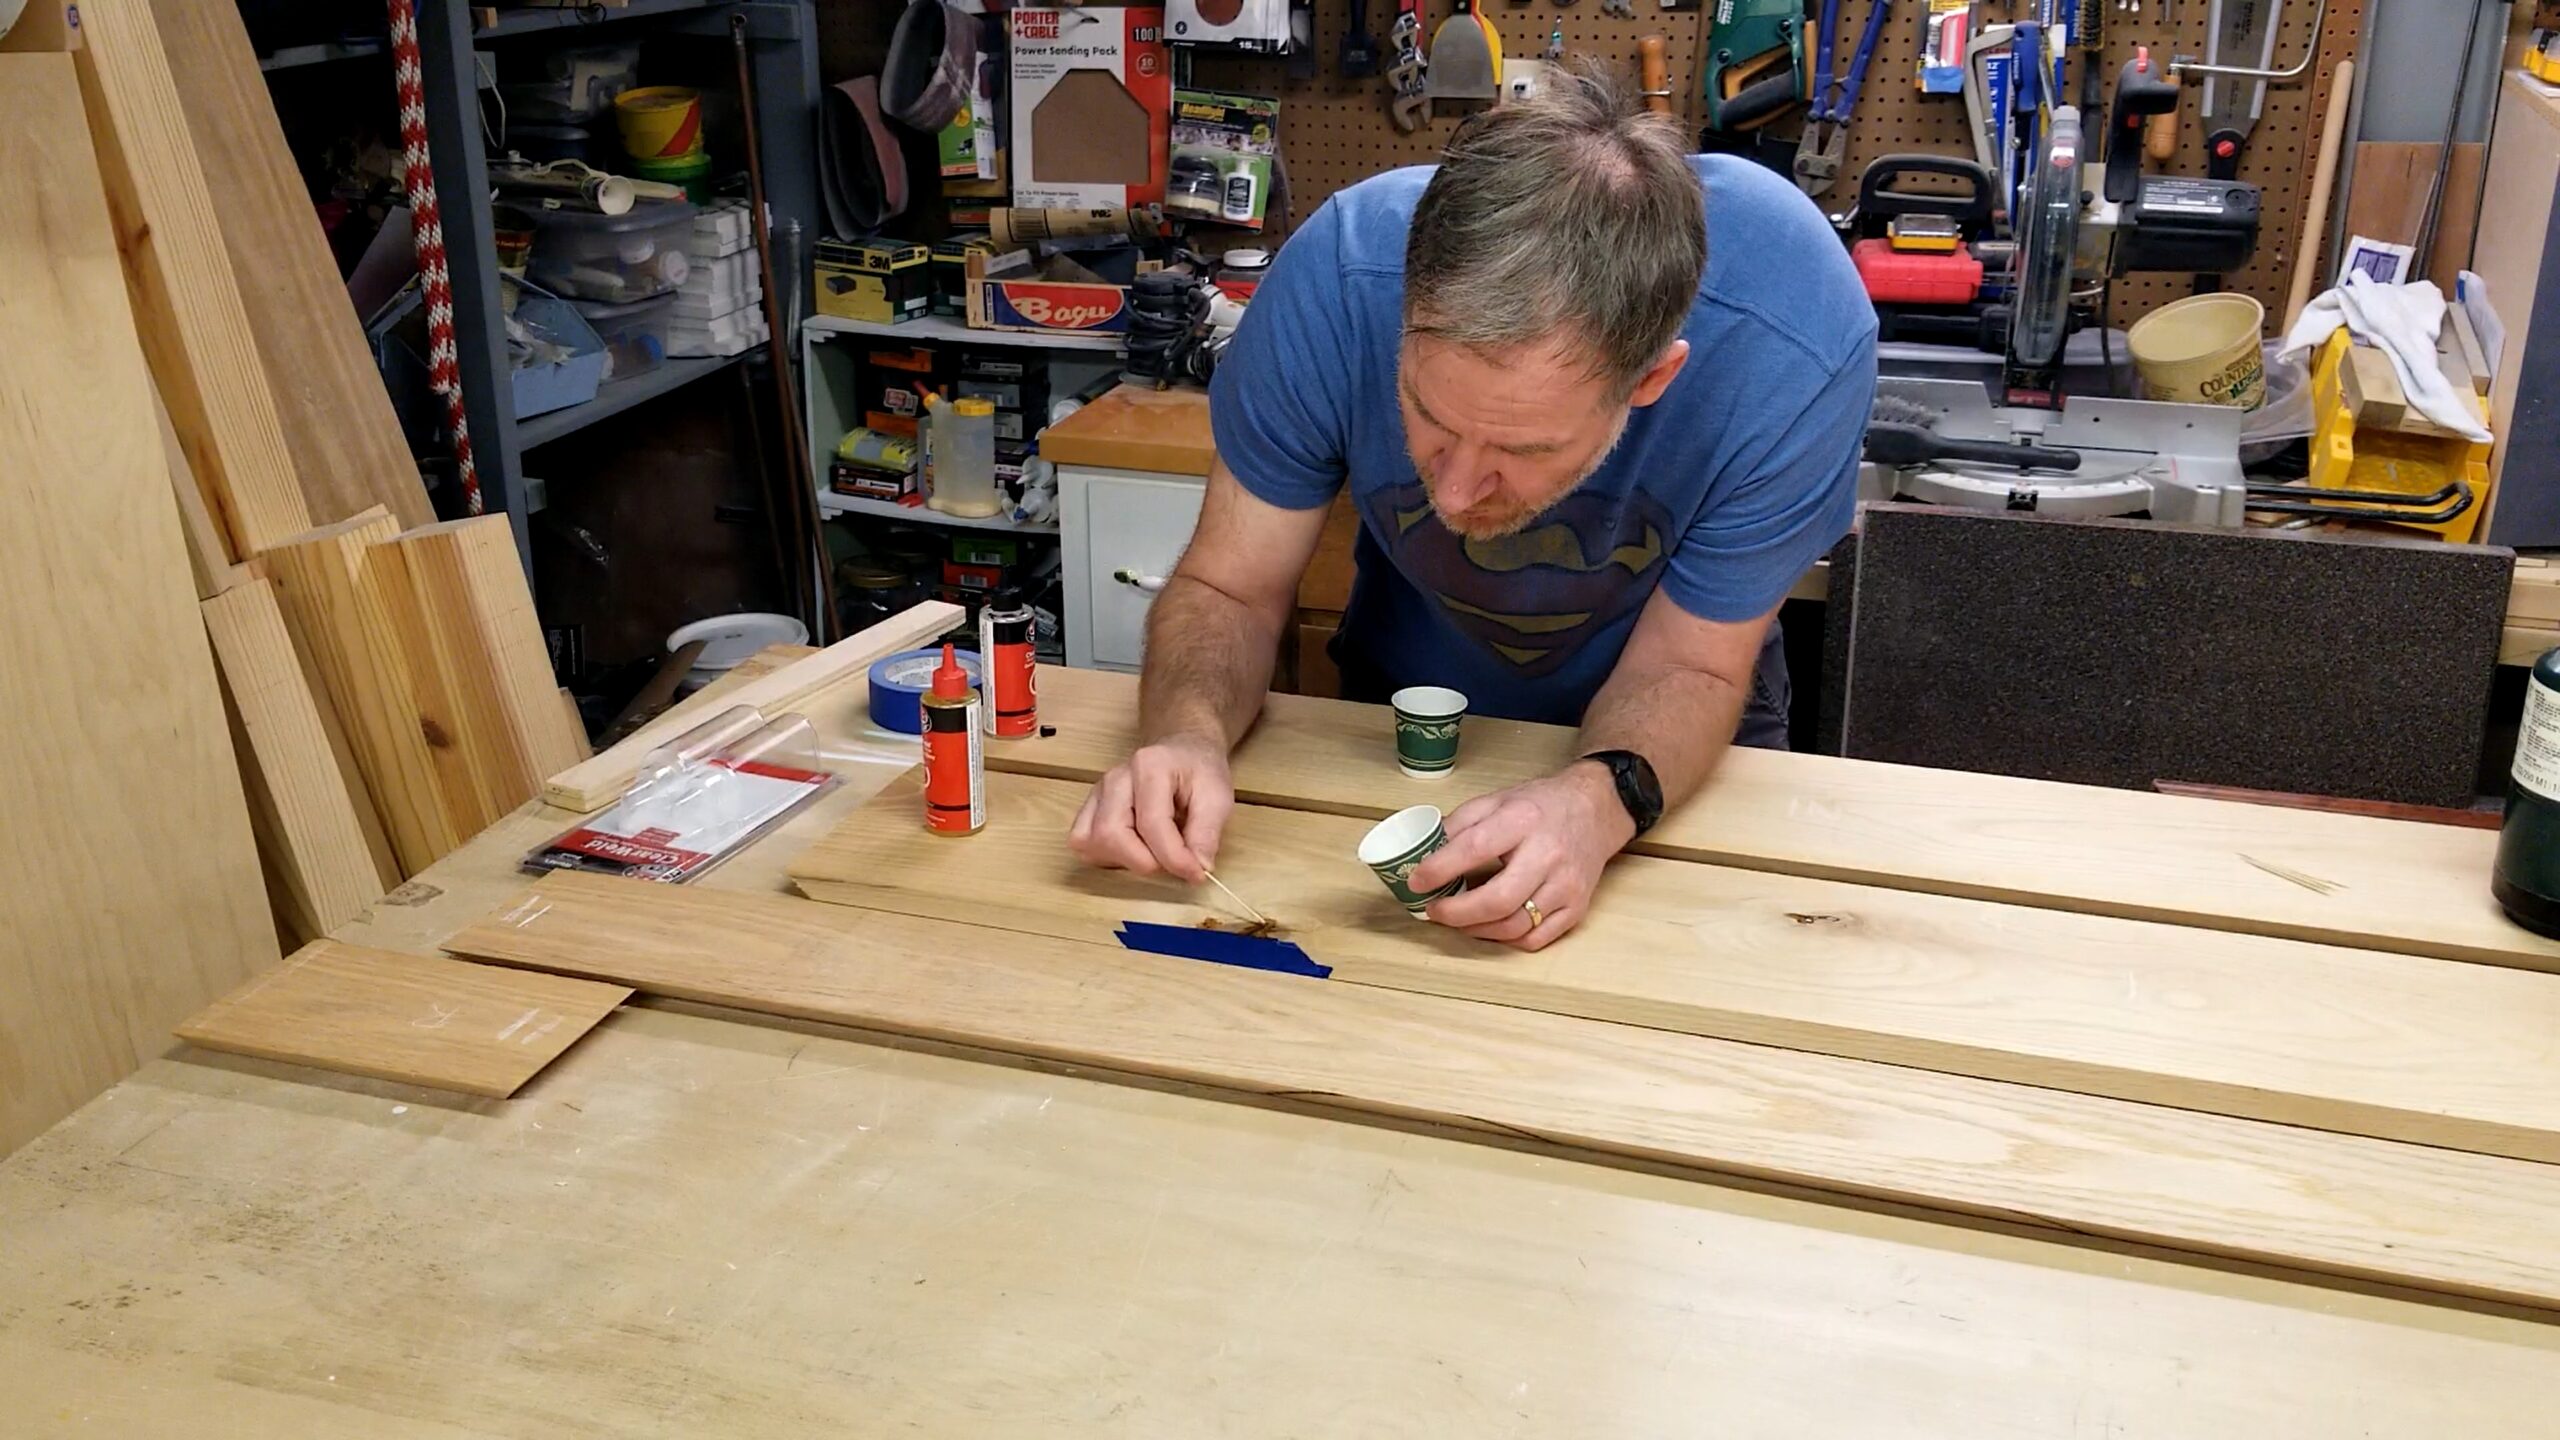
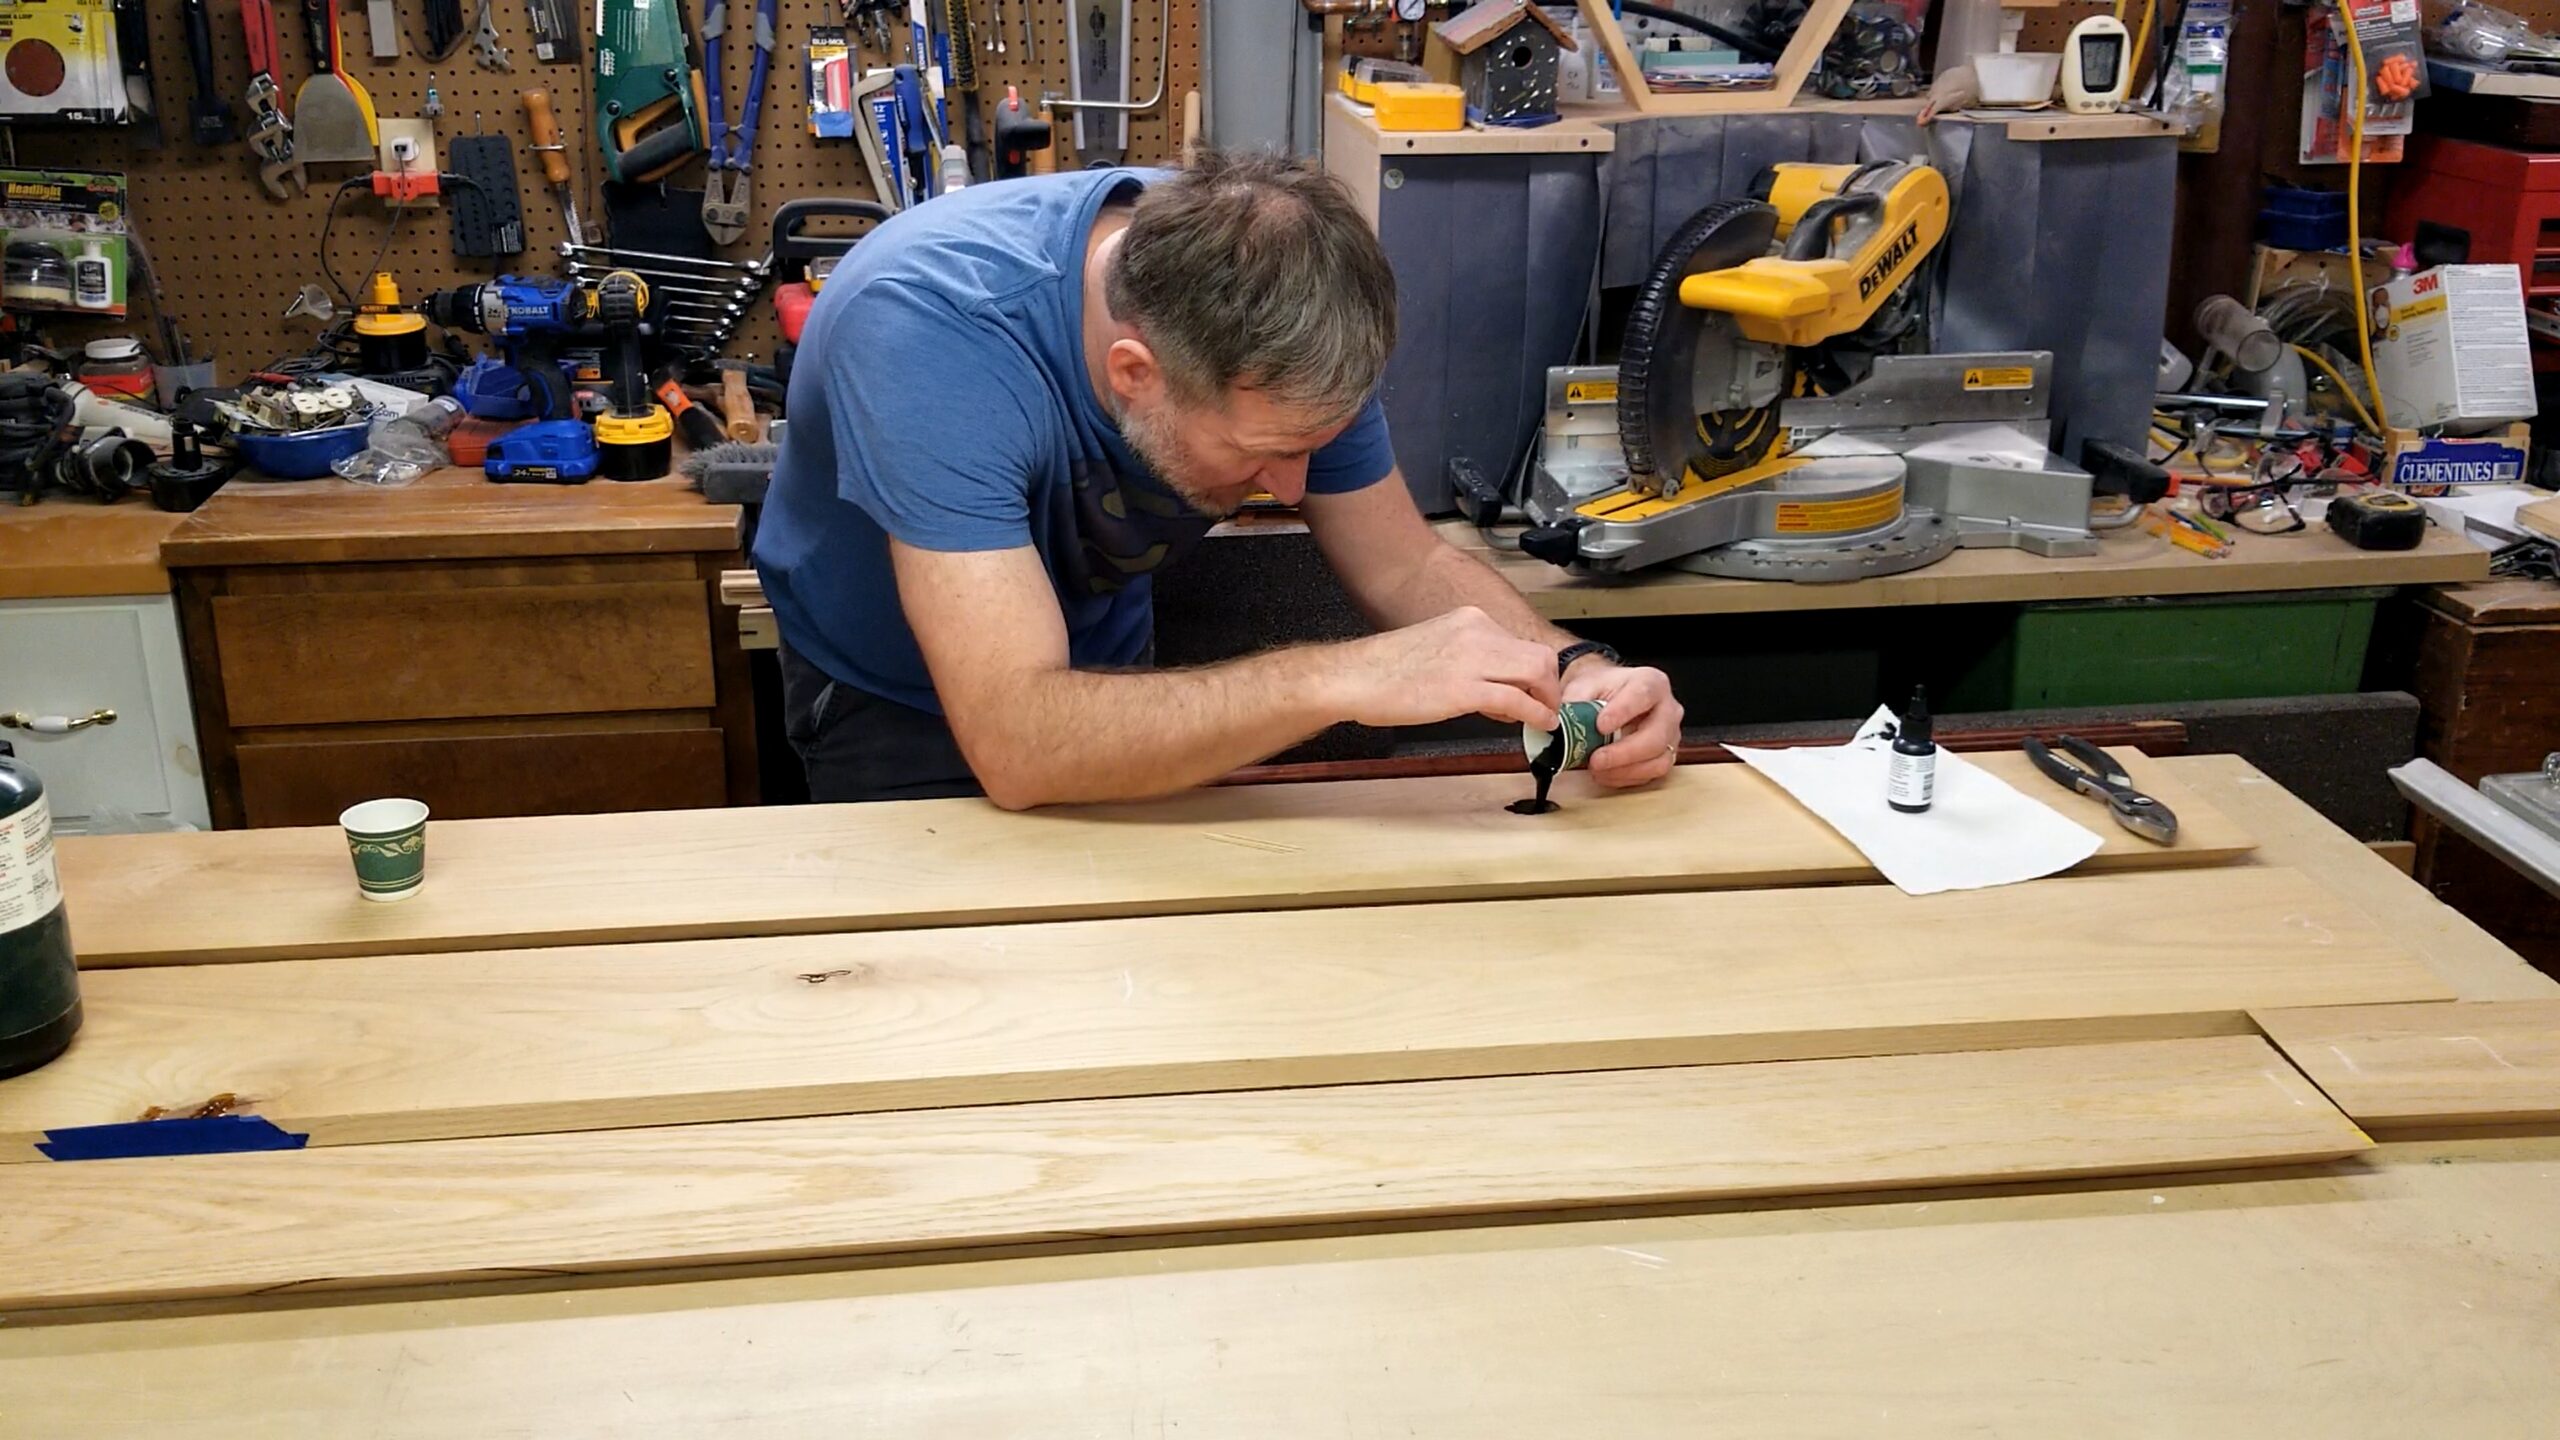
Once everything is cut to the proper sizes, I start by taping up any places I have knots or cracks. I’m going to fill the cracks with clear epoxy and the knot hole with dyed epoxy. I needed to create two layers of epoxy because not all the bubbles came out after I poured it, and after it had been sanded smooth, there were open bubbles, so I had to refill them and sand again. No biggie. I used JB Weld 2-part epoxy, which was probably not the best kind, but it was cheaper, and I only needed a couple of ounces.
Step 4: Assemble the Faux Beam
- Glue and nail the pieces together
- Use clamps to keep everything square
- Fill nail holes with wood filler
This creates the hollow beam structure typical of faux mantels.
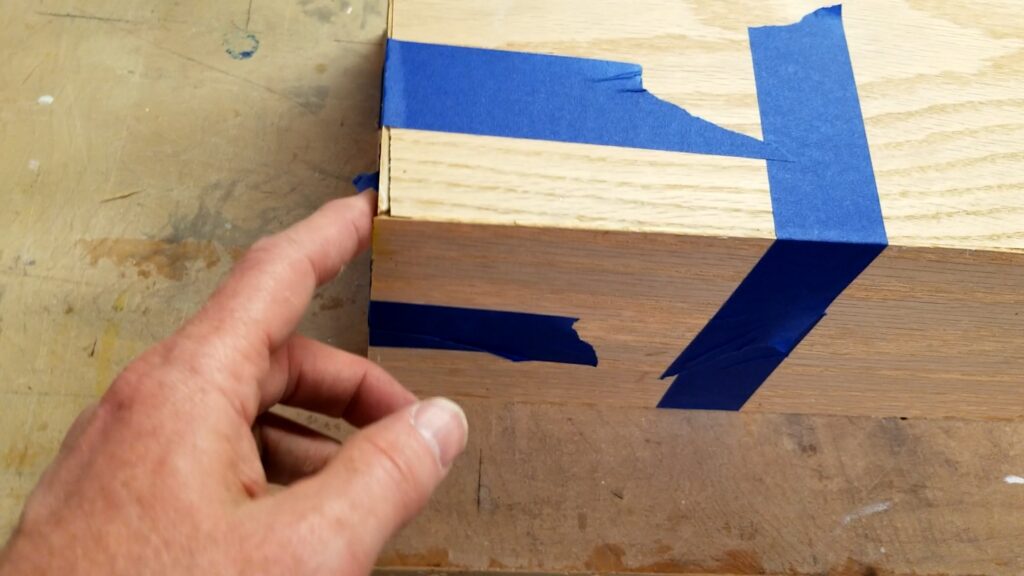
Once the epoxy had thoroughly cured and been sanded smooth, I continued by gluing the miters using painter’s tape to roll the pieces together. I use a few 23-gauge pin nails with my pin nailer, trying to hit the grain to hide the pins. These are only there to hold the pieces of wood together until the glue sets up.
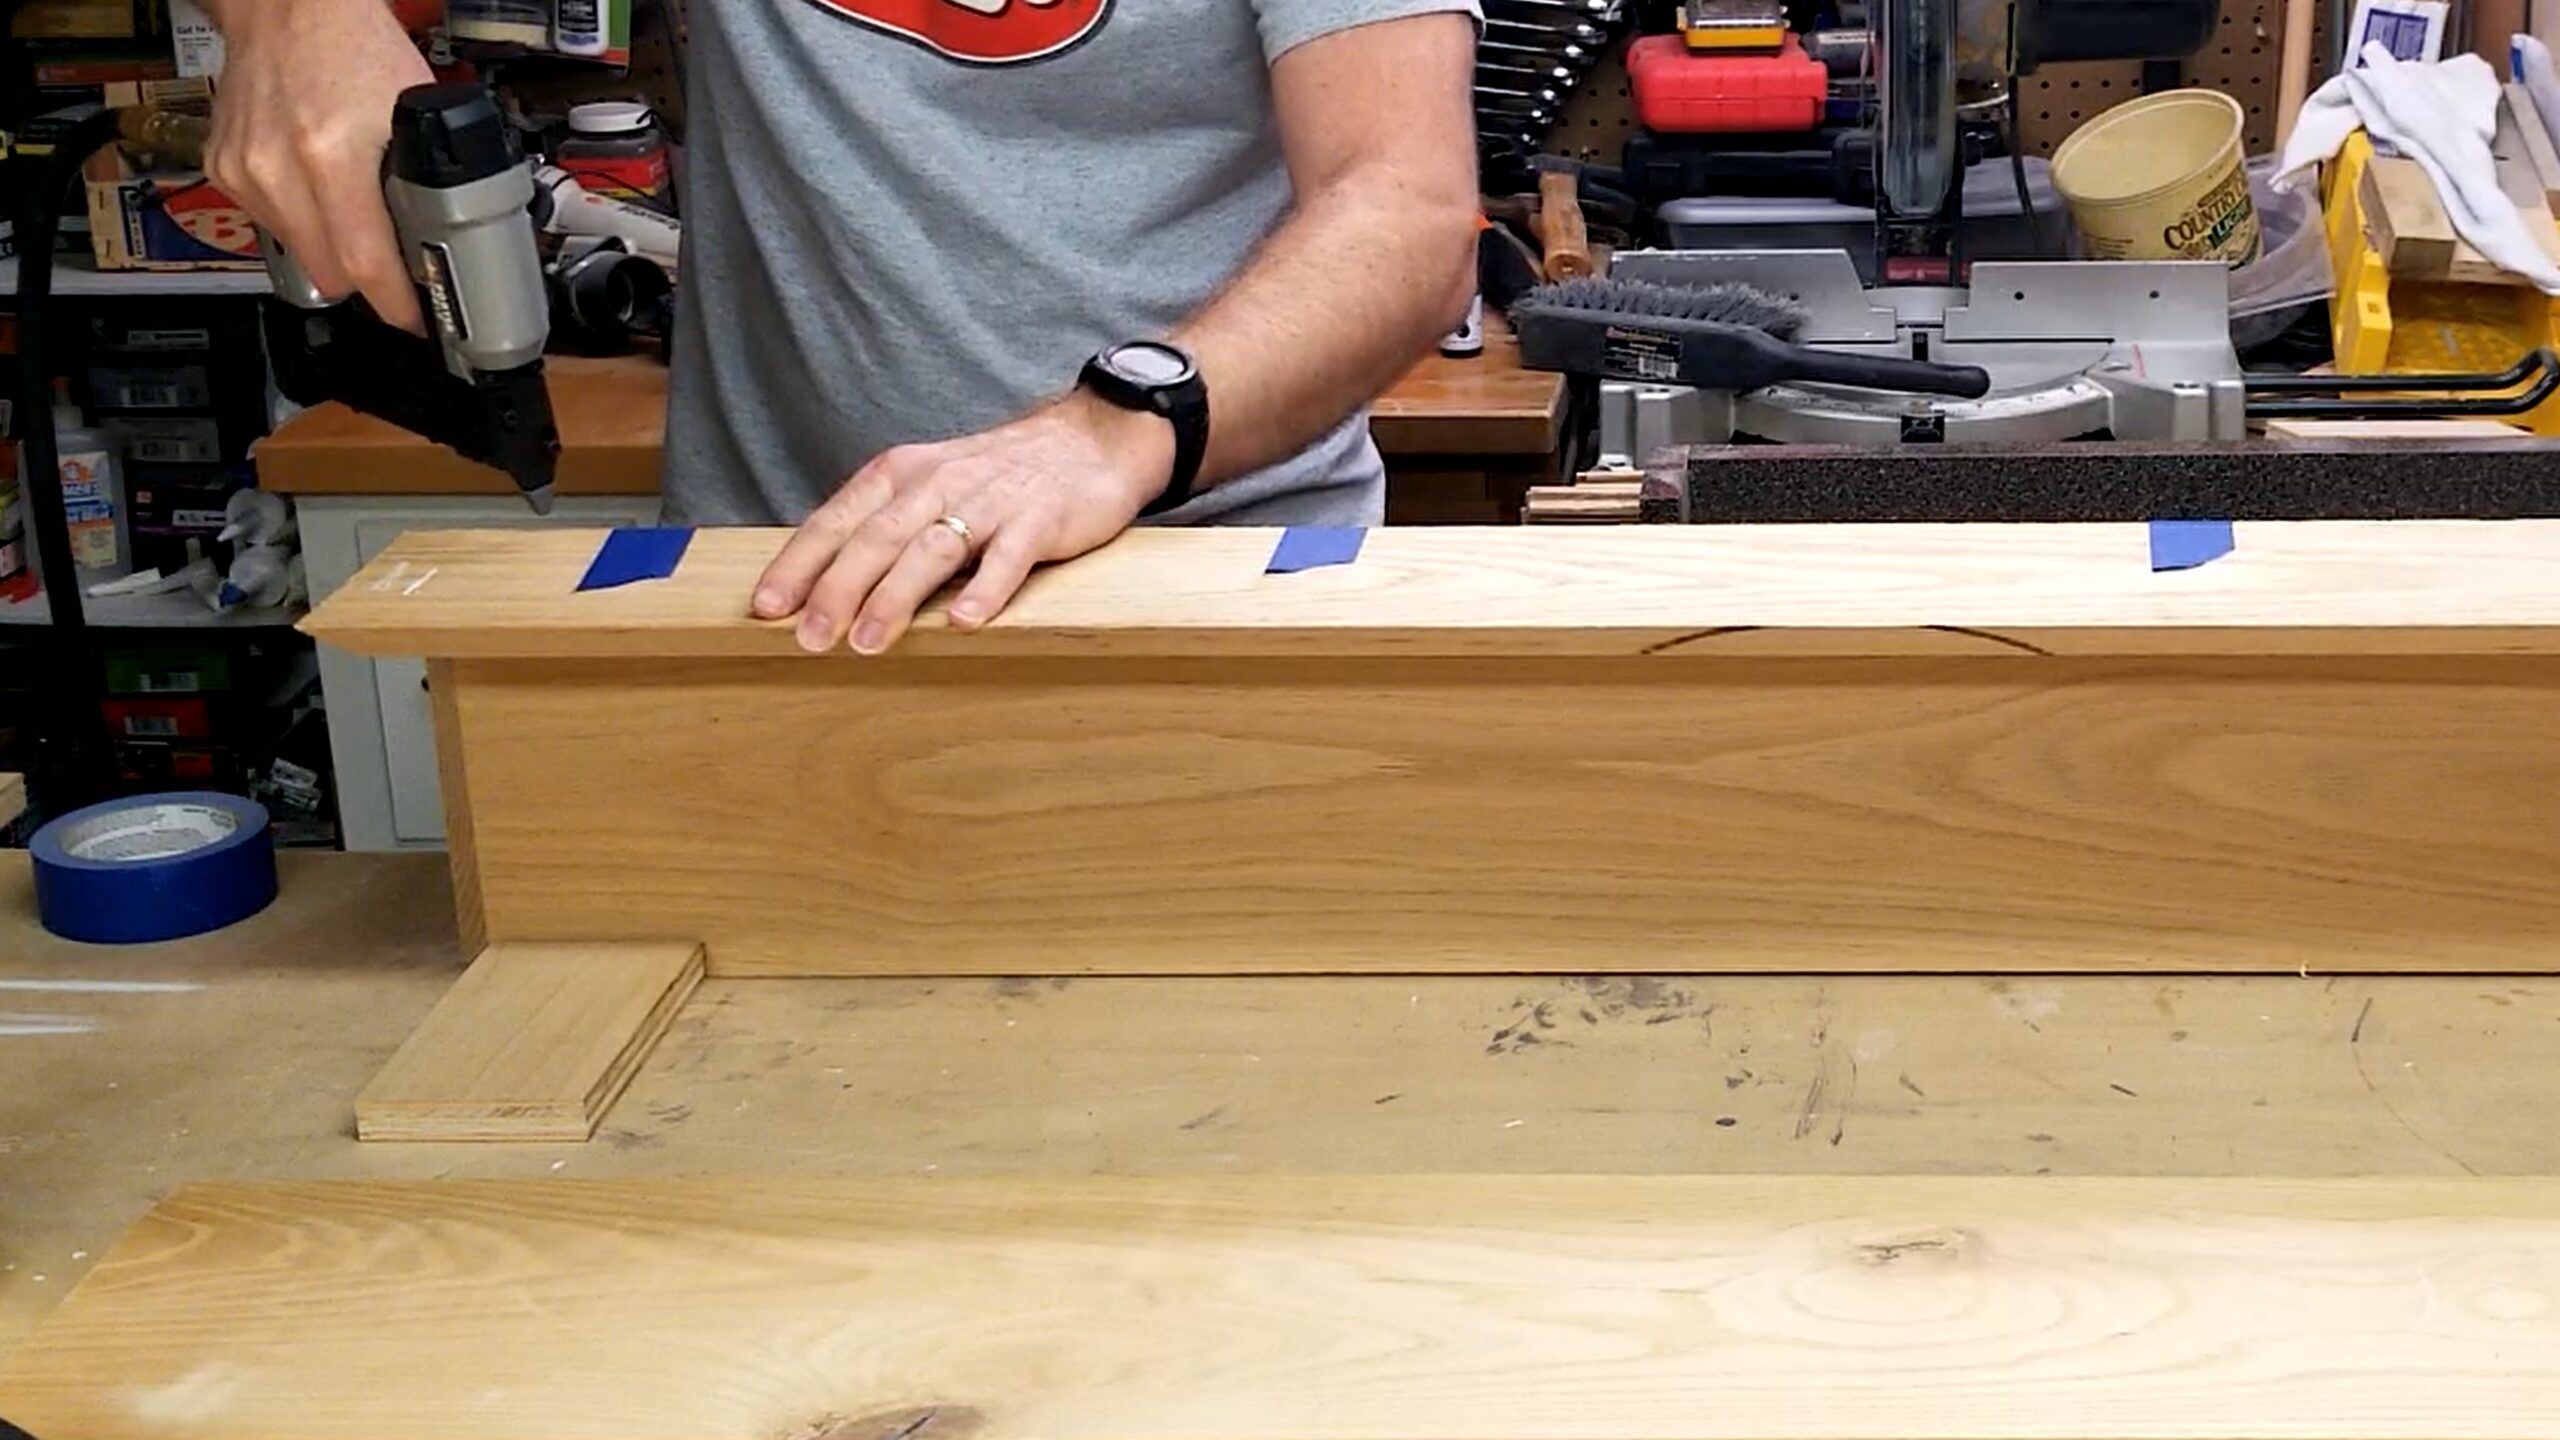
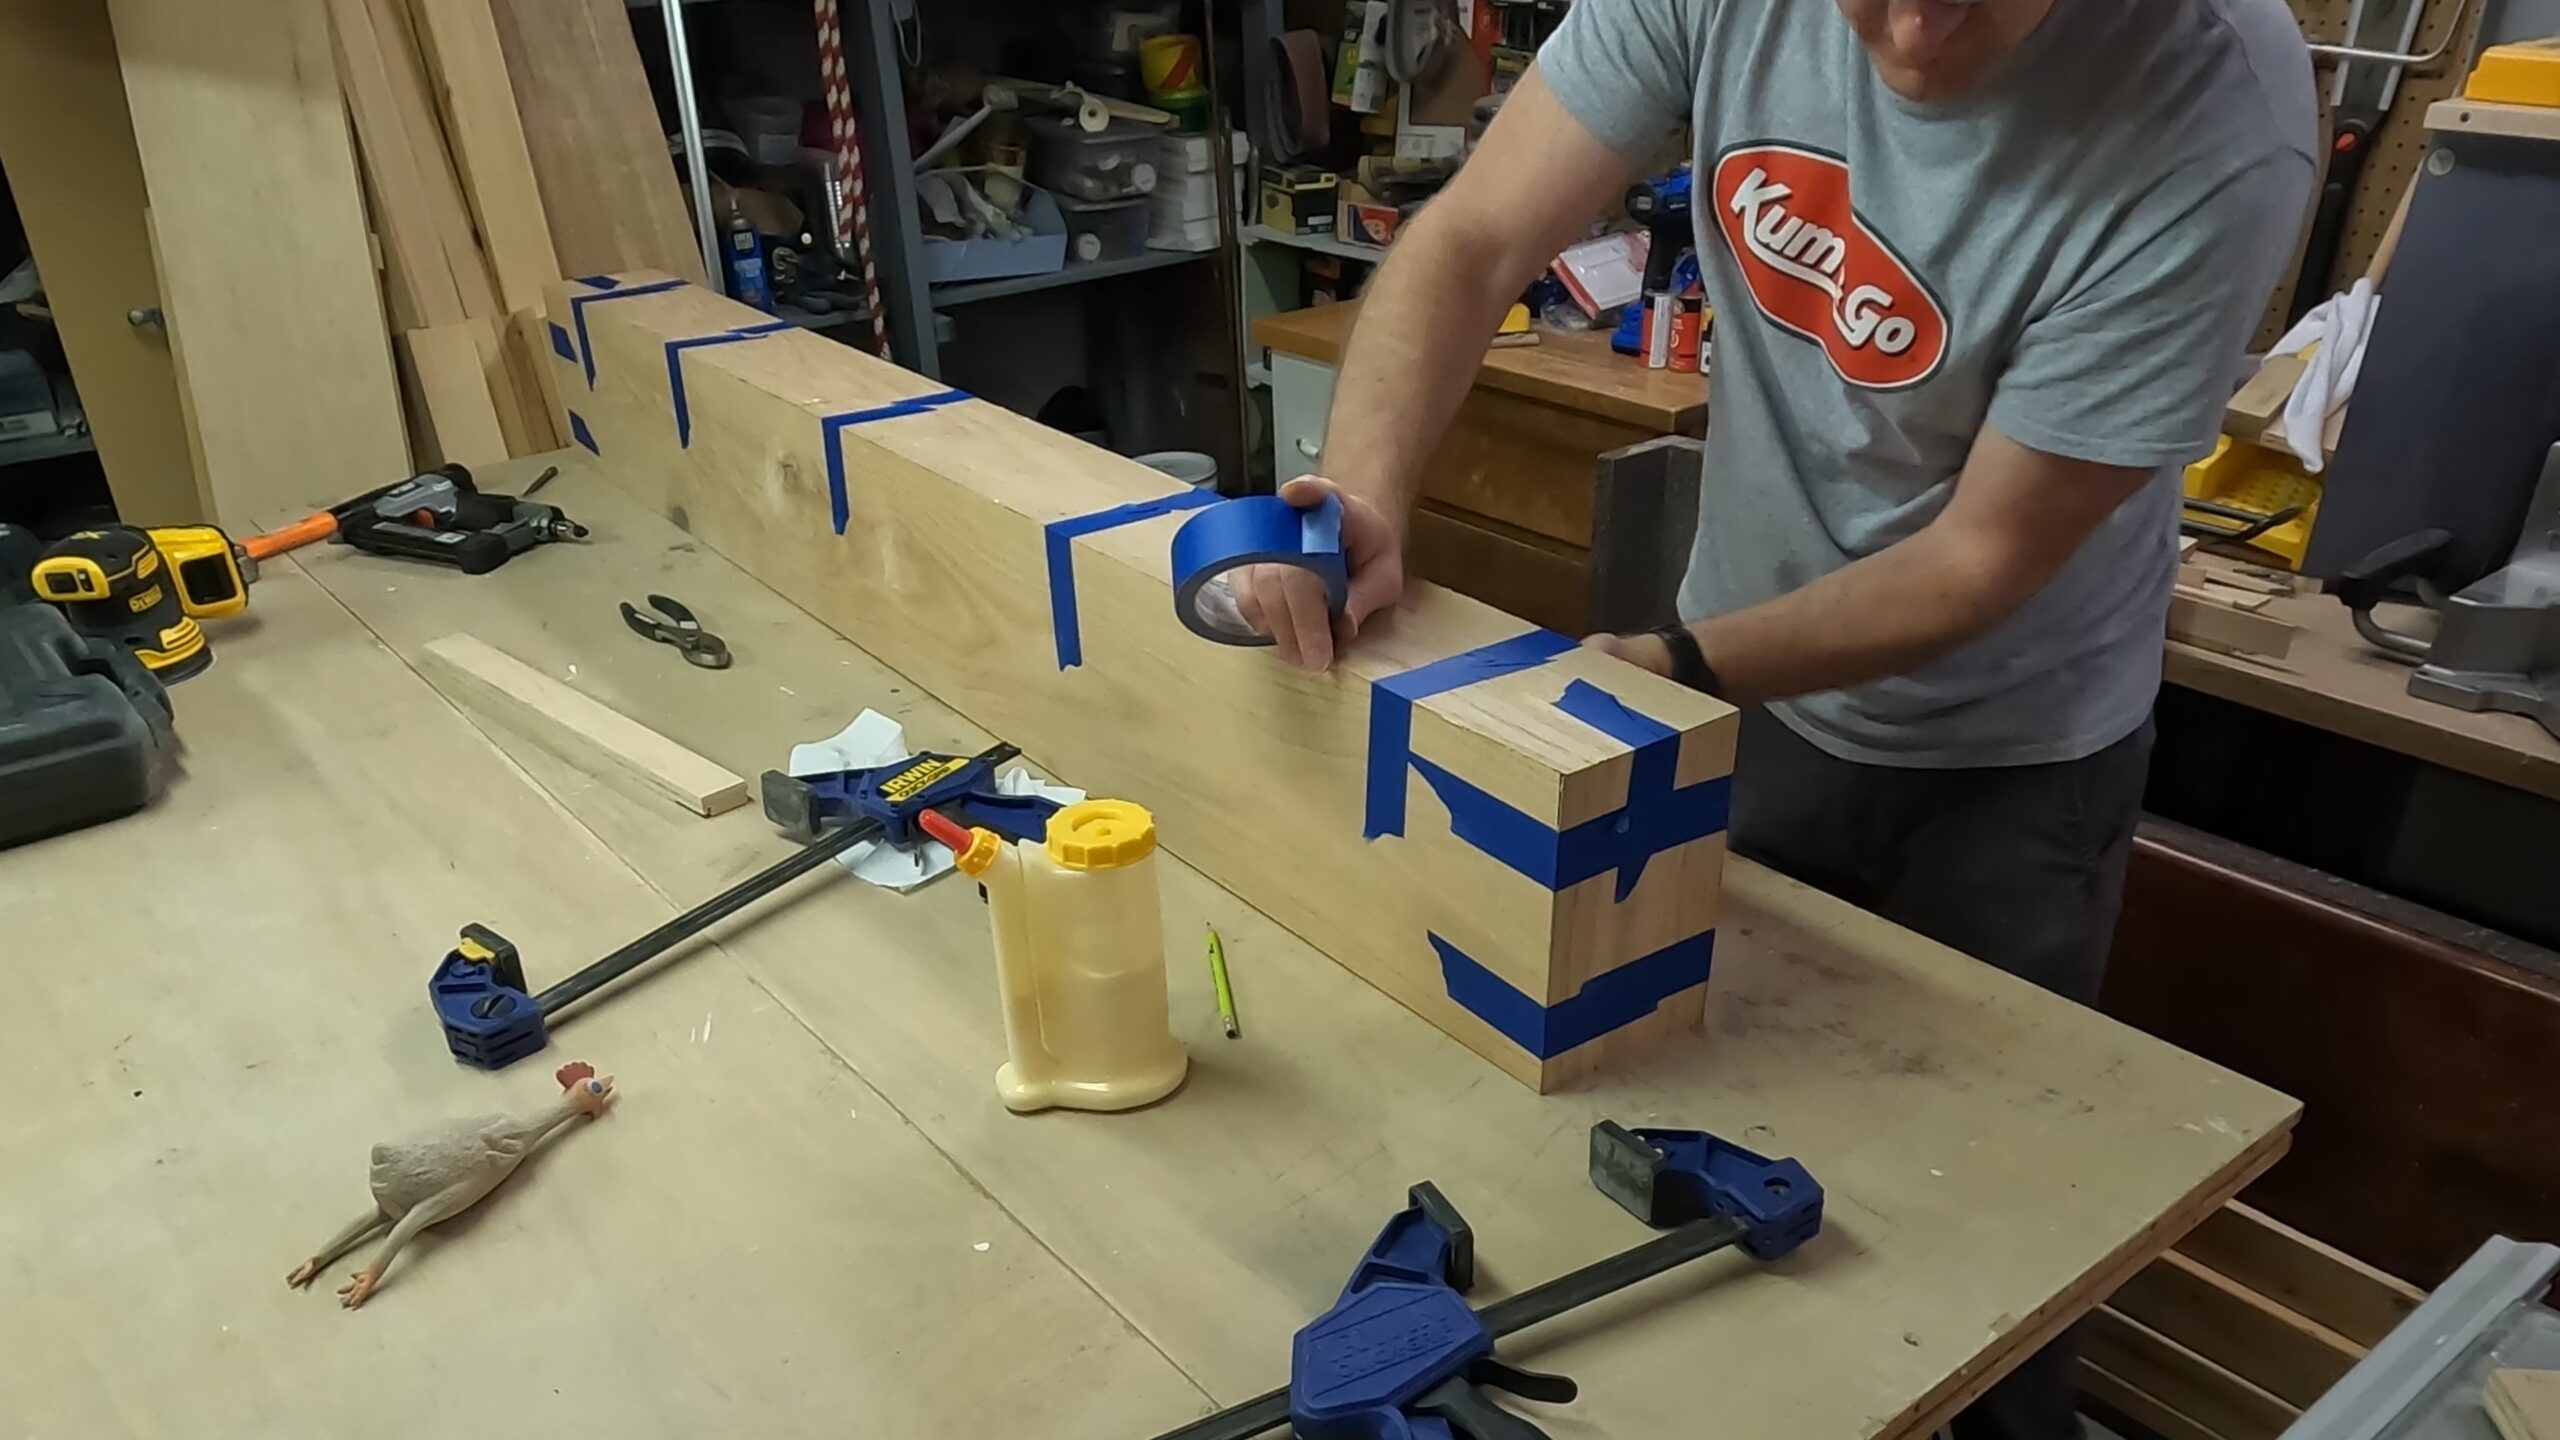
Continuing, I cut the ends to the right lengths and glued and pinned these into the ends. I thoroughly taped all the joints up with painter’s tape, so everything is nice and tight since using clamps on this thing would be more difficult.
After the glue sets up, I do have some joints that were a little loose, but that’s okay. I mixed up some glue and sawdust and smashed it into the cracks. I’ll sand these down, and it will just look like one good beam.
I thoroughly sand and repeat the crack-filling process until everything is exactly how I want it. Is it perfect? No, and I don’t want perfect. I want it to be a little rustic but not completely beat up.
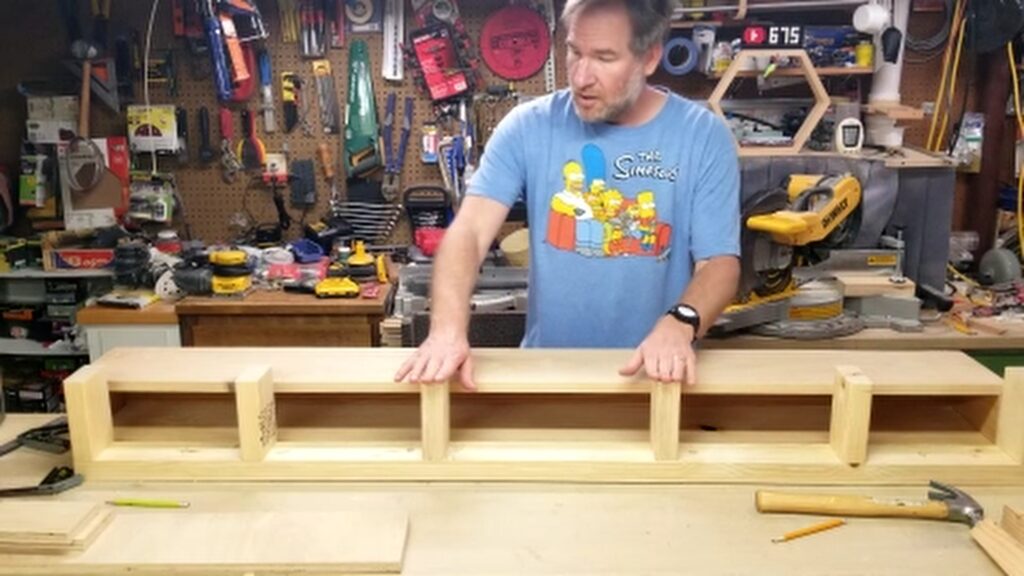
Step 5: Build the Internal Frame
The internal frame (also called a cleat) is what supports the mantel.
- Use 2×4 lumber to build a rectangular frame
- Secure it directly to wall studs using lag screws
- Secure it to masonry with masonry or concrete anchors
- Ensure it is perfectly level
This frame will allow your faux beam mantel to slide over it securely.
I constructed a 2 x 4 blind shelf support that I can bolt to the fireplace and the mantel will just slide onto. I can secure the mantel from above, underneath, or wherever I want.
Step 6: Sand and Distress for a Rustic Look
To achieve a true rustic appearance:
- Sand all surfaces smooth
- Lightly distress edges with a hammer or chain (if desired)
- Add imperfections to mimic aged wood (if desired)
This step is what makes your rustic faux beam mantel look authentic rather than “boxy.”
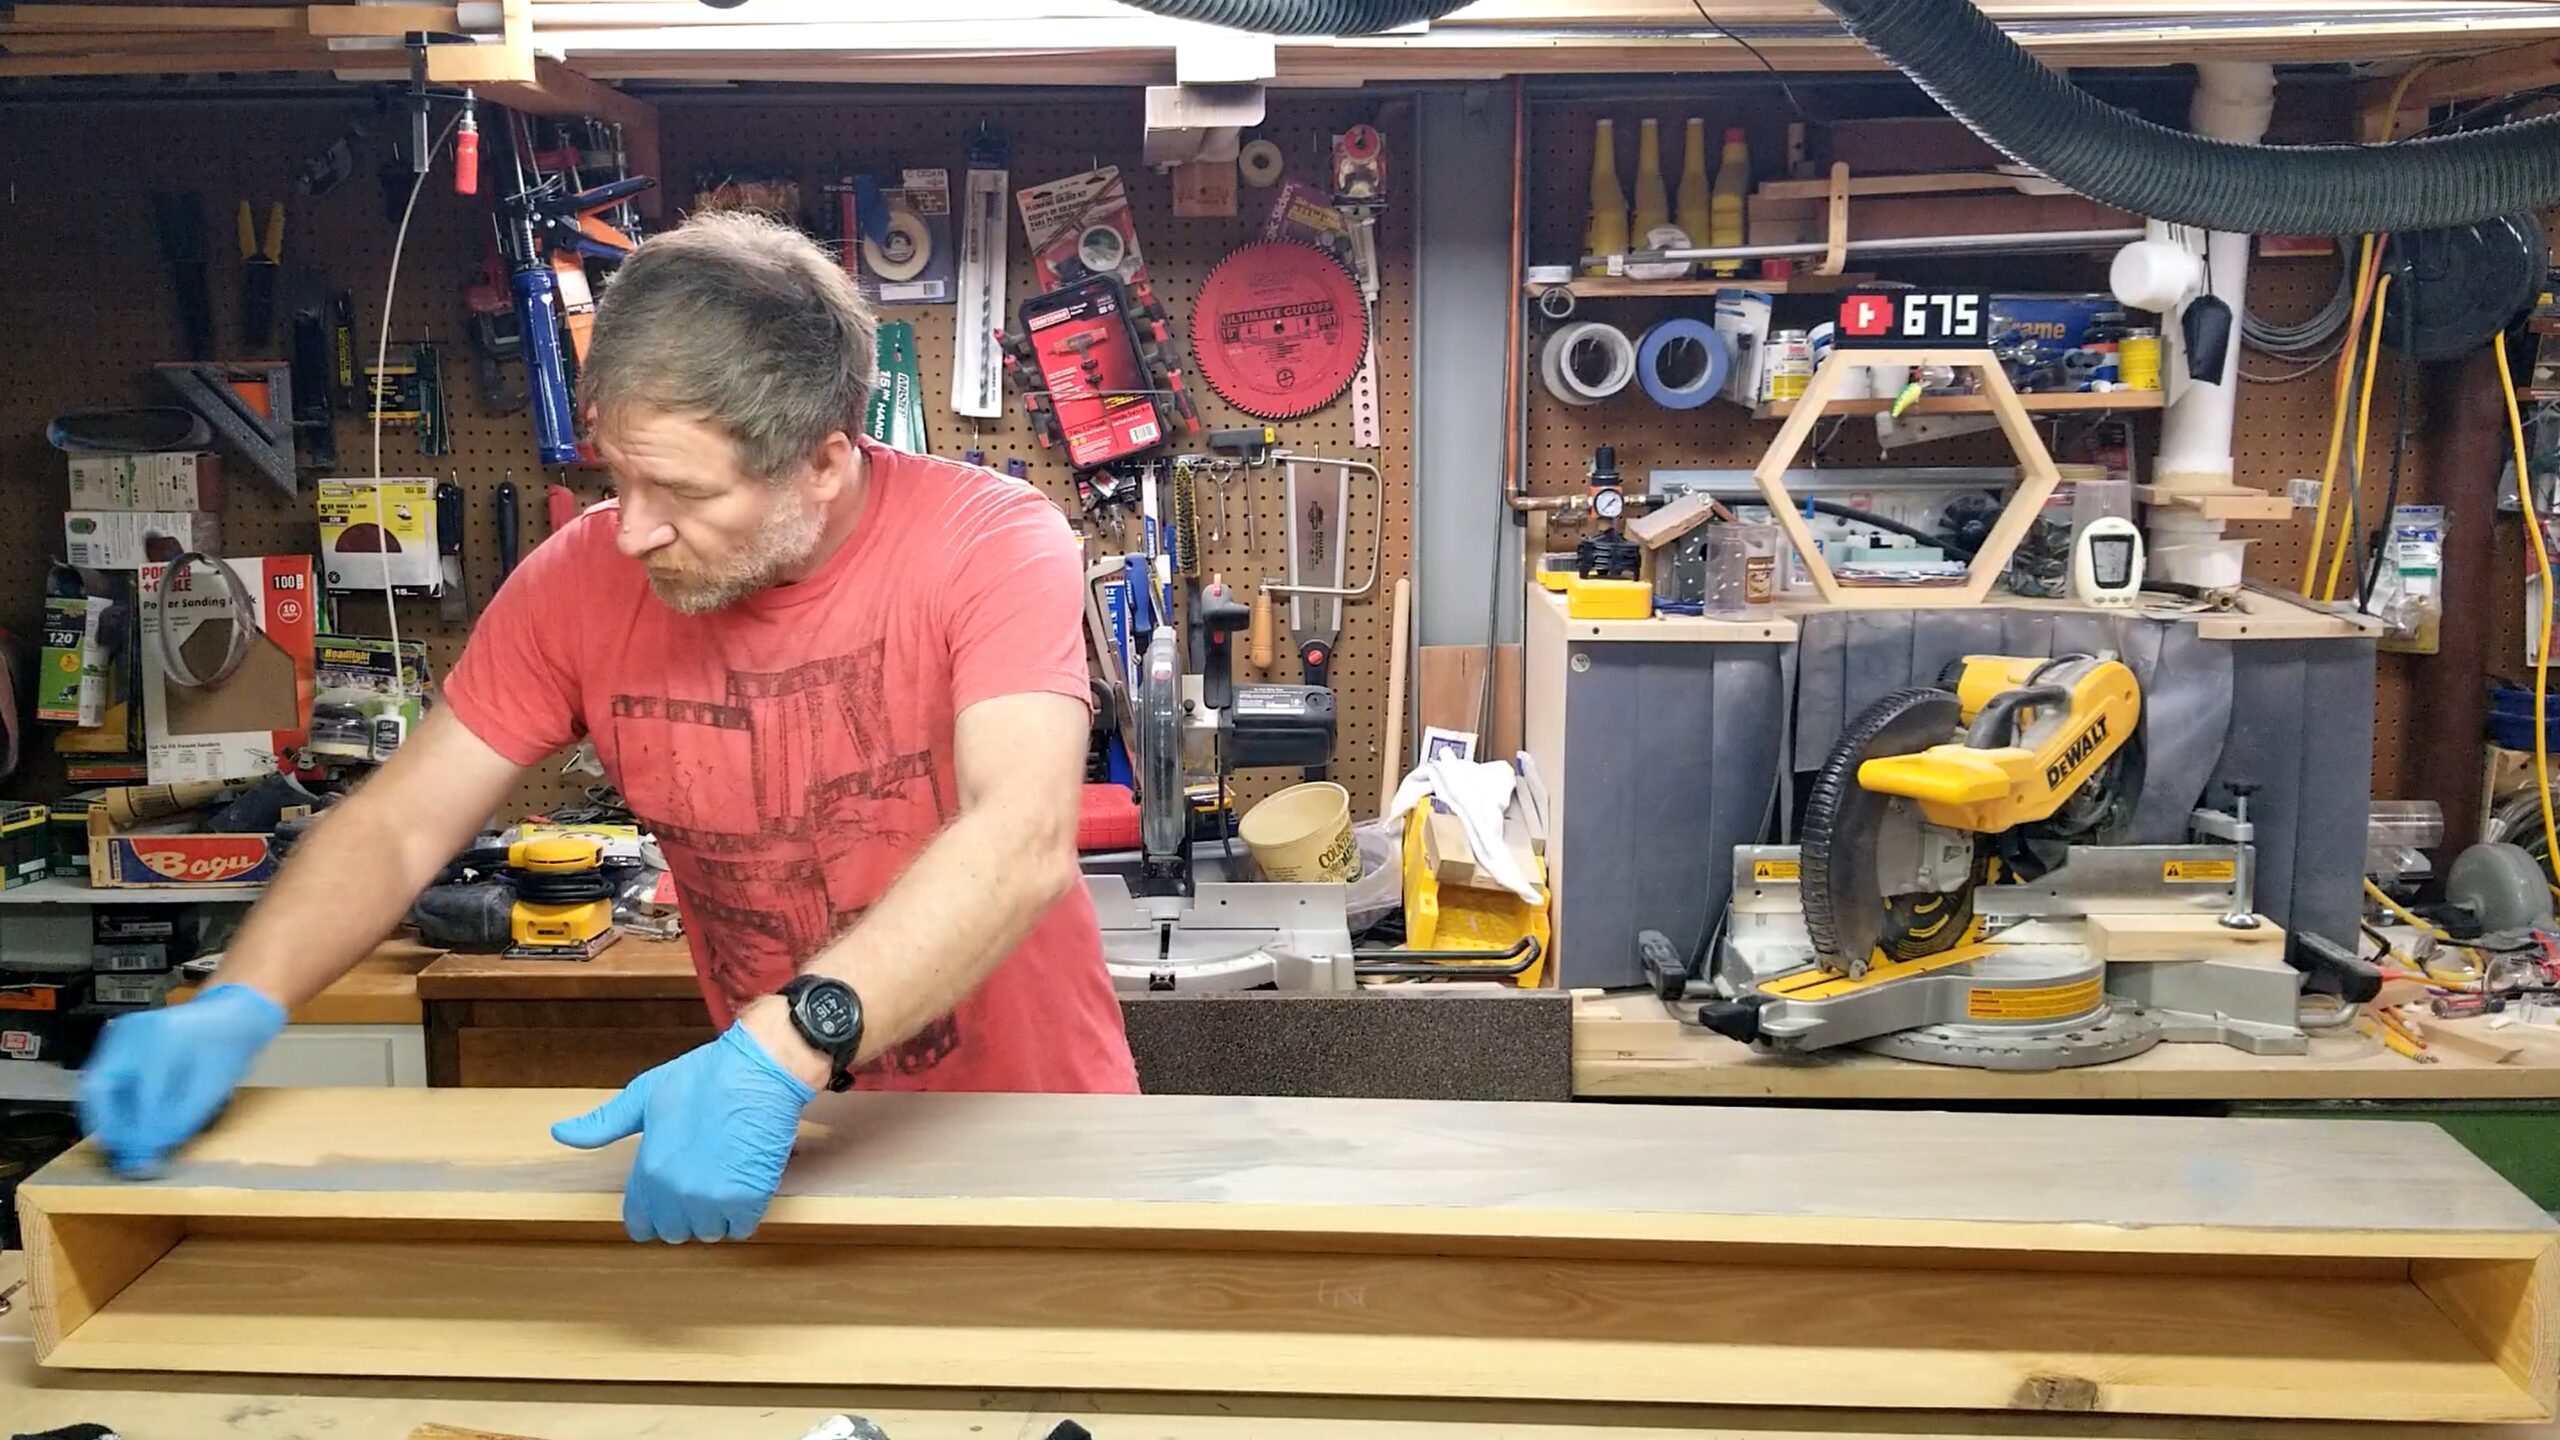
Step 7: Stain and Finish
Apply stain in layers to achieve depth:
- Use a darker base coat
- Wipe off excess
- Optionally layer a second tone for contrast
Finish with polyurethane for durability.
A multi-step staining process helps replicate real reclaimed wood tones often seen in rustic designs.
After working my way up from 80-grit to 220-grit sandpaper, I prepare the mantel for staining and a polyurethane top coat. I use Minwax Slate Wood Finish for the stain, and once that has cured, I apply 3 coats of Varathane Satin Polyurethane.

Step 8: Install the Mantel
- Slide the faux beam over the wall-mounted frame
- Secure it with screws from the top or sides
- Double-check level alignment
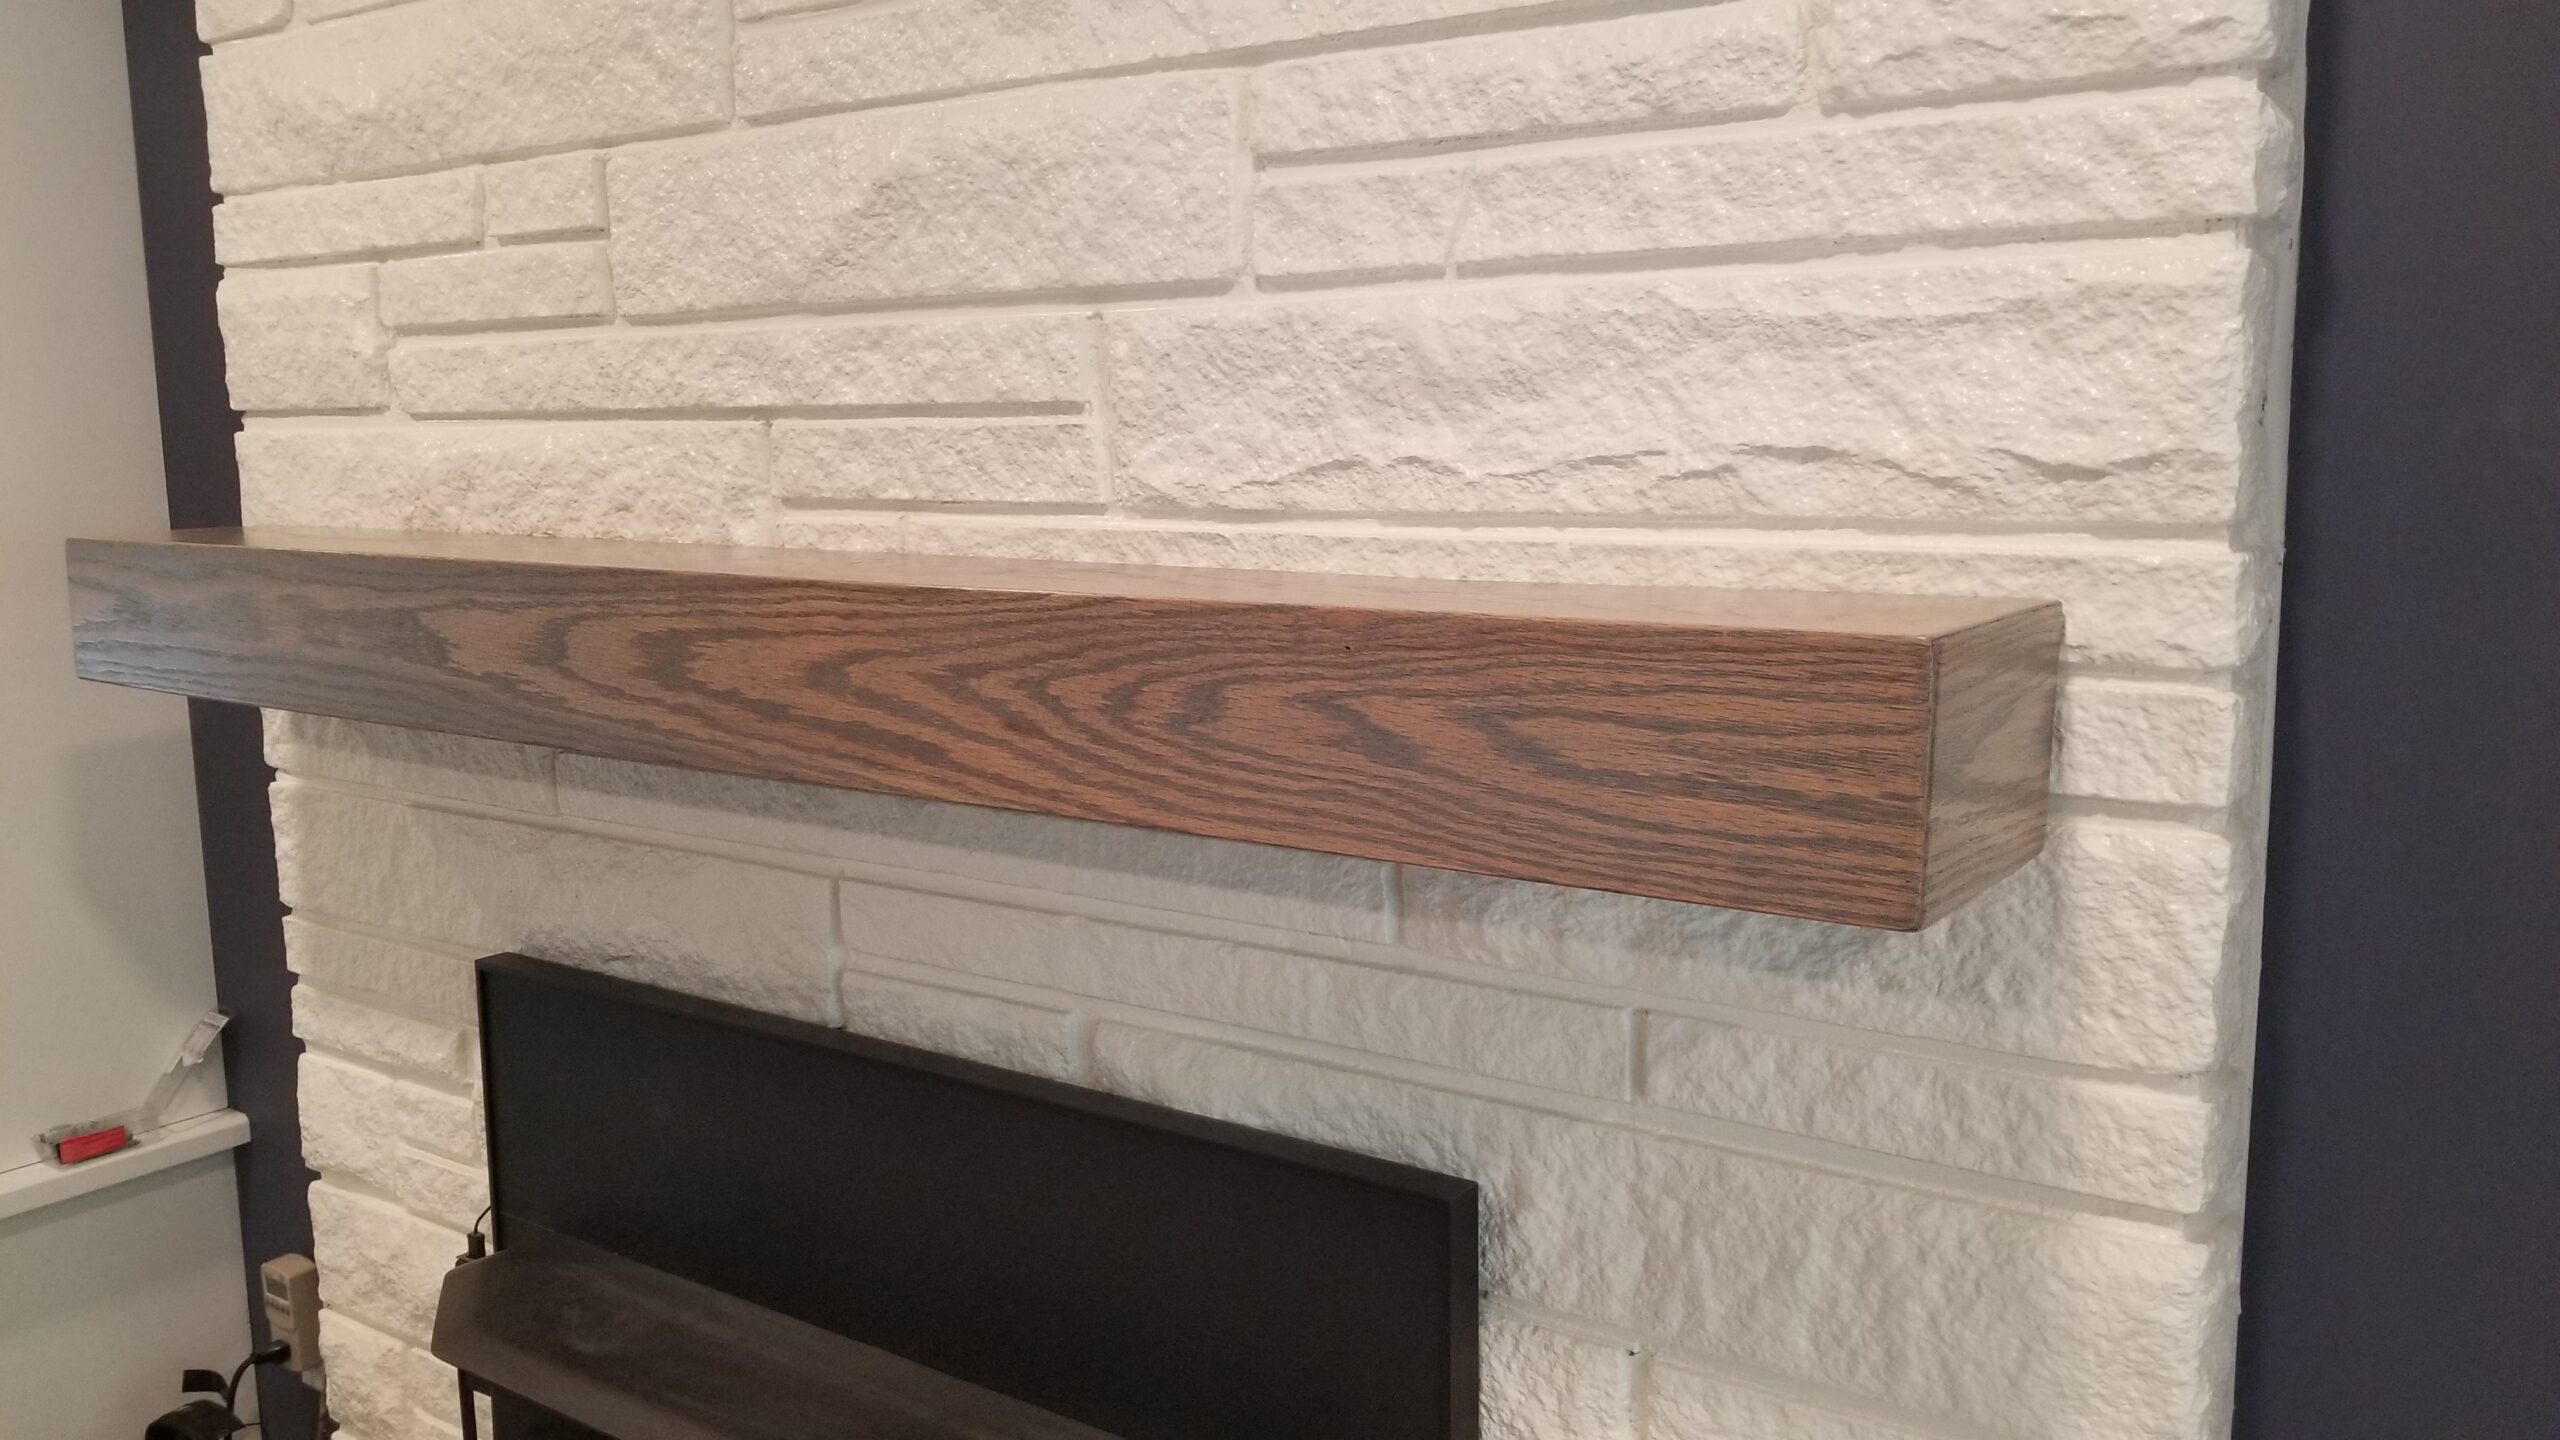
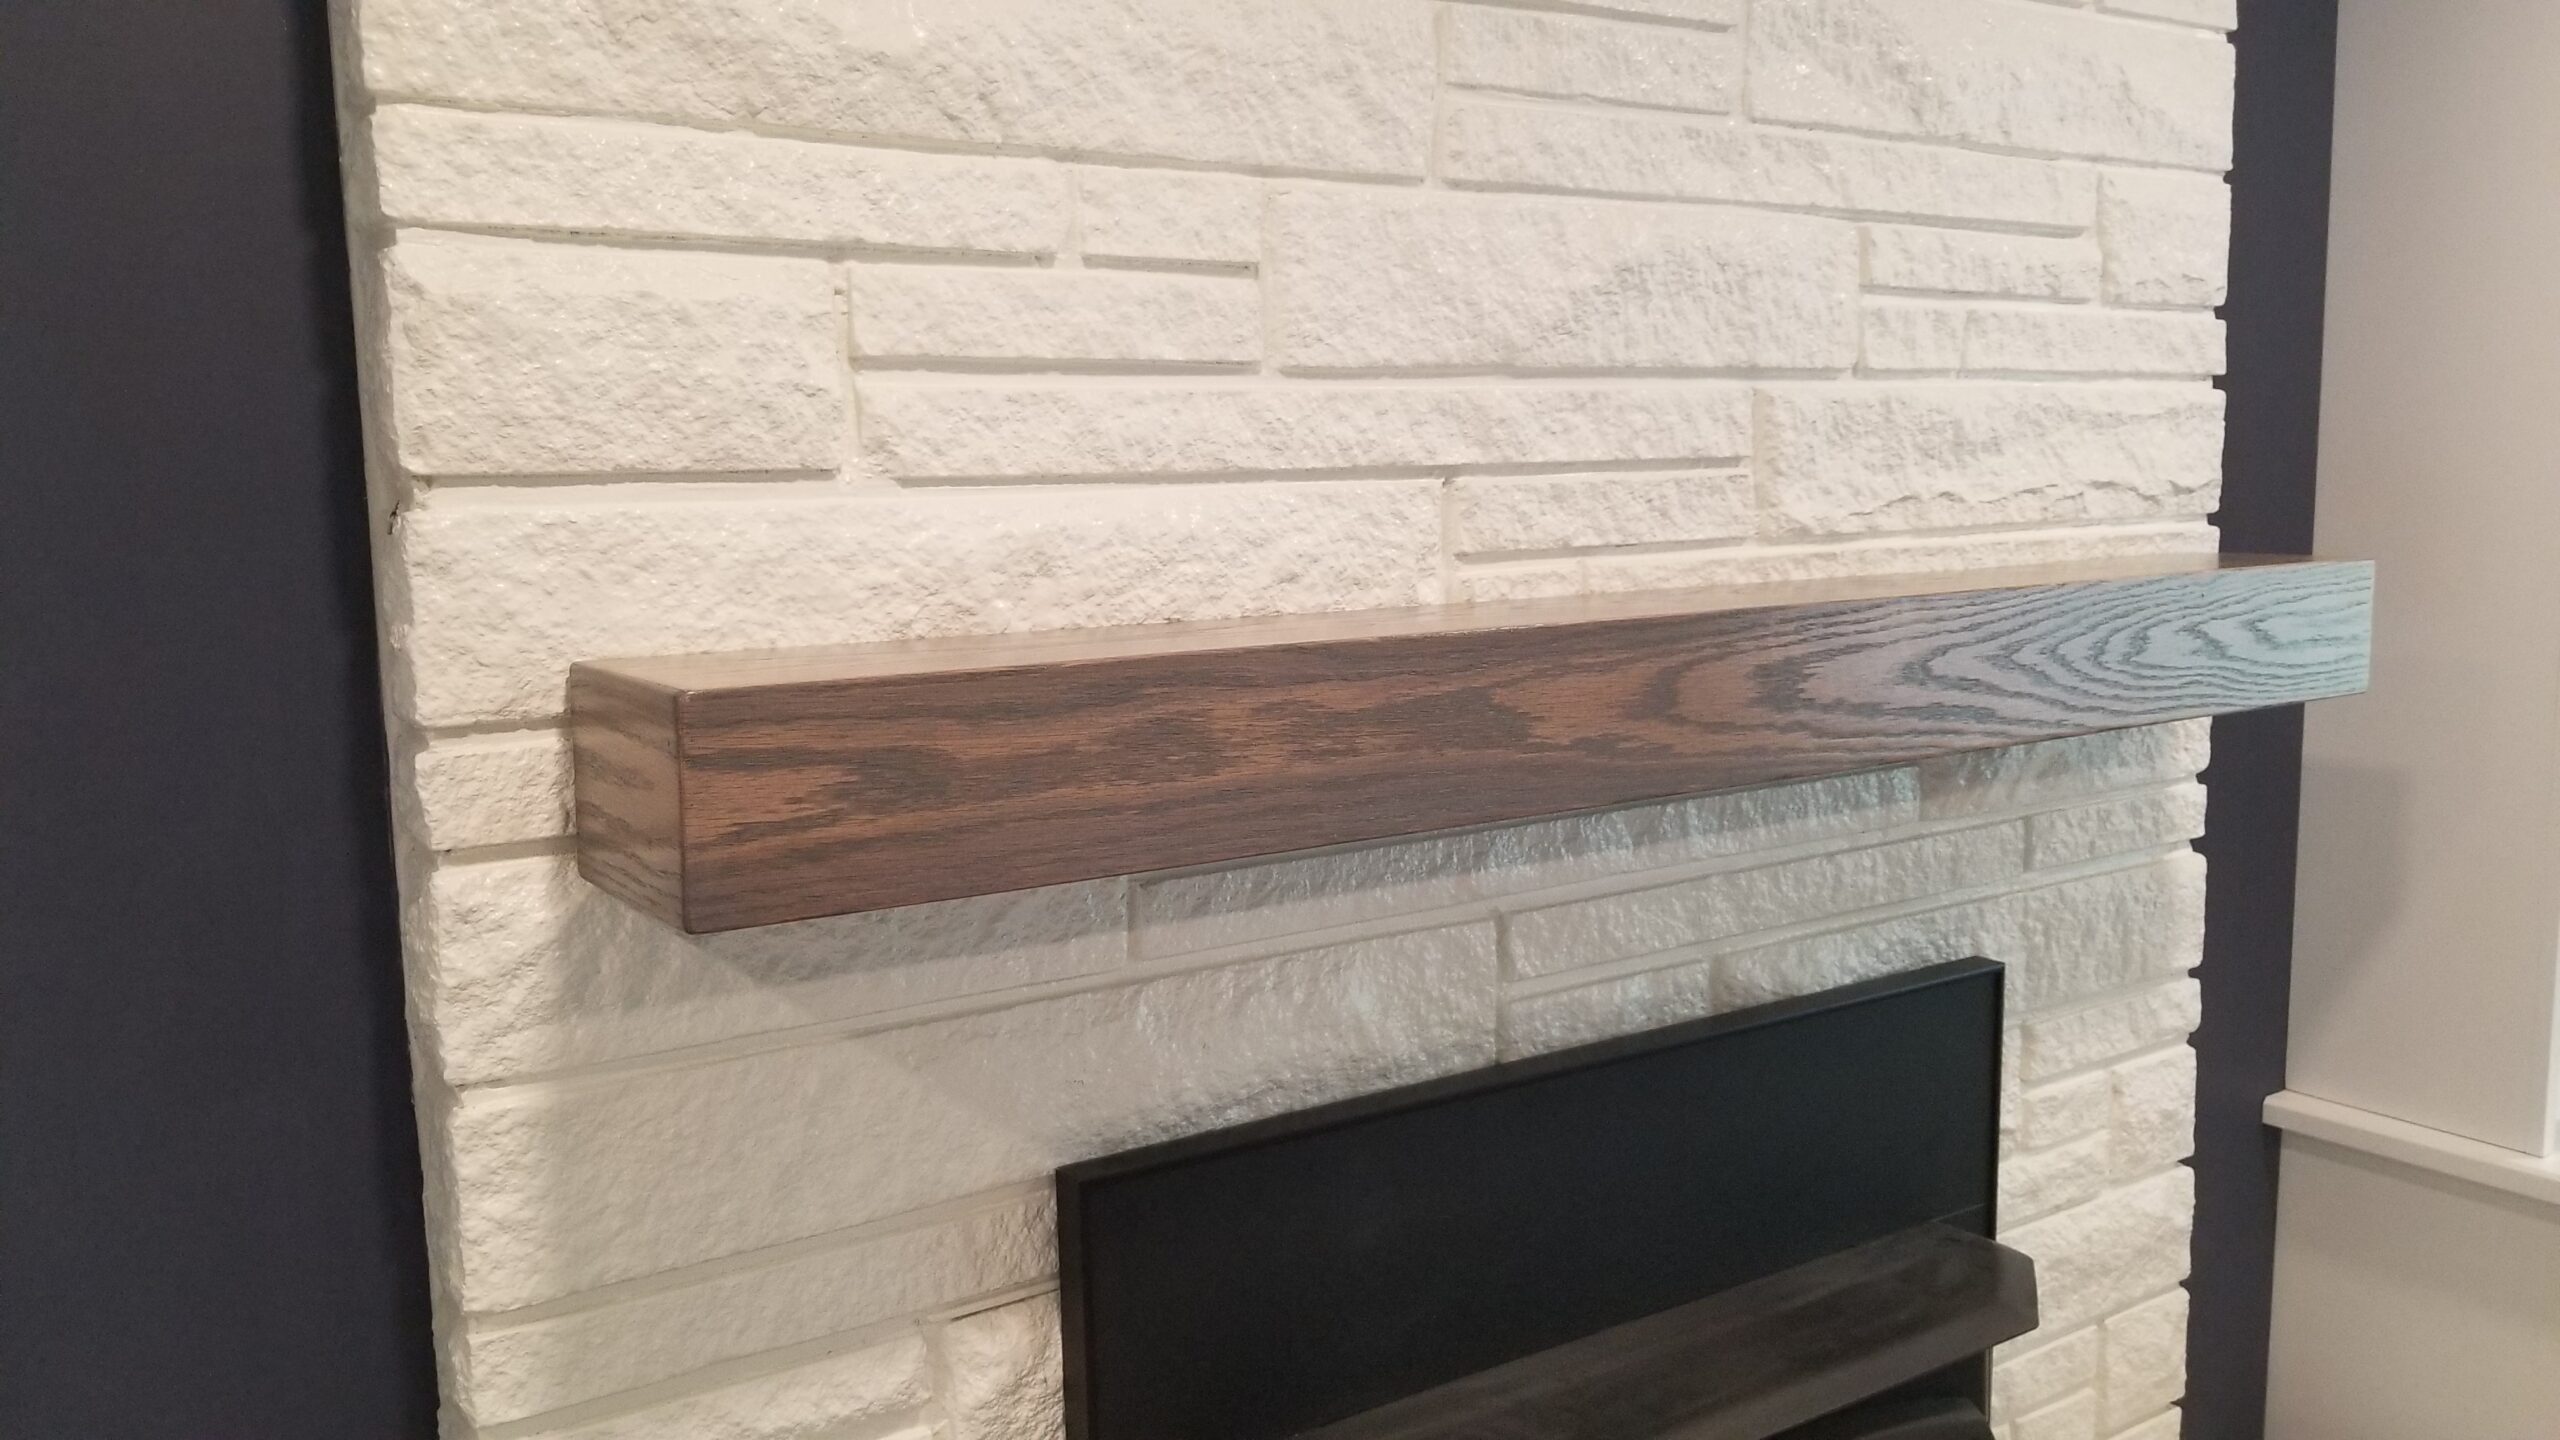
Once installed, your rustic faux beam mantel should appear as a solid wood beam.
To mount the mantel on my stone fireplace, I have to do a little wood carving with a wood rasp to get the stone contours. Once that is done, it slides right onto the support and fits tight up against the stone.
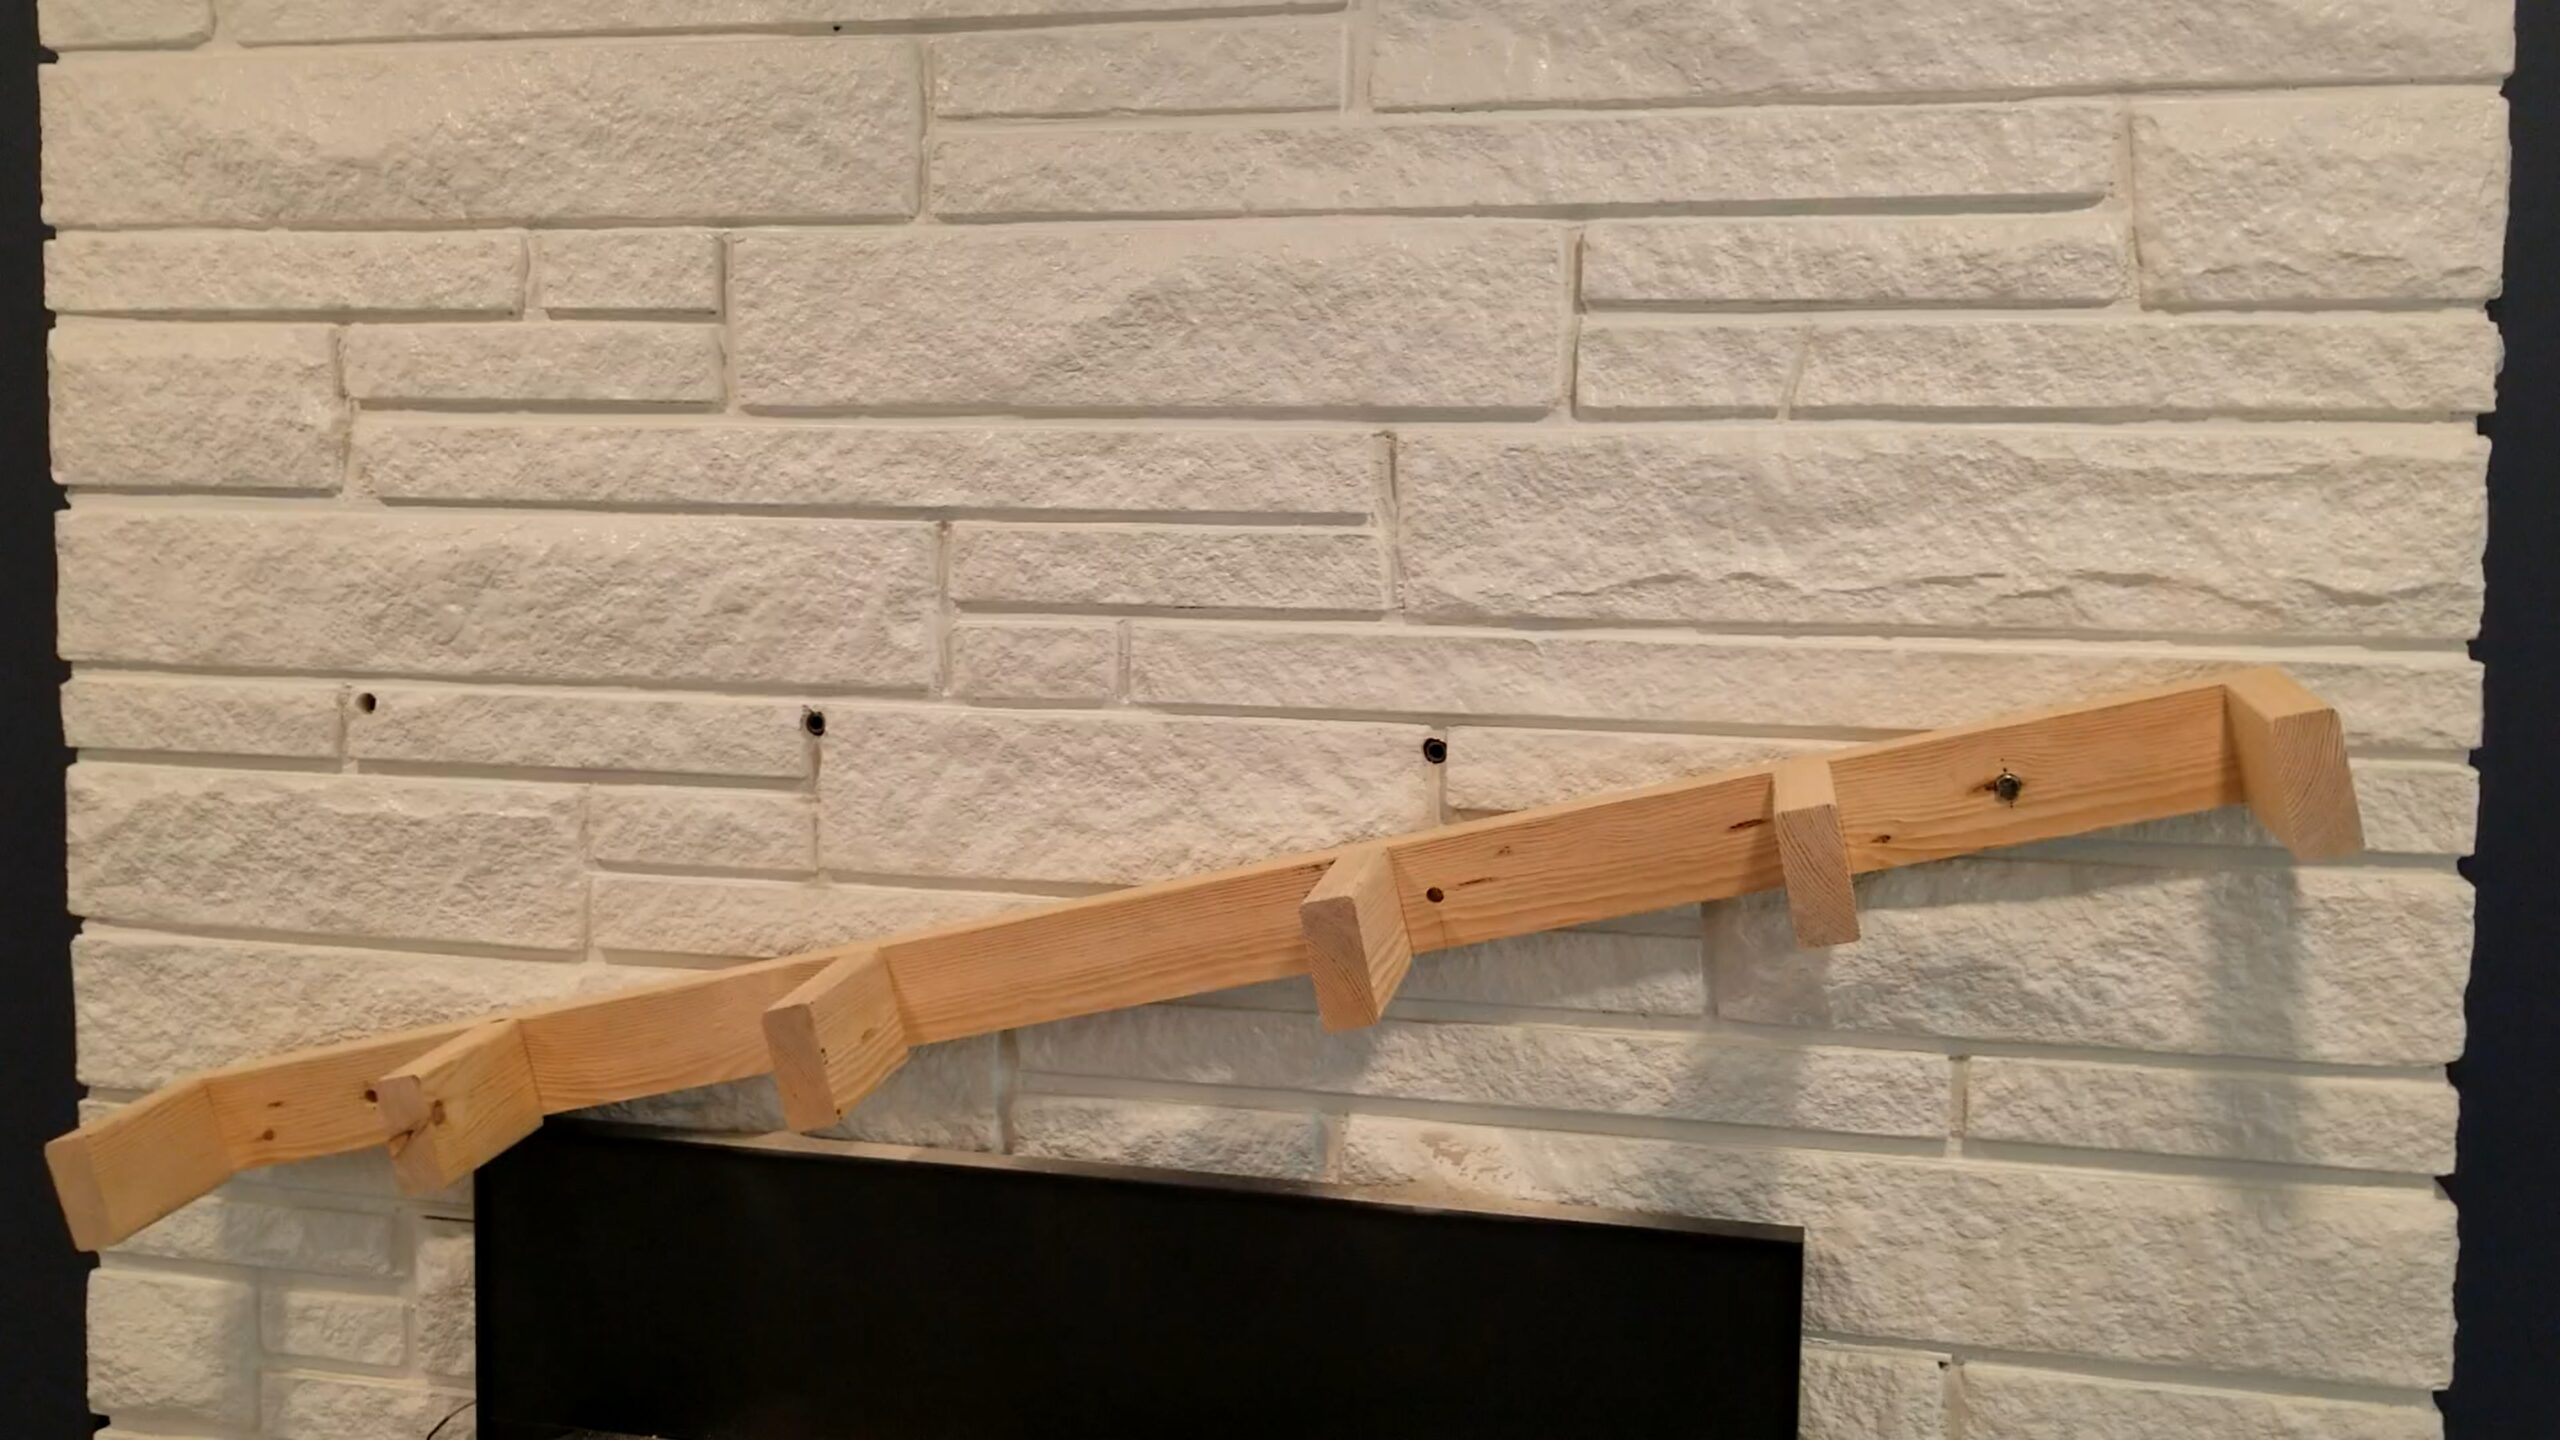

I believe this project turned out great and looks nice. What do you think?

Common Mistakes to Avoid
- ❌ Not anchoring the frame into studs
- ❌ Not using appropriate anchors for masonry or concrete
- ❌ Skipping sanding (leads to poor stain results)
- ❌ Using too little stain (results in flat color)
- ❌ Cutting boards unevenly
Cost Breakdown
A DIY rustic faux beam mantel typically costs:
- $50–$200 total, depending on materials
Compared to real wood beams, this is significantly cheaper while still achieving a high-end look.
Frequently Asked Questions
What is a rustic faux beam mantel?
A rustic faux beam mantel is a hollow wooden structure designed to look like a solid wood beam. It provides the same visual appeal as real timber but is much lighter, more affordable, and easier to install.
How do you attach a faux beam mantel to the wall?
A faux beam mantel is typically installed by building a wooden cleat (frame) that is securely fastened to wall studs or masonry. The hollow beam then slides over the frame and is secured with screws.
How much does it cost to build a rustic faux beam mantel?
Most DIY rustic faux beam mantel projects cost between $50 and $200, depending on the type of wood and finish you choose. This is significantly cheaper than purchasing a solid wood beam.
Can a beginner build a rustic faux beam mantel?
Yes, this is a beginner-friendly DIY project. With basic tools like a saw, nail gun, and level, most homeowners can complete the project in a day.
Is a faux beam mantel safe above a fireplace?
Yes, but you must follow local building codes and maintain proper clearance from heat sources. Always ensure your mantel is installed at a safe distance from the firebox opening.
Final Thoughts
A rustic faux beam mantel is a simple DIY project that delivers a big visual impact. With basic tools and a little patience, you can create a custom fireplace feature that looks like reclaimed wood—without the heavy lifting or high cost.
If you’re looking for more DIY repair and woodworking projects, check out my other guides on appliance repair and home improvement to keep building your skill set.
Head on over to YouTube by clicking on the video below and see how it was made and turned out.
I hope you find this helpful video useful and can use some of the tips presented. Feel free to leave any comments, suggestions, or experiences you have had below.
Some of the links in my video description and article above are Amazon Affiliate links. As an Amazon Associate, I earn from qualifying purchases. If you would like to make a different purchase from Amazon, you can also use the storewide link.