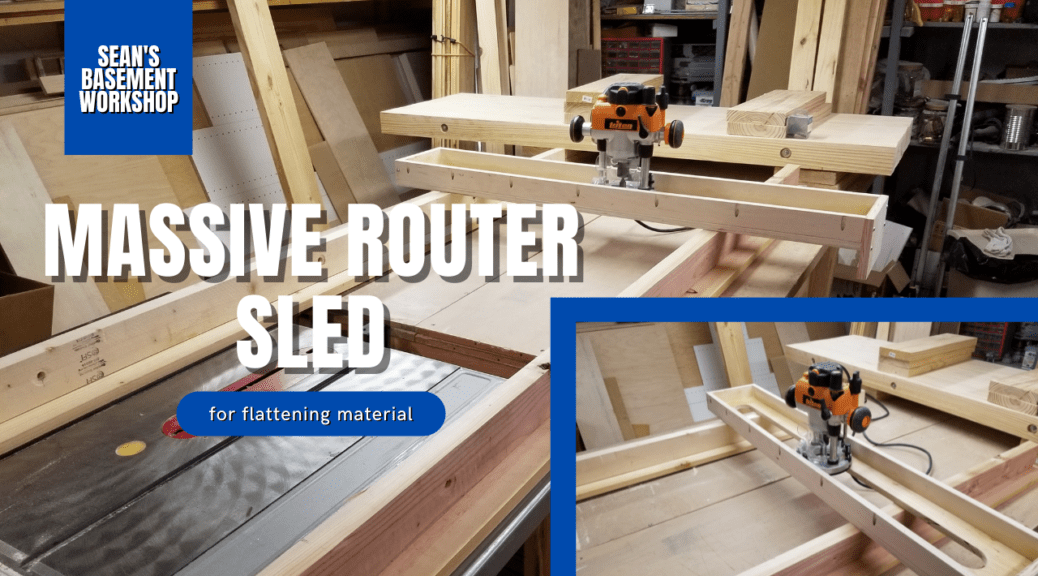
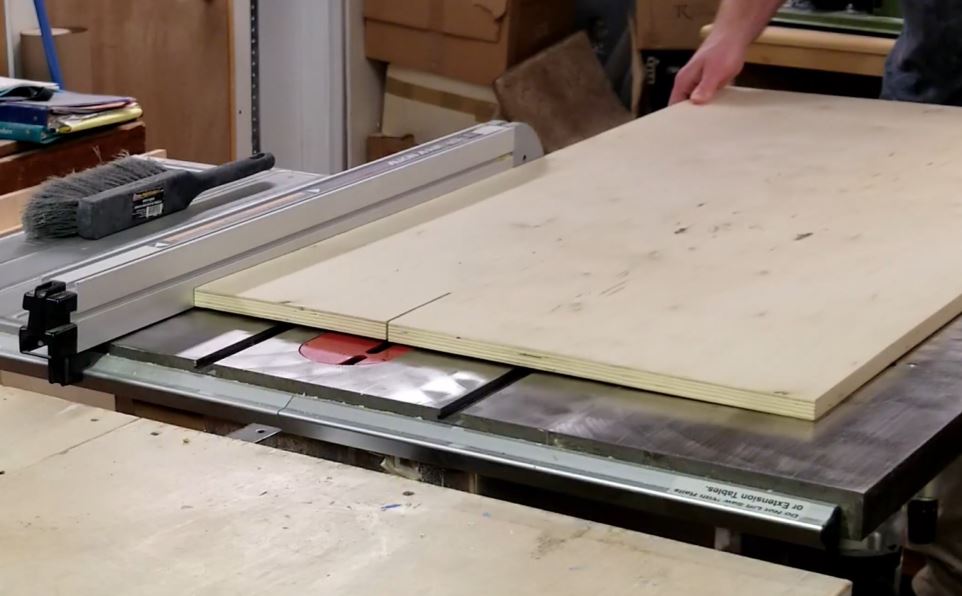
I am in the process of building a new workbench for my shop. This is no ordinary workbench either. The workbench measures nearly 7 feet by 2 feet created by laminating 2 x 6 Southern Yellow Pine that has been ripped in half to create 2 x 3 boards. Since my planer cannot handle this large of material I needed to build a router sled to flatten the surface.
This sled is capable of flattening material nearly 4 feet wide and 8 feet long. Yes, it’s massive but very versatile.
In this article, I will show you how I build this massive accessory for my shop and how it works so let’s get started.
The first thing I wanted to do build was a carriage for my router. Since I wanted a large sled, I chose the largest router I have – my Triton router measuring nearly 6.5 inches across the baseplate. This was important as I needed the carriage to be this width plus a little extra so the router would not bind while sliding back and forth in the carriage.
Once I had this I started cutting the material for the carriage out of 3/4 inch baltic birch plywood. I started by cutting the base, followed by the two sides. Since the two sides would ride on the base needed to be the router width plus the width of two sides and a little extra. For me, this was 6.5″ + (2 x 3/4″) + a little extra. That little extra was 1/2″ because I didn’t want too much slop in the movement. I cut a total of the slats for the sides, one of each side and one to be used for the end.
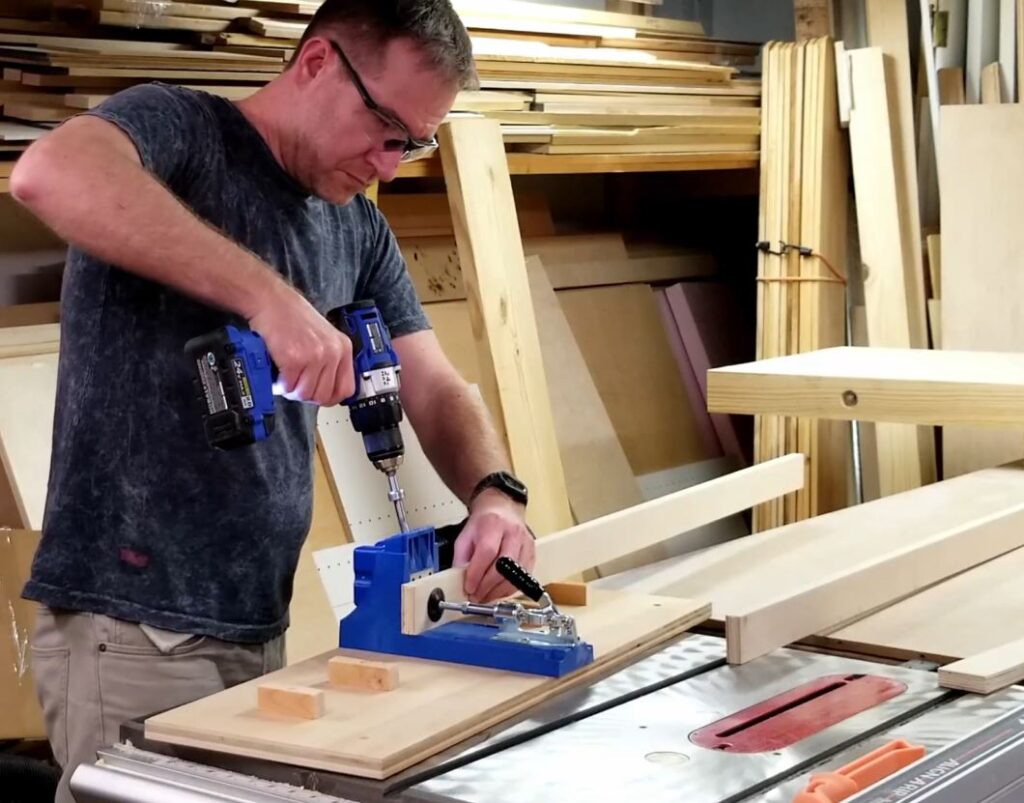
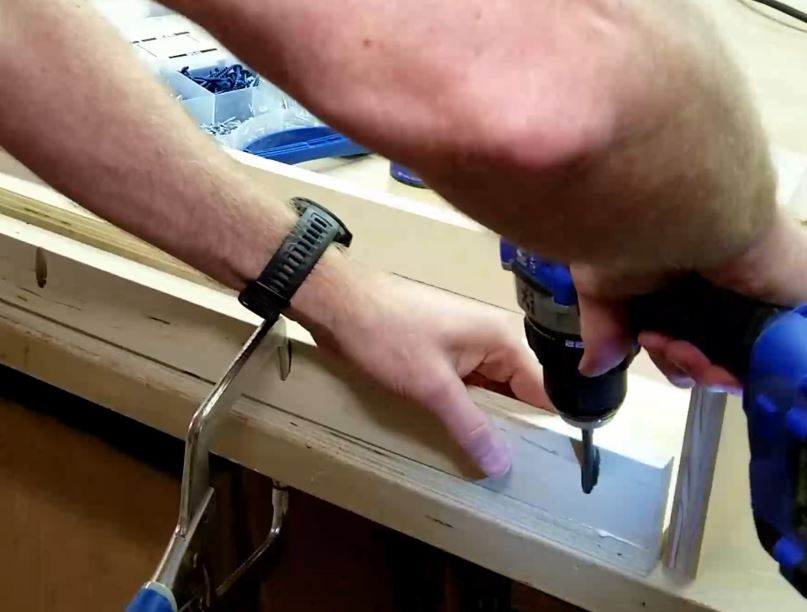
Once I had the base material cut I used my Kreg K4 Master System to pocket hole the sides. I chose this method rather than screwing from the underside of the base so I wouldn’t have to countersink the screws, plus, it would keep the base nice and clean of potential snag points.
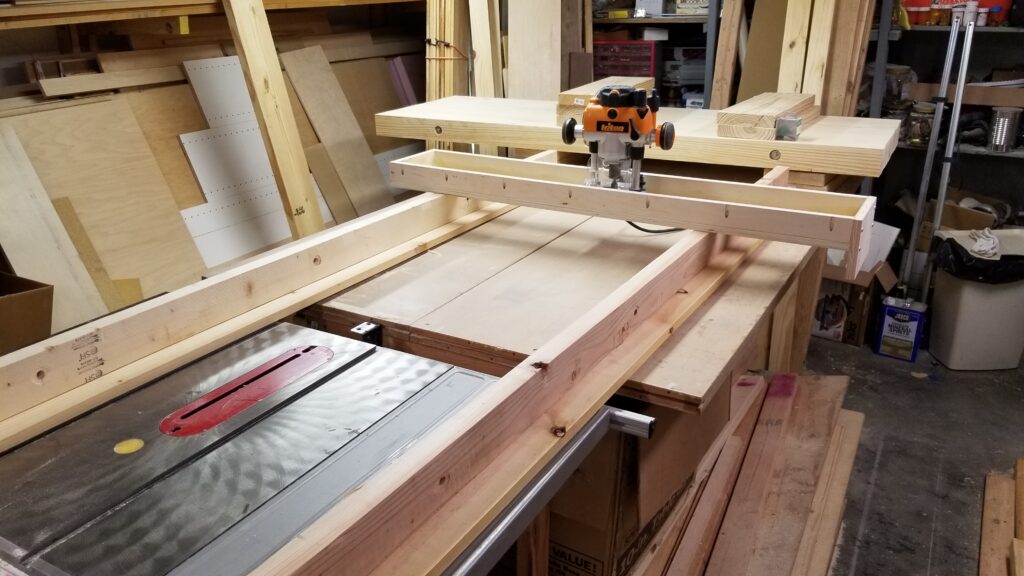
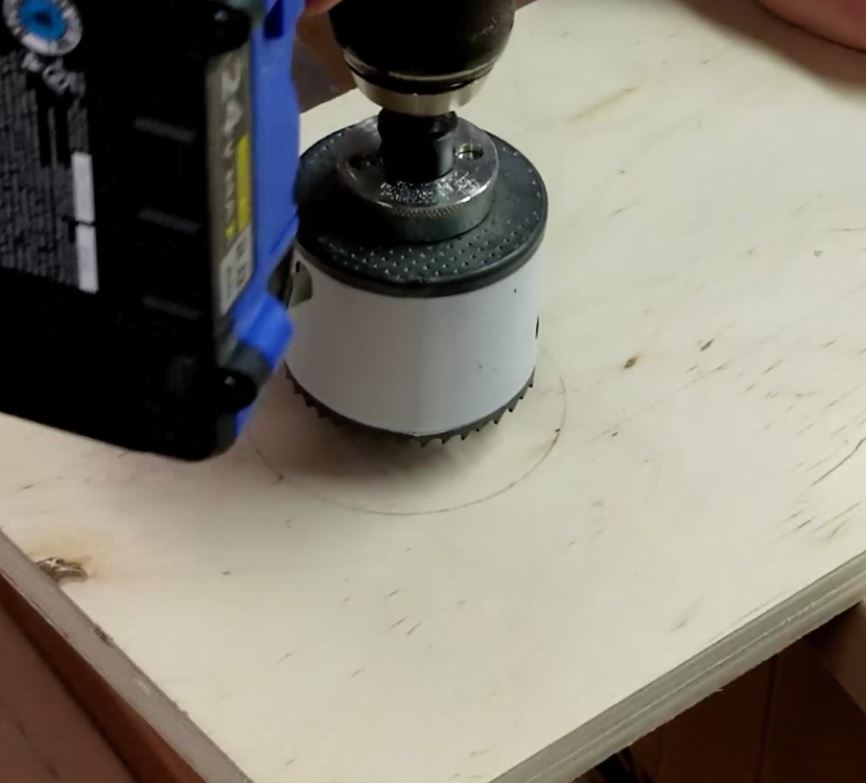
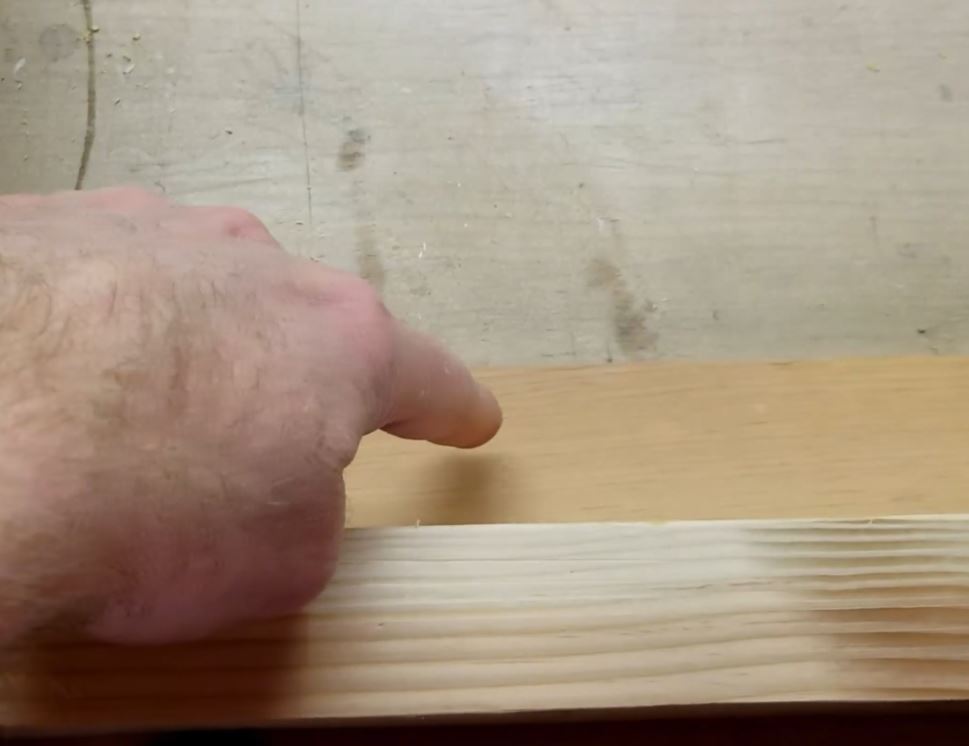
The next step in the process was to ensure the router would be centered in the carriage base so I could cut out the routing slot. Once I got it centered I drew a circle representing the bit hole in the router base. I would make this circle at both ends of the carriage base. The protractor I was using opened up a little when I did the second hole resulting in the larger hole than I wanted however, I caught this when I remeasured the router base hole and my drawn holes.
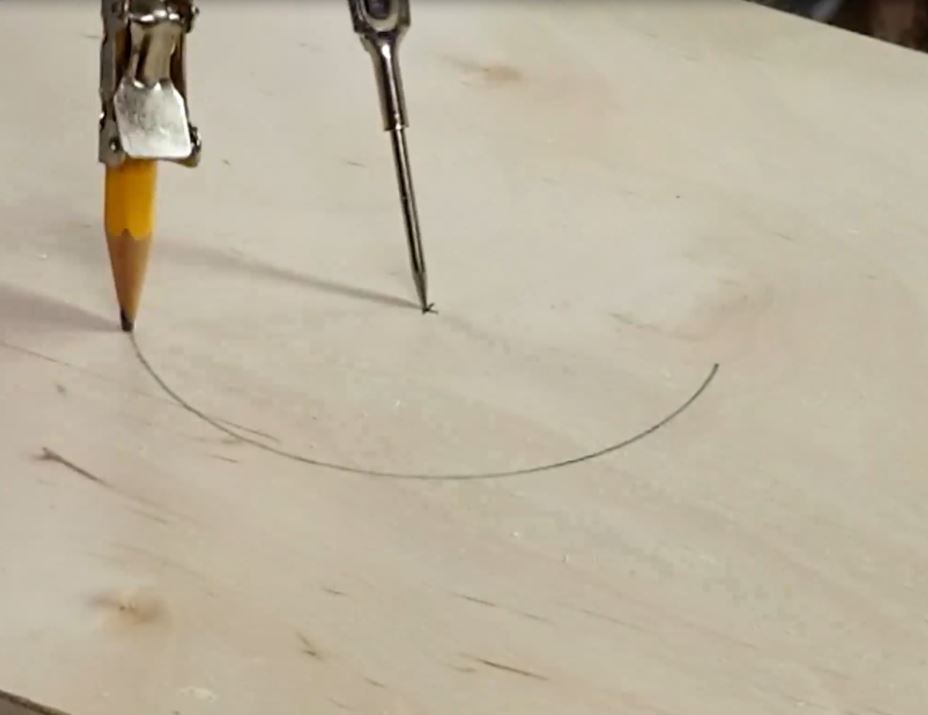
I then drew lines between the two circles as I’d need to cut along here to open up a path for the router bit to travel.
I then measured the end so I could cut the end piece that is going to hang over the guide rail. This will allow the carriage not to slide off the guide rails when using it.
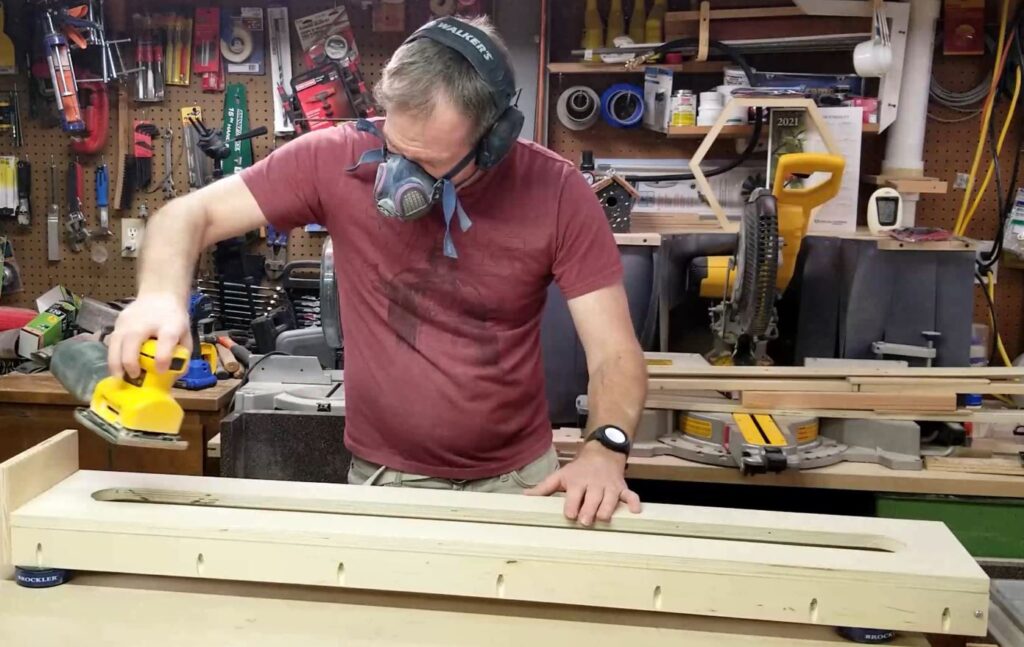
Next, I sanded down the carriage so it was smooth and didn’t have any burs with my random orbital sander.
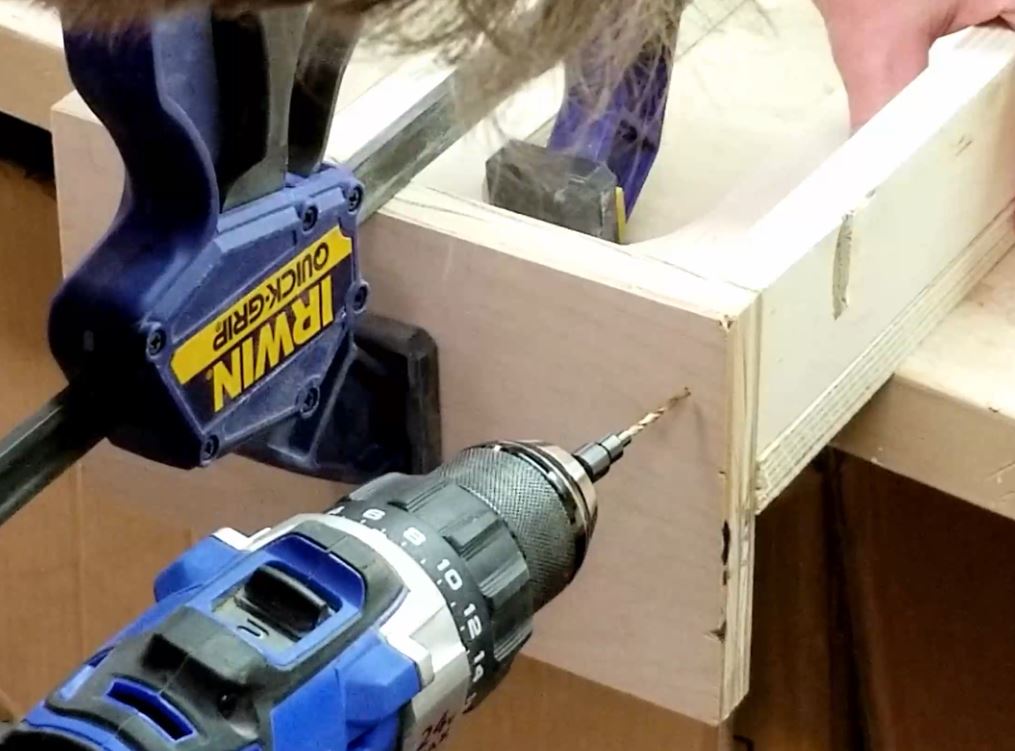
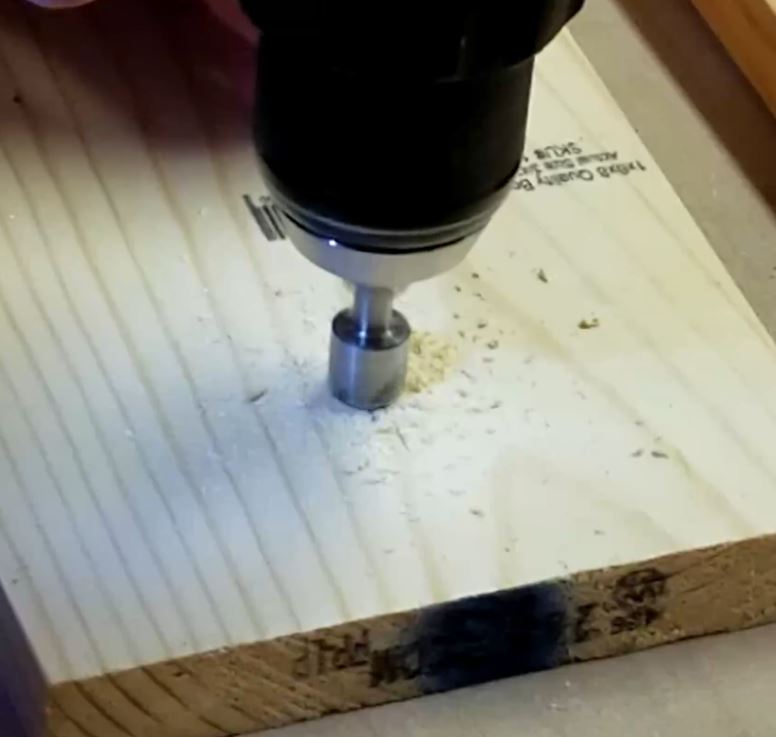
After sanding it down I used my hole saw to cut out the two end holes. I made the mistake of not trying to clamp this down and that didn’t work too well. I figured this out pretty quick and clamped the piece down so I could use both hands to hold the drill.

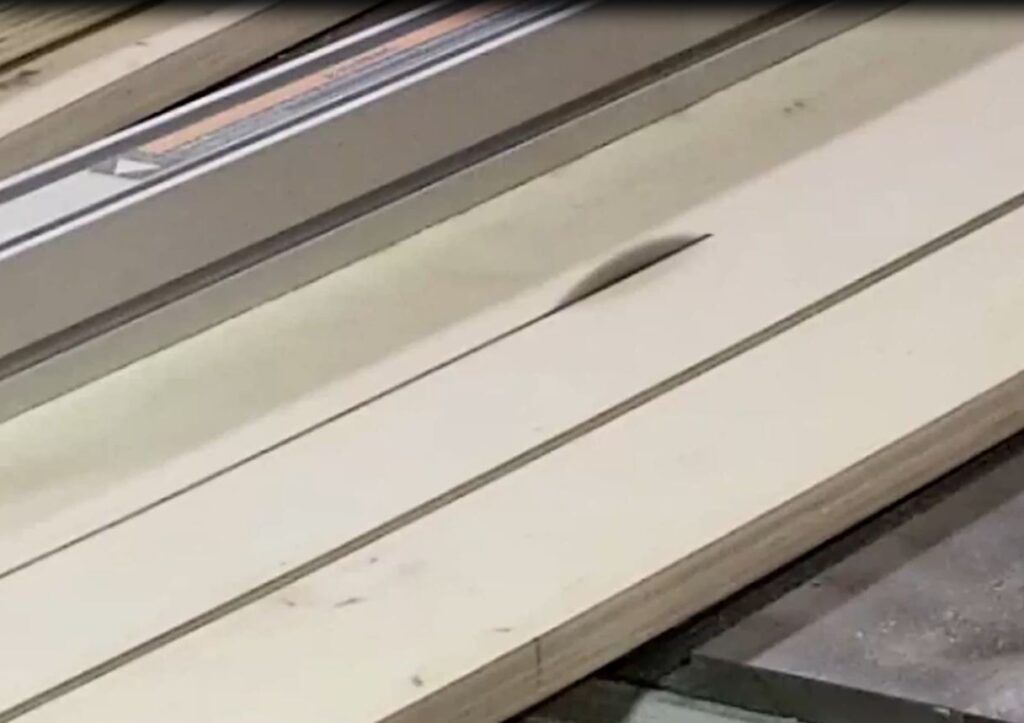
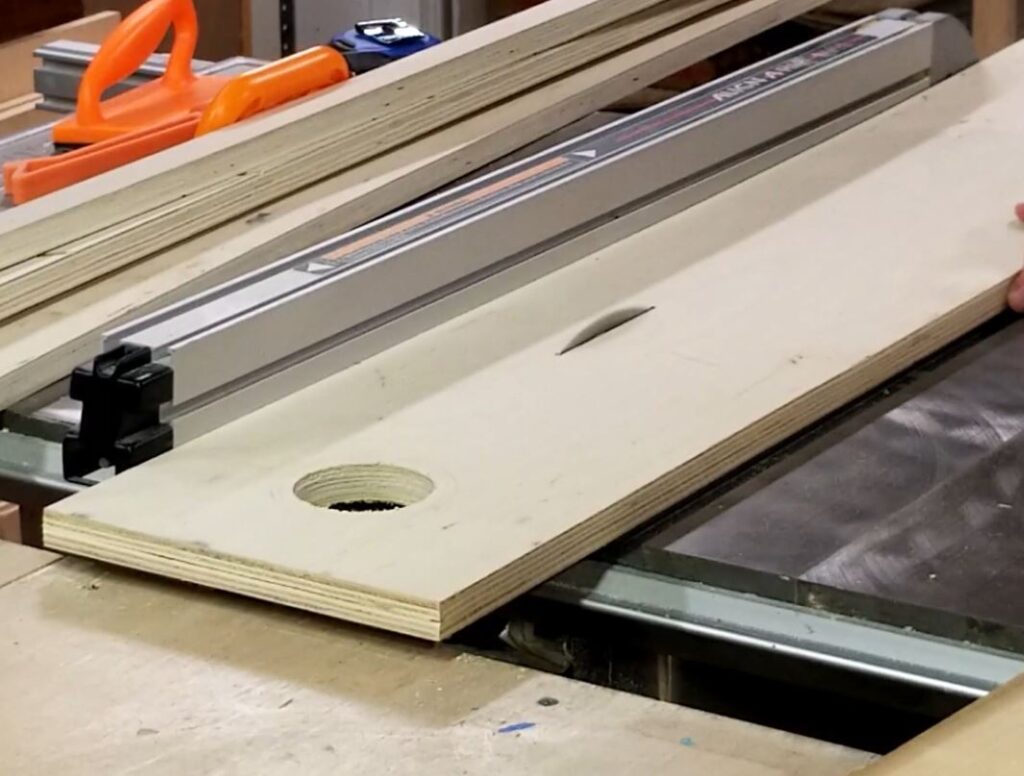
After drilling the holes it was time to cut the slit. There are many ways you can go about doing this from using a jigsaw, handsaw, scroll saw or even a table saw. Whichever way you choose make sure to be safe about it.
I choose to use my table saw and do a plunge cut. While I did not do it the safest way it was a way that I was taught many years ago and have done many times. Even so, it makes me nervous as hell as you can easily get a kickback. Ideally, you’d clamp the material down and raise the blade to do this type of cut, however, I did not. When doing this type of cut, it is VERY important not to stand directly behind the piece you’re cutting because if you do have kickback you don’t want to be in line with it.
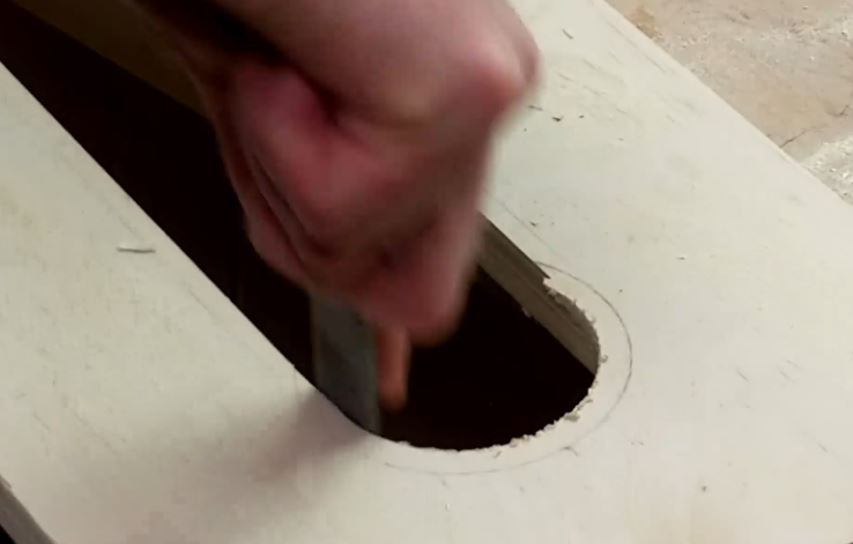
Next, I took a wood rasp and cleaned up the saw marks into the hole cuts.
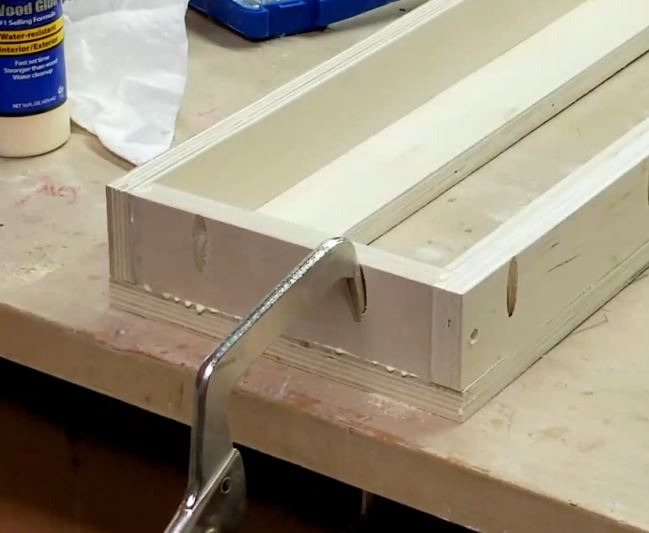
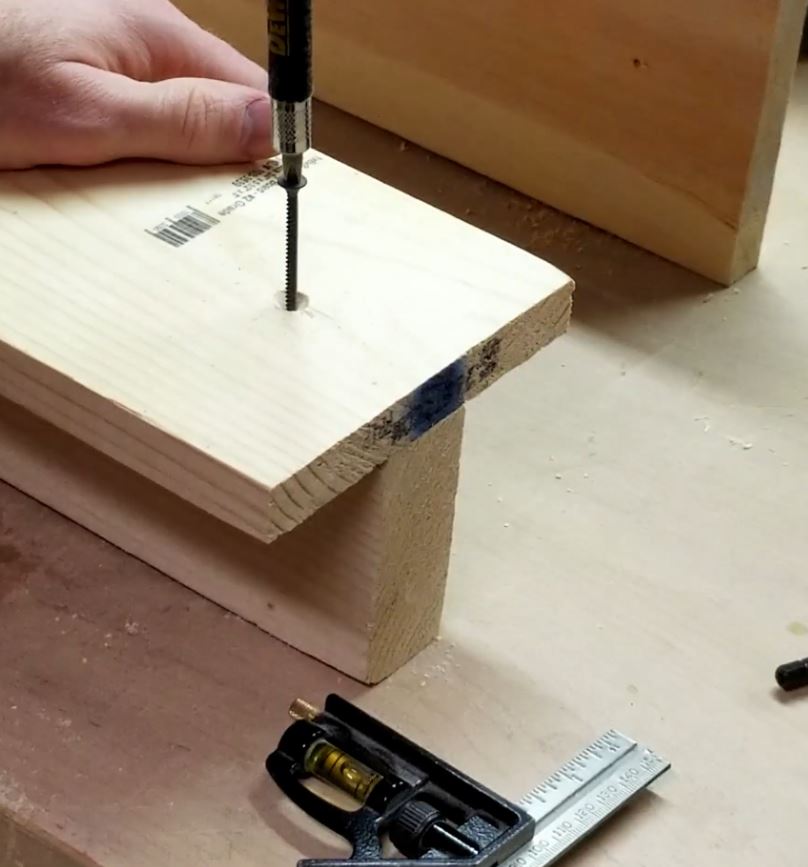
I then began the assembly by attaching the sides. I used glue and pocket screws. I used my Kreg Right Angle Clamp to hold the side in place while I screwed it. Once I did the sides, I did both ends. I started by pilot hole drilling so I wouldn’t split the ends. For the non-guided end, I also used pocket screws.

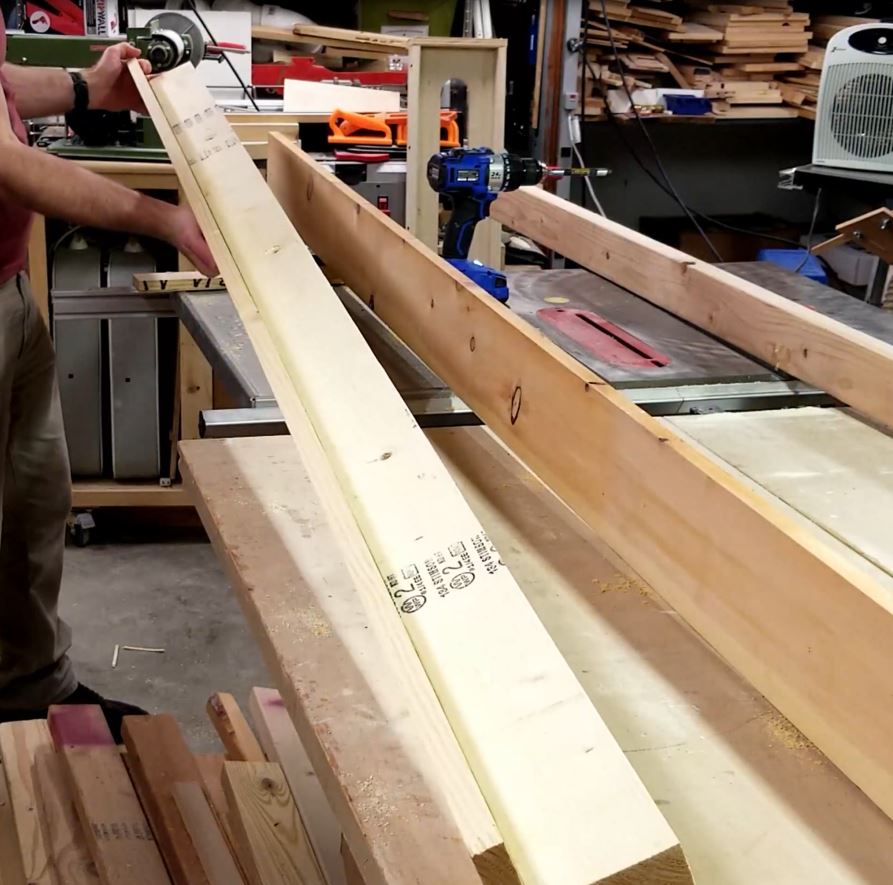
Next, I moved on to the guild rails. These would be constructed using the truest 1 x 6 and 2 x 4 material I had. The 1 x 6 would provide the base and the 2 x 4 would be screwed onto it. for a T shape. I pilot hole drilled all the screw holes first so the boards would not split in any way. I ensured each hole was countersunk using my countersink bit. I then used my small slide square to ensure the 2 x 4 was dead center in the 1 x 6 before screwing them together using Kreg Pocket Screws. This was not glued so I could adjust as necessary.
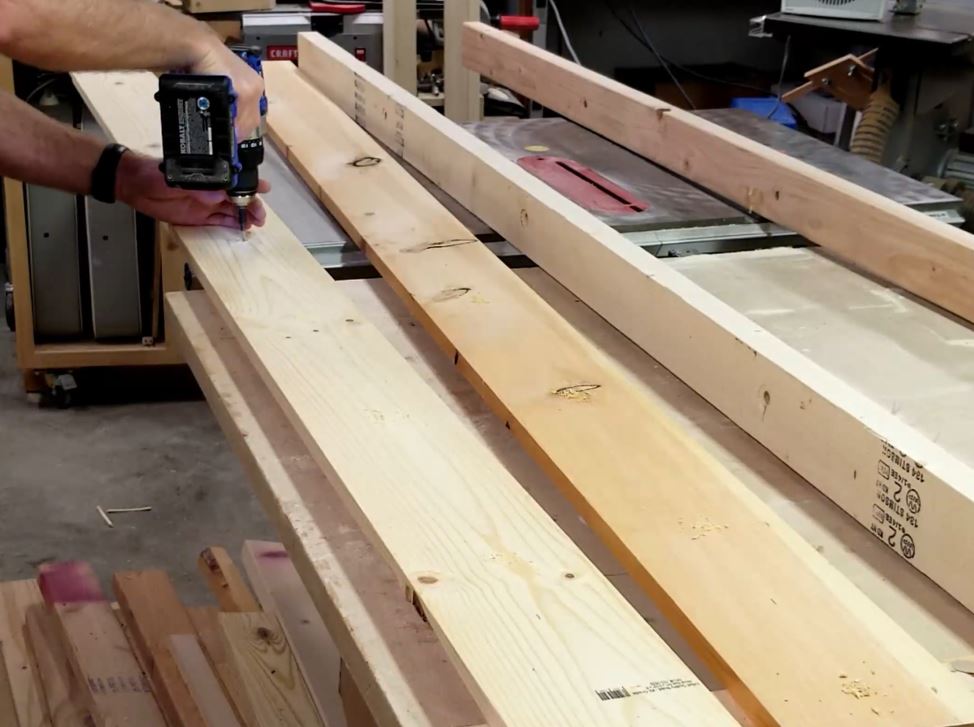
I visually checked the guide rail for straight using the line of sight method. This is a method where you look down the board and you should not see any bows or dips in the board. The end should disappear as soon as you line it up with the other end. I repeated for the other guide rail.
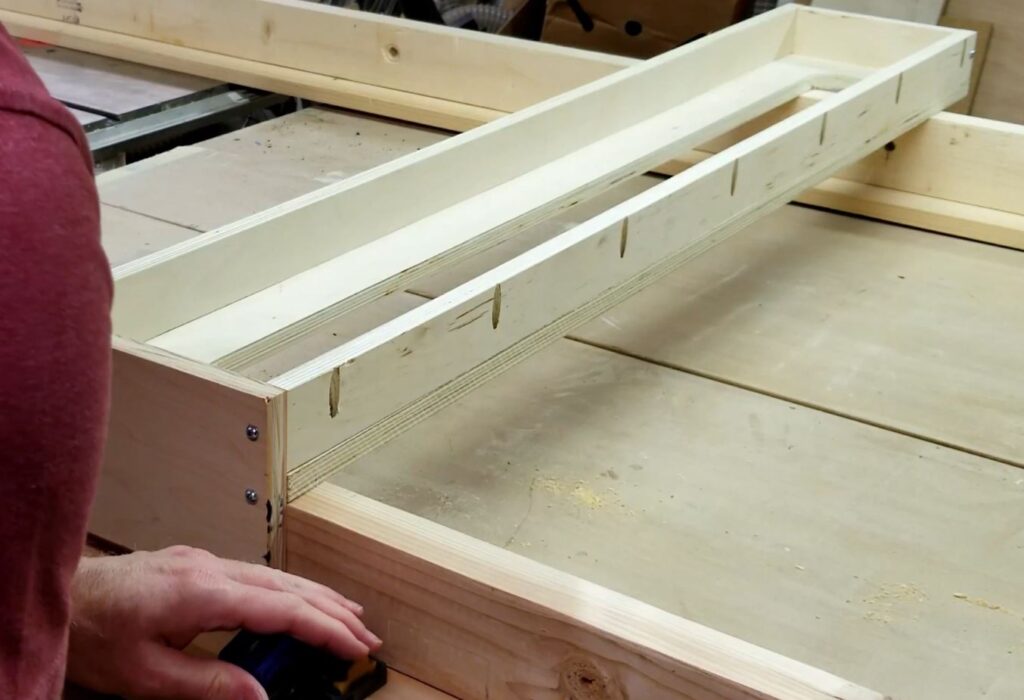
With the 2 x 4 centered in the 1 x 6, it allows for clamping on each end of the guide rail to hold it down. It also allows for the piece you’re flattening to ride on the inside lip.
I then proceeded to finish sanding the carriage so it was really smooth. I did this using my DeWalt palm sander, taking precautions to use my Eclipse respirator to keep the fine dust particles out of my lungs and earmuffs. To keep vibrations down I used Rockler Bench Cookies to hold the carriage off my existing workbench.
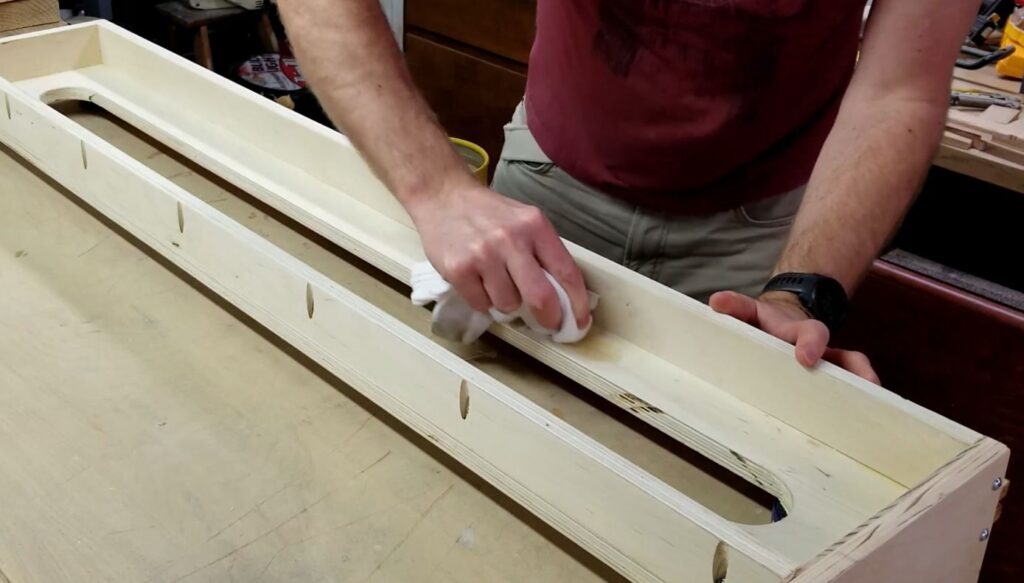
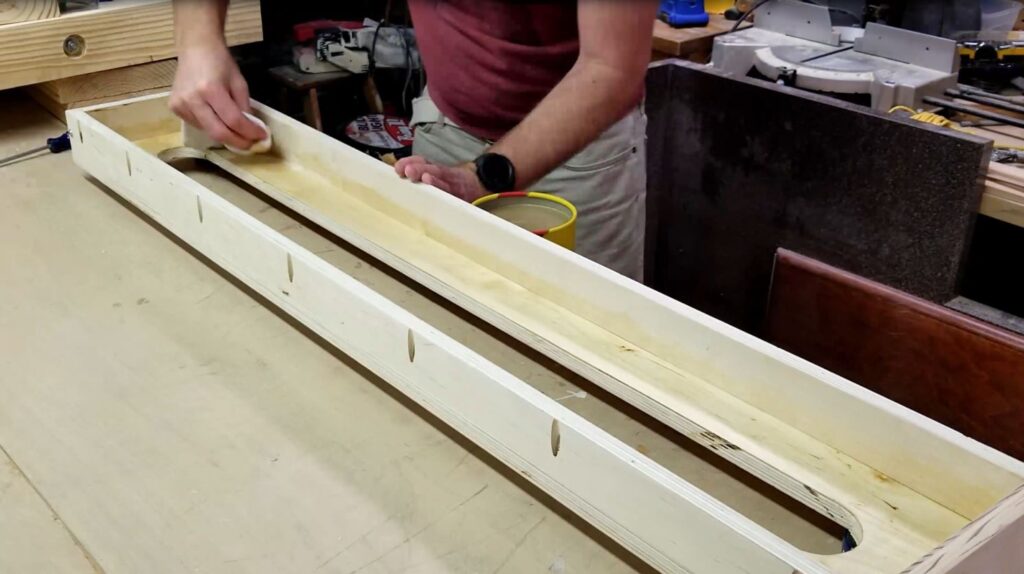
After sanding it smooth I used Johnson’s paste wax to was the carriage at any point where the router might hit.
And with that, that is pretty much it. This massive router sled is complete. You’ll get to see it use in my Workbench Series so stay tuned for that.
As always if you have any questions or comments post them below or on my YouTube video comments section and I’ll do my best to respond.
I’ve included a few Amazon Links below for the equipment and materials I used.
Equipment and Materials
- 4 Way Wood Rasp File
- Bench Cookies
- Countersink Drill Bit Set
- Craftsman 10″ Table saw (with upgrades)
- DeWalt Palm Sander 1/4 Sheet
- Eclipse Half Mask Respirator S/M
- IRWIN QUICK-GRIP Bar Clamp, One-Handed, Medium-Duty, 12-Inch
- Kobalt 24-Volt Max Lithium Ion (Li-ion) 1/2-in Cordless Brushless Drill
- Kreg Pocket Hole Jig K4 Master System
- Kreg SML-C125 Coarse Thread 1-1/4 Screws
- LENOX Tools Hole Saw with Arbor, Speed Slot, 3-Inch
- MLCS 9167 Safety Push Block and 5-Piece Stick Package
- Porter Cable Random Orbital Sander
- Protractors
- SC Johnson Paste Wax
- Stainless Steel Corked Backed Metal Ruler
- Titebond II Glue
- Triton MOF001 2-1/4 HP Plunge Router
- Walker’s Razor Slim Passive Earmuffs
I hope you find this video useful and can use some of the tips presented. Feel free to leave any comments, suggestions, or experiences you have had below.
Some of the links in my video description and article above are Amazon Affiliate links. As an Amazon Associate, I earn from qualifying purchases. If you would like to make a different purchase from Amazon, you can also use the storewide link.