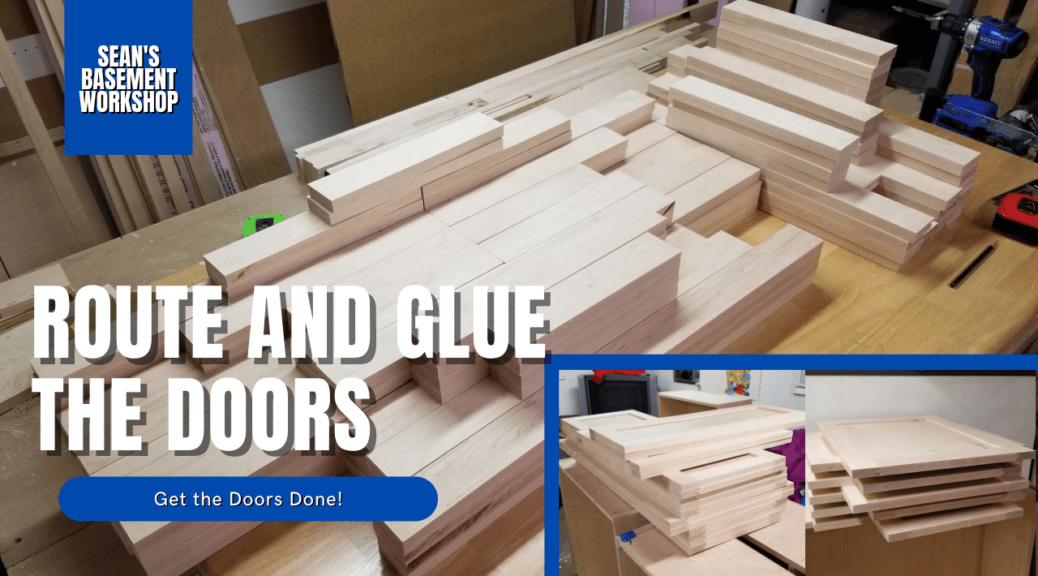
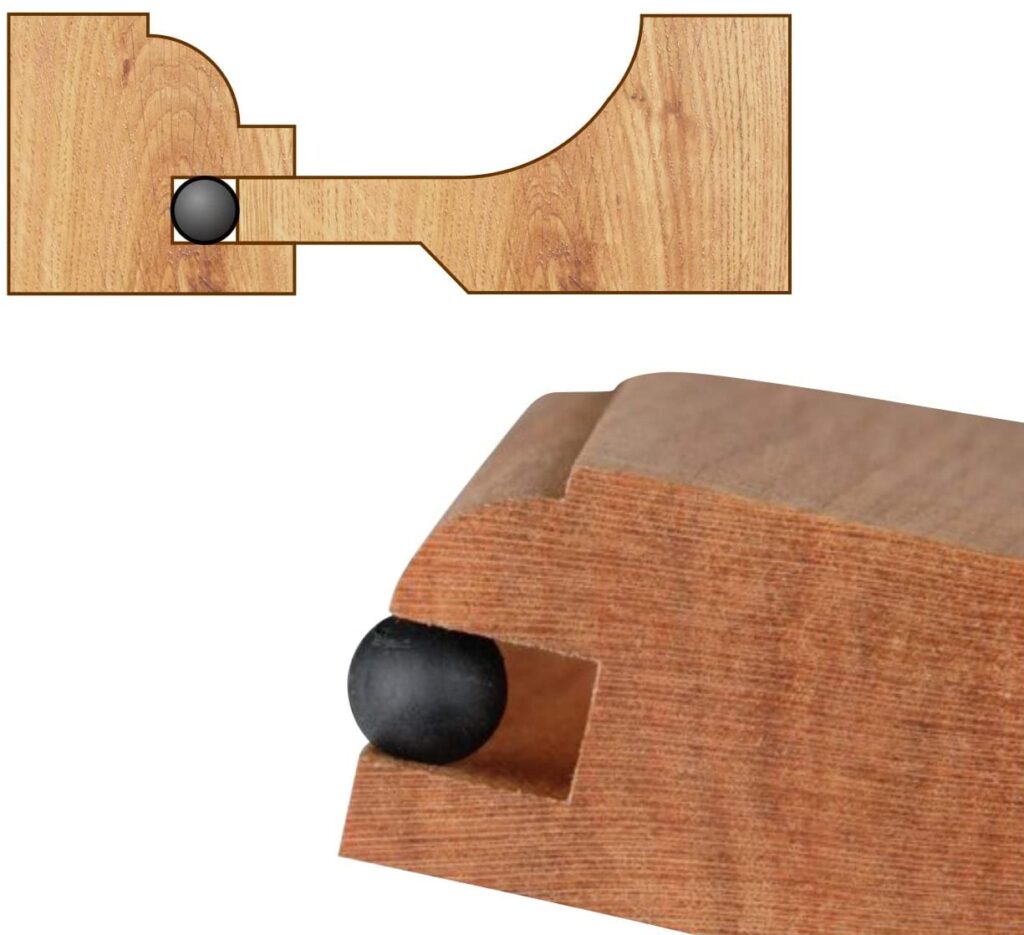
After lots of prepping and getting our components cut I start out by routing all the rails and stiles with my rail and stile bit set. The bit set I’m using for these doors is a Shaker profile bit set. It’s simple and does not have an overbearing design for these simple cabinets that I’m building.
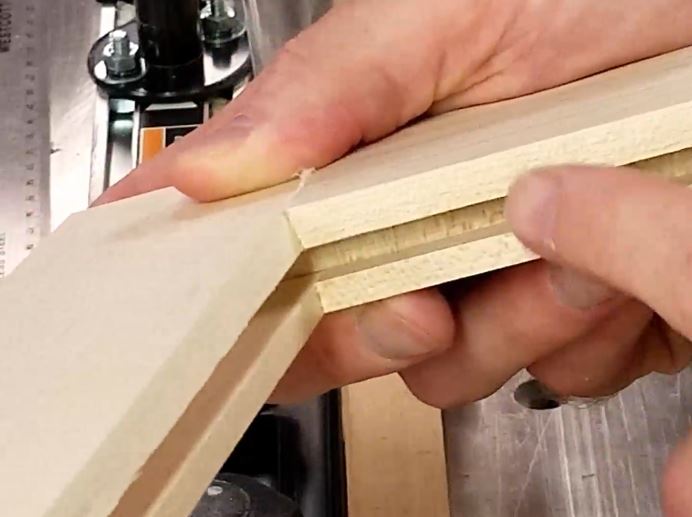
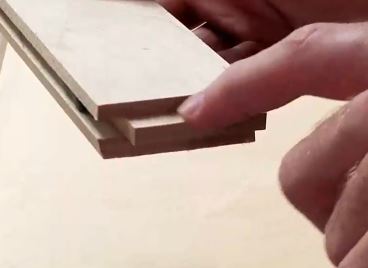
I use the stile bit to cut all the inside profiles for the rails and stiles. This bit cuts the 10-degree angle for the Shaker profile as well as cuts the groove into which the door panel will fit into.
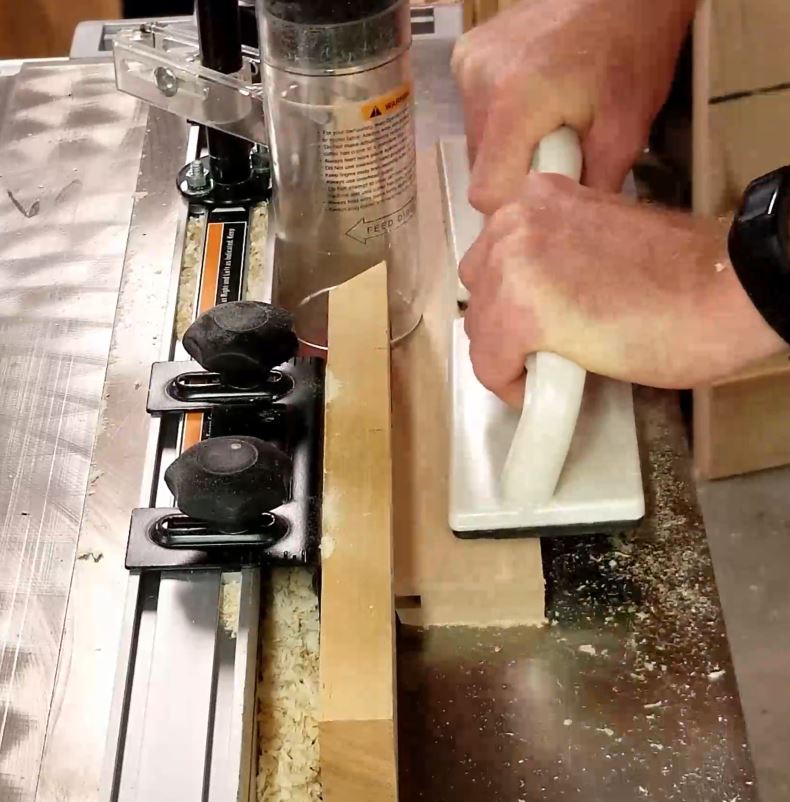
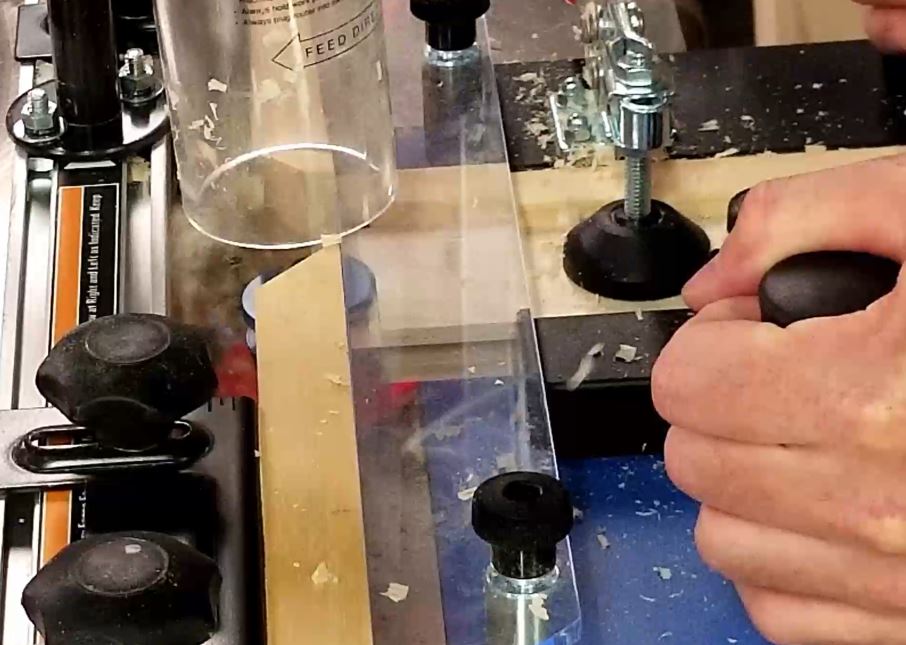
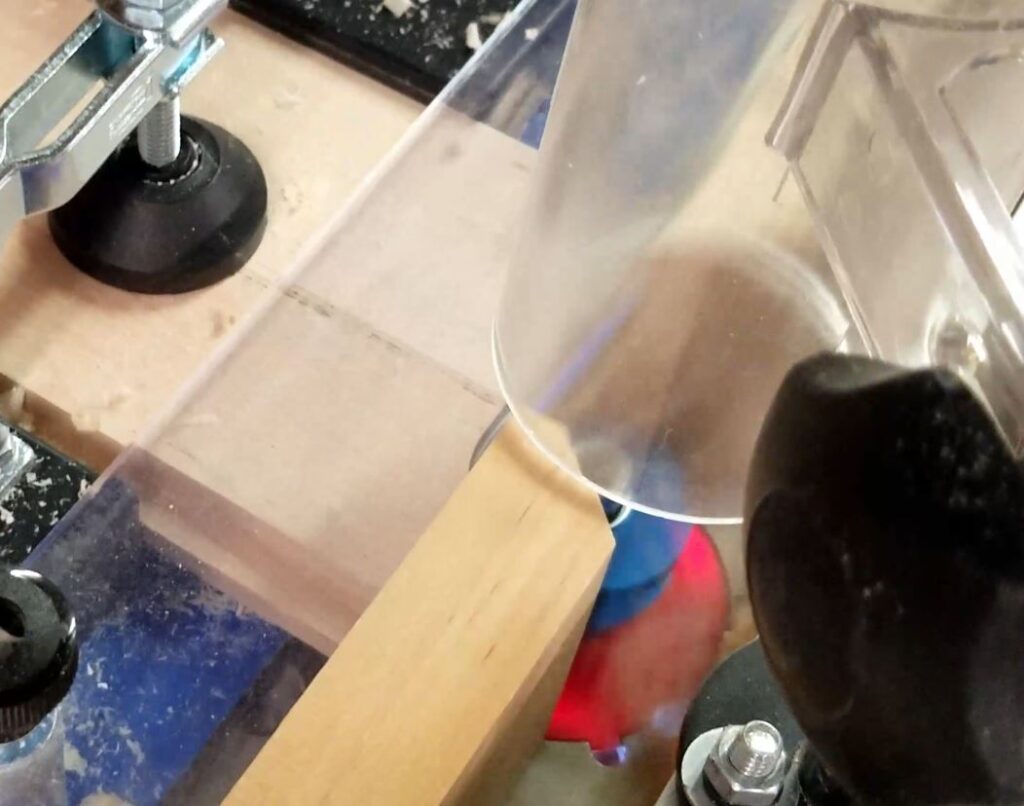
Next, I swap out my stile bit with the rail bit. This bit will cut the rail ends which will mate with the stile bit profile. I’m using the Rockler Rail Coping Sled to hold the rails because with such small pieces that need to be held perpendicular to the fence you need the right support and stability to avoid getting hurt or messing up your piece.
I make a few test cuts with a scrap first to get it dialed in perfectly then I proceed in cutting all the rail ends. All the way before I got too far in I reset my rip fence because it was causing the cut to get off just a little as the piece slid past the bit.
After many rail cuts later it’s time to assemble the first door. I’m doing this on a large sheet of paper that will protect my tabletop from glue drops.
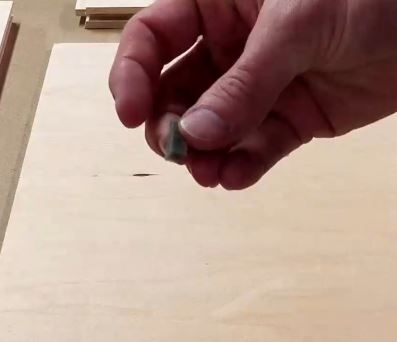
The first thing I’m going to do is put foam spacers in the door panel groove to allow for expansion and minimize rattling. I’m using foam pieces I’ve cut from foam weather stripping. You can also use space balls if you prefer as well but I’m just using material I had laying around.
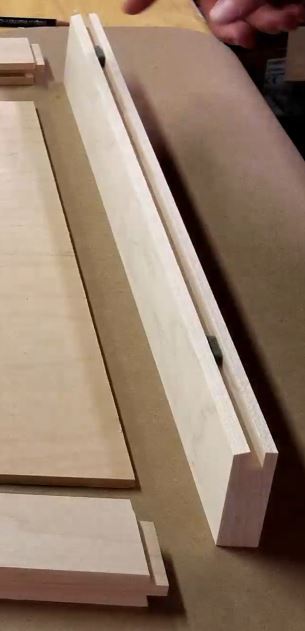
I’ve already dry fit this door it fits perfectly. So, I start by adding some glue on the rail tongues making sure to stay away from where the door panel will touch. You do not want to glue to the door panel. You want to have it free-floating so it can move with moisture.
I slide the door panel into the rail and stile groves. Once the door panel is in I add some Titebond II Glue to the two rail tongues and place the remaining stile onto the rails tongue.
I then set the door into a pair of parallel clamps and using culls to protect the edges I start to tighten them up. I ensure the rails and stiles are mated and flush and the ends and adjust the clamp pressure to ensure the doors are not curving but laying flat on the clamps. I use my framing square to ensure the surface is flat across the two stiles and rails.
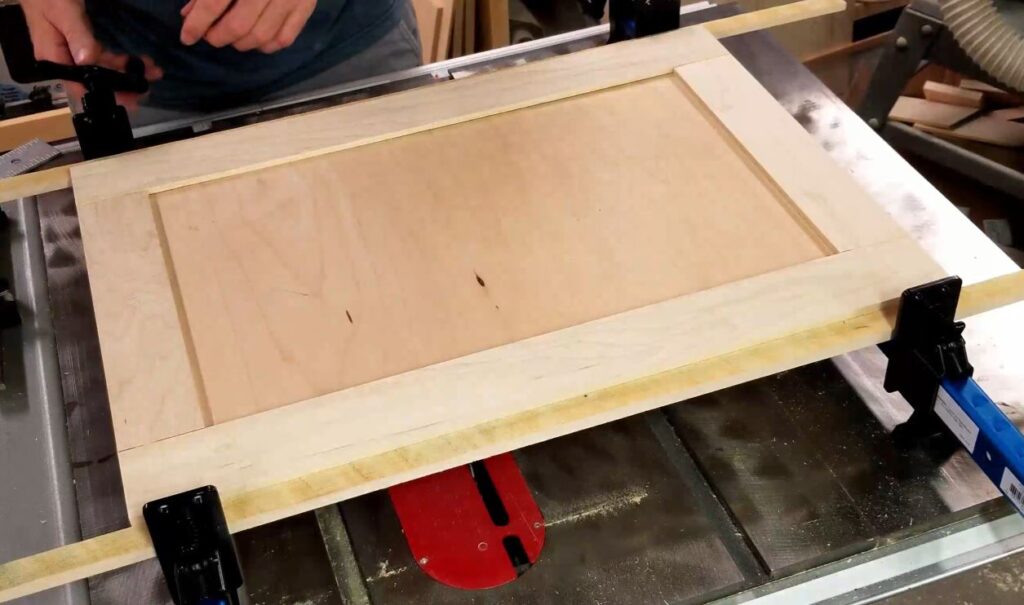
I wipe off any additional glue squeeze out as it makes sanding much easier.
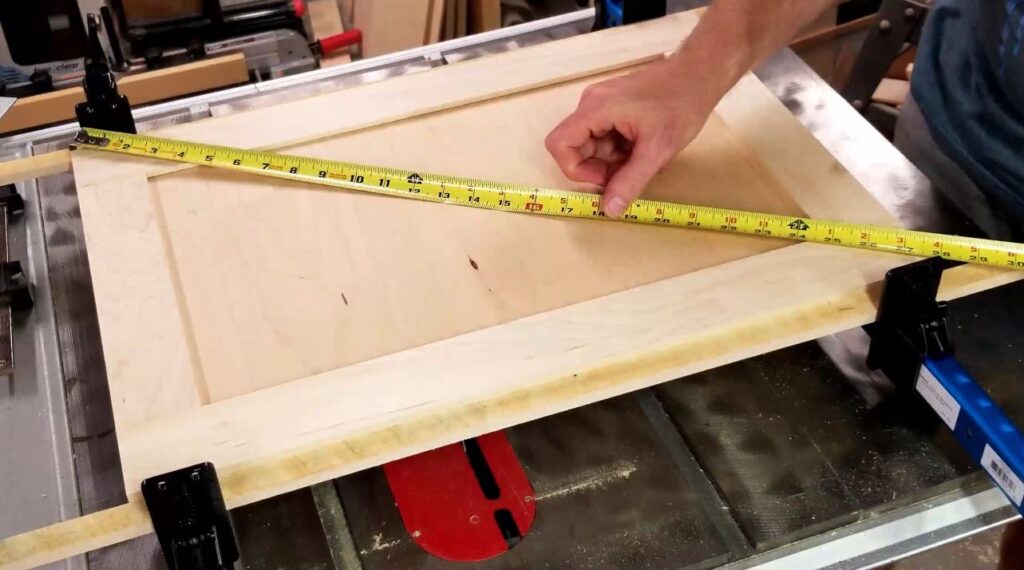
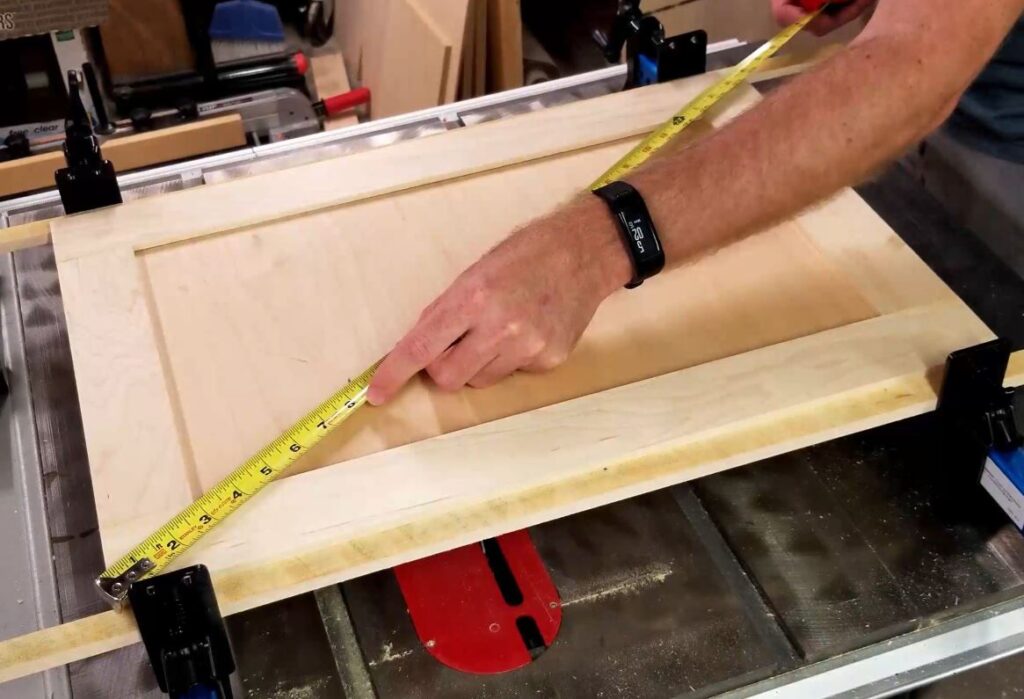
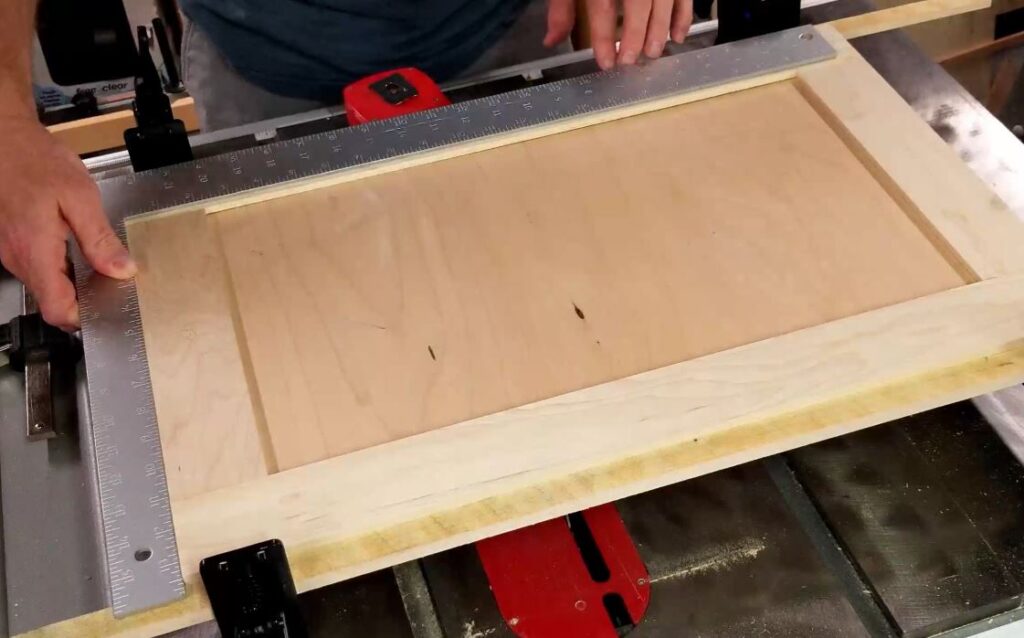
At this point, it’s time to make sure the door is square in which I do in two ways. I measure the diagonal corners and if these are the same the door should be square. If one side is longer you can rack one camp along the long side and it should pull it closer to square. The second way I check is I use my framing square to ensure the door is square.

I leave the door in the clamps for about 1 hour and then pull the door out and set it carefully on one end as verticle as I can and let the glue dry overnight.
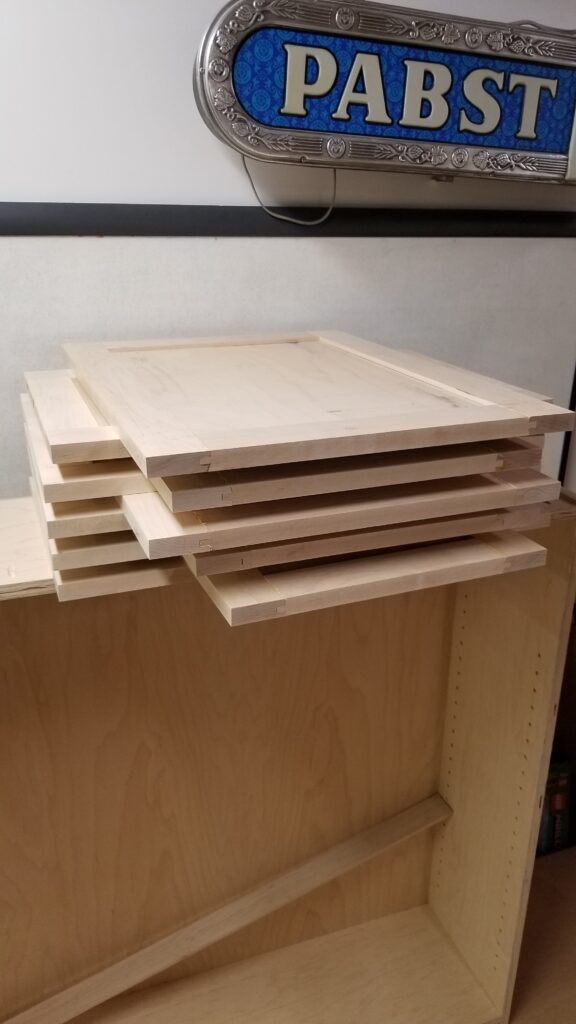
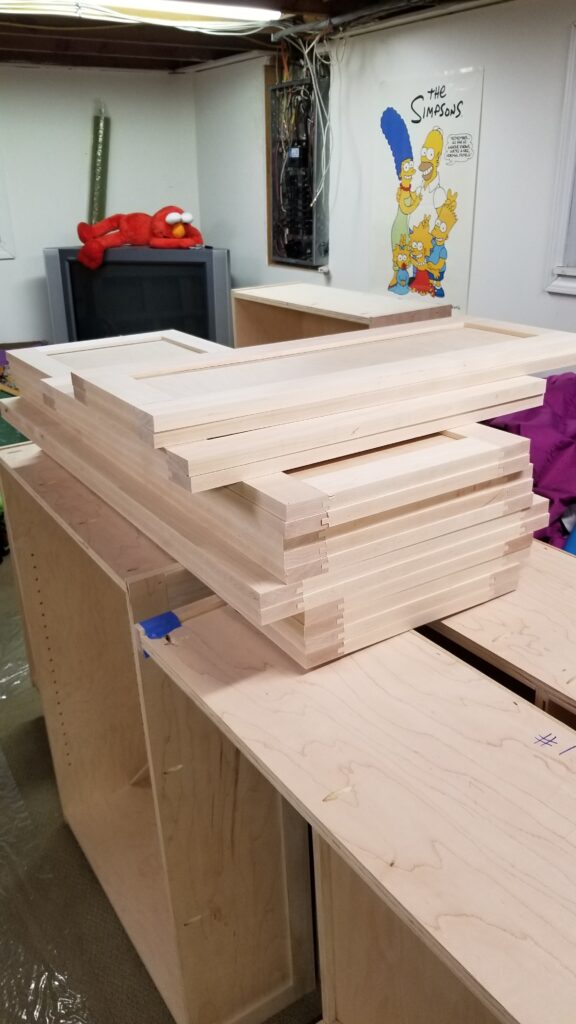
That’s pretty much for how to make doors – the rest is just finishing any issues (tear-outs or anywhere else that needs filling), sanding, and prepping for finishing.
And for those who want some stats, the video below is a result of 19 videos totaling 34 minutes, 0 seconds edited down to 10 minutes, and 57 seconds. You may notice in my videos some elements are changing as I learn what works best.
As always if you have any questions or comments post them below or on my YouTube video comments section and I’ll do my best to respond.
I’ve included a few Amazon Links below for the equipment and materials I used.
Equipment and Materials
- Rockler 2-pc Rail/Stile Shaker Cutter Router Bit Set 1/2″ Shank
- Freud 1-11/16″ (Dia.) Premier Adjustable Rail & Stile Bit with 1/2″ Shank (Shaker) (99-762)
- Rockler Router Bit Set-Up Jig for 40431 Shaker Stile and Rail Router Bits
- Rockler Rail Coping Sled
- Rockler Sure Foot Clamps
- Push Blocks
- Kobalt 25-ft Tape Measure
- Foam Weather Stripping
- Metal Ruler 24 Inch – Stainless Steel Corked Backed Metal Ruler
- DEWALT DPG94-1C Dominator SAFETY Glasses
- Titebond II Glue
- Wrapping Paper – 30″ Wide
- Johnson Level & Tool CS5 16-Inch x 24-Inch Aluminum Framing Square
- Bessey GSCC2.506 6″, Clutch StyleMedium Duty Clamp
- Maple (from a hardwood supplier)
I hope you find this video useful and can use some of the tips presented. Feel free to leave any comments, suggestions, or experiences you have had below.
Some of the links in my video description and article above are Amazon Affiliate links. As an Amazon Associate, I earn from qualifying purchases. If you would like to make a different purchase from Amazon, you can also use the storewide link.