
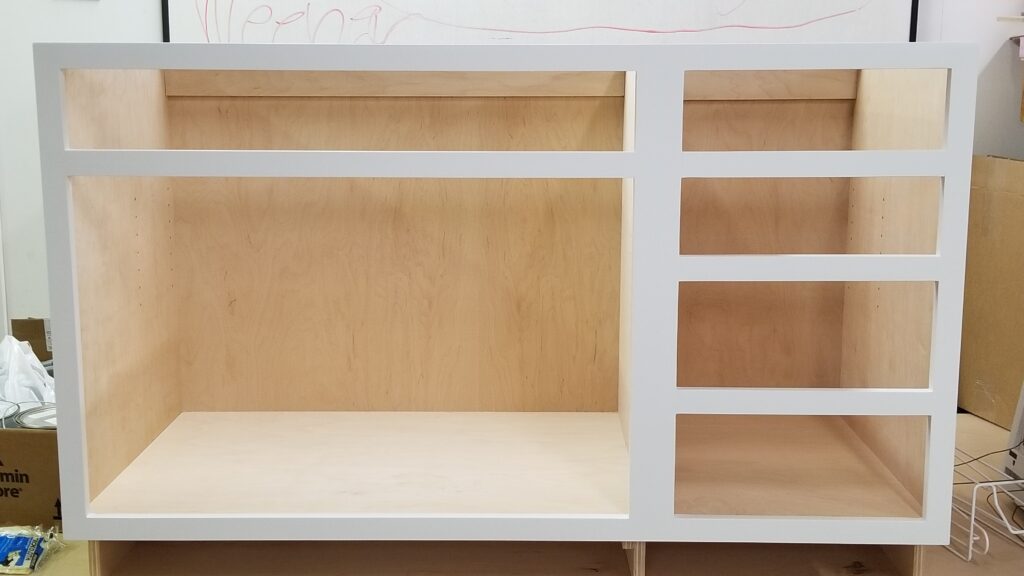
I have come a long way from raw material to time to attach finished face frames to my cabinets. Hours of labor could easily be wasted if I do this wrong and damage the frames or even worse, they don’t fit the cabinet carcasses!
What could go wrong right? I’ve been down this road so many times and refined the process with tricks that make it faster and easier to do however, you never know what’s around the corner and apparently the first cabinet I did turn that corner.
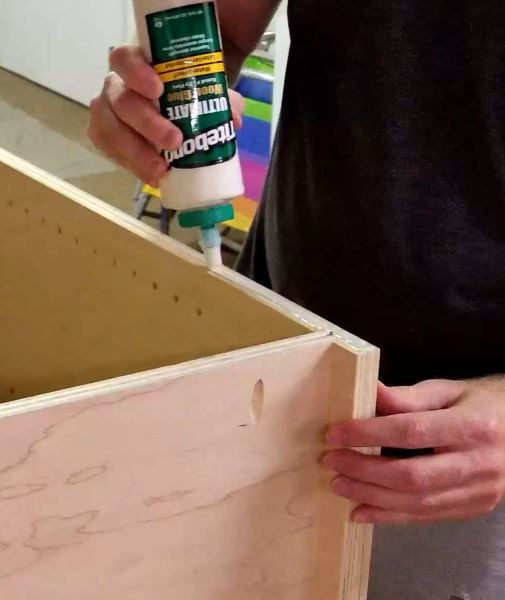
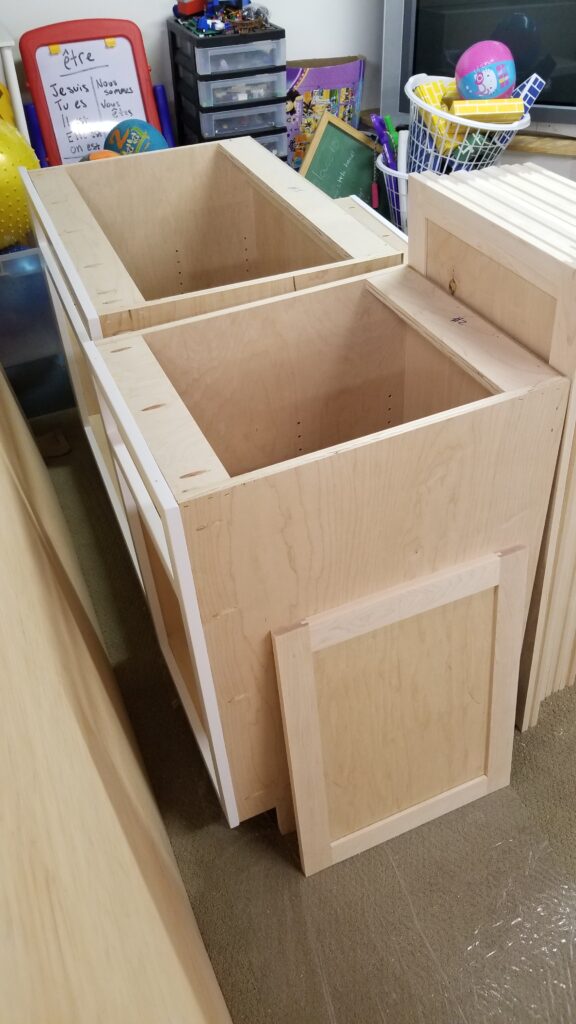
Even though these frames are painted I’m going to use a small bead of Titebond III glue. Why Titebond III? It’s water-resistant and since these are most likely going to be exposed to water over the years I want that protection.
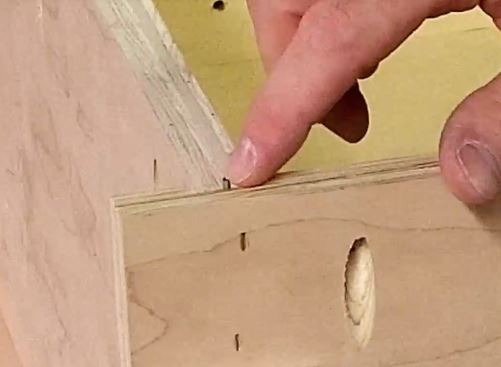
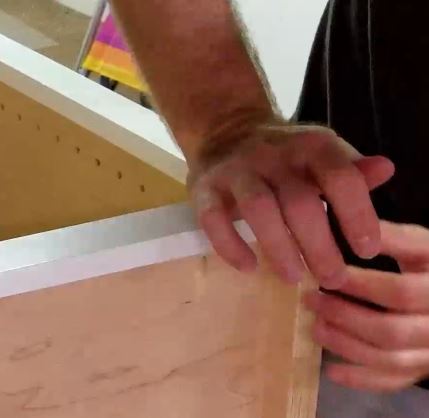
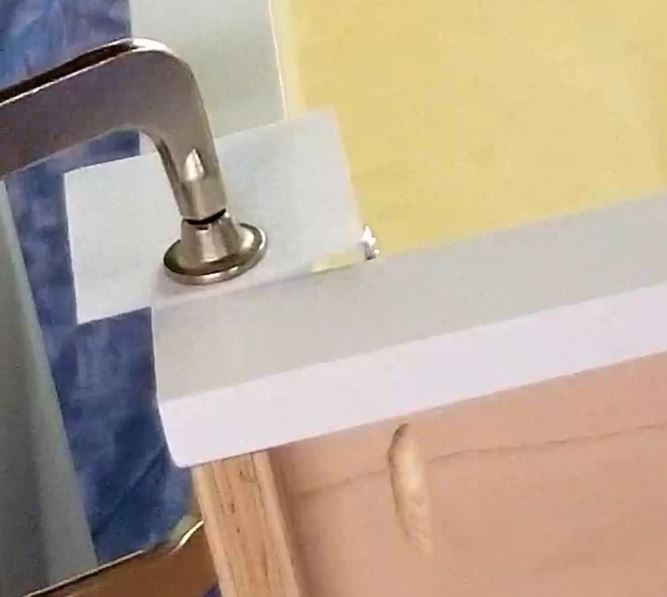
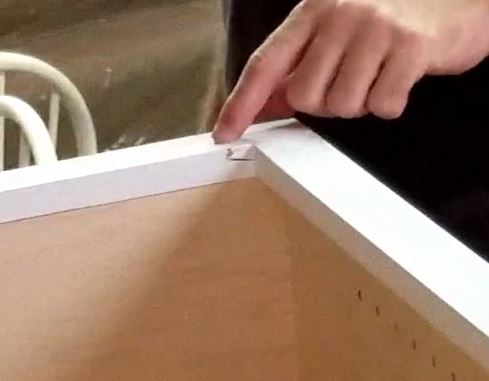
So, I start out with my first trick – hammer a small 3d nail in partway and cut off the top so that only about 1/16″ is showing. I do this for all 4 corners of the cabinet. This allows me to put a bead of glue down and set the frame down on the nails without smearing or making a mess. When I get the frame positioned how I want it, I simply press down to see the frame to the carcass. This pushes the nail into the plywood and you end up with no mess gluing.
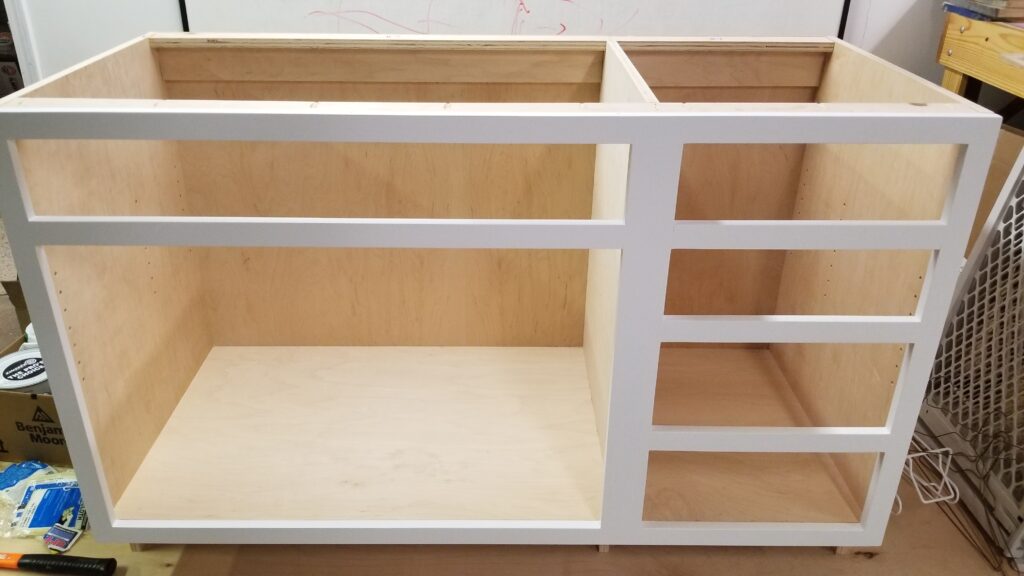
Then I pocket screw the frame down which work well until you hit another pocket screw that was used to build the frame. This caused the screw the shear out of the frame instead of going where it needed to go. Nothing a little lipstick won’t fix right? Well, some glue and sanding and repainting at least.
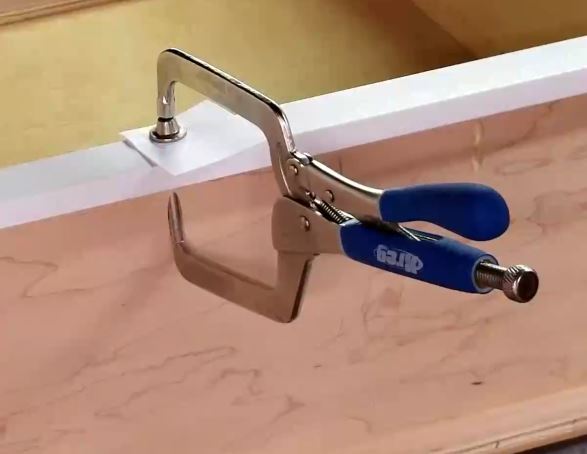
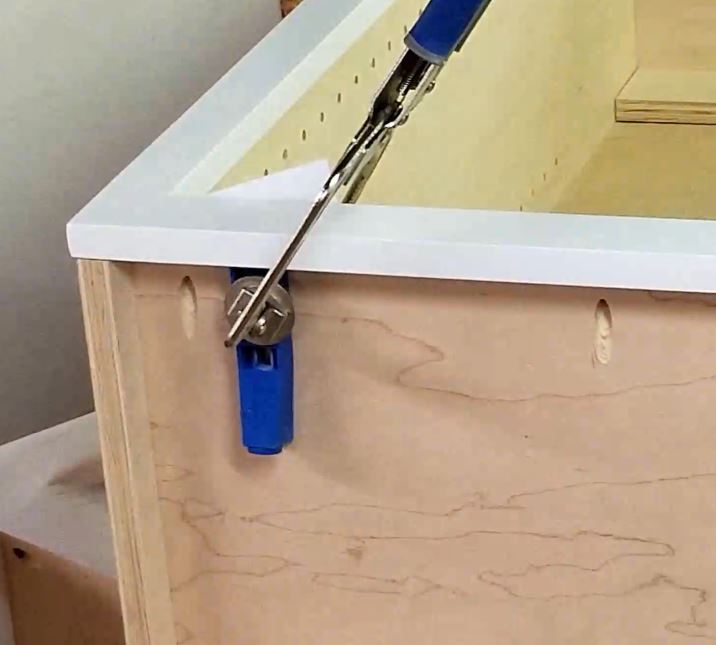
However, given the fact we have glued down on the carcass, we’ll just keep on doing the rest of the screws one by one until they are done. I also use a small piece of felt where the Kreg clamp is touching the frame so the clamp will not damage the frame finish.
As a circle back to the damaged spot I decide to just use the Kreg Mini Jig to drill a new hole away from the screw in the frame and use this one instead.
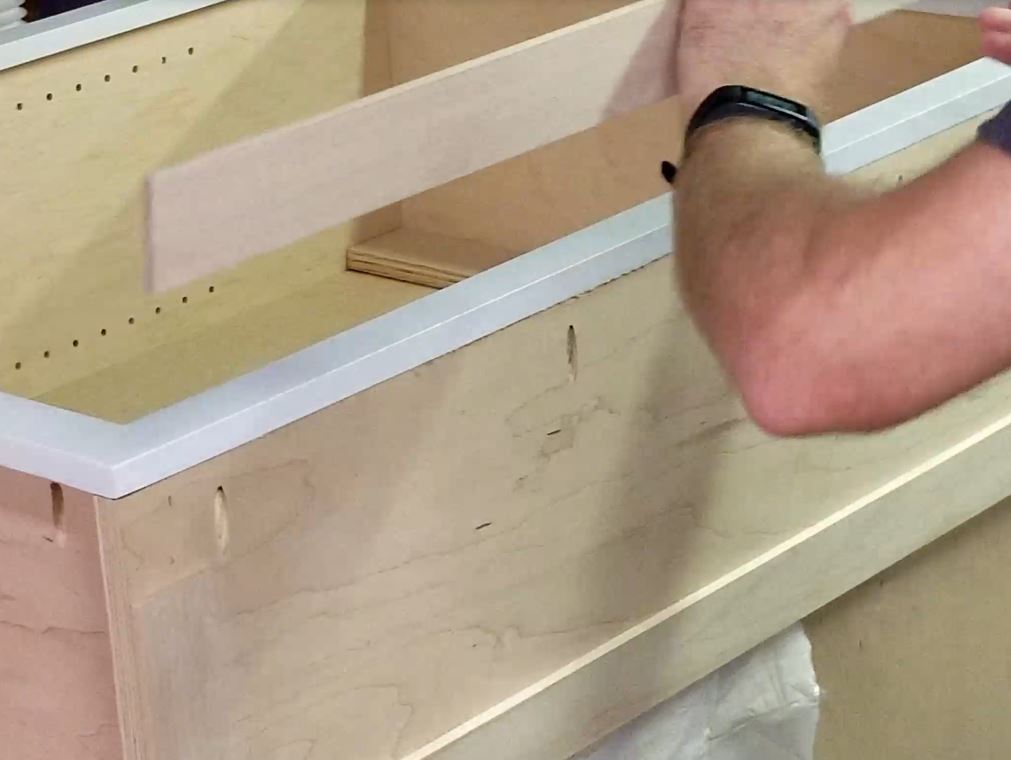
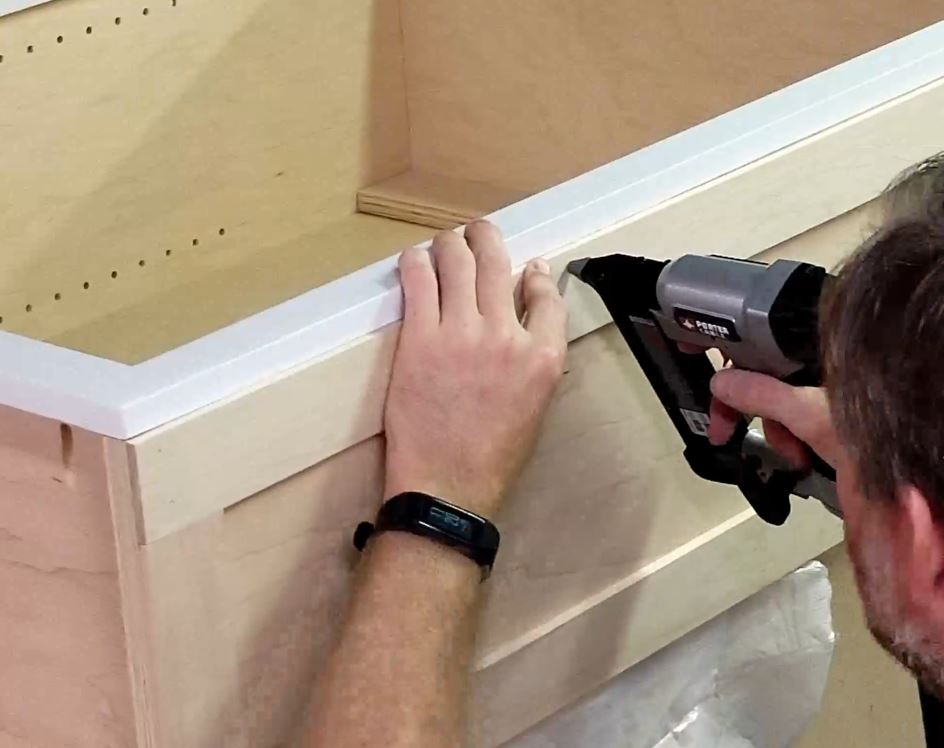
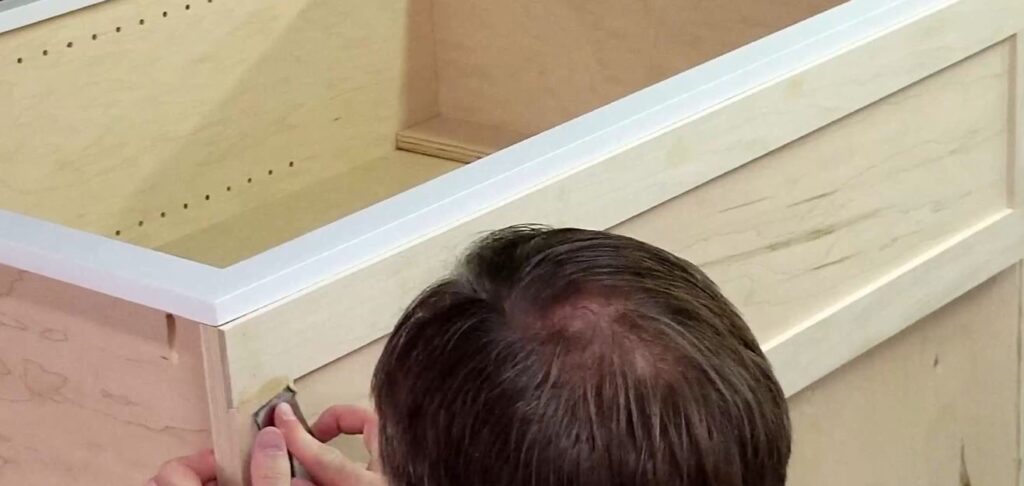
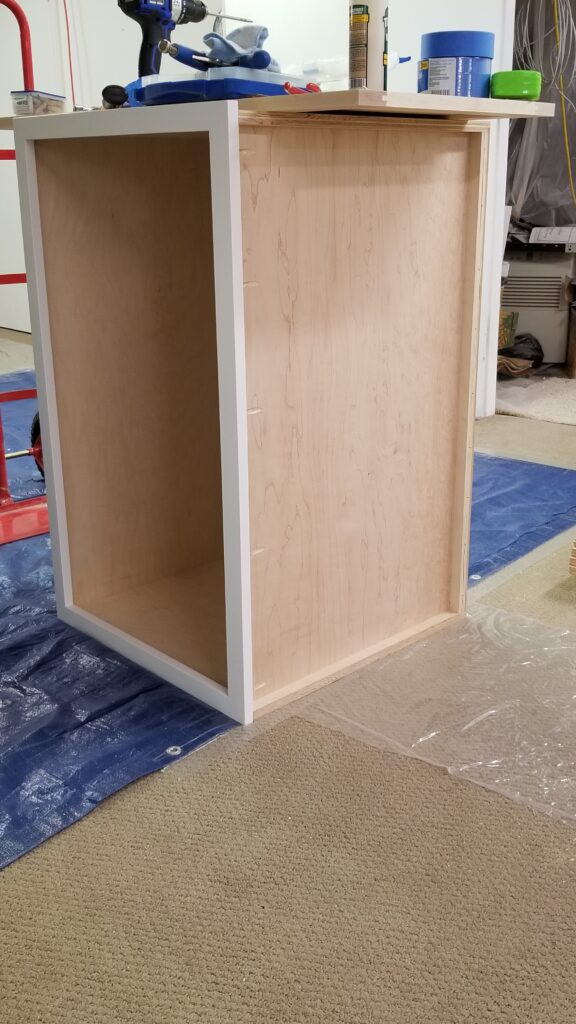
Now that I have the face frame screwed down I’m going to glue the wainscoting edge on that I had previously left off. I add some glue to the side and just use my 23 gauge pin nailer to hold it in place. But of course, because this train has already derailed with the pocket screw my pin nailer shots a blank and the piece simply fall off and onto the floor.
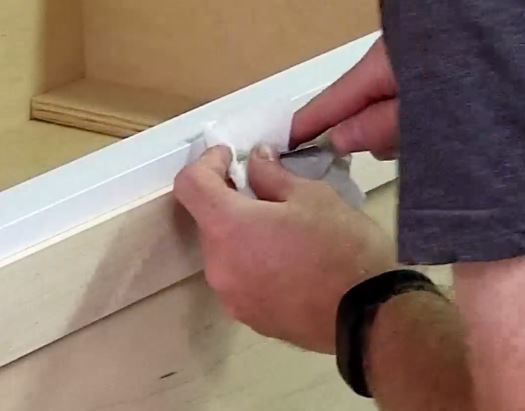
I had a little bit of glue squeeze out that I needed to clean off from this piece. I simply use a small putty knife and a paper towel to wipe it clean.
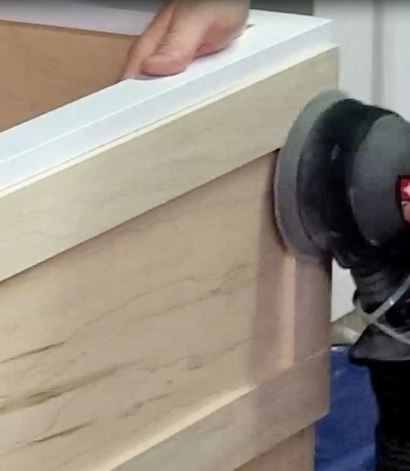
I add a little DAP plastic wood putty to any gaps and pinholes and sand them flat and off.
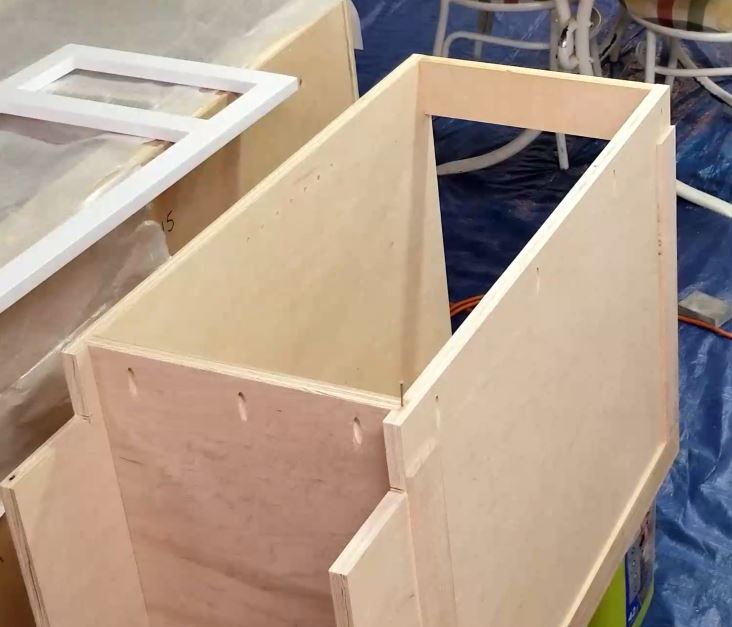
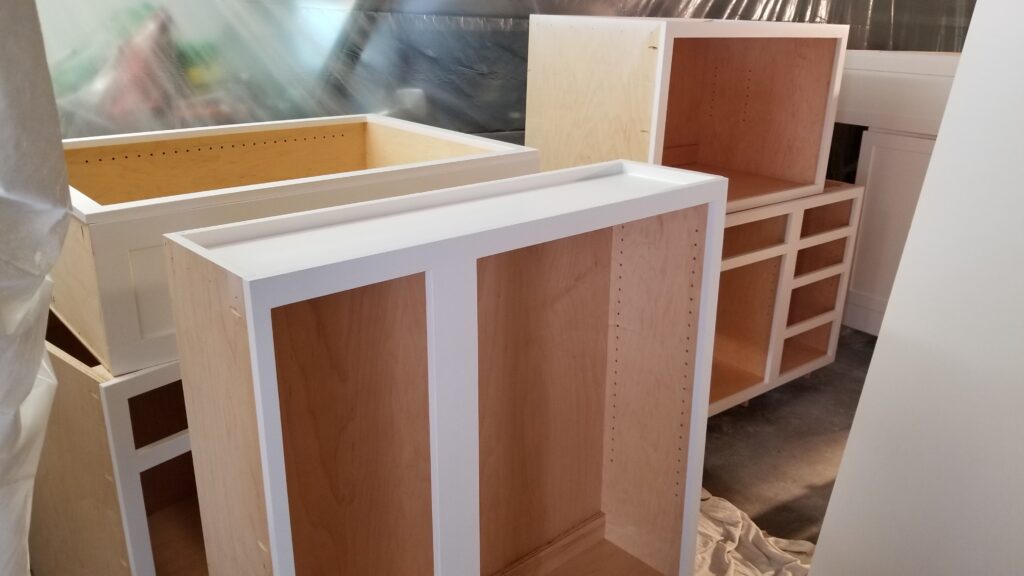
I repeat the process with all the remaining cabinets until I’m done.
As always if you have any questions or comments post them below or on my YouTube video comments section and I’ll do my best to respond.
I’ve included a few Amazon Links below for the equipment and materials I used.
Equipment and Materials
- 3d 1-1/4″ nails
- Assorted Grit Sandpaper Sheets
- C Clamps
- DAP White Plastic Wood Filler
- Felt
- Hickory Wood Handle Claw Hammer – 16 oz
- Kobalt 24-Volt Max Lithium Ion (Li-ion) 1/2-in Cordless Brushless Drill
- Kreg KHC-Premium Face Clamp
- Kreg MKJKIT Mini Kreg Jig Kit
- Kreg Right Angle Clamp (newer model)
- Kreg SML-F125 Fine Thread 1 1/4″ Screws
- Nail Setter and Center Punch Set
- PORTER-CABLE PPN23063 5/8-Inch, 23 Gauge Pin Nails
- Porter Cable 23 Gauge Pin Nailer
- Porter Cable Random Orbital Sander
- Titebond II Glue
I hope you find this video useful and can use some of the tips presented. Feel free to leave any comments, suggestions, or experiences you have had below.
Some of the links in my video description and article above are Amazon Affiliate links. As an Amazon Associate, I earn from qualifying purchases. If you would like to make a different purchase from Amazon, you can also use the storewide link.