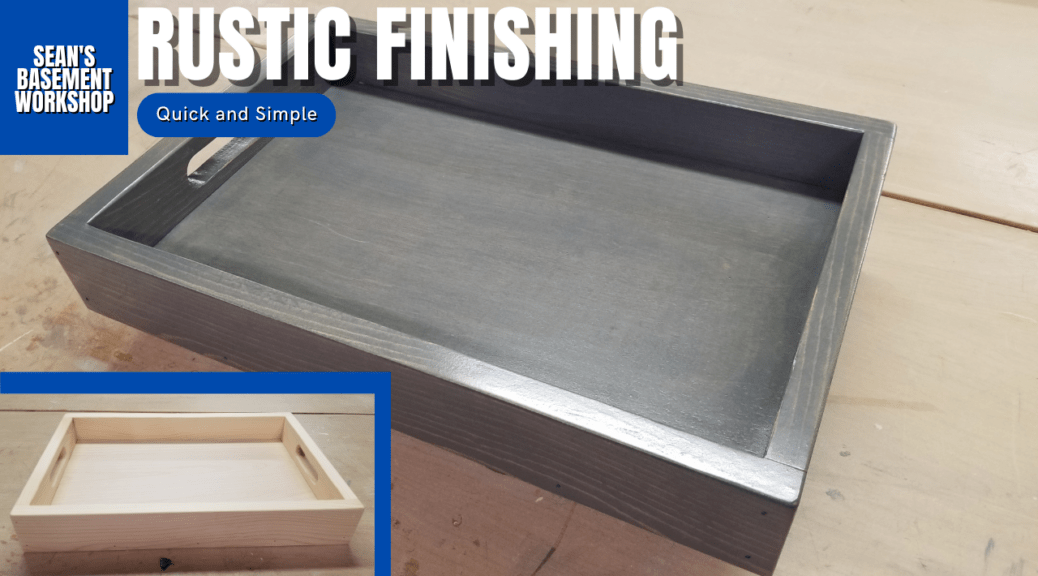
Introduction
Welcome to my comprehensive guide on applying a flawless finish to your wooden tray. I understand the importance of achieving a stunning appearance and protecting the natural beauty of your wooden projects. In this article, I will walk you through the step-by-step process of applying the perfect finish to your wooden tray, ensuring its longevity and enhancing its aesthetic appeal.
If you read the last article, you will know I just finished making a nice wooden tray. If not, have a look at that article here. I left off with a raw wood tray that can be used for a variety of purposes. For me, the goal is not a serving tray but a firewood-holding tray next to my fireplace. Why would I want something like that? Well, all the debris (wooden pieces, bark, etc) that falls off my wood ends up either on my hearth or on the floor and is a big mess. This will allow me to contain all that and dump it as needed. However, before I can use this tray I need to make it look like it fits into the room and is a little more durable.
Materials You Will Need
Before diving into the application process, let’s gather the necessary materials to ensure a successful finish:
- Wooden Tray: Start with a high-quality wooden tray that has been sanded and prepared for finishing.
- Sandpaper: Use different grits of sandpaper, such as 120, 220, and 320, for smoothing the surface.
- Tack Cloth: This sticky cloth is essential for removing dust and debris from the wood.
- Wood Stain: Choose a wood stain that complements your desired color scheme.
- Polyurethane Finish: Opt for a high-quality polyurethane finish to protect the wood and provide durability.
- Brushes and Applicators: Select appropriate brushes or foam applicators for applying the stain and finish.
- Protective Gear: Wear gloves, safety glasses, and a mask to protect yourself during the process.
Step 1: Sanding the Tray
The first step in achieving a smooth and flawless finish is proper sanding. Follow these steps:
- Begin with coarse grit sandpaper (around 80) to remove any rough spots or imperfections on the wooden tray’s surface.
- Gradually move to finer grit sandpapers (120 and 180) to smoothen the wood further, ensuring a clean and even surface. You can go up to 180 grit if you want a nice glass-like finish.
- Sand in the direction of the wood grain to prevent any visible scratches.
Step 2: Cleaning the Surface
After sanding, it’s crucial to remove any residual dust or debris from the tray. Here’s what you should do:
- Use a tack cloth to gently wipe the entire surface of the tray, picking up any loose particles.
- Ensure there is no dust left on the wood, as it can negatively impact the finish’s quality and appearance.
So that’s where we are, preparing and finishing this tray by sanding, staining, and applying a clear oil-based finish to it. Since I have already sanded this tray down to a smooth raw surface finish before I’m not going to go over all the details however, the quick and dirty is basically I started around 100 grit, then 120, and finally 180 grit. I rounded any edges off to create a smother edge and break any sharp points. This will allow the stain and more importantly the clear finish to adhere to and not chip off.
Step 3: Applying the Wood Stain
Now, let’s add color and depth to your wooden tray by applying the wood stain:
- Stir the wood stain thoroughly to achieve an even consistency.
- Use a brush or foam applicator to apply a thin, even coat of the stain onto the wooden surface.
- Work in the direction of the wood grain, ensuring complete coverage.
- Allow the stain to penetrate the wood for the recommended time mentioned on the product label.
- If you desire a darker shade, apply an additional coat after the first one has dried.
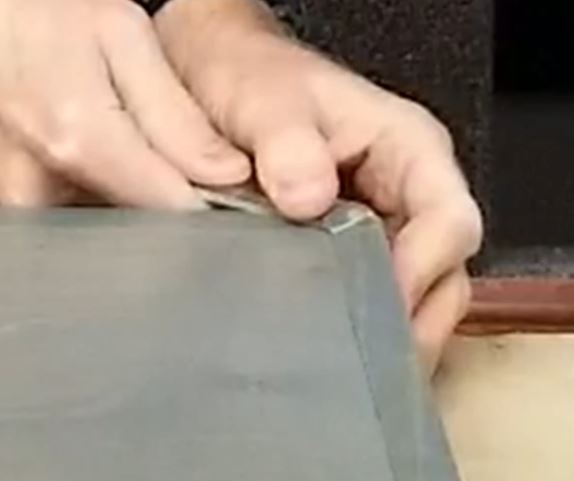
I decided to start the staining process with a foam applicator but quickly abandoned this to use a rag. I’ve always felt that I get a much better and consistent finish wiping or spraying on stain rather than brushing it but I decided to try again. Maybe I’m doing something wrong?

So my video has several mistakes I made along the way and point out the first one I consider which is I didn’t use gloves here and wiping on stains without gloves, well, my handles started to turn gray pretty quickly.
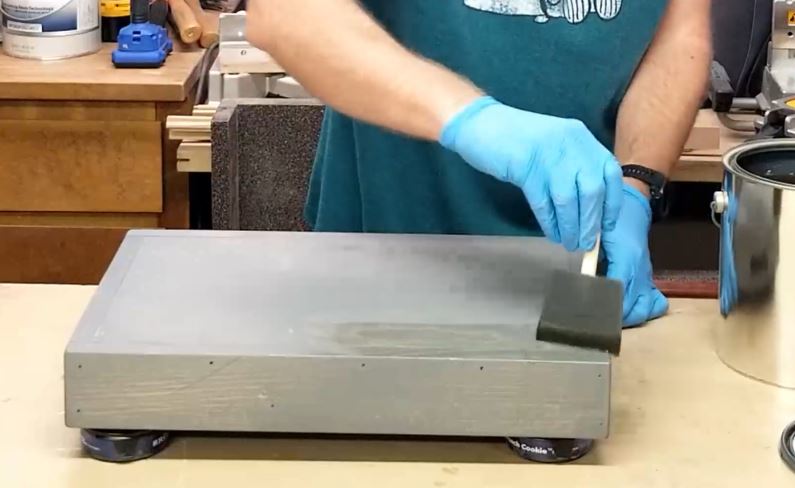
So I wiped on the weathered gray stain I had chosen except in the handle area. In this area, I did use the foam applicator as I was able to get it in there and it did a pretty decent job there. I started on the bottom because this part wouldn’t be seen and would allow me to get my process down quickly. Once I applied the stain to this area I wiped off the excess as I didn’t want the pine wood to absorb too much.
I continued to do the other sides switching back and forth between using Rockler’s Bench Cookies and just my workbench. Wipe on, wipe off as it was.
Step 4: Applying the Polyurethane Finish
To protect and enhance the beauty of your wooden tray, follow these steps to apply the polyurethane finish:
- Ensure the wood stain has fully dried before starting the finishing process.
- Stir the polyurethane finish gently to avoid creating air bubbles.
- Using a clean brush or foam applicator, apply a thin and even coat of the finish to the wooden surface.
- Work in long, smooth strokes along the wood grain, avoiding excess buildup or drips.
- Allow the first coat to dry according to the product instructions, usually around 24 hours.
- Lightly sand the surface with fine-grit sandpaper (320 or higher) to smooth out any imperfections.
- Apply additional coats of polyurethane, repeating the steps above, for added protection and durability.
- Let the final coat dry completely before using or handling the wooden tray.
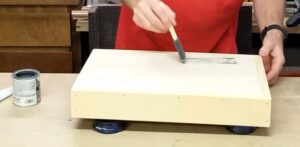
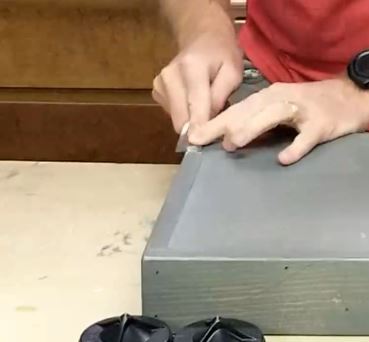
After the stain had dried per the manufacturer’s directions I started the process of putting a semi-gloss clear polyurethane finish. The clear finish that I choose was Miniwax because it was what I had on hand. I brushed it on using a foam applicator this time and did not wipe it off like I did the stain. Again I started at the bottom.
Once I had completed the bottom I used the Bench Cookies with the finishing cones and rested the bottom on it. I had decided I was going to try to finish everything at once which in my opinion did result in another mistake. You see, the finishing cones that go on the bench cookies have a sharp point. This point left finish defects when the finish had dried on the bottom. Lesson learned right? So, I applied one coat to the entire tray.
After letting it dry I flipped it over to notice runs on the bottom ran over from the sides. I used the flat side of a chisel to pear down these drip runs and make them smooth.
After which I did a light sanding with 320 grit sandpaper and applied a second and third coat. This time however I only did the bottom, let it dry to the touch, and proceeded to do the sides and the interior. This prevented the dimpling left by the Bench Cookie finishing cones.
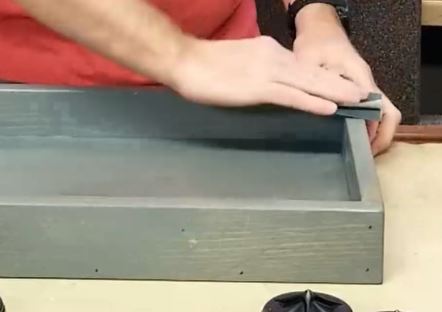
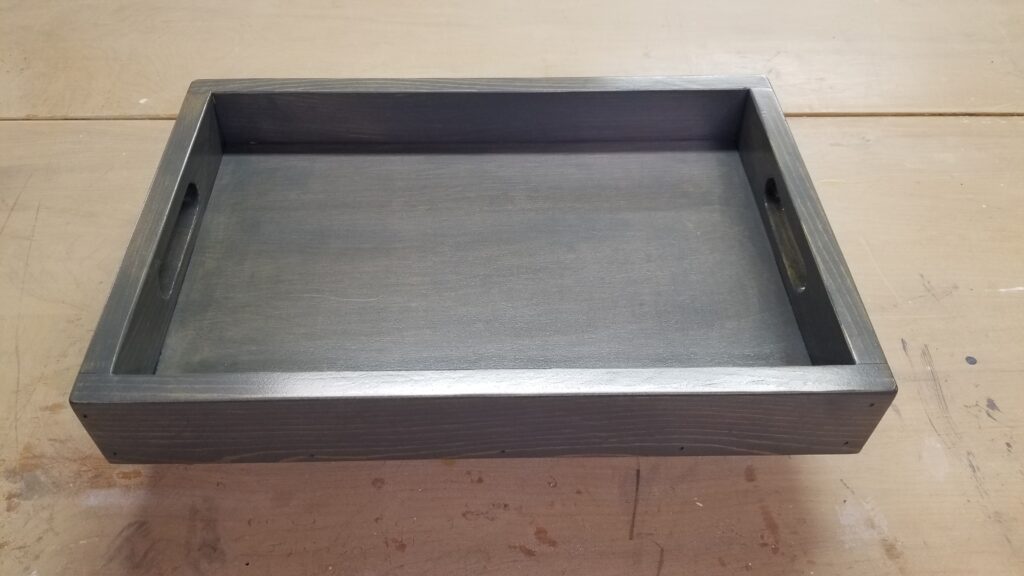
Between the second and final coat, I did not sand anything and applied that final smooth coat of finish. This created a three-layer clear finish on the tray which should protect the wood from any liquid or bangs it may encounter.
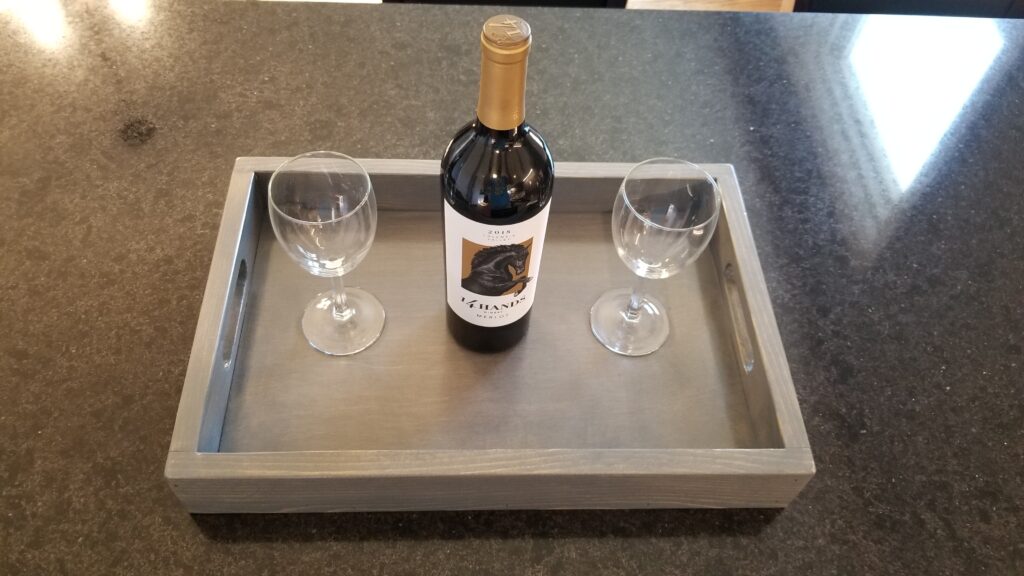
Overall I was pretty pleased with the way the stain and clear finish turned out. As always when finishing something you need to start in an inconspicuous location first until you get your desired results.
Subsequently, the tray held up great over the winter having firewood thrown in it and used/abused pretty well.
Conclusion
Congratulations on successfully applying a flawless finish to your wooden tray! By following my step-by-step guide, you’ve ensured its longevity and achieved an aesthetically pleasing appearance. Remember to always work in a well-ventilated area and follow the manufacturer’s instructions for the specific products you choose.
I take pride in providing you with expert guidance and top-notch advice on woodworking projects. If you have any further questions or need assistance, feel free to reach out to me by leaving a comment below or on my YouTube video comments section and I’ll do my best to respond. Happy woodworking!
Disclaimer: The information provided in this article is for educational purposes only. Always refer to the instructions and safety guidelines provided by the manufacturers of the products you use.
I’ve included a few Amazon Links below for the equipment and materials I used. By clicking on any of the links in this article you help support my channel as I earn from qualifying purchases.
You can also help support my Channel by dropping a Tip at https://withkoji.com/@sean.moenkhoff
Equipment and Materials
*Disclaimer: While I attempt to list the equipment I use, some items have been discontinued or have newer models.
- Assorted Grit Sandpaper Sheets
- Foam Brush Set
- Kobalt 25-ft Tape Measure
- Minwax Polyurethane Semi-Gloss
- Nitrile Gloves
- Rockler Bench Cookies
- Rockler Bench Cookies Finishing Cones – https://amzn.to/45pCHpi
- Tack Cloth
- Varathane Premium Fast Dry Wood Stain, Weathered Gray
I hope you find this video useful and can use some of the tips presented. Feel free to leave any comments, suggestions, or experiences you have had below.
Some of the links in my video description and article above are Amazon Affiliate links. As an Amazon Associate, I earn from qualifying purchases. If you would like to make a different purchase from Amazon, you can also use the storewide link.