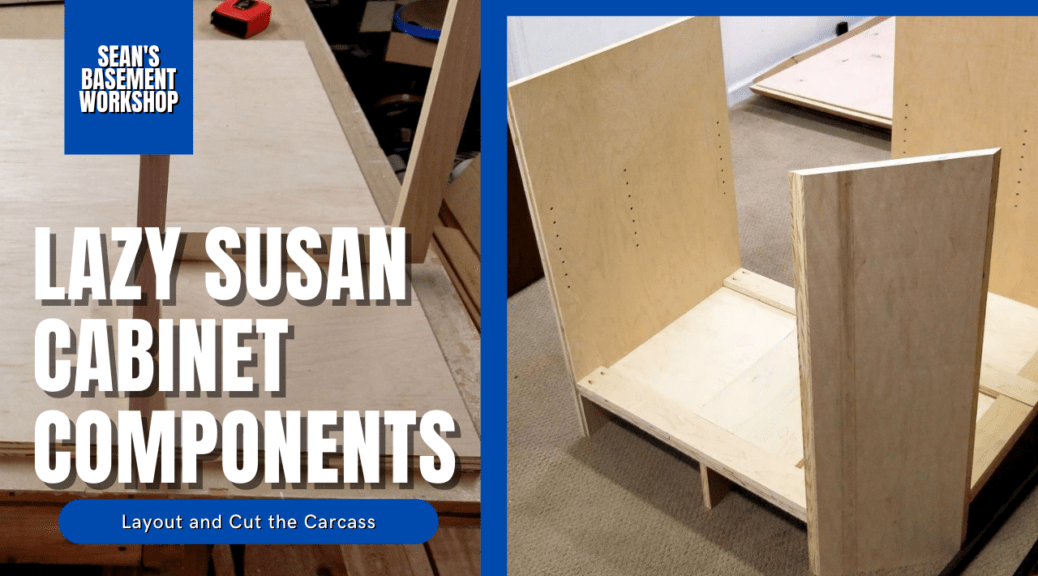
As I continue working on my kitchen cabinets I’m circling back around to one of the more difficult cabinets to build in my opinion. A Lazy Susan or Corner cabinet as they are sometimes called can be a monster of a cabinet to build.
Why? Well, generally the sheer size for one thing. Normal base cabinets are usually 24 inches deep by however long you want them. That 24 inch is key though, you can fit that through almost anywhere. However, a base Lazy Susan or Corner cabinet is that 24 inches plus the size of the doors (give or take) so mine is 36 inches square. Now, I don’t know about you but a lot of doors will squeeze a 36-inch cabinet through. Why not turn it on its side? Well, if you remember right, the standard height is 36 inches with the countertop or 34 1/2 inches without a countertop. Again, most doors will not squeeze that through (at least not in my house), so I have to take special care where I assemble this thing so I don’t get stuck.
In addition to the size, you also have to build a stretcher framework across the top to support any Lazy Susan hardware you might want to mount in it as most base cabinets only have a front and back stretcher. Then, add additional support in the bottom so you don’t get any sagging from all the product weight that will side on that hardware.
You can get different hardware for your lazy Susan cabinet which includes the traditional pie-shaped hardware in which you can add pie wedge baskets, or you can get kidney-shaped shelving.
Now that we have all the difficulty reasons out in the open let’s get onto making those components.
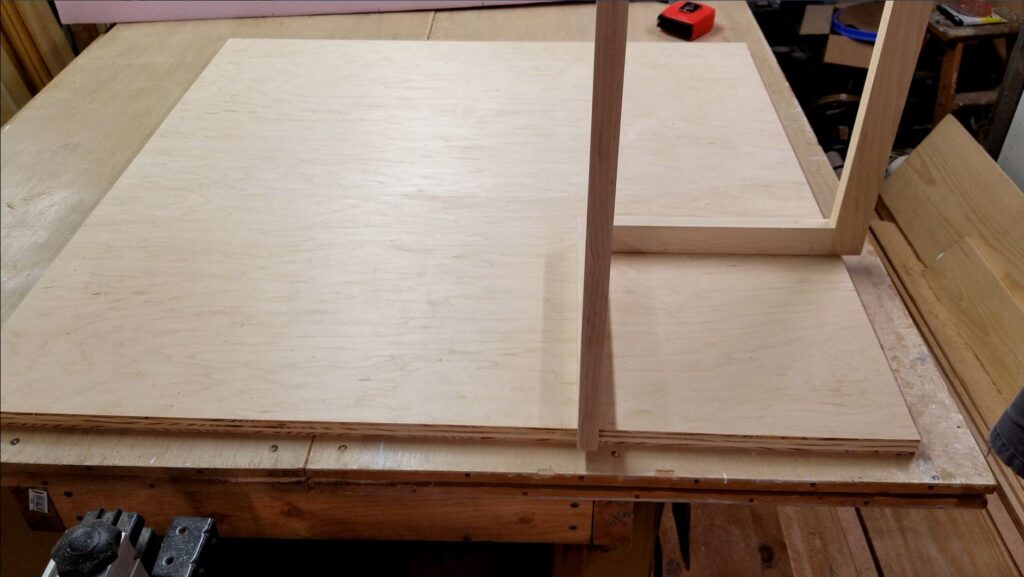
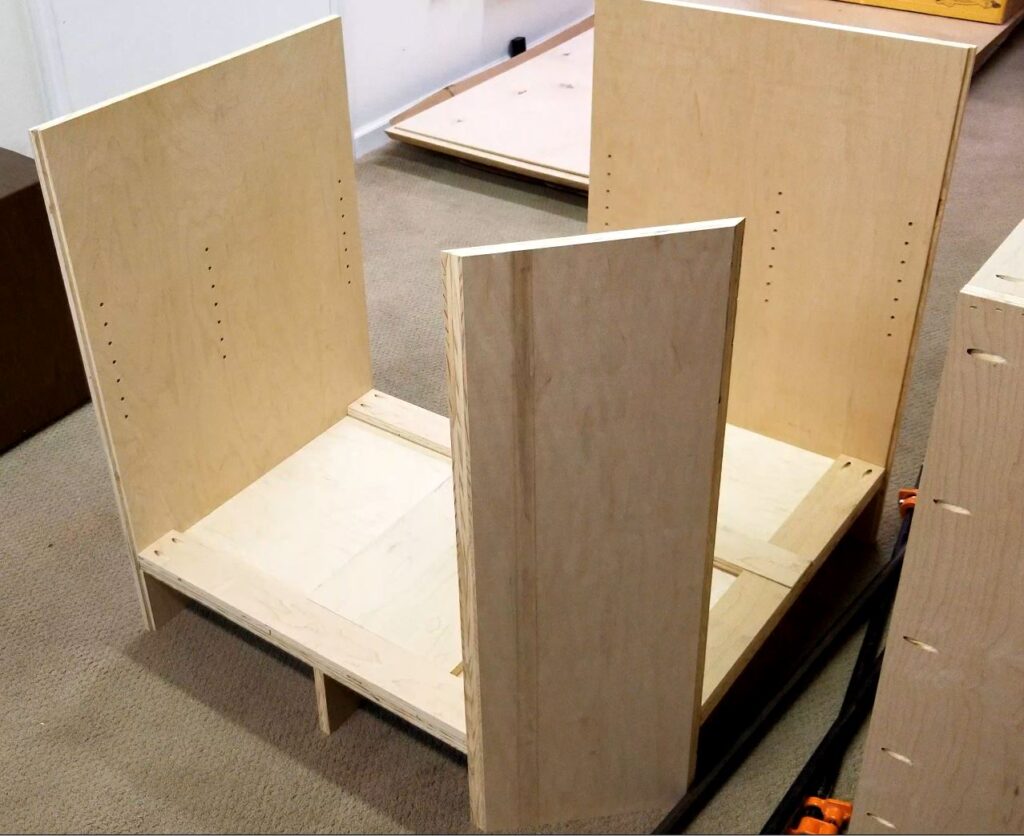
I start by taking a sheet of plywood for the bottom of the cabinet. This bottom sheet will need to be cut down so after it is inserted into the side panel dados it the entire box will be just under 36 inches square, taking into account we need to allow for a 1/4 inch face frame overlay on each side.
Once it is cut to size then I need to cut a small square out where the face frame will go. For me, this is about 11 3/4 inches. This will allow the face frame to fit over the side panels and allow for that 1/4 inch overlay.
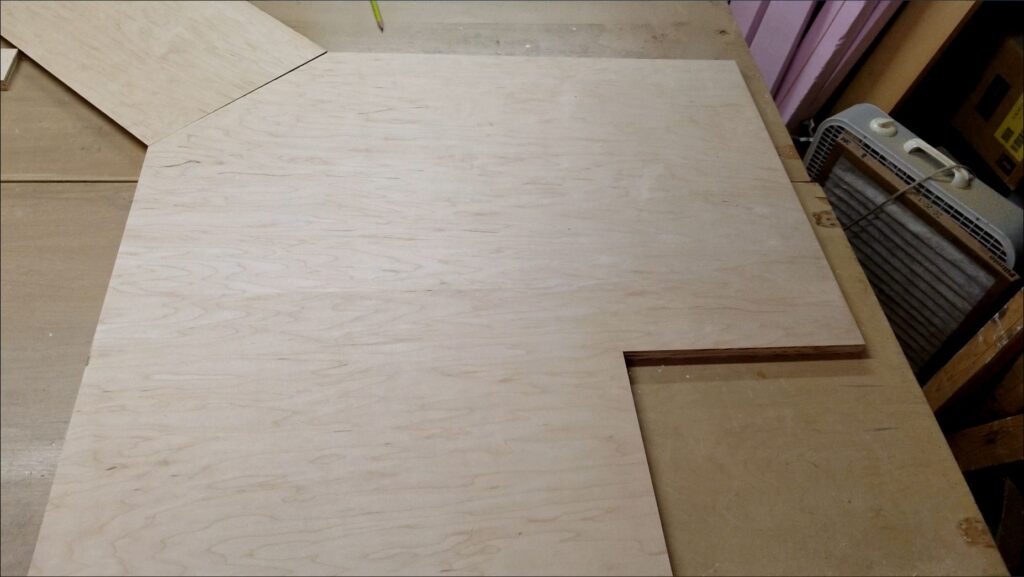
Now, I’ll cut a 45-degree piece out of the back corner, the corner that will go into the wall corner. This cut may not be necessary if you’re put this cabinet on a U-Shaped island but you’ll need to reinforce the backsides stronger since they will need to carry more weight and be visible on an island. This is not the case for me so I’ll cut this piece out and install a 3/4 inch thick back panel right there that is wide enough to support shelving since that is the route I’m going.
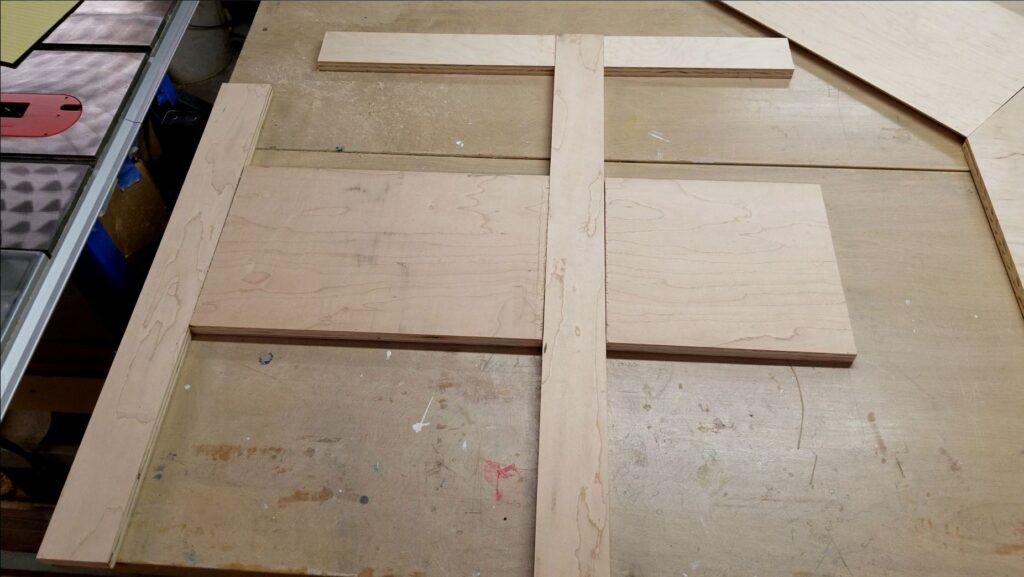
Now with the bottom and back support cut and sized up I’ll start cutting the top stretchers. I’m going to use 3/4 inch thick material that I will half-lap cut where they cross. This is so when I glue and staple them the joint will be super strong and not flex and will be able to support the potential weight from any Lazy Susan hardware plus any products stored on the hardware. I’ll predrill pocket holes on all the stretchers will they will need to connect to the cabinet.
Once all the components have been cut I sand them down with my random orbital sander. The way I think of it is it’s easier to sand now than when these are all glued and stapled together, although, many times I will still need to do some touch-up sanding nothing major. Plus, it helps keep all the dust in my shop!
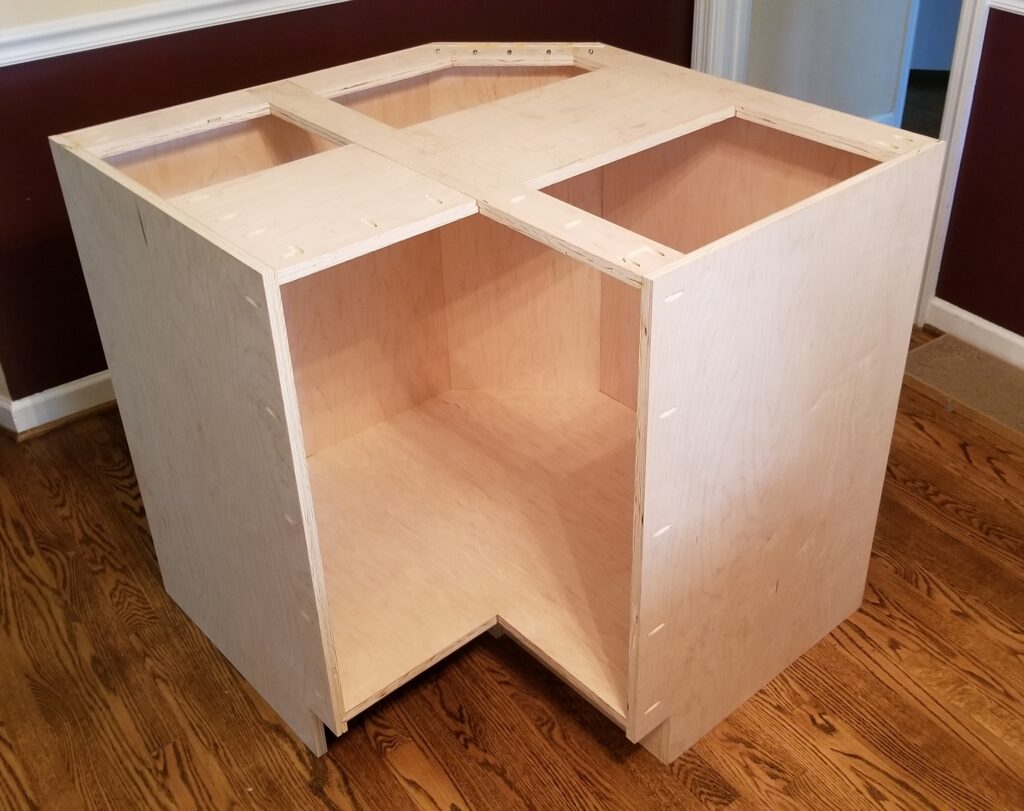
Now because this thing is larger than my shop I’ll move it out to my rec room to dry-fit. This will allow me to use my shop if I need to adjust any parts or add any additional ones I’ve missed.
Dry fitting the cabinet completely together looks and went well so the next step will be to take it back apart and relocate it upstairs in my dining room which is serving as a temporary staging area for my kitchen remodel. I can assembly it here because my exterior door to my house can fit a 34 1/2 inch cabinet through so I can get it out to my garage which is where I will be finishing all my cabinets once I’m done building them.

Stay tuned for a future article on me assembling this cabinet. I didn’t want the video that accompanies this article to be too long with me assembling it and it seemed this was a logical breakpoint.
As always if you have any questions or comments post them below or on my YouTube video comments section and I’ll do my best to respond.
I’ve included a few Amazon Links below for the equipment and materials I used.
Equipment and Materials
- Walker’s Razor Slim Passive Earmuffs
- DEWALT DPG94-1C Dominator SAFETY Glasses
- DEWALT Sliding Compound Miter Saw, 12-Inch (DWS779)
- Kreg Mini Kreg Jig Kit
- Kreg Pocket Hole Jig K4 Master System
- Maple (from a hardwood supplier)
- Porter Cable Random Orbital Sander
- Ryobi BB0736 Corded Drill
- S SATC Hook and Loop Sandy Discs
- Titebond II Glue
- Walker’s Razor Slim Passive Earmuffs
I hope you find this video useful and can use some of the tips presented. Feel free to leave any comments, suggestions, or experiences you have had below.
Some of the links in my video description and article above are Amazon Affiliate links. As an Amazon Associate, I earn from qualifying purchases. If you would like to make a different purchase from Amazon, you can also use the storewide link.