Building your own kitchen cabinet doors can seem a bit daunting and overwhelming but with a little planning, you can do it. What type of planning am I talking about? Well for starters you’re going to need to know the terminology.
Are you kidding me, there’s terminology needed to know how to build cabinet doors? Well, like many other things using the proper terminology will help you a lot. Here is some common terminology you will want to familiarize yourself with.
- Stile – a verticle piece in the frame of a paneled door
- Rail – a horizontal piece in the frame of a paneled door
- Overlay – the amount of the door that lays on top of the cabinet frame
- Reveal – the portion of a cabinet frame left exposed after the door is attached
- Panel – what fills the frame formed by the stiles and rails of a door
- Inset Door – The door sits inside of the cabinet frame
- Full Overlay Door – The door covers the entire cabinet frame
- Partial (or Half) Overlay – The door covers only part of the cabinet frame.
- Door Opening – The dimensions inside of the cabinet door frame in which the door will be located
- Tongue – the amount of material on a rail that goes inside the stile.
For the purpose of this article and the video that accompanies it, I am building partial (or half) overlay doors but I refer to them as full overlay doors because I will be using 1 1/4″ overlay hinges. Since my cabinet frames are 1 1/2″ wide, this will create a 1/4″ reveal around the door.
There are some basic formulas that you’ll need to know in order to determine the length of your stiles and rails. I’ll cover those as I’m talking about that particular component.
Where to start? Well, now that we have some basic groundwork completed let’s get started on the door size, after all, you cannot get the door components’ sizes without knowing the door size.
Measure the door opening’s height and width. So, if your door opening height is 23″ you need to take that number and add 2 x your overlay. For a door width of 15″ you need to take that number and add 2 x your overlay. I like to keep my height and width overlay the same. However, the overlay on the height can always be adjusted to ensure the reveal is correct.
Door Height = Door Opening Height + 2 x hinge overlay amount
Door Width = Door Opening Width + 2 x hing overlay amount

DH = 23 + 2 x 1.25" or 25.5"
DW = 15 + 2 x 1.25" or 17.5"
The stiles are the easiest to determine as far as length. However, before you cut them to the length I recommend you mill some wood to the appropriate thickness. This is very important because door hinges are designed to work on wood that is a given thickness. Test the thickness with the hinge to make sure it is correct before you start cutting to length.
Okay so assuming our door stock is at the appropriate thickness we use the DH formula above to determine the stile length.
Stile Length = Door Height
SL = DH
To determine the rail length you’ll need to know a couple of additional numbers called the tongue length and your stile width. So the rail length is essentially your door with – (2 x stile width) + (2 x tongue length). For my doors, I’m using a 2 1/4″ stile and rail width. Using the dimensions determined above I have the following:
Rail Length = door width - (2 x stile width) + (2 x tongue length)

RL = DW - (2 x SW) + (2 x TL)
RL = 17.5 - (2 x 2.25) + (2 x 3/8)
RL = 17.5 - 4.5 + .75
RL = 13.75"
Confused? I recommend you either use some scrap wood to practice on with your first door OR cut the a little longer. In my case, I always cut mine a little longer and then dial in the exact measurements by lying the components on the frame.
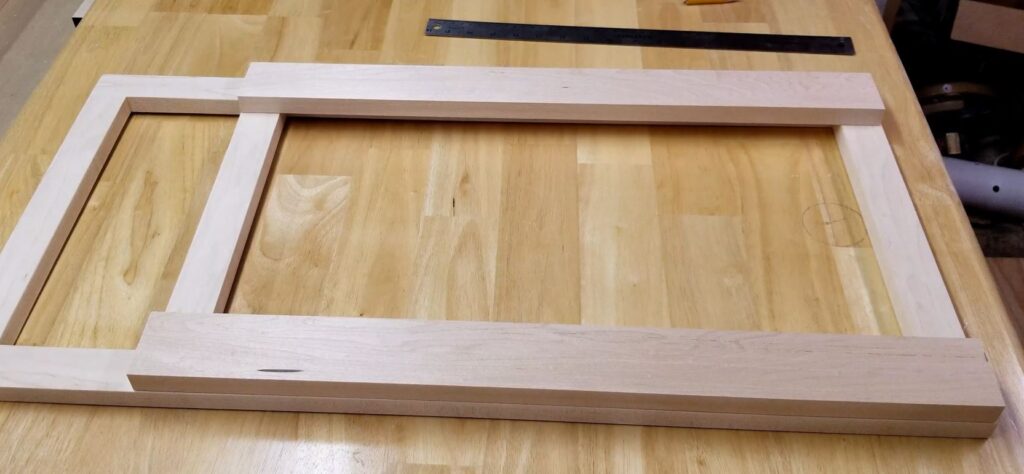
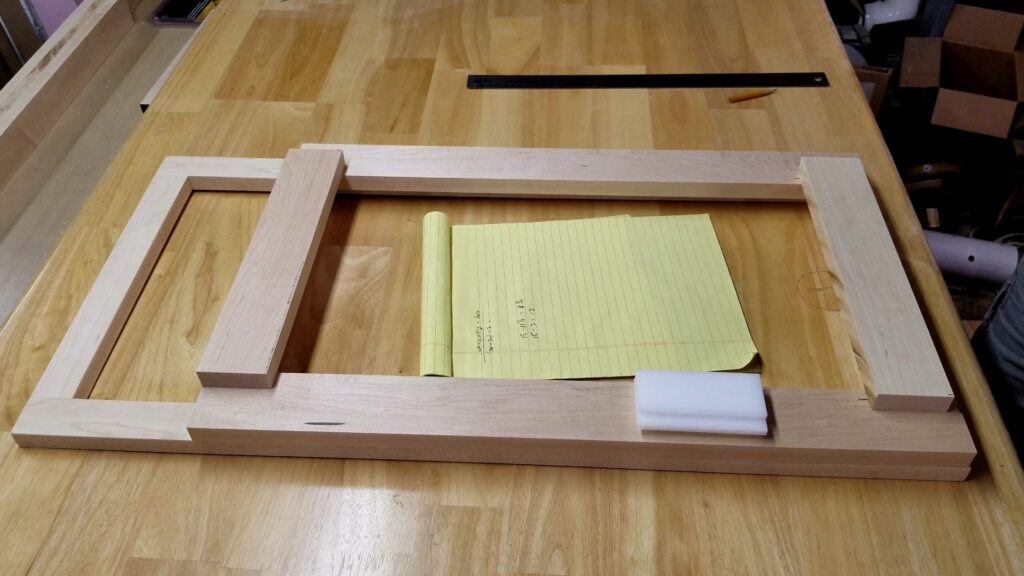
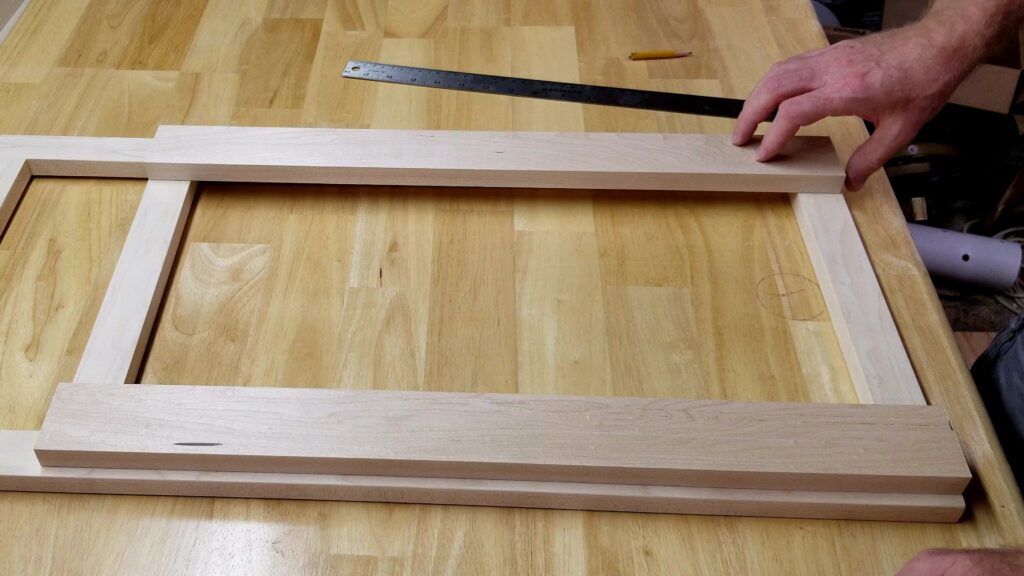
Once I get the sizes close I lay them on top of the frame and start ensuring that I have the correct amount of the reveal. As you can see in my video I had to shorten the stile length a little in order to ensure a proper reveal amount between the door and the drawer panel.
stile with no reveal 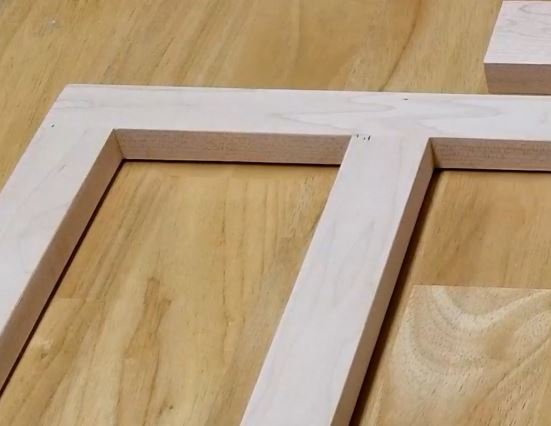
penciled reveal 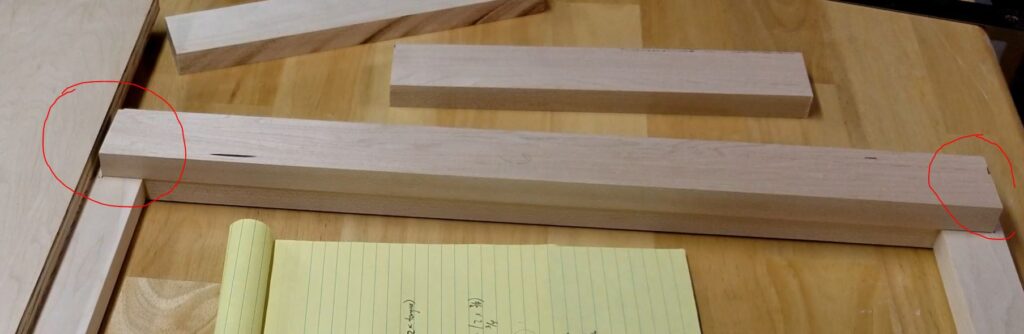
adjusted stile length for proper reveal
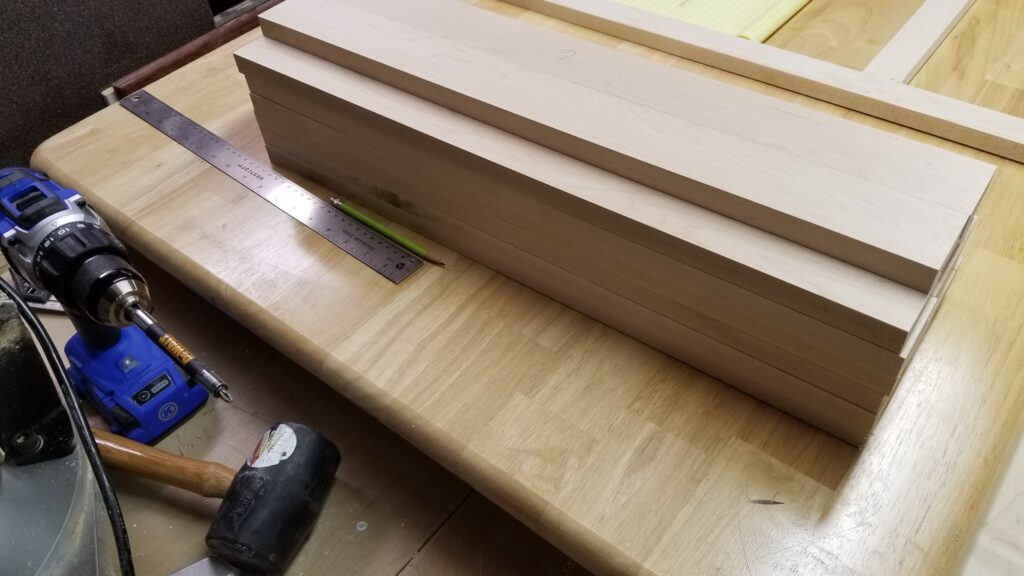
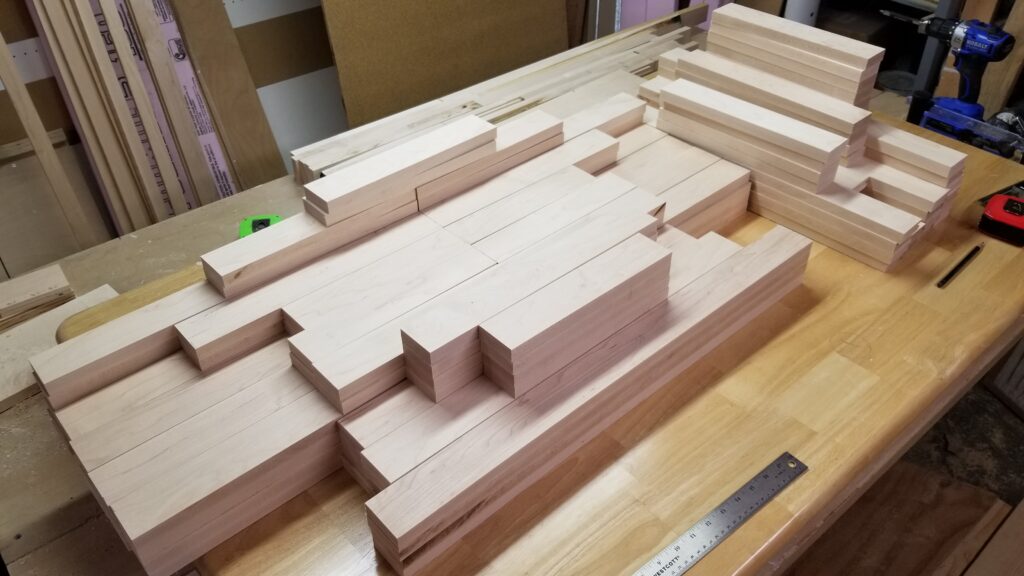
Finally, when everything is perfect I start by cutting out all the stiles. Since these can go with any cabinet I do not label them yet. Then I repeat the process above for every single door I have to get their rail widths and I do label them so I keep straight which goes with which cabinet. I continue to rinse and repeat until I get all the single doors done.
To do double doors, well, you’ll have to read that article when I publish it but it involves halving the door size, only using 1 overlay on the width and adding a gap amount between the doors, something like this:
DW = DO / 2 + overlay - door gap
And for those who want some stats, the video below is a result of 16 videos totaling 36 minutes, 49 seconds edited down to 10 minutes, and 20 seconds. I can honestly say that I did not enjoy editing this as the program and computer I use were having problems keeping that many 4K files open at the same time. As a result, I had to make this video in 2 separate segments and then combine those 2 into 1 full video resulting in 3 times the render time every time I wanted to make a change. I’ve begun exploring new software but am still learning it so bear with me on these edits.
As always if you have any questions or comments post them below or on my YouTube video comments section and I’ll do my best to respond.
I’ve included a few Amazon Links below for the equipment and materials I used.
Equipment and Materials
- Rockler Router Bit Set-Up Jig for 40431 Shaker Stile and Rail Router Bits
- Legal/Wide Ruled 8-1/2 by 11-3/4 Legal Pad
- Metal Ruler 24 Inch – Stainless Steel Corked Backed Metal Ruler
I hope you find this video useful and can use some of the tips presented. Feel free to leave any comments, suggestions, or experiences you have had below.
Some of the links in my video description and article above are Amazon Affiliate links. As an Amazon Associate, I earn from qualifying purchases. If you would like to make a different purchase from Amazon, you can also use the storewide link.