You’re using one of the adjustment wheels on your table saw, whether it is to adjust the height or angle of your blade, and all of sudden you hear plastic crunching from the wheel. What do you do? Well, my first thought was I turned the wheel too far and something broke.
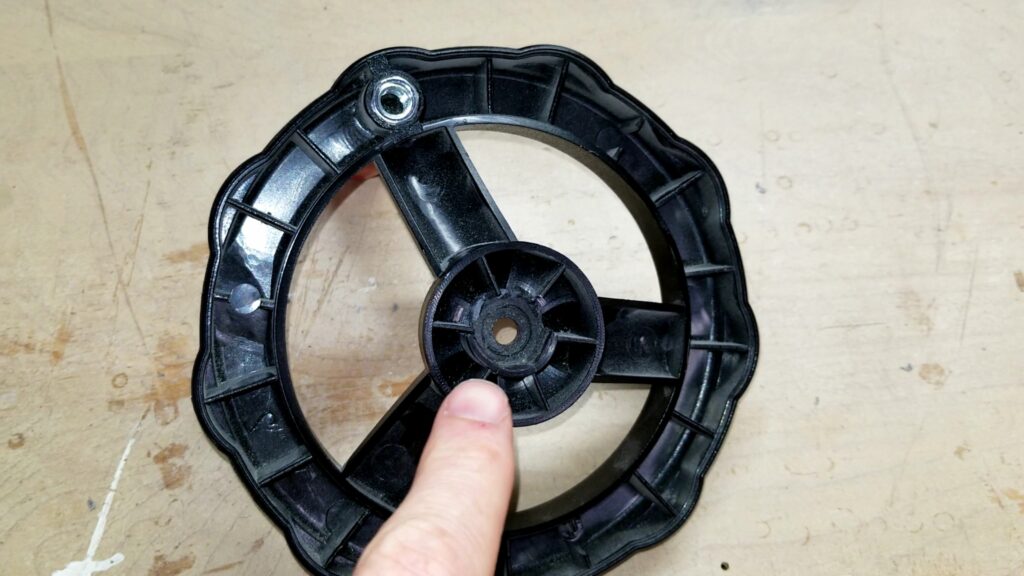
Sure enough the nut that is permanently affixed to the center of the blade tilt adjustment wheel broke free of the handle tearing bits of plastic out with it.
Do I buy a replacement adjustment wheel? Well, if you have been keeping up with me the answer should be apparent – No. Plus it doesn’t help you cannot actually buy the replacement part but there is an aftermarket Handwheel Handle Crank replacement but this way is faster. I could also spend the time building a brand new one out of laminated plywood but that too would take too much time. So, lets fix it.
The first thing I need to do is take the existing adjustment wheel off the table saw. To do this there is a small allen screw that holds the wheel and nut to the table saw. Unscrew it carefully with an Allen wrench as to not drop the allen screw, washer or nut that is inside the wheel.
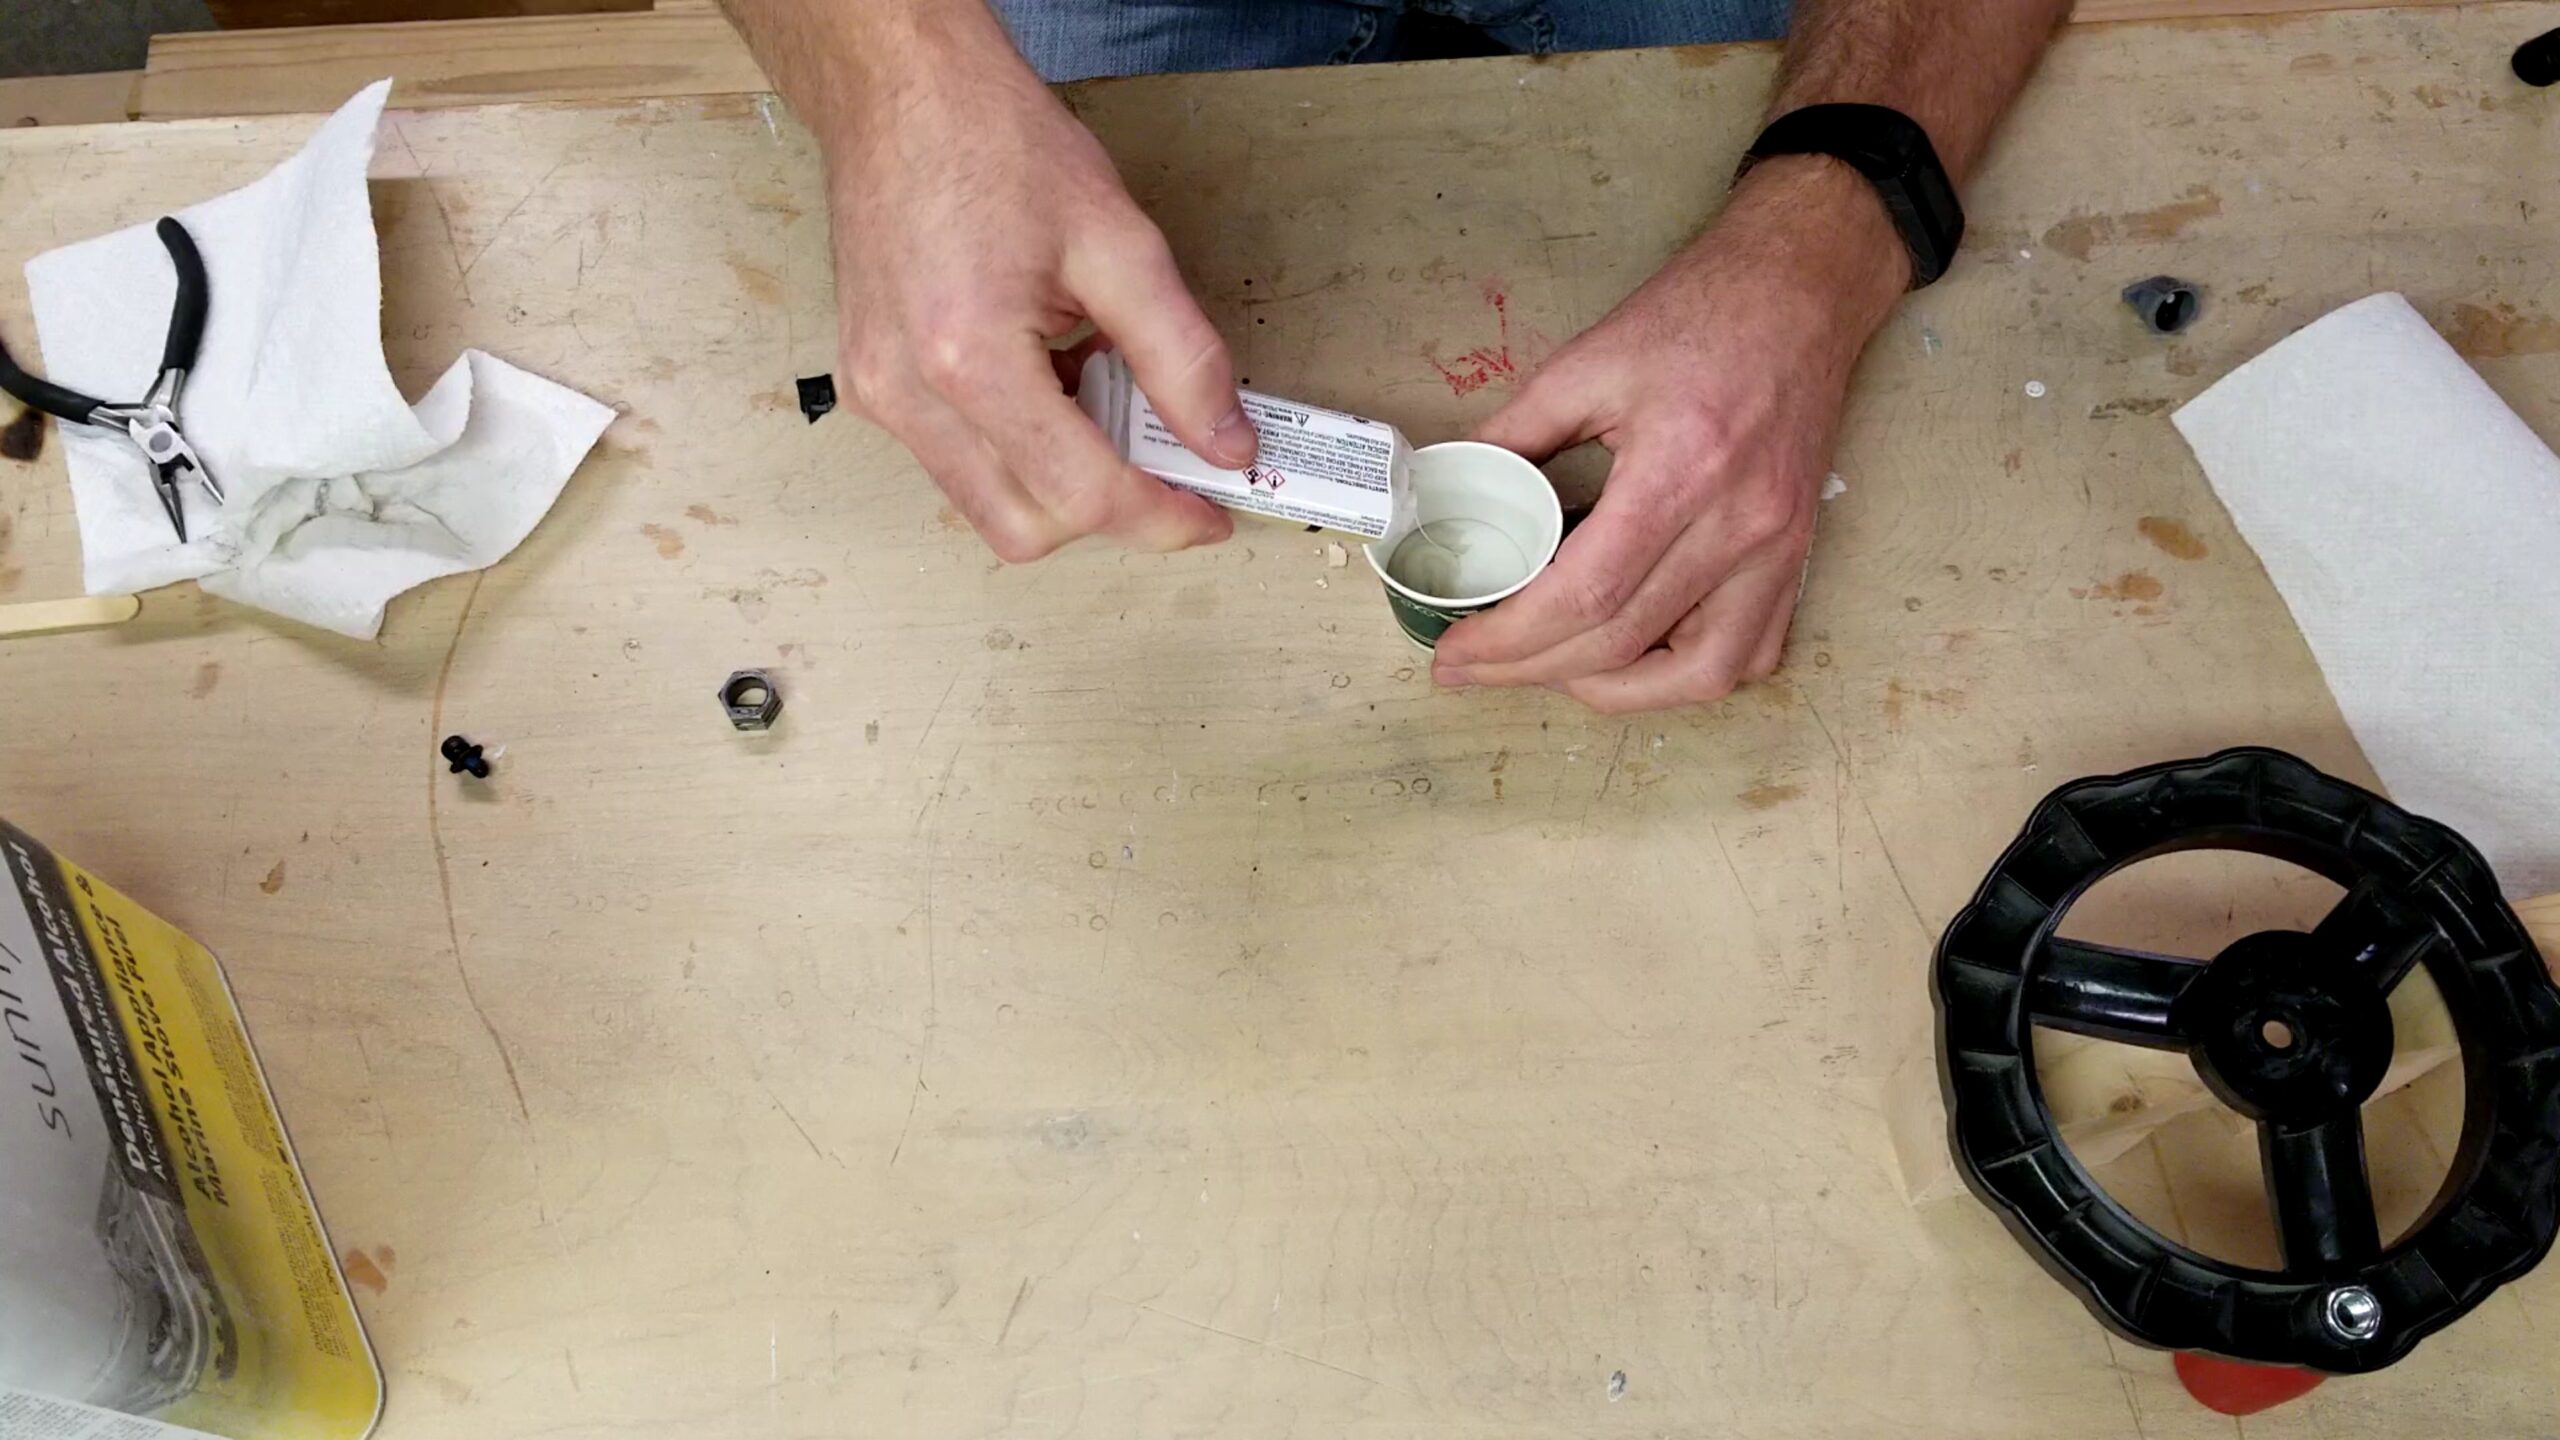
Next I’ll need to break out any broken pieces of plastic from the center hub of the wheel were the nut was attached and scuff up the plastic where I will epoxy the nut back in. Follow up this by a good cleaning. I just used denatured alcohol because it dries quickly and without leaving any residue.
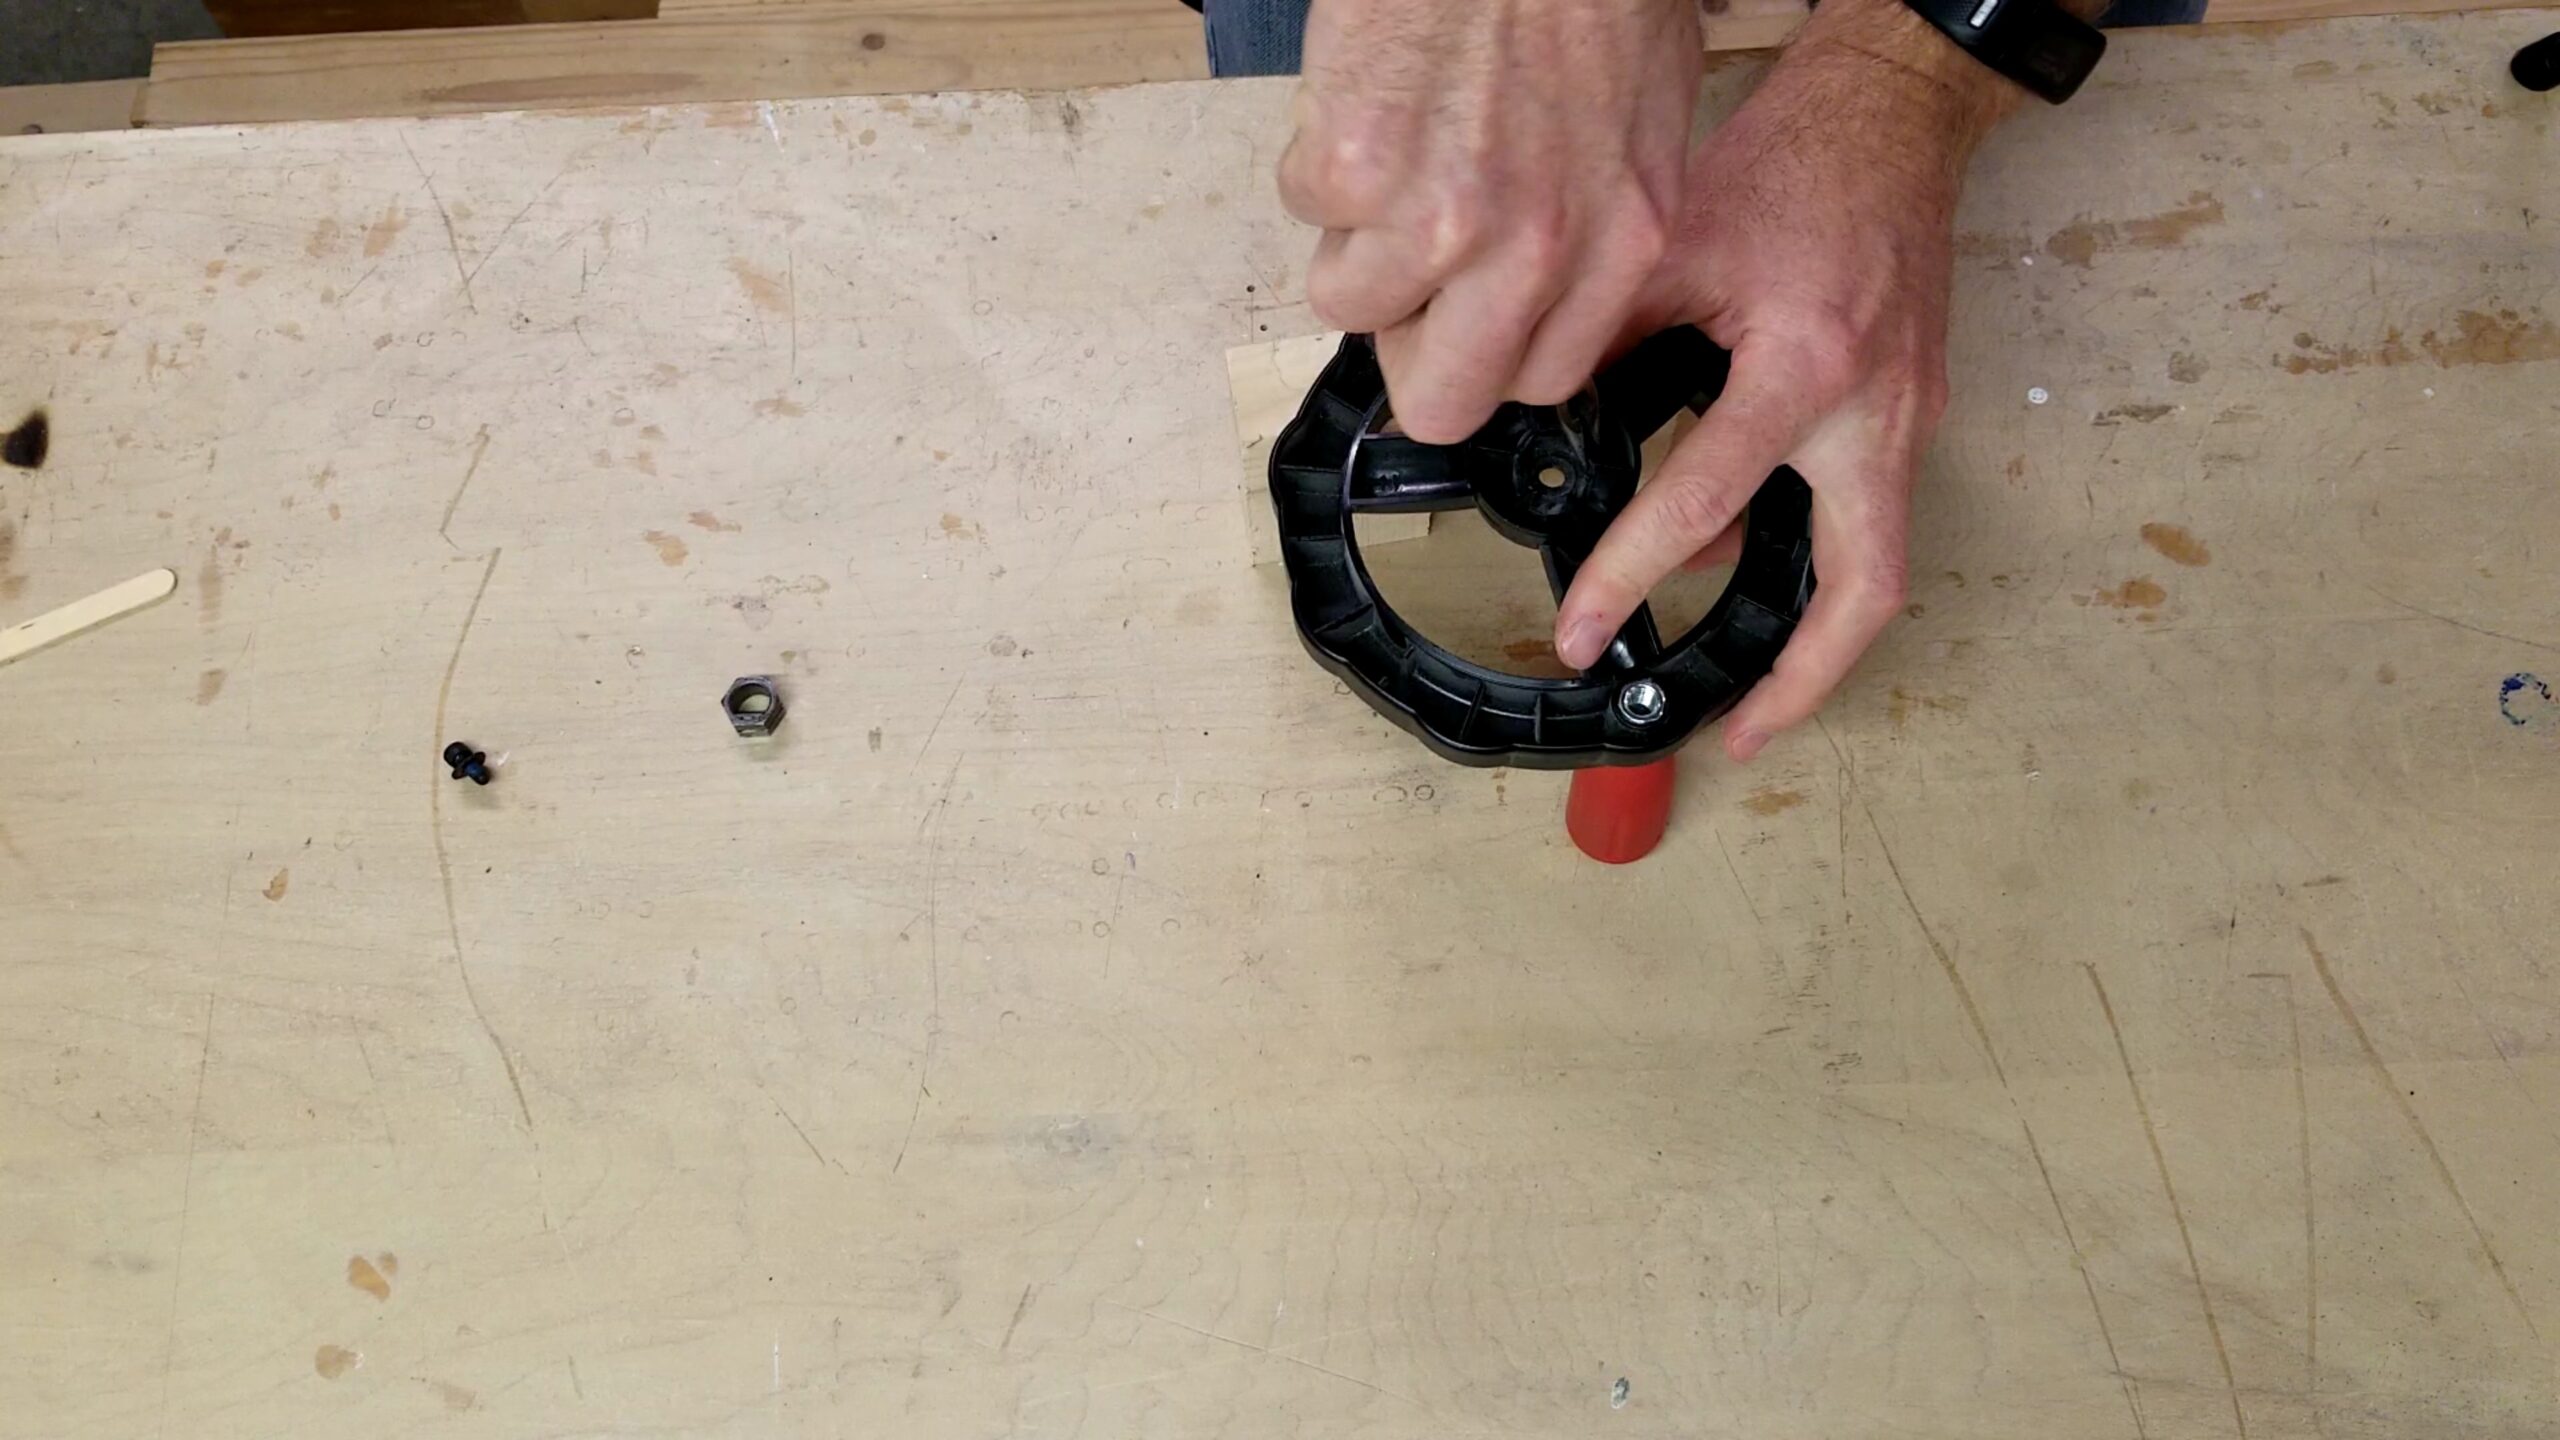

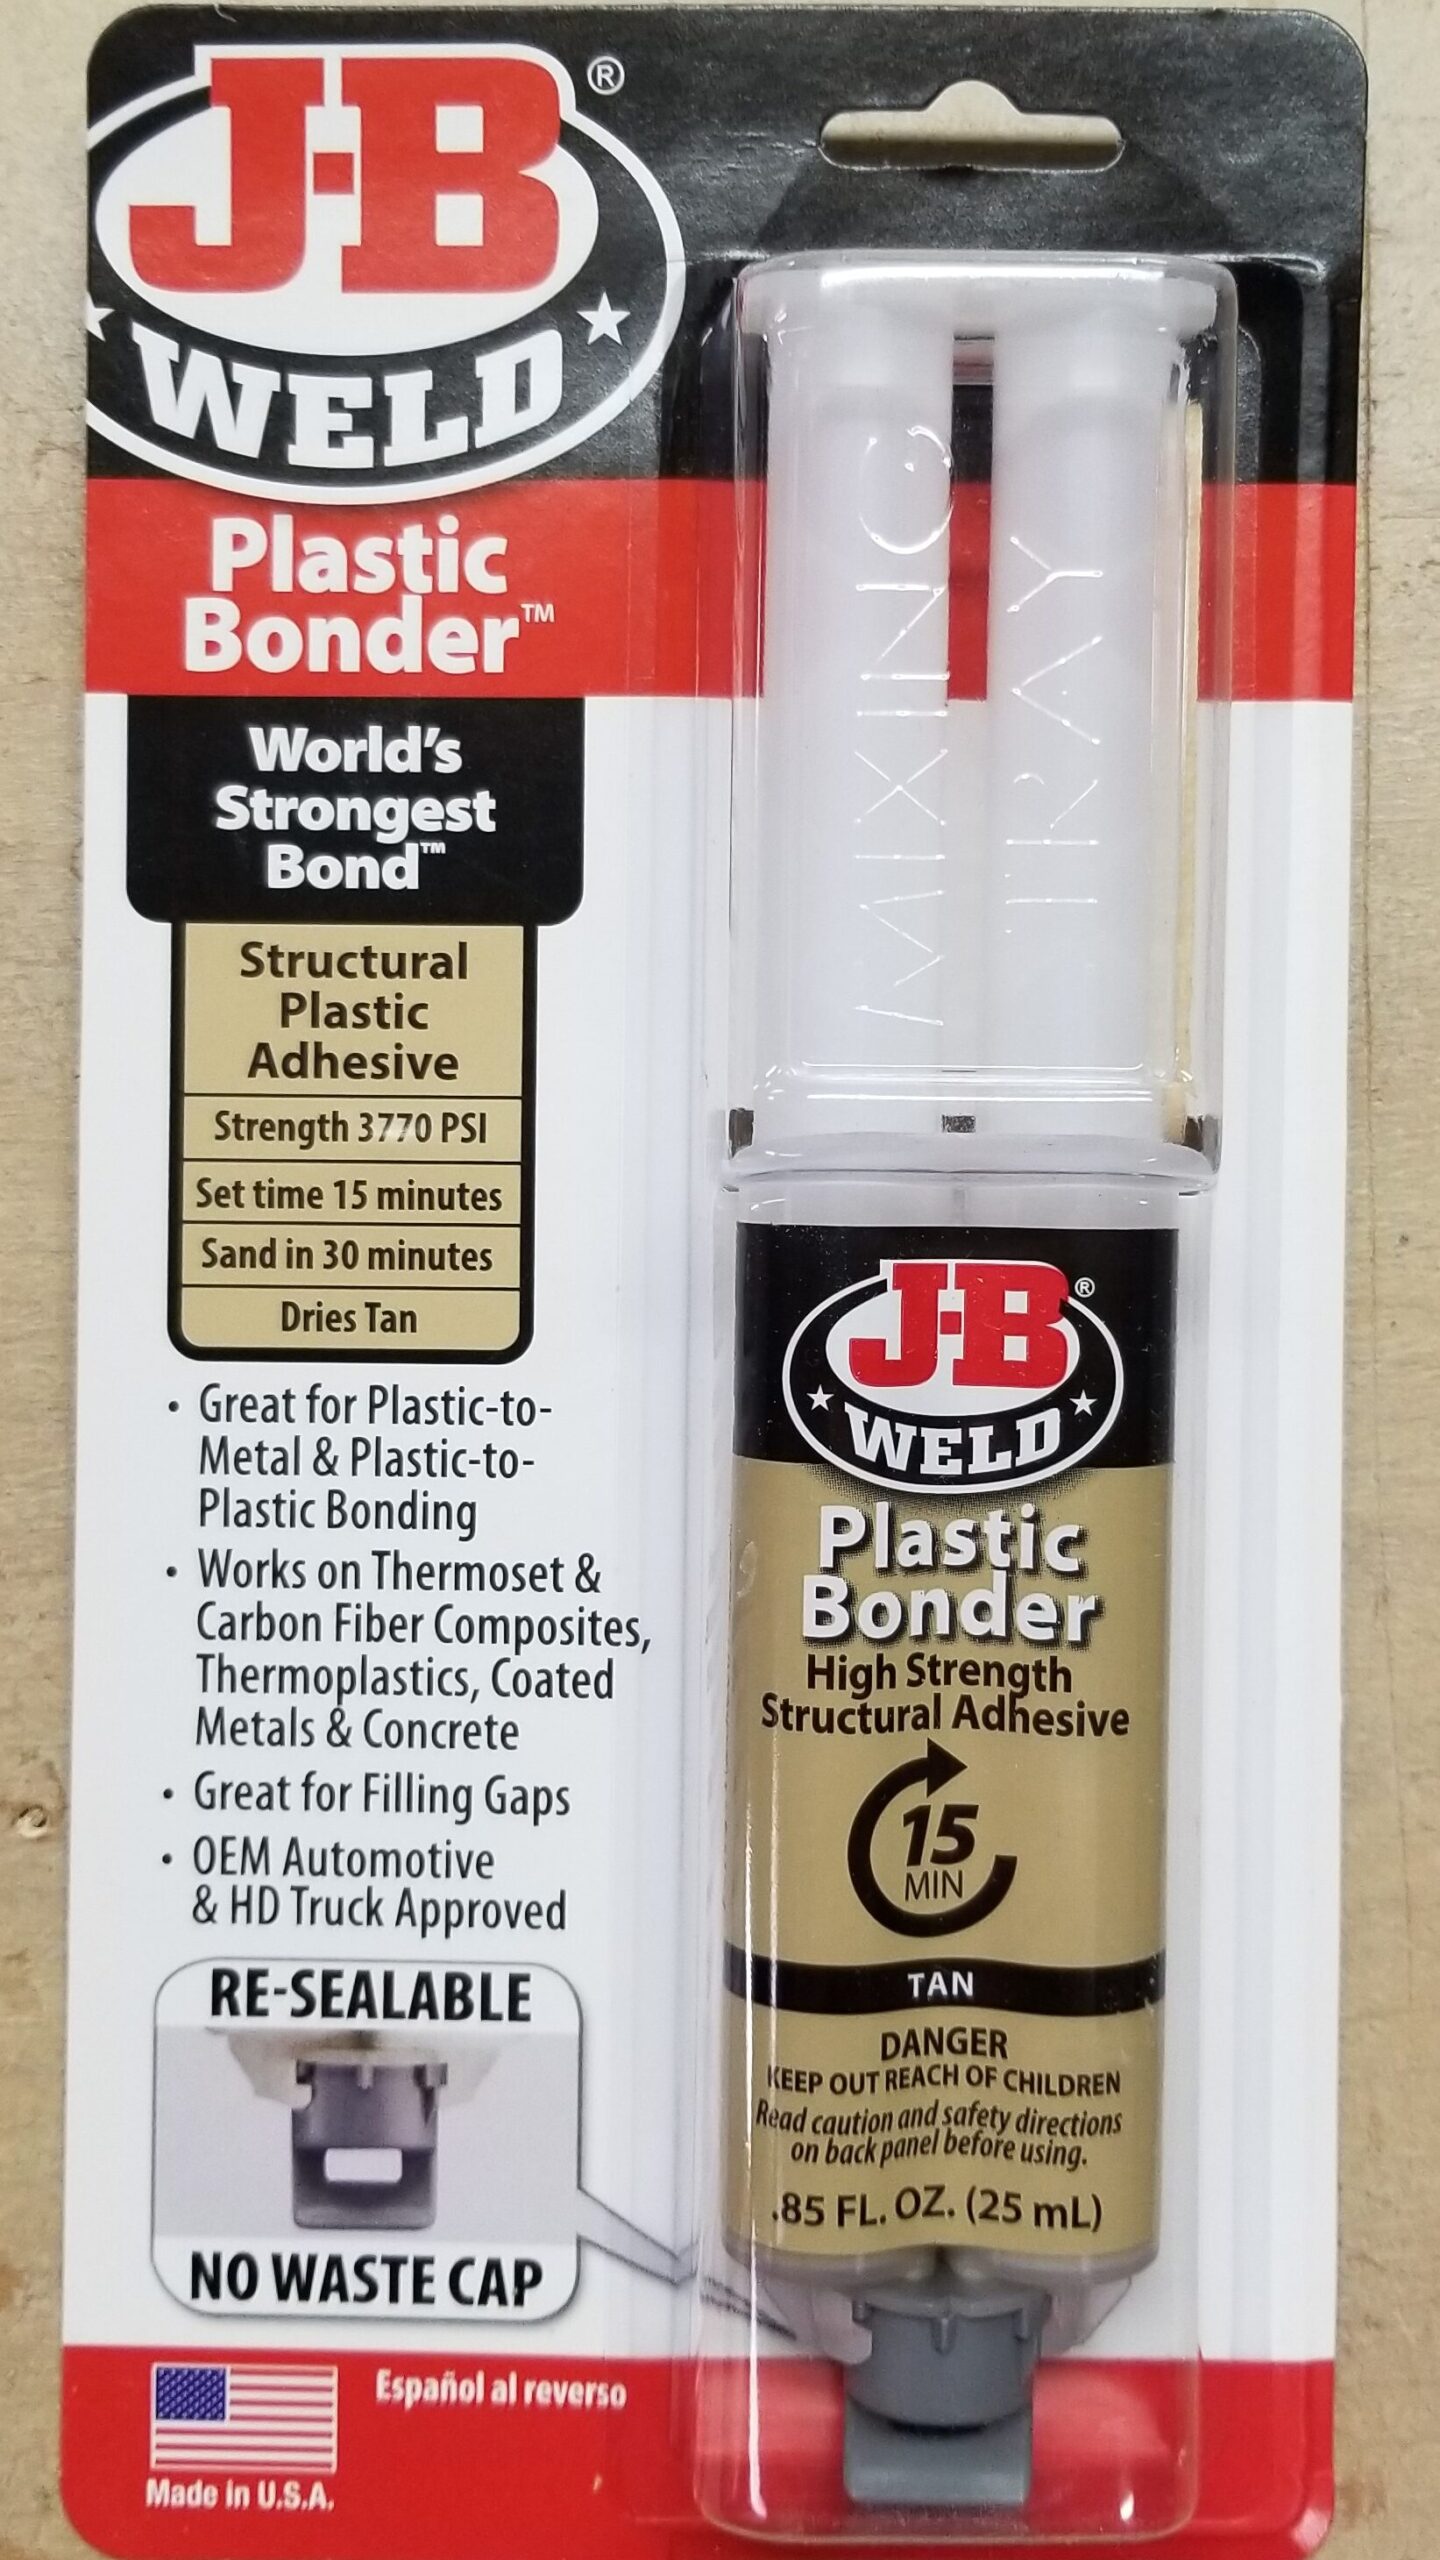
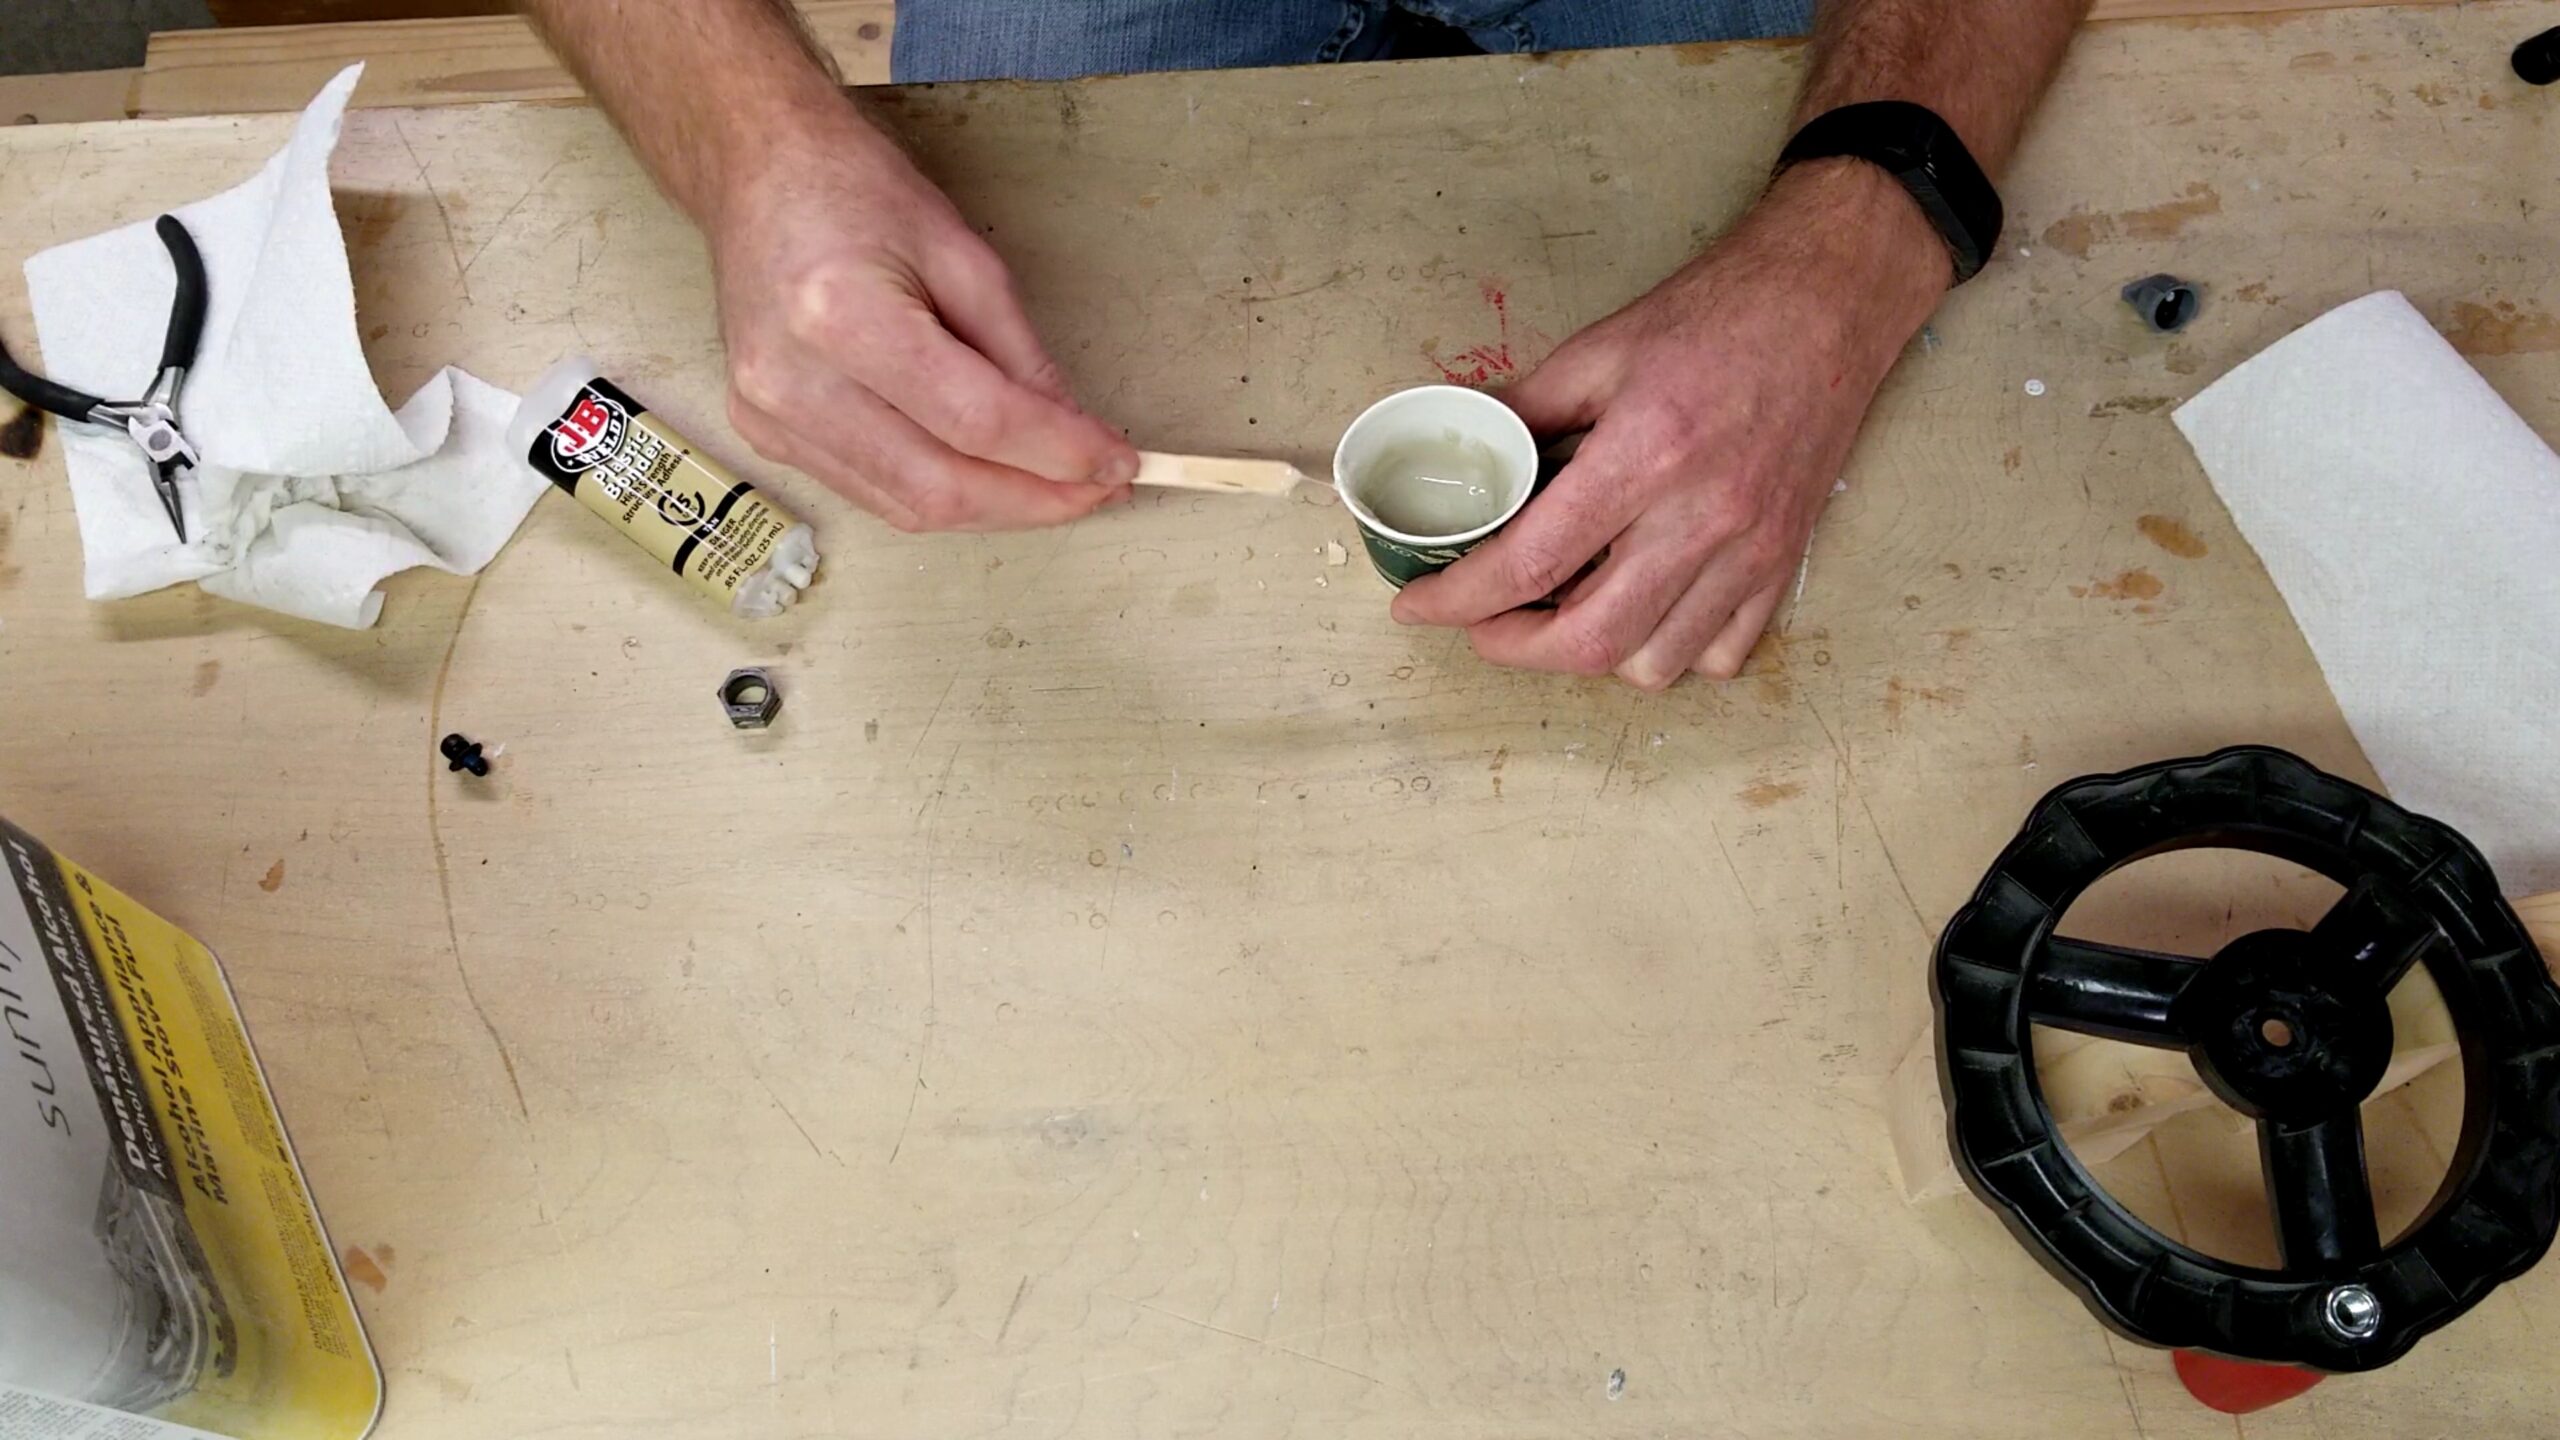
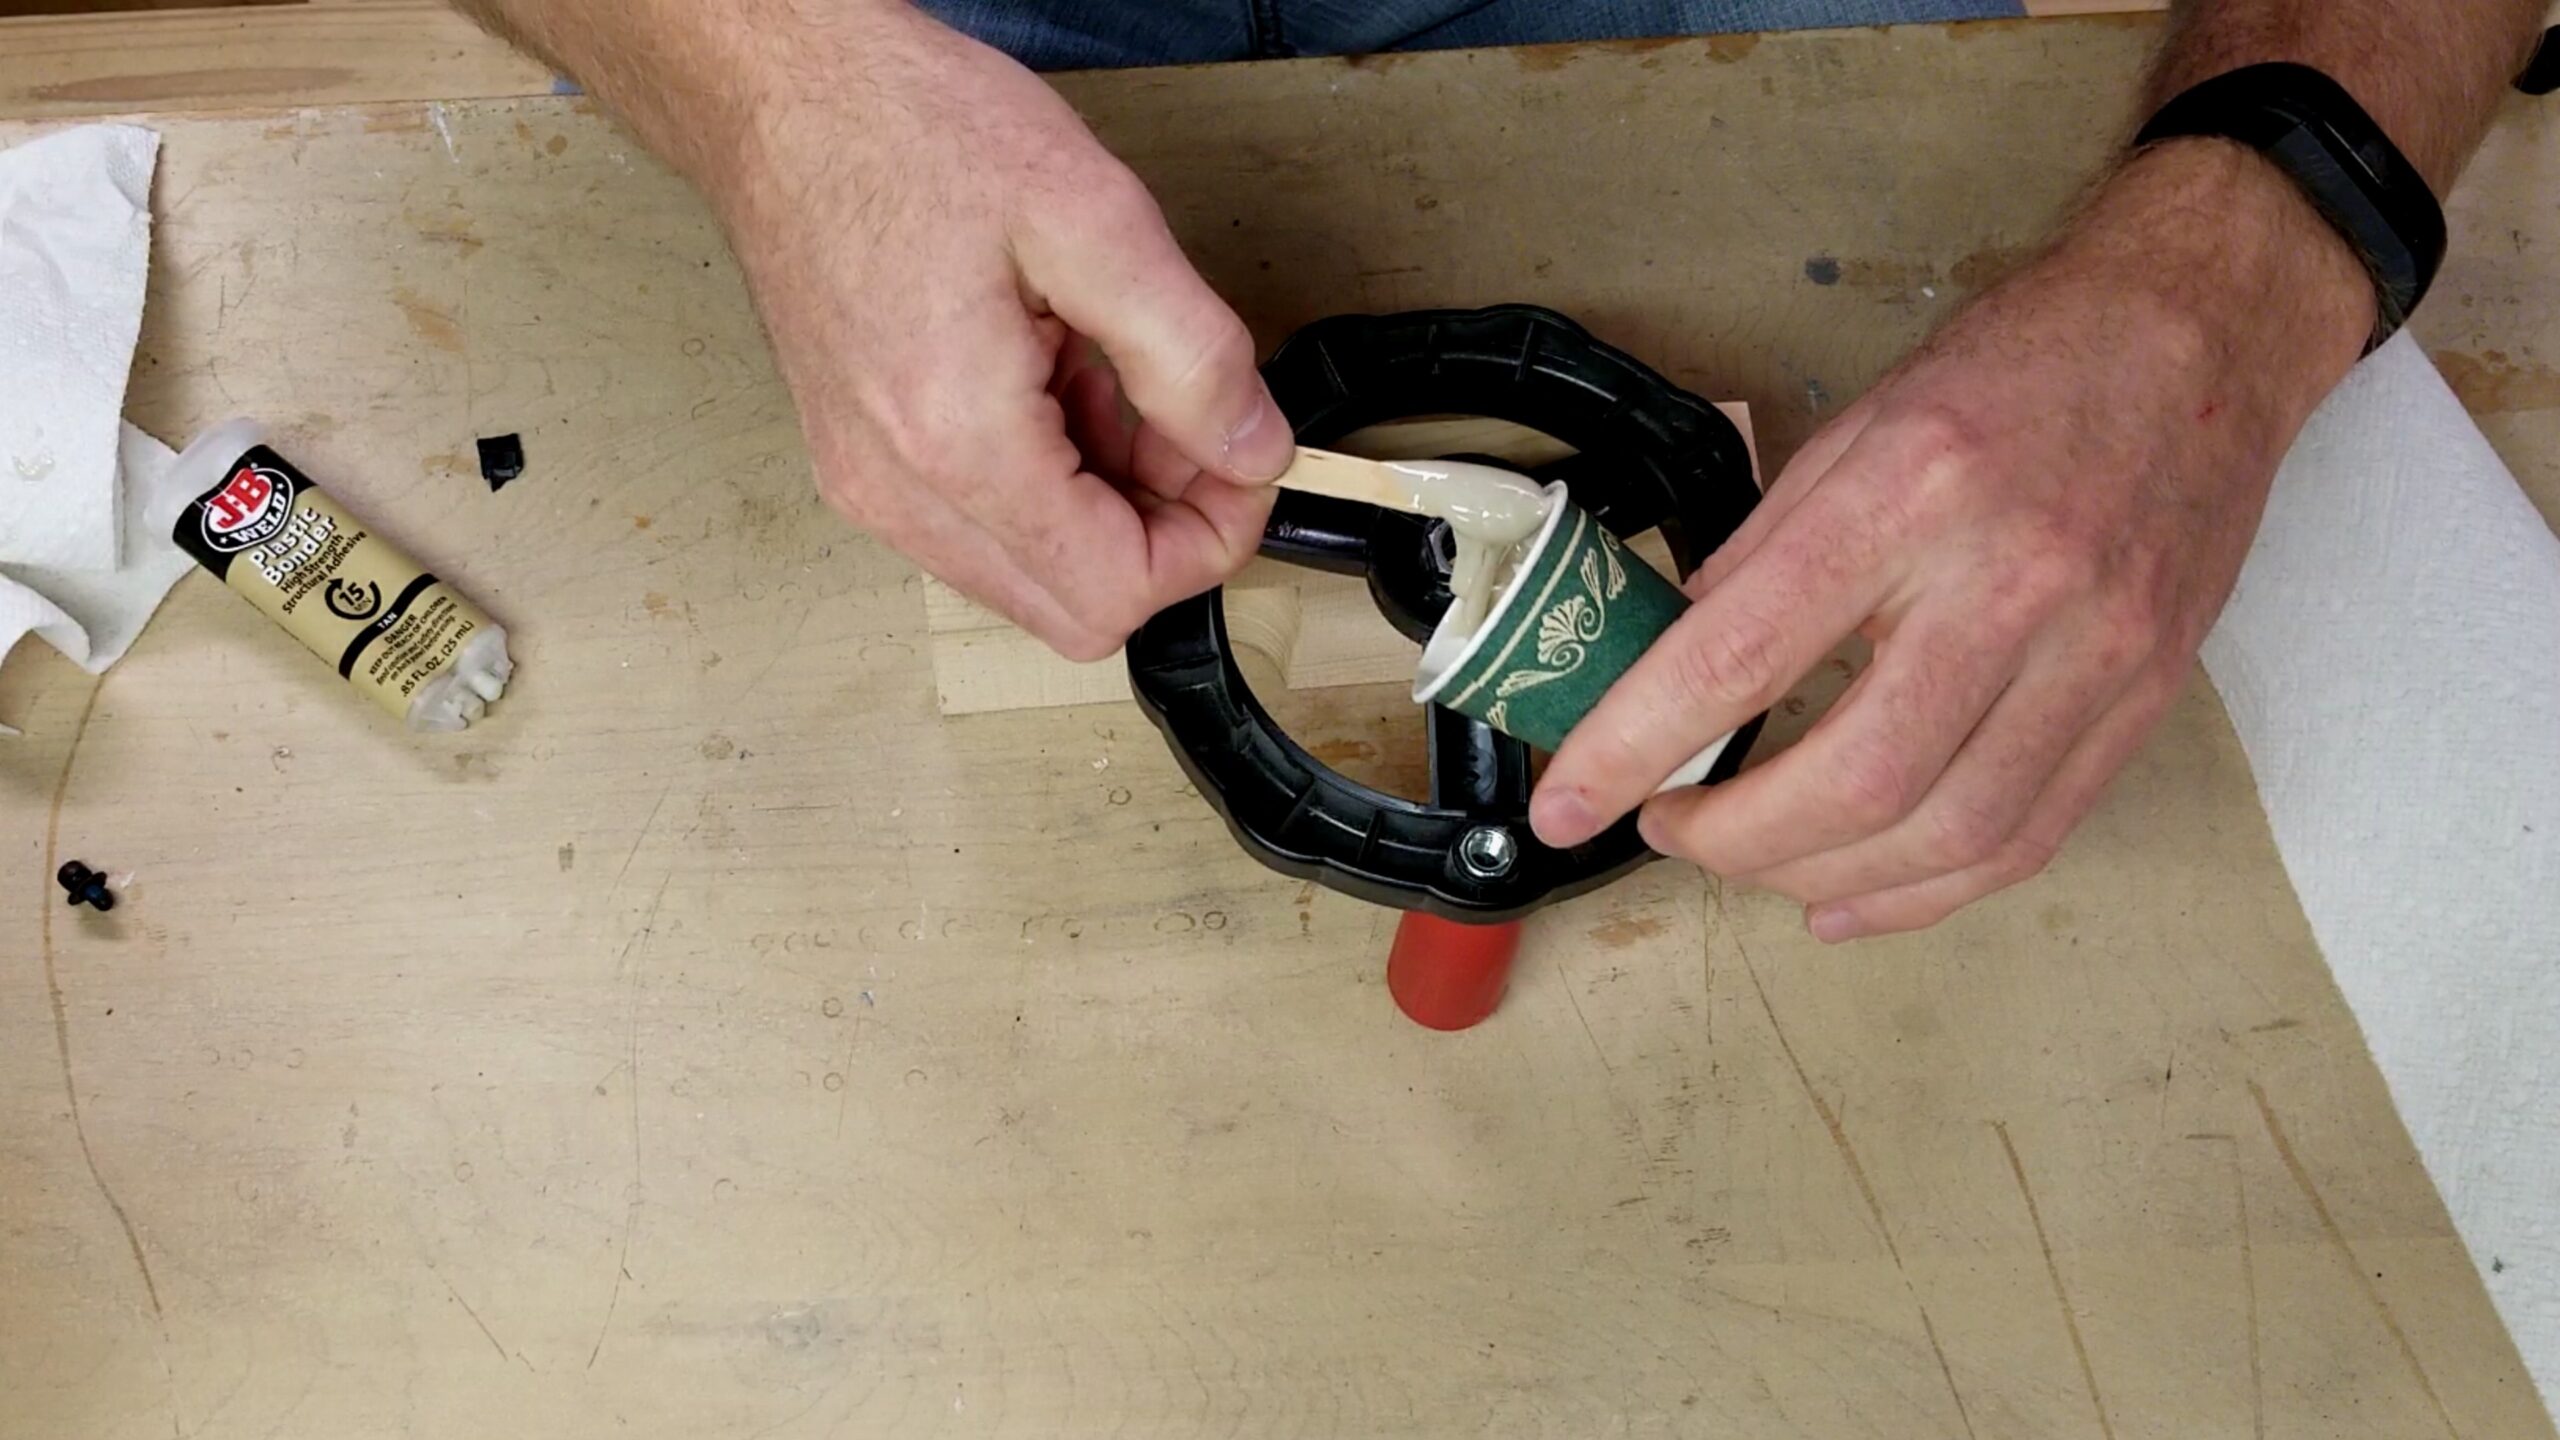
Once that has been cleaned up I set up a little area the adjustment wheel would sit level so that when I poured the epoxy in it would level out and not run off or out one side. I mixed up a entire syringe of J-B Weld 50133 Plastic Bonder in a paper Dixie cup. This allowed me to, what I thought would be, squeeze it out. However it turns out it didn’t want to squeeze out so I just used the mixing stick that came with the J-B Weld to scoop it out and into the area I needed.
I was sure to put some on the nut bottom as well as the sides of the nut where the plastic was not broken so when I pushed the nut back in the adjustment wheel hub there was good bonding there.
I proceeded to ladle out the remaining epoxy around the nut until the hub was full. Rather than use a each source which I though might melt some of the adjustment wheel plastic I just used an old pair of Craftsman needle nose pliers to pop any bubbles.
Once the epoxy set up for about 2 hours I came back and sanded the surface down with my Central Machinery Belt Sander. This Sander actually has came in relatively handle for it inexpensive cost albeit you cannot push too hard due to the low horsepower motor. Once the epoxy was sanded flat with the wheel I went around with a piece of sandpaper to knock down any sharp edges and do any fine sanding.
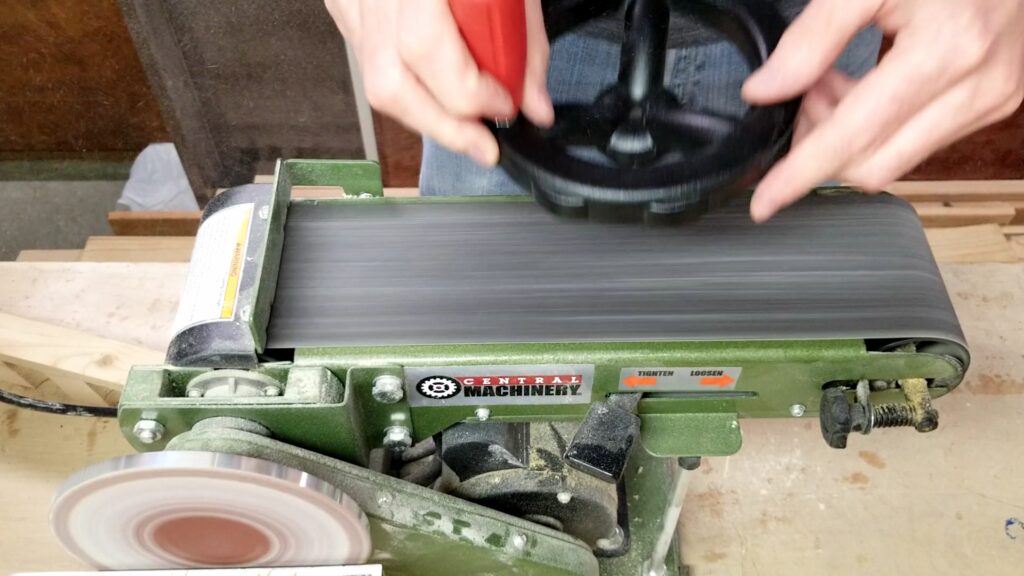
When sanding down the epoxy or anything else that creates small dust particles, it is important for your health to use dust protection. I use a this Eclipse S/M Half Mask Respirator. It works great for my size face.

With the newly fixed adjustment wheel complete I proceeded to reattach the wheel back on the table saw by lining up the flat spot on the inside of the nut with the flat spot on the adjustment rod. I slid it on followed by the washer and finally the allen screw. I tightened it up with an Allen wrench moderately making sure not to over tighten it and gave a turn.
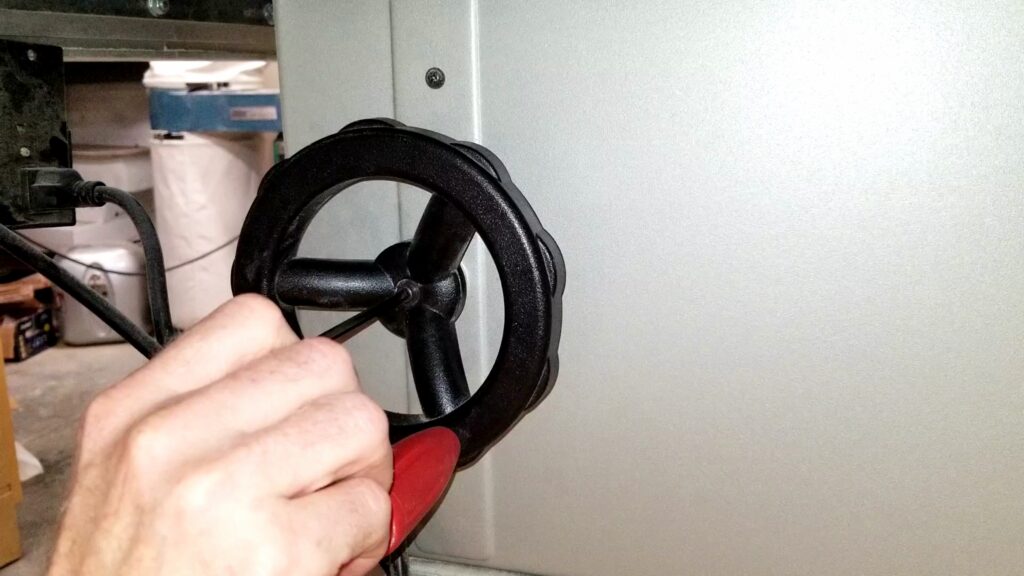
Success!
I’ve included a few Amazon Links below for the equipment and materials I used.
Equipment and Materials
- J-B Weld 50133 Plastic Bonder
- Dixie All Purpose Cups, 5 oz
- Sunnyside Denatured Alcohol
- Craftsman Mini Needle Nose Pliers
- Central Machinery 4″x36″ Belt Sander
- Allen Wrench Set
- Eclipse Half Mask Respirator S/M
- Craftsman 315.xxxxx 10″ Contractor Table Saw Handwheel Handle Crank 12mm (in case you’d rather just buy the aftermarket one)
I hope you find this video useful and can use some of the tips presented.
Some of the links in my video description and article above are Amazon Affiliate links. As an Amazon Associate I earn from qualifying purchases. If you would like to make different purchase from Amazon, you can also use the storewide link.