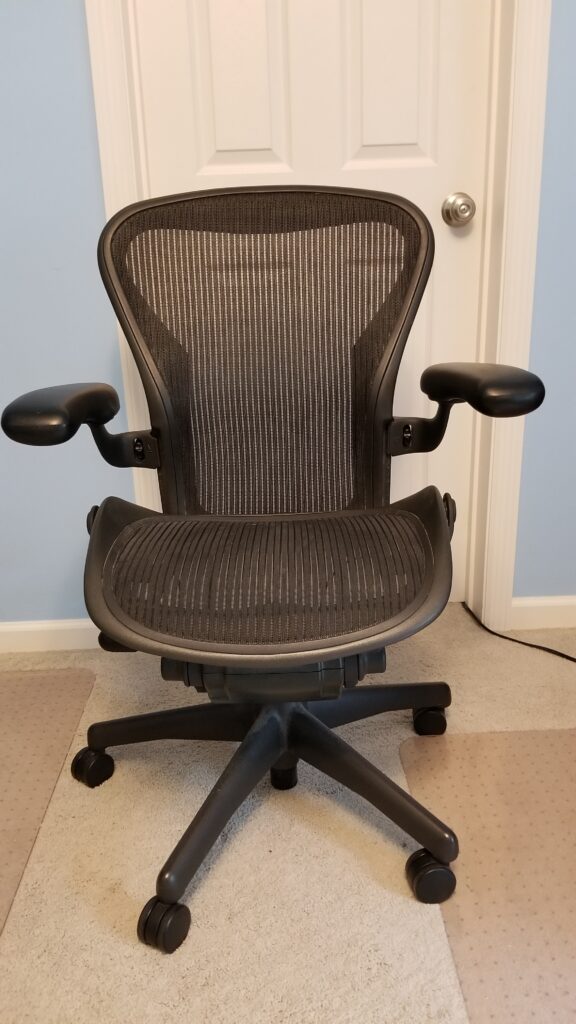
My Herman Miller Aeron Chair looks like this! How did this happen? No, I did not take my armrest off, it broke! The bolt in the arm bolt assembly sheared the head off and the arm fell to the floor.
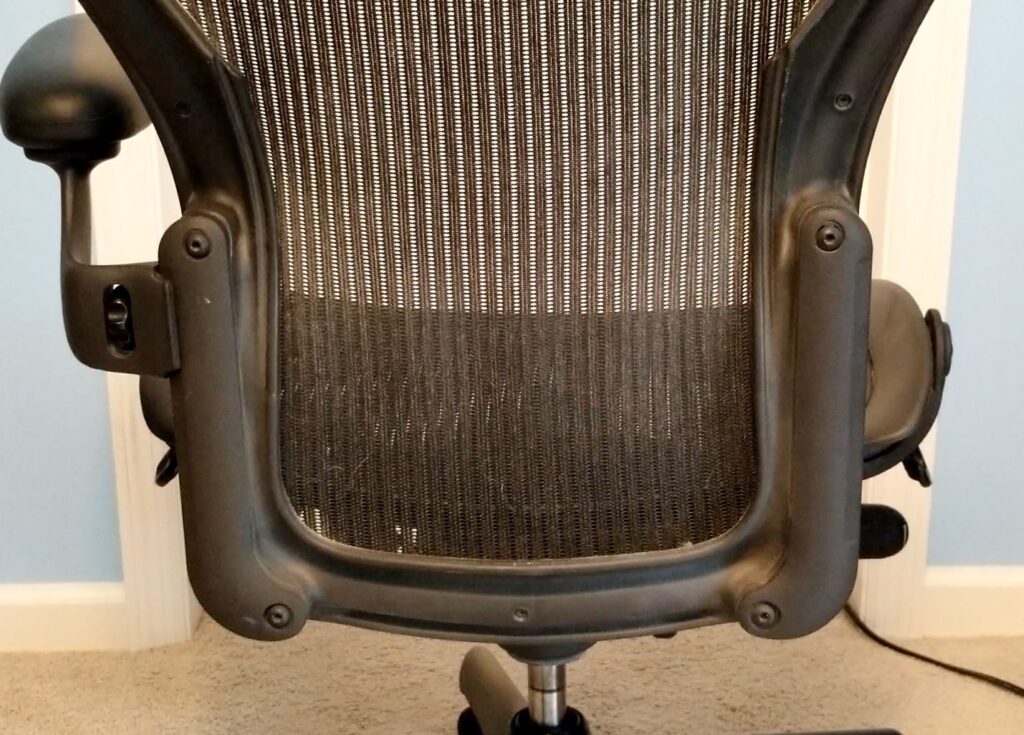
I went to push up on my armrests, after all, who does do that to get up and bang. There was a loud bang and the armrest dropped to the floor. Looking at it I only see the bolt stud sticking out with obviously something broken off. What was it? After taking the assembly apart it was the head of the bolt. However, this bolt is unlike most bolts, it is only a pan head torque bolt. There’s not much metal there and with 20+ years of fatigue, the metal gave in and broke.
So, how much is a new one? $90 is a little steep for me but was to be expected given how much this chair cost in the first place. There has to be a cheaper way to fix it right? Maybe a standard bolt or something. Yes, you guessed it, that’s the route we’re going.
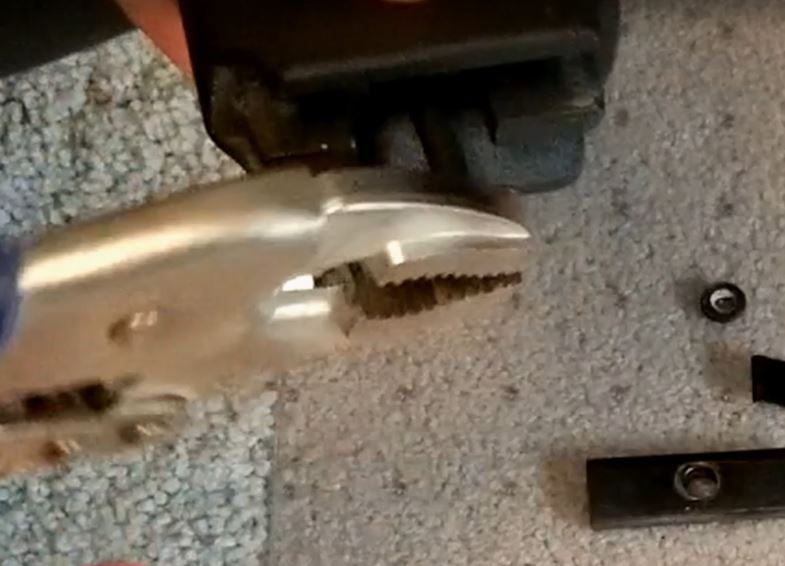
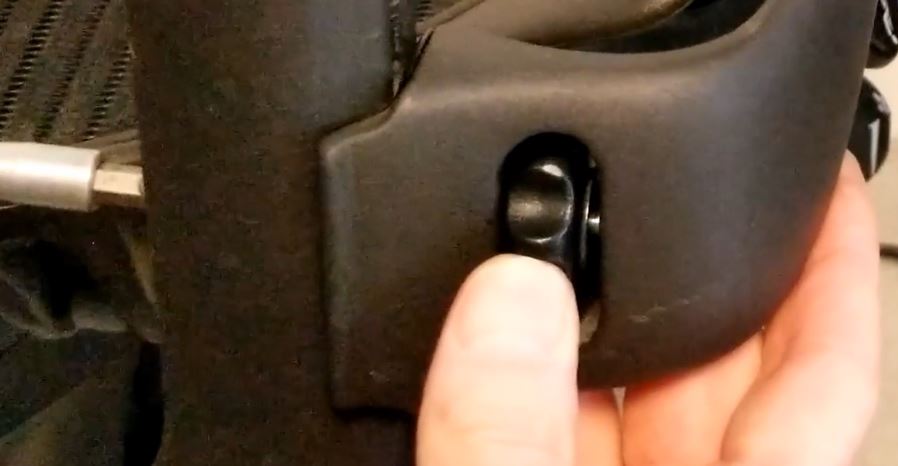
The first thing is to remove the old bolt stud from the armrest. I did this by using my channel lock pliers to get a grip and spin the bolt out. Hold the thumbwheel while turning the stud and it will come out. Just be careful to pay attention to the parts in the thumbwheel as there is a bearing assembly and washer on it and you’ll want to get those back in the same orientation when reassembling your armrest. If you don’t, turning the thumbwheel is nearly impossible.
Now, you might need to make a trip to the local hardware store and get a 1/4″-28 x 2.5″ grade 5 bolt. I took the stud and thumbwheel down to the home centers. However, all they had were 2″ and 3″ lengths. I ended up finding one at my local hardware store and matched up the threads to their thread insert to tell me which bolt size I needed. Then I chose one with the correct length and grade 5 because this bolt takes a lot of stress from pushing down on the armrest and I didn’t want it to break again.
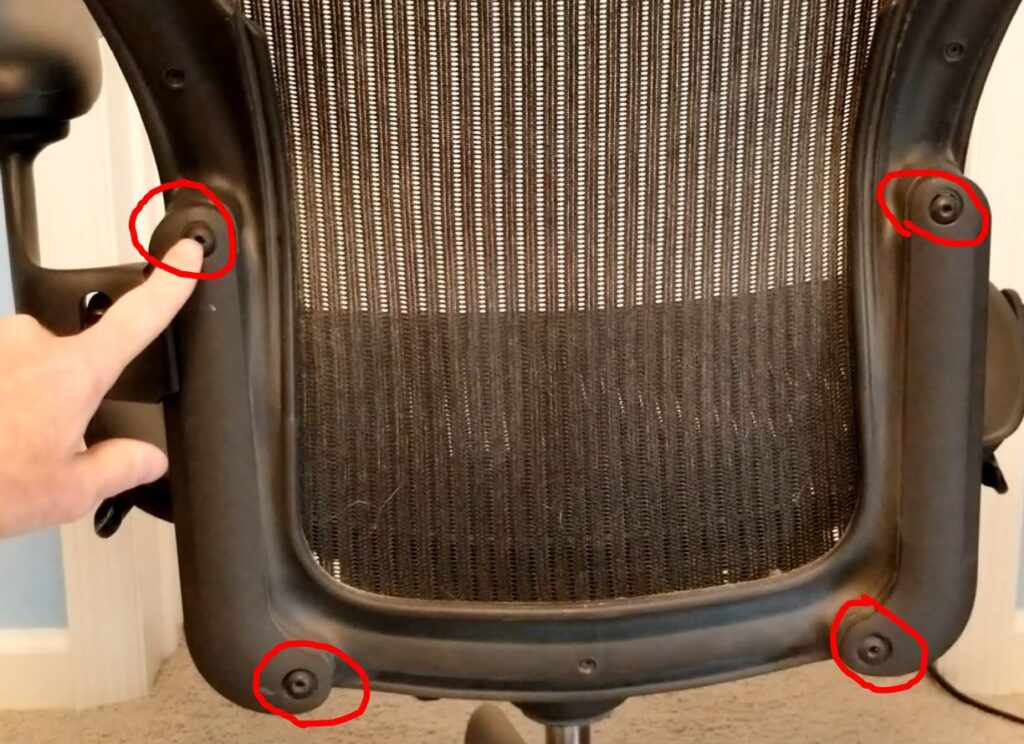
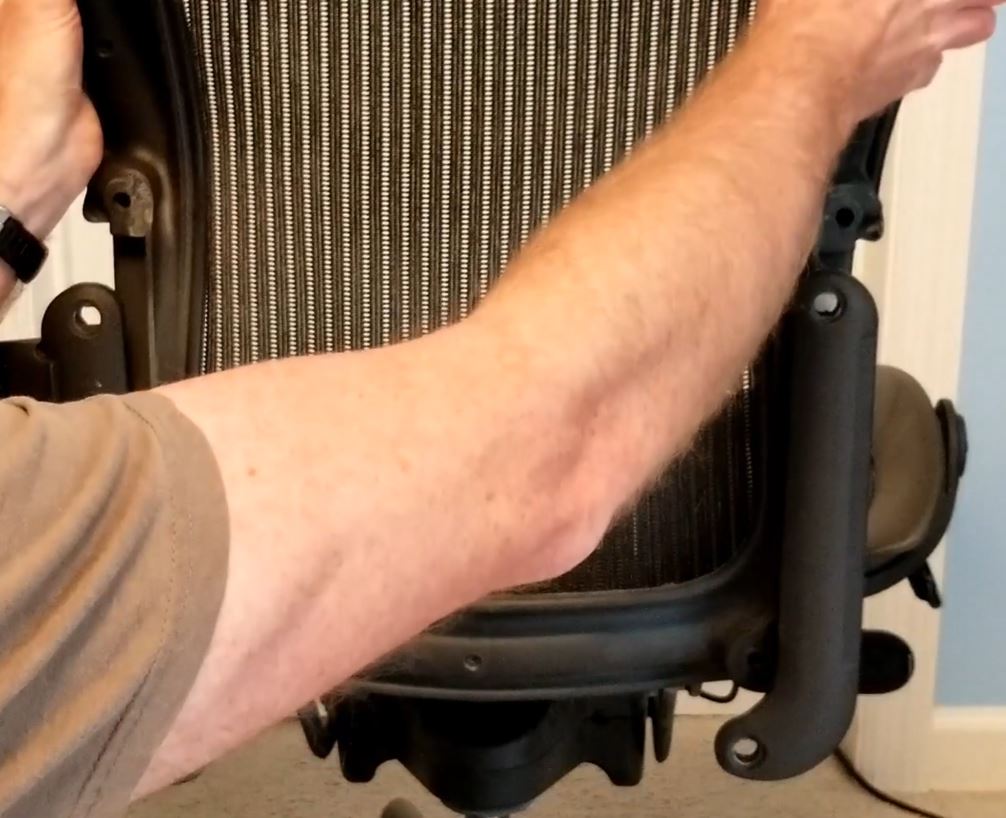
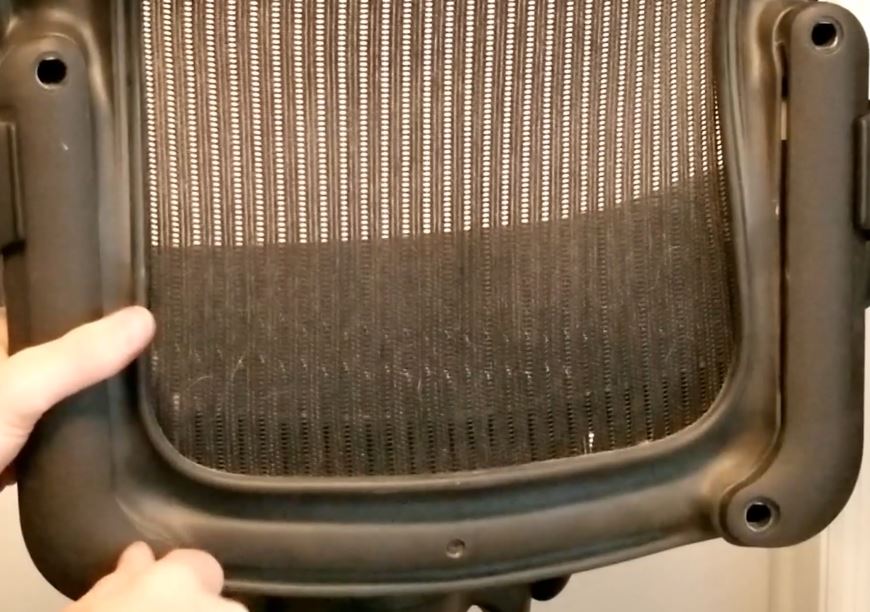
Then you need to remove is the chair back. This can be done by removing the 4 torque screws holding it in place. I accomplished this using my Craftsman magnetic screwdriver and a torque bit. When you get the four screws out just lift the back straight up and out. Broken hardware from the armrest is likely to shower out on the floor so I recommend doing it in a place where you can see what falls.
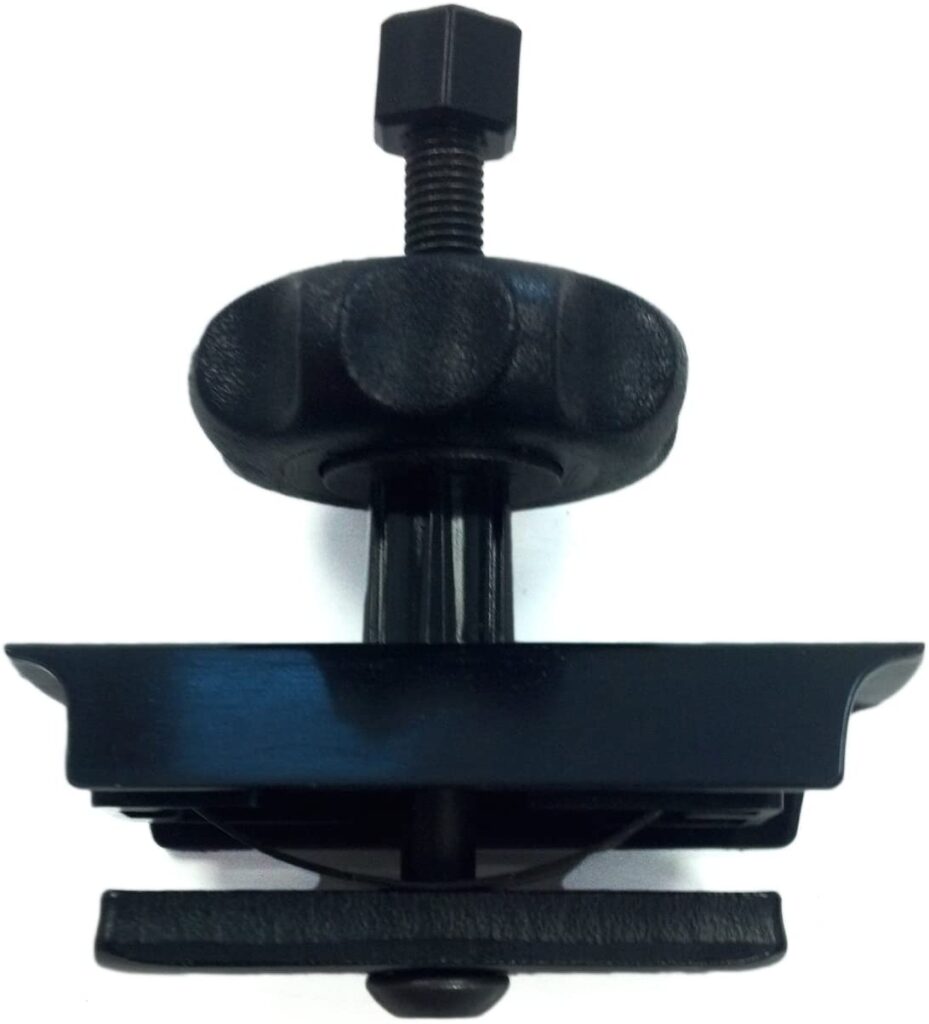
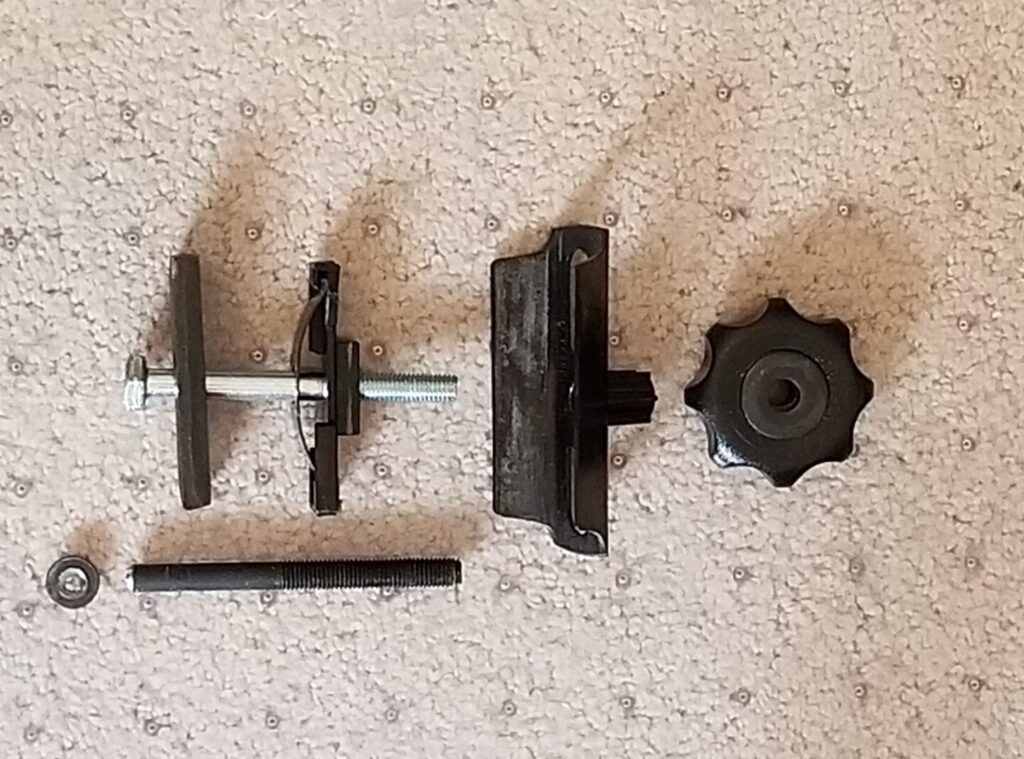
I inserted all the components back together (see image below) and put the bolt into the chair. I then spent some time getting the bearing assembly, thumb wheel, and washer to alight just right so I could get the bold back through and into the armrest threads. I tightened it down and spent some time readjusting so it was not wobbly but loose enough to adjust while using the thumbwheel.
Then, I reinserted to back into the chair and hand tightened all four torque screws before tightening them down with my Craftsman magnetic screwdriver and torque bit.
My chair is back to normal and good to go again. I’m glad I spent a few dollars rather than $90 because you really cannot tell the difference other than if you look closely you can see a shiny bolt rather than a flat black bolt. I could of course painted it but in this case, functionality over aesthetics will win. I’ve included a link to the original part on Amazon below if you want to check it out.
Ironically while writing this article the left armrest bolt broke for me nearly a year later. Yeah, I’m backlogged on articles and videos. So, I get to repeat the same process with the other armrest.
As always if you have any questions or comments post them below or on my YouTube video comments section and I’ll do my best to respond.
I’ve included a few Amazon Links below for the equipment and materials I used.
Equipment and Materials
- 1/4″-28 x 2.5″ grade 5 bolt from hardware store
- Craftsman 100 Piece drilling and driving kit
- Craftsman 9-43373 Magnetic Bit Handle Screwdriver
- IRWIN VISE-GRIP Locking Pliers, Fast Release, Curved Jaw, 10-Inch
- Arm Bolt Assembly for Aeron Chair
I hope you find this video useful and can use some of the tips presented. Feel free to leave any comments, suggestions, or experiences you have had below.
Some of the links in my video description and article above are Amazon Affiliate links. As an Amazon Associate, I earn from qualifying purchases. If you would like to make a different purchase from Amazon, you can also use the storewide link.
Hello Sean,
I have the same problem. The bolt that connects Right Arm to Aeron chair broke. To remove the 4 screws at the back of the chair I need 5mm Hex bit. What tool is required for the new bolt that will connect Right Arm to Aeron chair ?
For example Phillips #2, or T 25 torx bit, or 10mm Wrench. I ordered this on Amazon.com – Arm Bolt Assembly for Aeron Chair.
Hi William, sorry for the delay in response. I had to dig the screw head out of my metal scrap pile. The screw head on my old bolt takes a T25 Torx bit. I hope this helps!
Sean, Better late than never ! Thanks !
Hi Sean, after taking the back off my chair I’ve realized that the bolt isn’t broken on mine, rather, the first piece touching the bolt on the left side of your picture is what’s broken (the vertical grey piece). Do you know what this piece is called?
Hi Rob, Unfortunately I do not know what the name of this piece is called. If I recall from my research when my bolt broke HM sells the entire assembly as a unit so they don’t really specify part names.
Sean,
I really appreciate you taking the time to make this tutorial. This really saved me a lot of time money.
Not a problem Jacob. I’m glad it was able to help you!