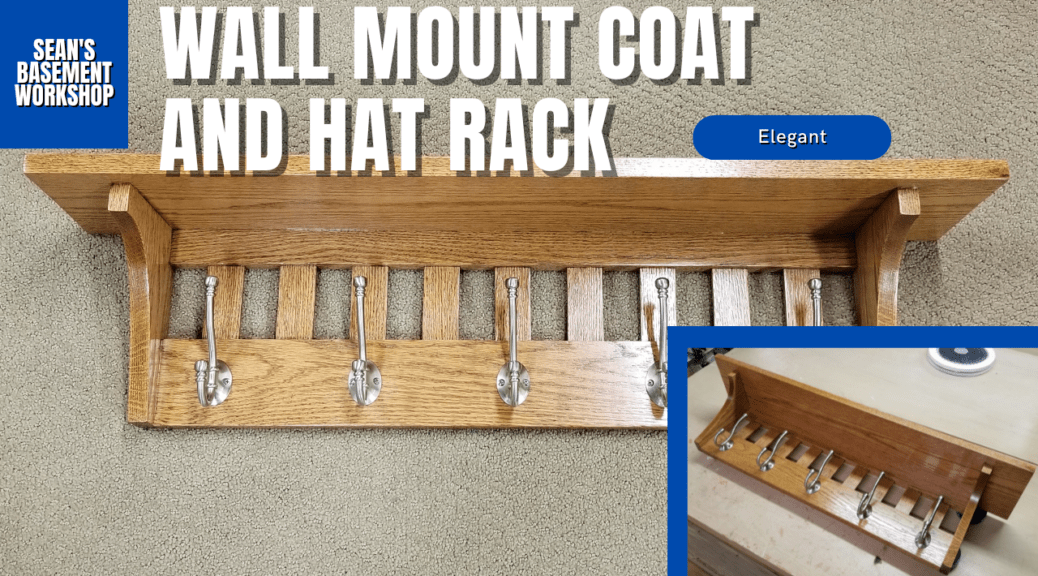
So my family needed an elegant-looking coat rack in that we could put some containers or other items on top. No problem, I quickly set out to build this coat rack which in turn only took me nearly 3 years to build.
That’s correct, 3 years. For some reason, I just could not find the motivation to finish building this thing. As a result, it made editing the video at the bottom of this article that much harder because I had switched cameras during that process which resulted in different frame rates but I’m not going to go there. After all, you’re here for the coat rack shelf.
So I knew I wanted this to have a top, some curved sides, and a slotted back. So I roughed out the design on the oak lumber that I was using.
I then cut the material to a rough size and drew out the curves that would represent the sides using my French curve set. With everything laid out, I then cut the material to their final sizes using both my table saw and miter saw. Now, if you’ve watched some of the videos that are with some of my newer articles you’ll be quick to notice I’m using a different miter saw.
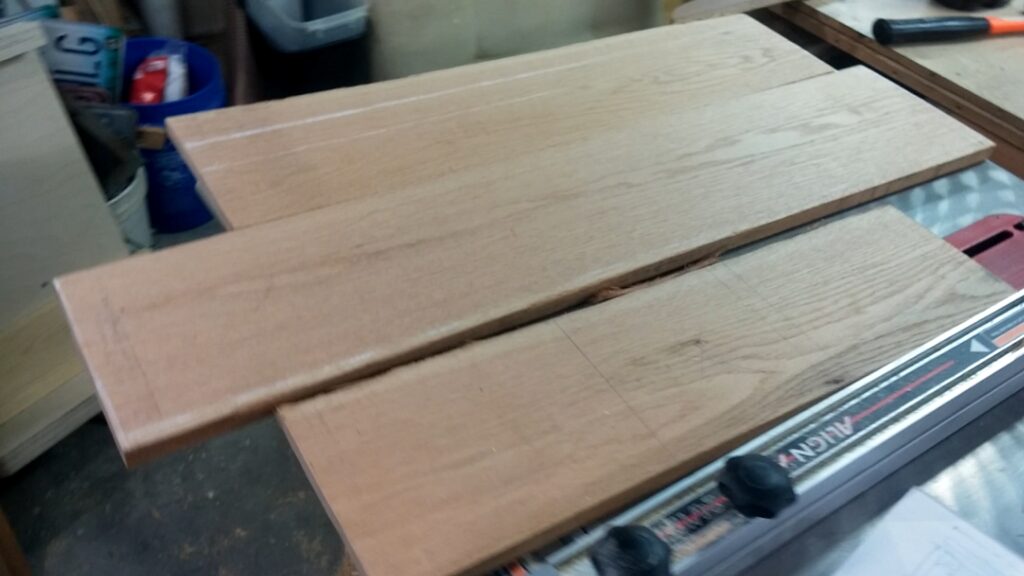
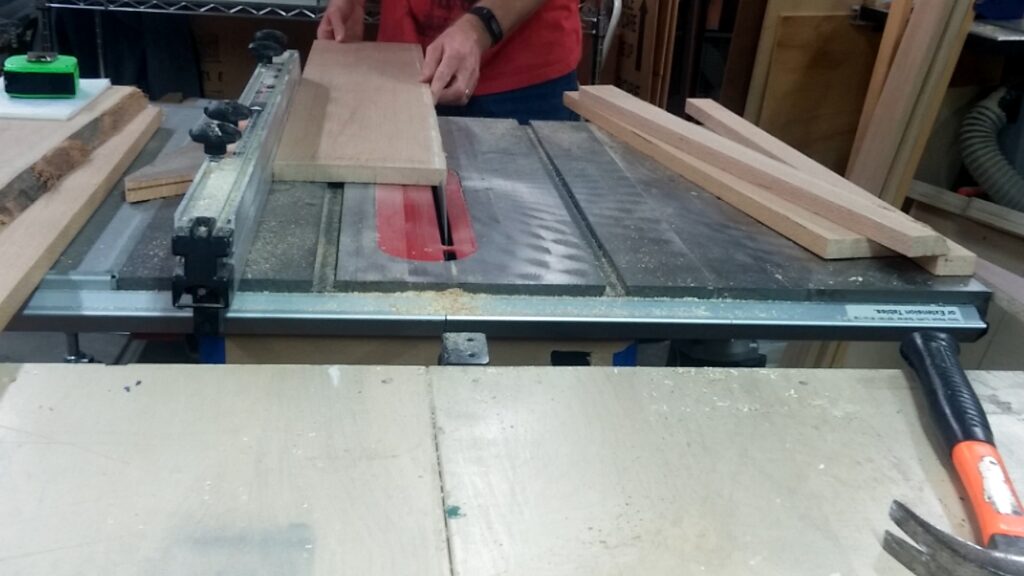
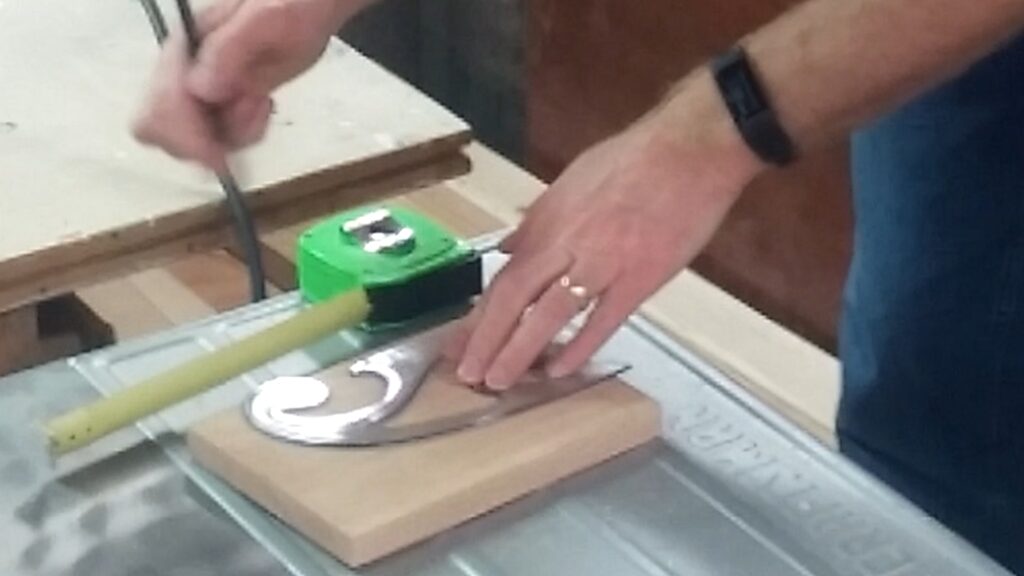
I used my table saw to rip the material to the correct widths and my now old Craftsman miter saw to the correct lengths. I used my band saw to cut the side curves out as well as resaw a piece to form the 1/4″ thick slats that would for the back.
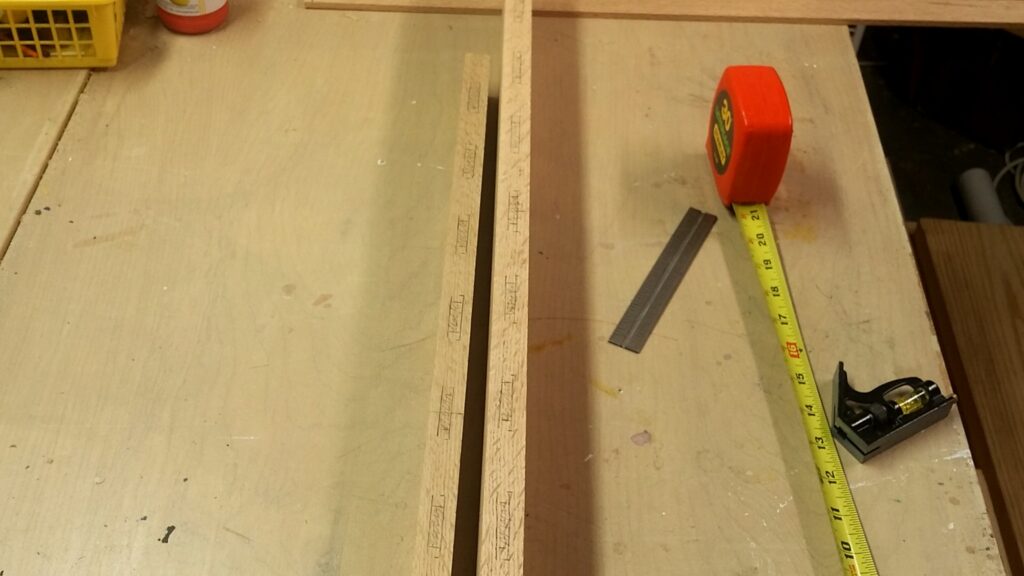
Once all the cutting was complete I needed to mark out where the mortises would need to go for the slats. I wanted to make sure everything was evenly spaced so I used some math to figure out all the necessary measurements. I laid out the spacing and penciled in the waste material that I would remove using a drill bit at my drill press since I do not have a mortising machine.
I drilled rough holes initially and then slide the bit while it was running back and forth to even out the slot. This of course left rounded ends which I didn’t want to chisel out but I had a plan for that.

Using my table saw I cut the slats to length and cut 1/4″ notches out of each end of the slats. This would form a tenon to slide into the mortise while allowing part of the slat to cover up the rounded mortise edges. Brilliant!
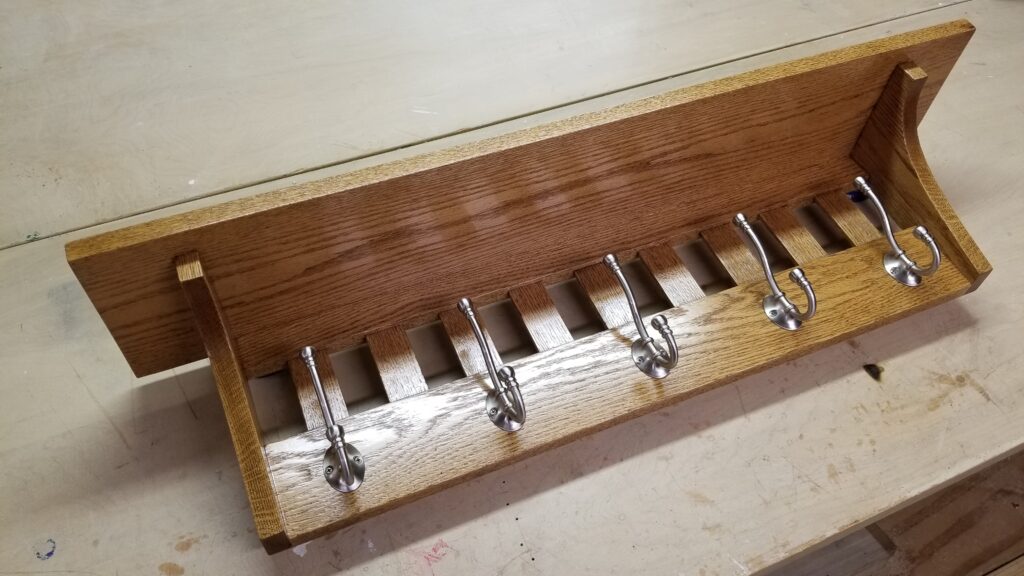
I glued the the slats into the back subassembly making sure everything was square. Once this had dried I used my Kreg Jig to create pocket holes to attach the sides on from the back. This way the screws would not be visible.
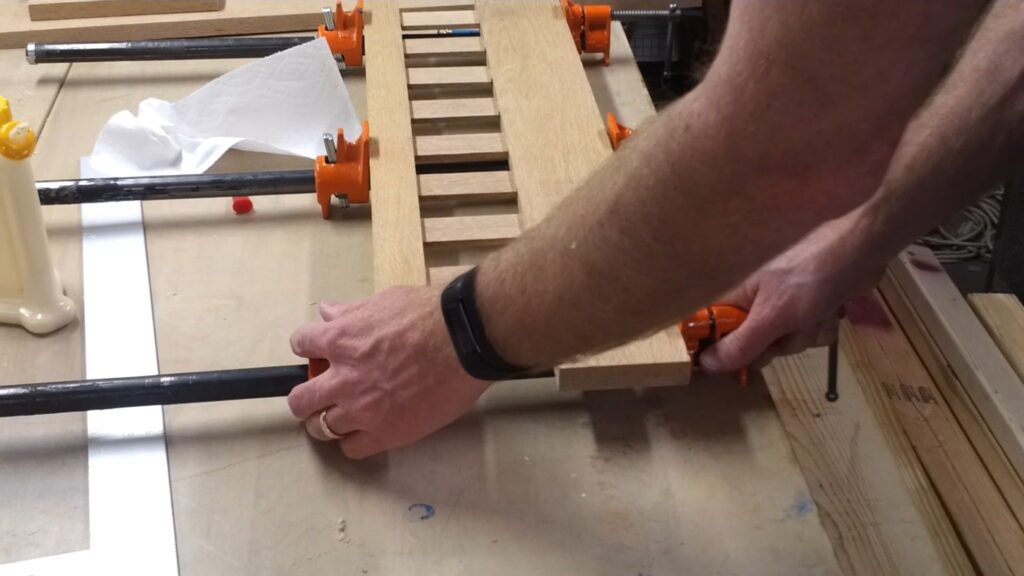
I used a biscuit cutter to cut biscuit slots in the top so there would be no holes on the sides or top. Then I glued the top, sides, and back together using biscuits, glue, and clamps.

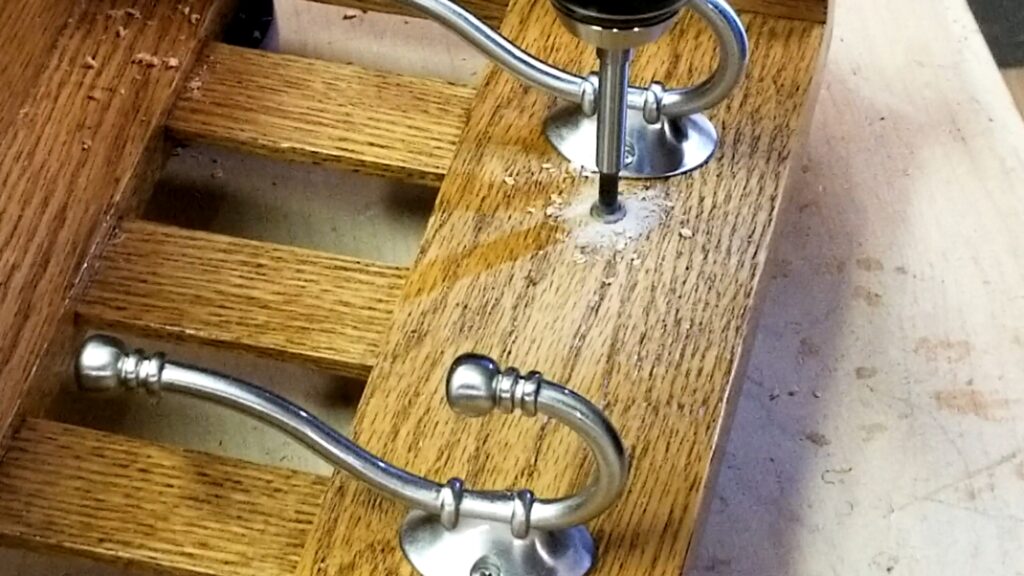
I removed the clamps after the glue was set up and cured. I then laid out where the Brainerd Ball-End Coat and Hat Hooks would go. I predrilled the holes for these before staining and finishing.
I sanded everything down. Then I tack clothed it clean and then put some Varathane Sanding Sealer on. After that had dried I sanded it again and applied some Minwax Early American wood stain using a paint brush. This was the chosen color we wanted.
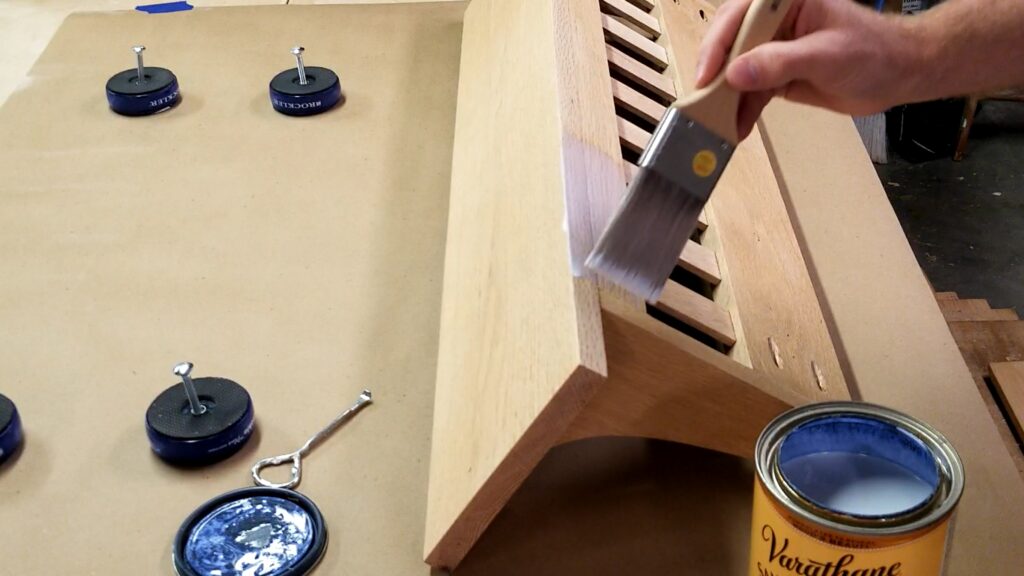
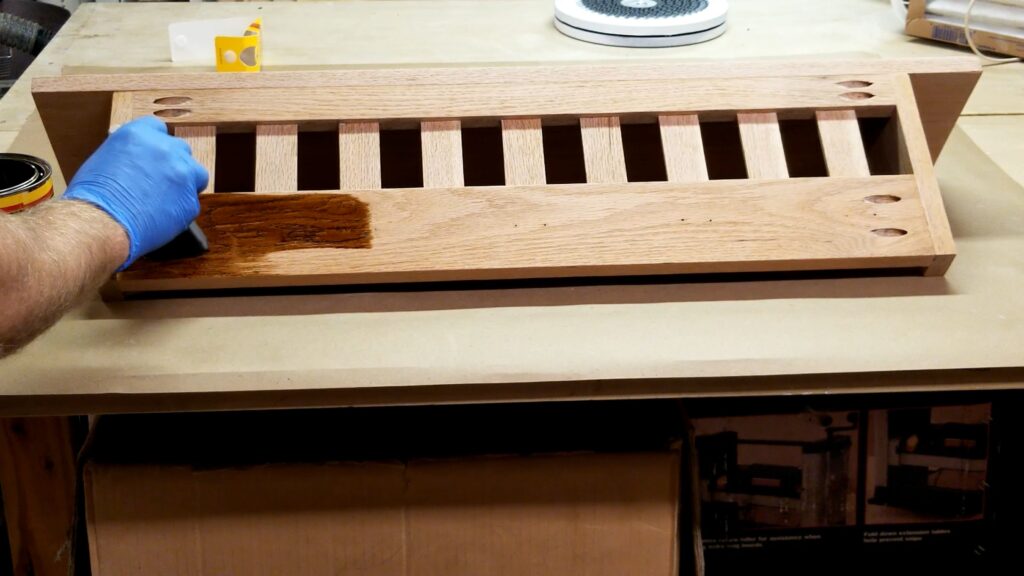
When that had dried thoroughly I applied the first coat of semi-gloss polyurethane. I then sanded again once that had dried and added a second coat of polyurethane. Waited the required drying time and then finally a nice third coat with a high-quality foam brush.

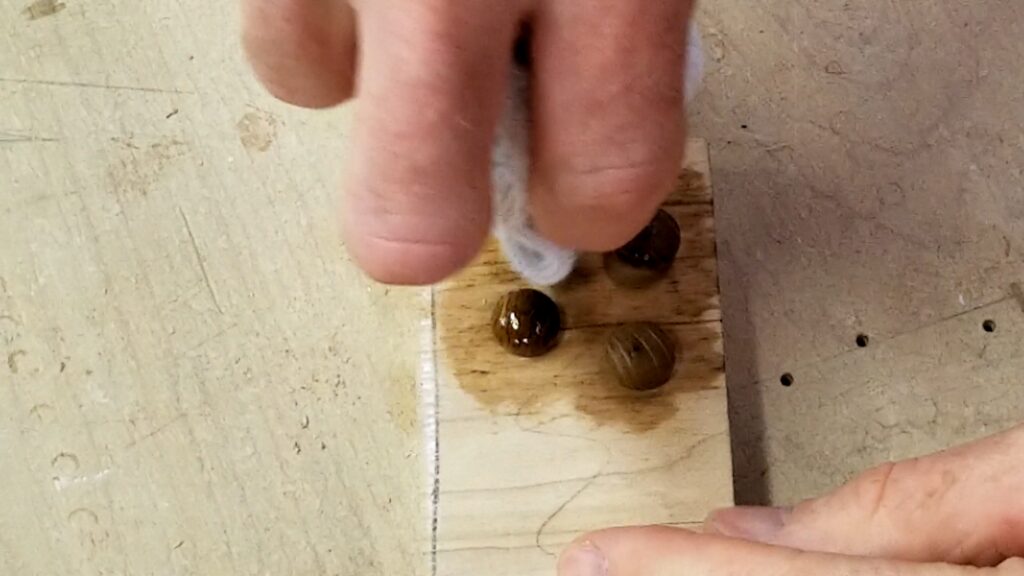
While this was drying I stained and applied finish to some 1/4 oak button plugs as well. These would cover up the wall mounting screws.
Once everything was dry I attached the coat hooks using my cordless drill after I initially started the screws by hand with a screwdriver.
I drilled out some wall mounting holes where I would screw this to the wall using my cordless drill and several extensions and an extension chuck. I used a 1/4″ Forstner bit and followed up with a smaller bit so the screw could slide completely in. This would allow me to apply the plugs I had matched up to cover up the screws.
The only thing that was left was to hang it on the wall apply coats and whatever my wife wanted to put on top.
As always if you have any questions or comments post them below or on my YouTube video comments section and I’ll do my best to respond.
I’ve included a few Amazon Links below for the equipment and materials I used. By clicking on any of the links in this article you help support my channel as I earn from qualifying purchases.
You can also help support my Channel by dropping a Tip at https://withkoji.com/@sean.moenkhoff
Equipment and Materials
*Disclaimer: While I attempt to list the equipment I use, some items have been discontinued or have newer models.
- Brainerd Ball-End Coat and Hat Hooks
- DEWALT Drill Bit Set, Titanium, 14-Piece (DW1354) , Yellow
- DEWALT Impact Driver (newer Model)
- Foam Brush Set
- French Curve Set
- Glu-Bot Glue Bottle
- IRWIN QUICK-GRIP Bar Clamp, One-Handed, Medium-Duty, 12-Inch
- Kobalt 24-Volt Max Lithium Ion (Li-ion) 1/2-in Cordless Brushless Drill
- Kreg Pocket Hole Jig K4 Master System
- Minwax Earlier American Wood Stain
- Minwax Polyurethane Semi-Gloss
- Pardy 2″ Flat Brush
- Porter Cable Forsner Bit Set
- Rockler Bench Cookies
- Varathane Sanding Sealer
- Wood Biscuit Plates
I hope you find this helpful video useful and can use some of the tips presented. Feel free to leave any comments, suggestions, or experiences you have had below.
Some of the links in my video description and article above are Amazon Affiliate links. As an Amazon Associate, I earn from qualifying purchases. If you would like to make a different purchase from Amazon, you can also use the storewide link.


