So I ended up less than 1 year out of the hardware that came with my towel bar before it started wobbling. I was disappointed in this but hey, it was still under the contractor’s warranty that remodeled my bathroom so I called them up. They sent someone out to make the repair and it appeared to last for about another year and then was wobbling again to my disappointment.
This would be the first time I’ve had the same thing fail from this contractor that has always done top-notch work for me. So, I decided to tackle it myself. Towel Bars are not that hard to install, after all, I had updated the ones in my other bathroom several years before this remodel so they were no longer outdated.
Bring out the tools one by one because for some reason, I’ve misplaced my tool belt and I didn’t want to dig out my tool bag. I only need a half dozen items to make this repair so I could easily carry them in hand.
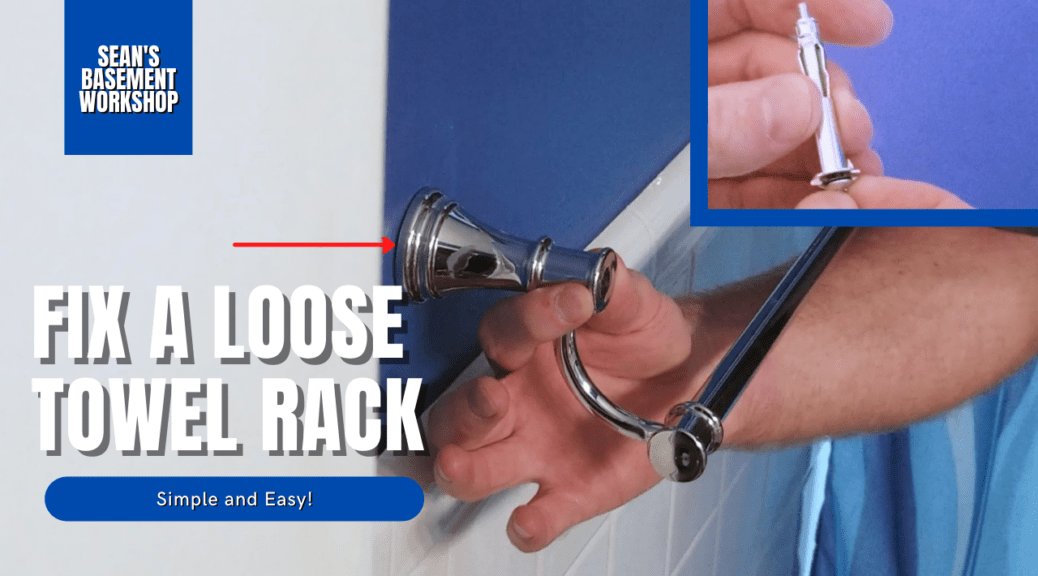
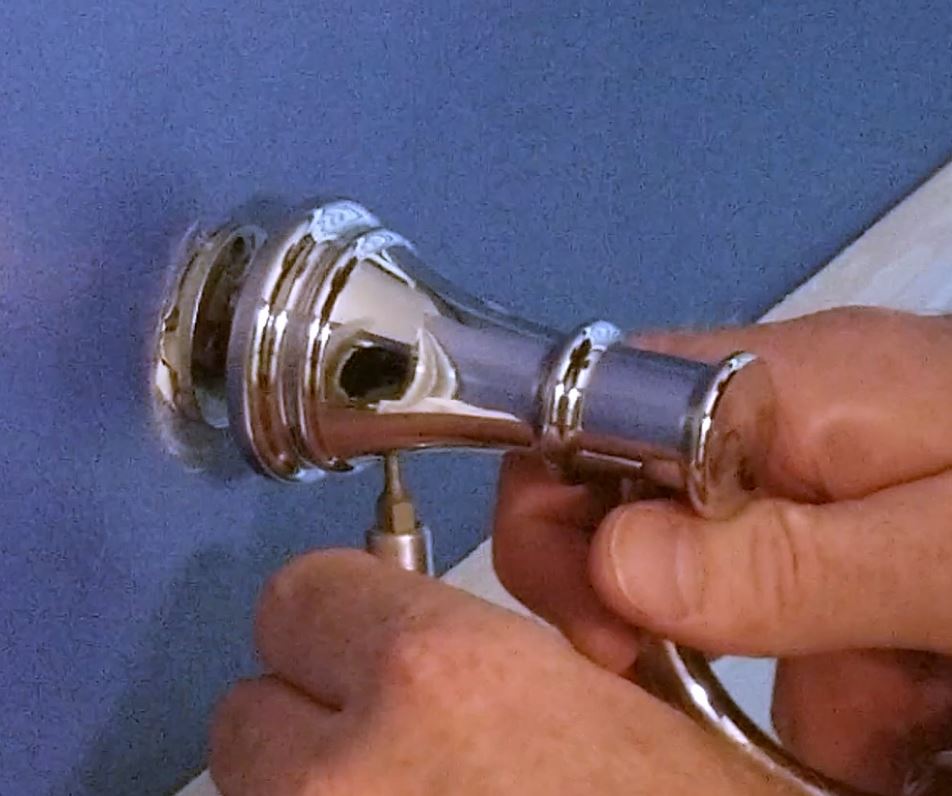
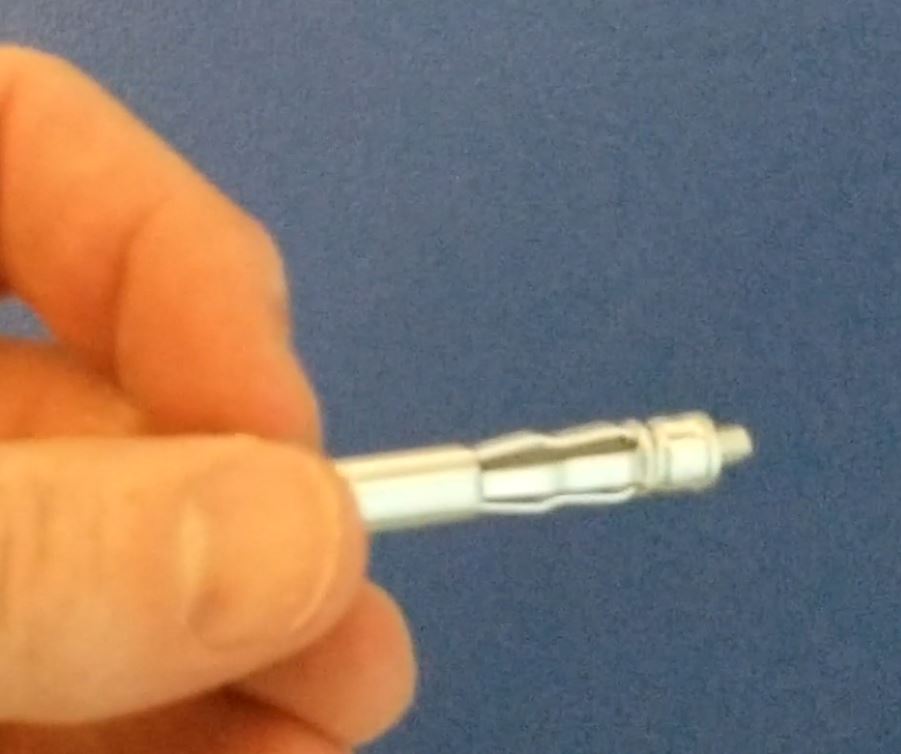
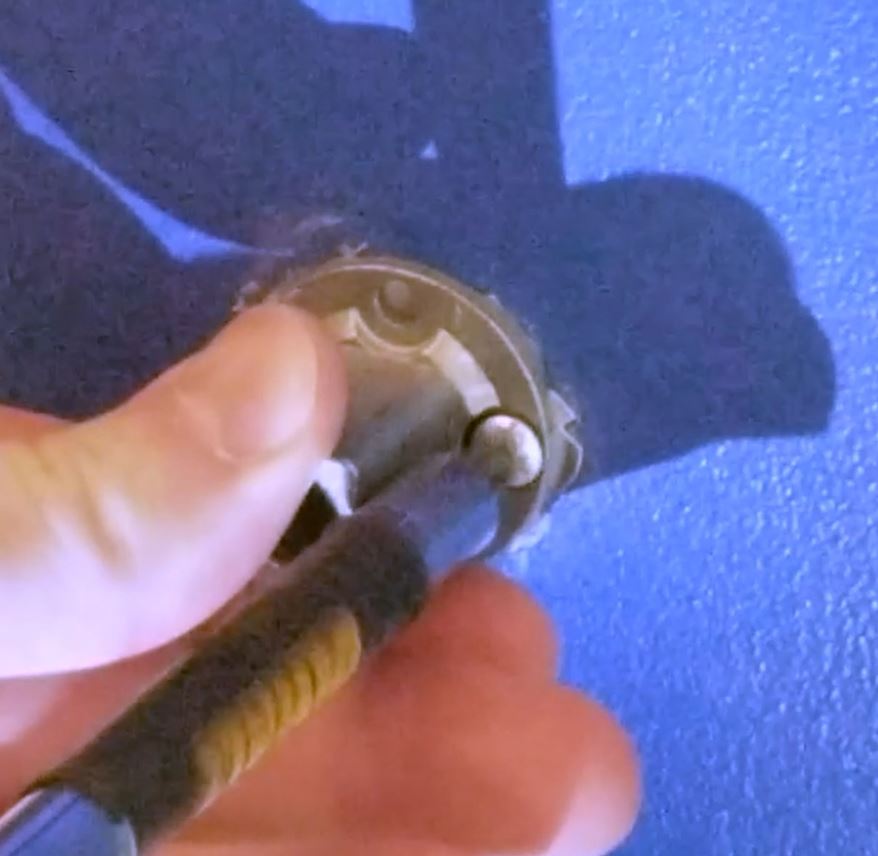
My first thought is perhaps the set screw is loose. This is the little screw, typically an Allen screw is located on the underside of something that had maybe come loose. I grabbed the appropriate size bit and attempted to tighten it up with my magnetic bit handle screwdriver, however, the towel bar stem was still loose. Okay. so not this issue, I’ll need to dig deeper.
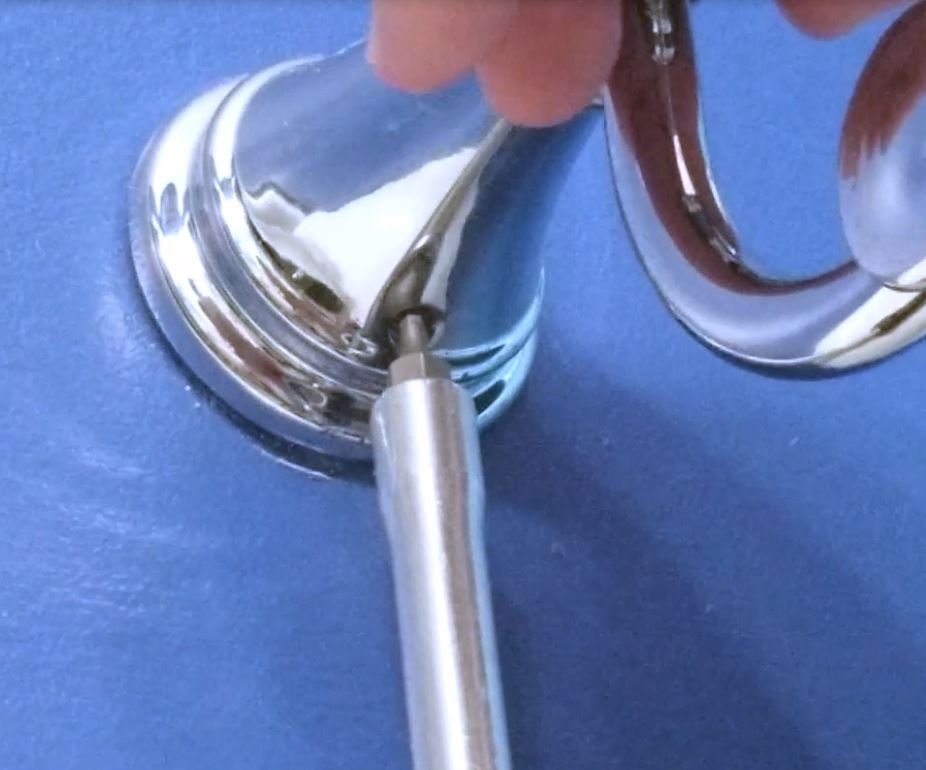
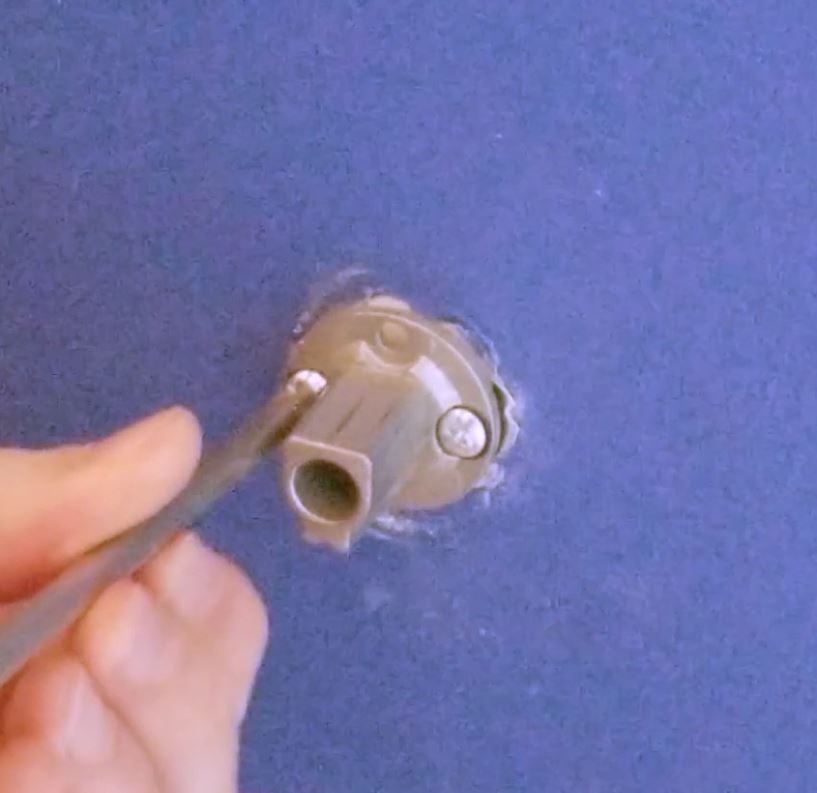
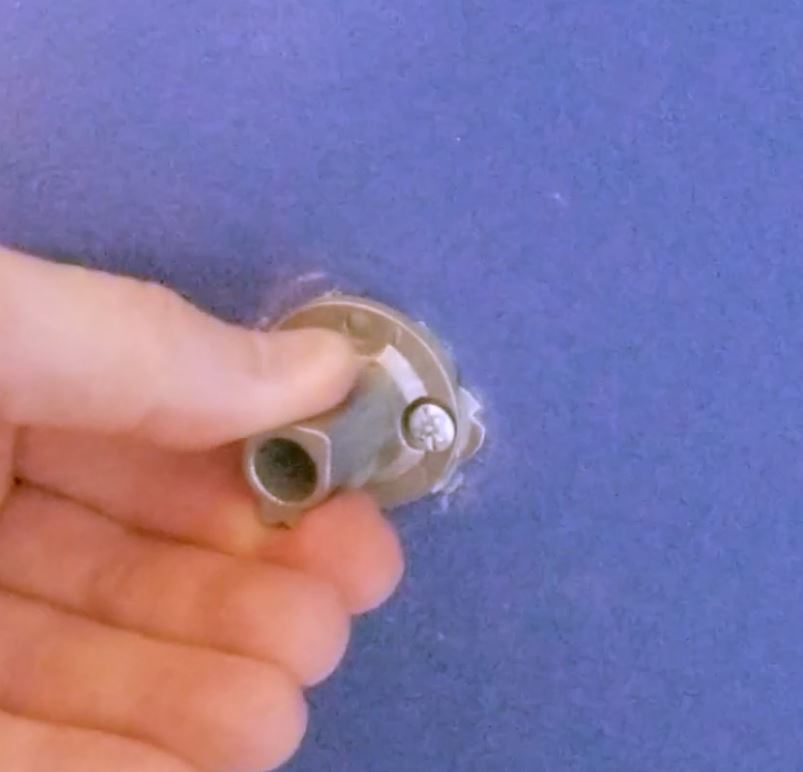
I unscrewed the Allen screw and took the stem and bar off the wall. This is when I discovered the screw holding the hardware to the wall was actually loose. So, I attempted to tighten it with my screwdriver it but it just spun and figured, yeah, it is just stripped out in the wall because it’s not into a stud and only in drywall. I pulled the little plastic wall anchors out with my needle-nose pliers.
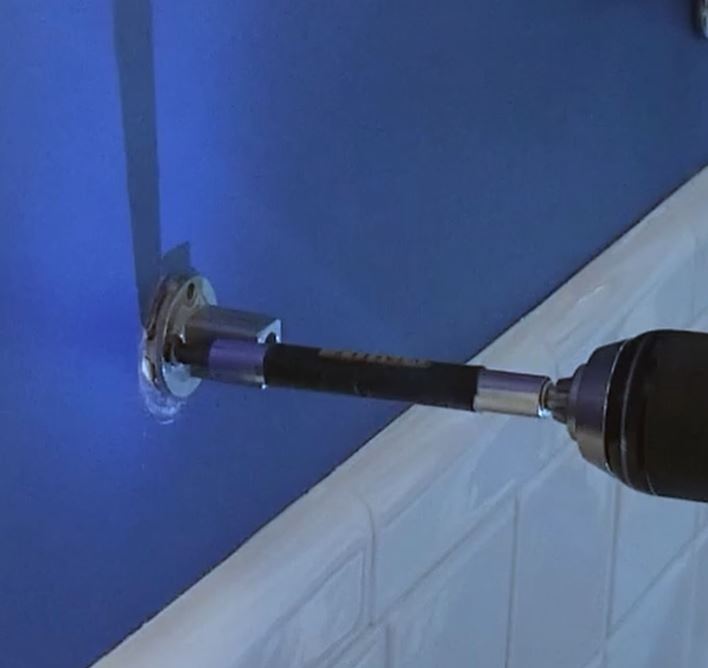


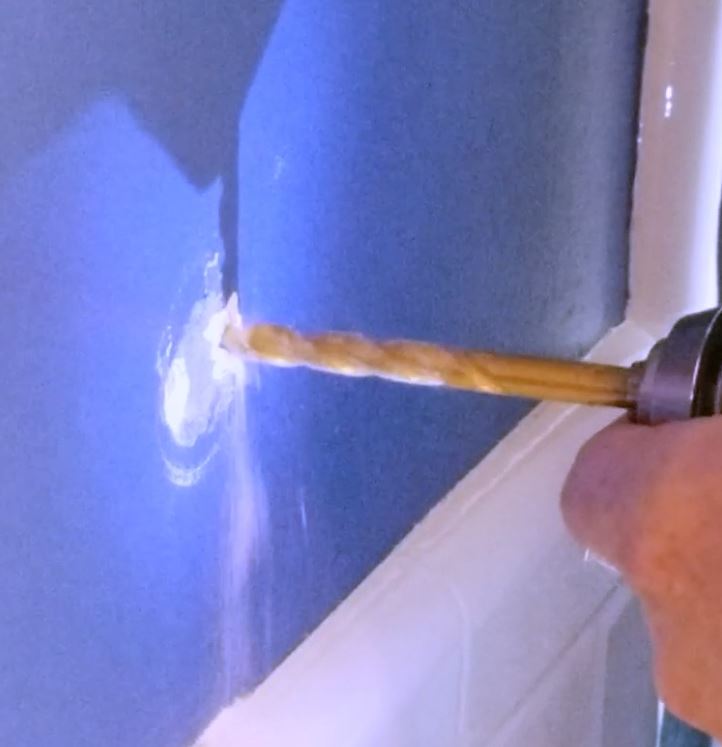
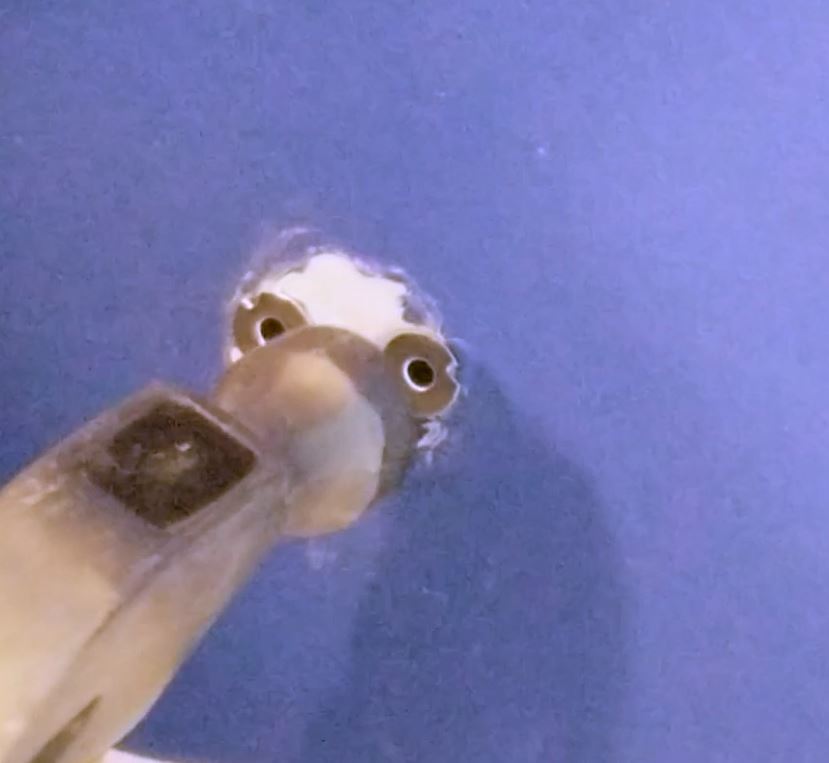
I procured some hollow wall anchors. I knew these would do the trick. So, the next thing I needed to do was drill out the hole to the diameter according to the hollow wall anchor instructions with my cordless drill. I hammered them in and feed the screw through the towel rack mounting hardware screwing it into the wall anchor. Once I had both screws in I tightened them down so they were sturdy and the hardware no longer wobbled.
Bingo! This took care of the problem.
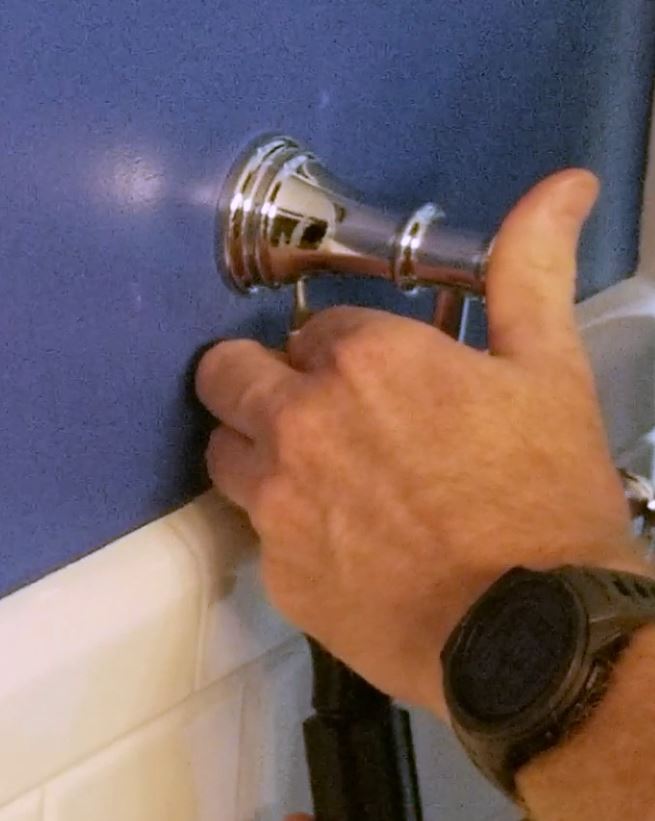
I notice the other side had a slight wobble so I did the same for that side as well.
Now, all I had to do was reinstall the stems ensuring that I put the rod back in before securing the last stem with the set screw.
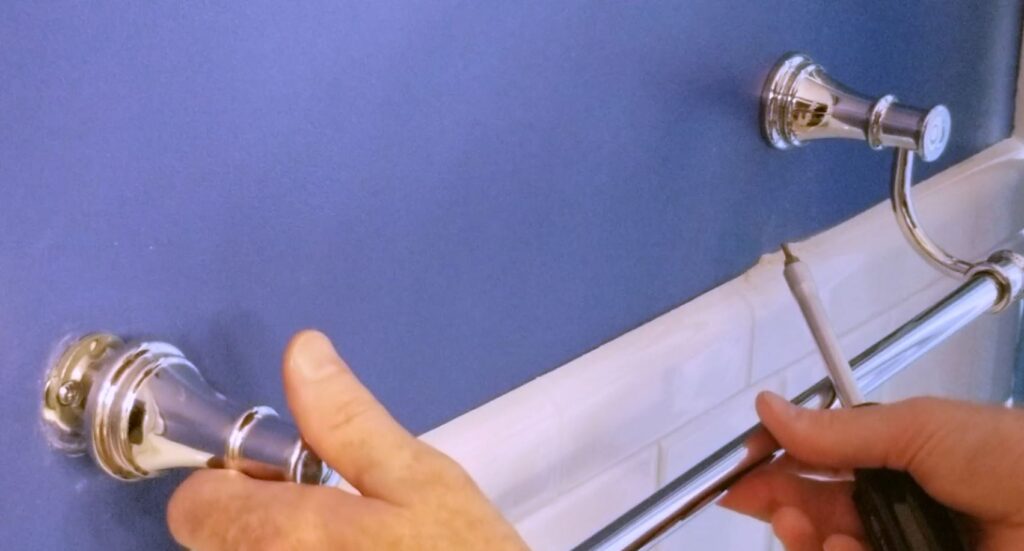
I cleaned up the mess from drilling out the plaster/drywall (as my walls are 1/2″ plaster over 1/4″ drywall). I put the towel back on the towel bar so everyone would be happy when washing their hands and the project was completed.
And for those who want some stats, the video below is a result of 19 videos totaling 13 minutes, 26 seconds edited down to 6 minutes, and 54 seconds. You may notice in my videos some elements are changing as I learn what works best.
As always if you have any questions or comments post them below or on my YouTube video comments section and I’ll do my best to respond.
I’ve included a few Amazon Links below for the equipment and materials I used.
Equipment and Materials
- Craftsman Screwdriver Set, Assorted, 25-Piece (CMHT65046)
- Craftsman 100 Piece drilling and driving kit
- Craftsman 9-43373 Magnetic Bit Handle Screwdriver
- Craftsman Mini Needle Nose Pliers
- DEWALT Bit Holder, Magnetic, 6-Inch (DW2055B)
- DEWALT DPG94-1C Dominator SAFETY Glasses
- DEWALT Drill Bit Set, Titanium, 14-Piece (DW1354) , Yellow
- Hickory Wood Handle Claw Hammer – 16 oz
- Hollow Wall Anchors
- Kobalt 24-Volt Max Lithium Ion (Li-ion) 1/2-in Cordless Brushless Drill
- Moen YB6486CH Belfield 9-Inch Bathroom Hand Towel Bar, 36, Chrome
I hope you find this video useful and can use some of the tips presented. Feel free to leave any comments, suggestions, or experiences you have had below.
Some of the links in my video description and article above are Amazon Affiliate links. As an Amazon Associate, I earn from qualifying purchases. If you would like to make a different purchase from Amazon, you can also use the storewide link.