Wow! Can you believe how far I have come on this project? If you’ve stuck with me throughout this entire process let me show you some of the nicest drawer slides I’ve ever installed or used.
If you read the last article you’ll know that I chose BLUM Blumotion Tandem Plus Concealed Drawer Slides to install. Now because my cabinets are custom built and not 100% the same on all measurements I need to figure out a way to attach them as well as I can.
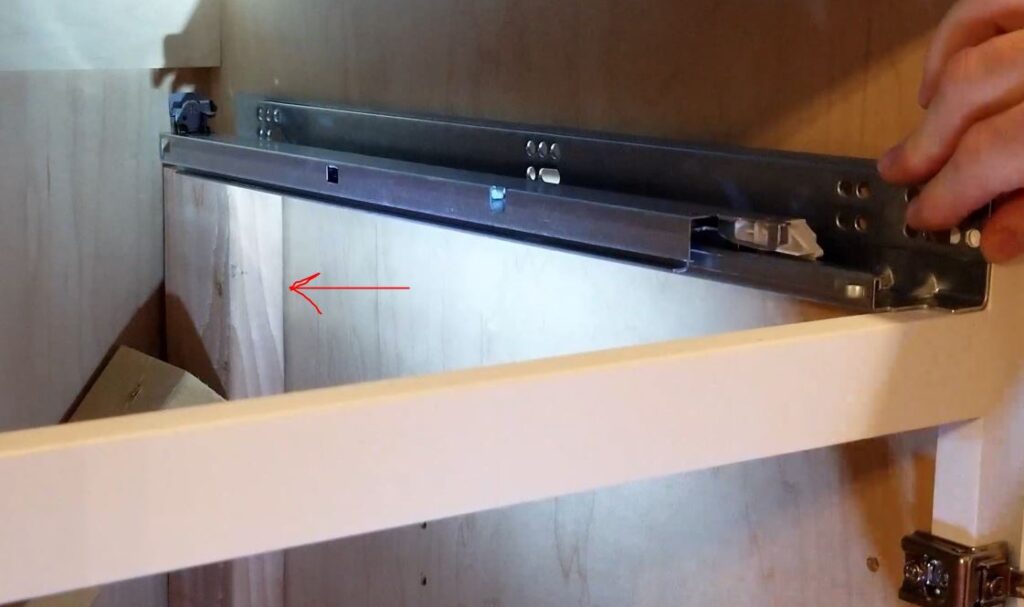
These slides come with two ways of attaching them. The first way is to use a rear bracket to attach them to the back of the cabinet but because my backs are only 1/4″ thick I do not believe this to be sufficient to carry a potential 90 pounds of weight. The second method is to allow you to screw them directly to the sides of the cabinet walls. However, because my face frames set out from the sides I’d need a shim to do this. And the Bonus way in which I decided, is a combination of both the first and second ways.
So to make the shims I just need to measure from the inside edge of the face frame to the inside of the cabinet. Yes, each side and each cabinet may be different so I’ll have to keep them straight. I needed to counter sink some pilot holes so the screws would not protrude out and get in the way of the drawer slides.

Once I get some shims cut I also want two support boards to go inside vertically to support the drawer slide in the rear while I’m screwing it in with my cordless drill. This support needs to be the height from the bottom of the cabinet to the top of the bottom drawer opening face frame member. This will allow the height to remain the same as the front.
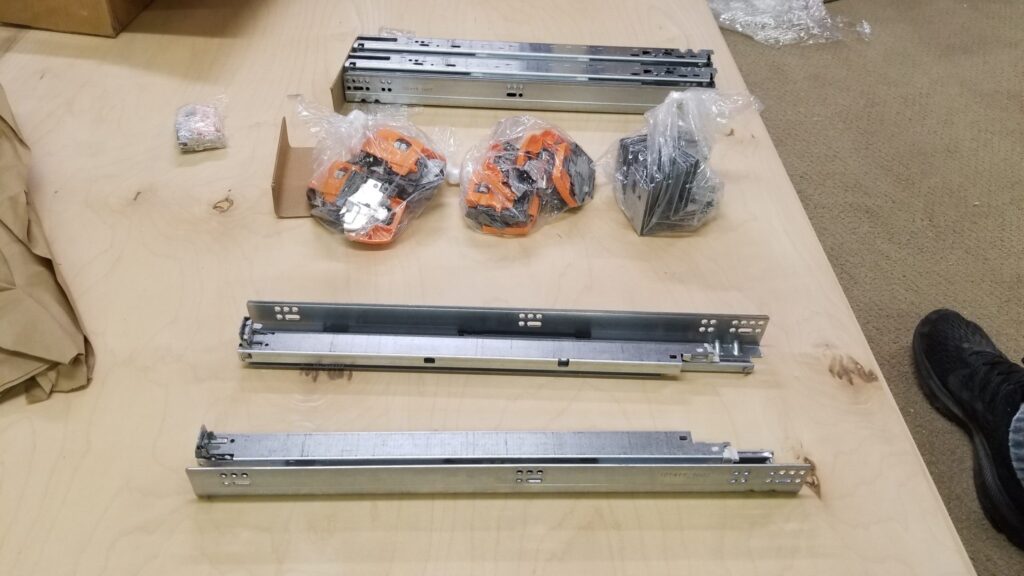
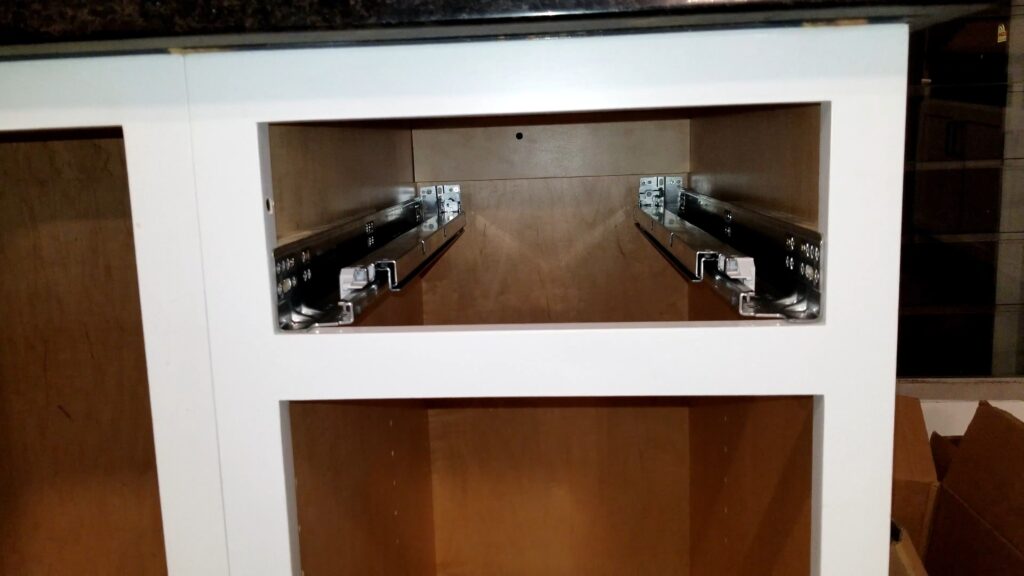
These BLUM Blumotion drawer slides come with as stated above a bracket that slides onto the back as well as the front left and right locking mounts. These are micro-adjusting mounts that you can use to adjust all directions of the drawer boxes to get the perfect alignment. I show this in my previous article.
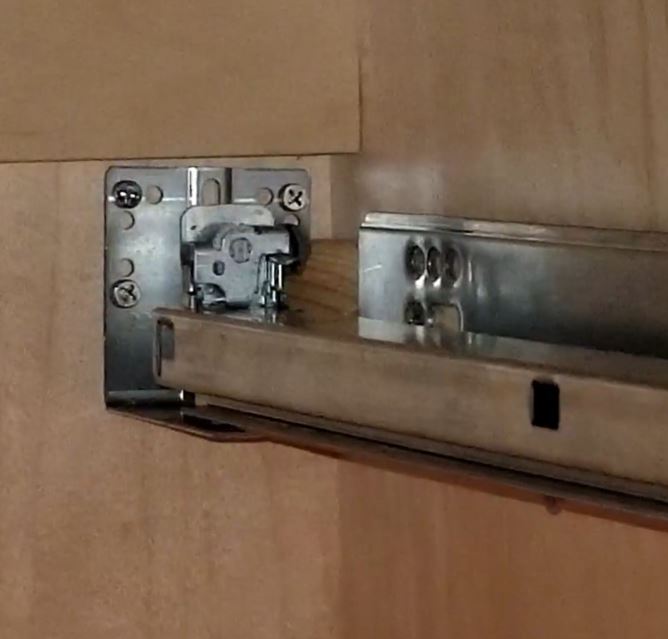
The front screw hold of the drawer slide will screw into the center of the face frame once you set it back 1/8″ according to the instructions provided by the manufacturer.
I simply just need to rinse and repeat for each drawer opening until all my drawer slides are mounted and yes, sometimes it took multiple trips to my basement shop to get the shims cut to the right thickness – some only 3/8″ thick while others were over 1″ thick.
Overall, this part of the project went quickly once I got going and in a rhythm.
Now that all this is done all I needed to do was snap in the drawer boxes which is what my previous article is about.
As always if you have any questions or comments post them below or on my YouTube video comments section and I’ll do my best to respond.
I’ve included a few Amazon Links below for the equipment and materials I used. By clicking on any of the links in this article you help support my channel as I earn from qualifying purchases.
Equipment and Materials
*Disclaimer: While I attempt to list the equipment I use, some items have been discontinued or have newer models.
- BLUM 21″ Tandem Plus BLUMOTION Drawer Slide Kit
- Kobalt 24-Volt Max Lithium-Ion (Li-ion) 1/2-in Cordless Brushless Drill
- MLCS 9167 Safety Push Block and 5-Piece Stick Package
- Rockler/Insty-Drive Tapered Drill Bits and Countersinks
- SKIL Benchtop Drill Press
- Stainless Steel Corked Backed Metal Ruler
I hope you find this video useful and can use some of the tips presented. Feel free to leave any comments, suggestions, or experiences you have had below.
Some of the links in my video description and article above are Amazon Affiliate links. As an Amazon Associate, I earn from qualifying purchases. If you would like to make a different purchase from Amazon, you can also use the storewide link.