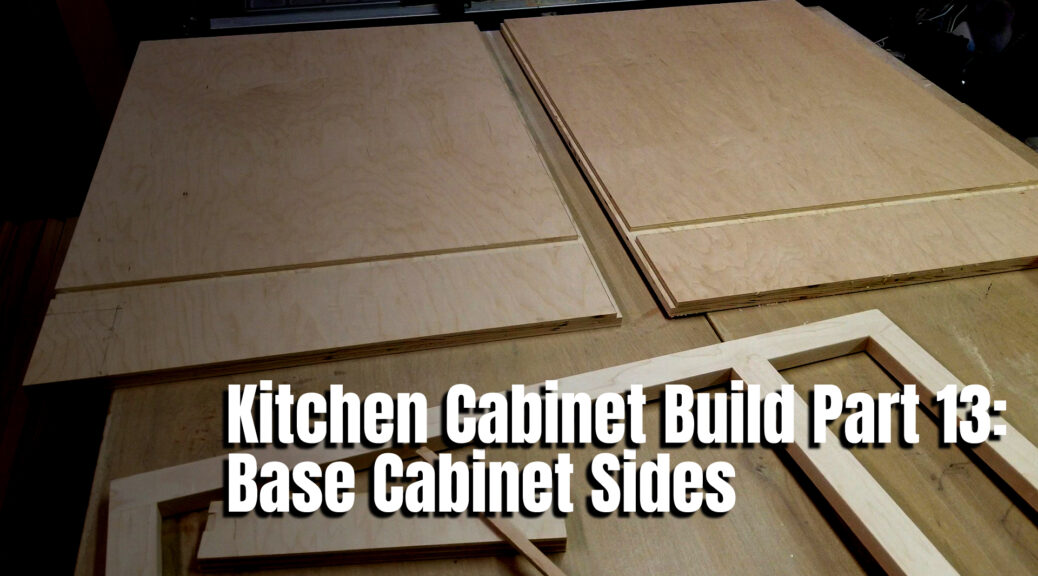
How you design and join your cabinet sides can greatly affect the durability and stability of your cabinets. Like the upper cabinets I created, I am going to follow the same process of using a 1/4″ dado for the base cabinet bottom in which will be glued and stapled together.
If you lack the space as I do to have an entire cabinet assembly line then you need to get creative on creating them. The process that I explain below is how I created all my base cabinets for my kitchen in a very limited size basement shop.
The first step I did was break down the sheet goods roughly in half. That is because when you cut a 48″ wide sheet of plywood you end up with 2 – 24″ wide pieces. Since I’m making face-framed cabinets by cabinet carcass will need to be 23 1/4″ wide which allows me to cut a little off both sides or all of one side to get down to that final needed dimension.

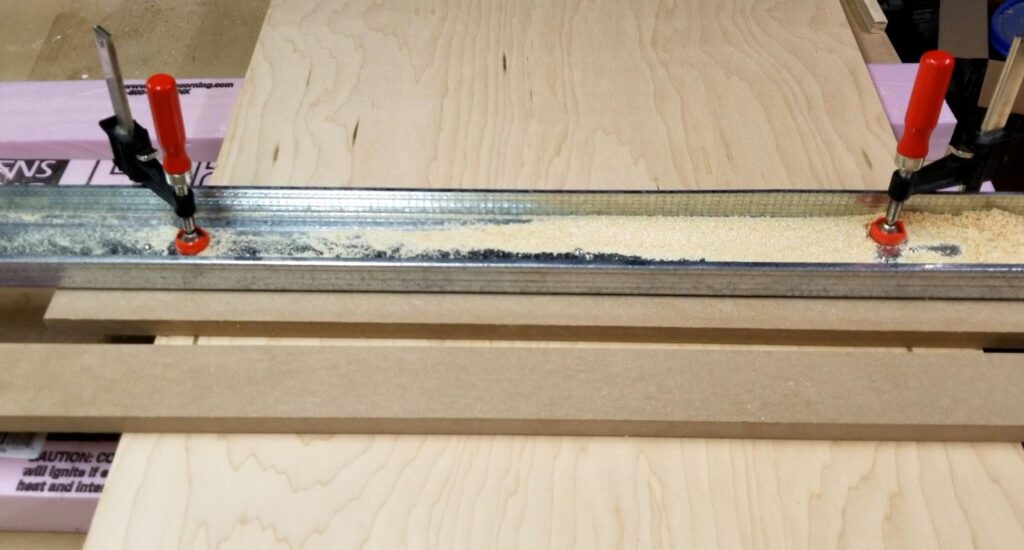
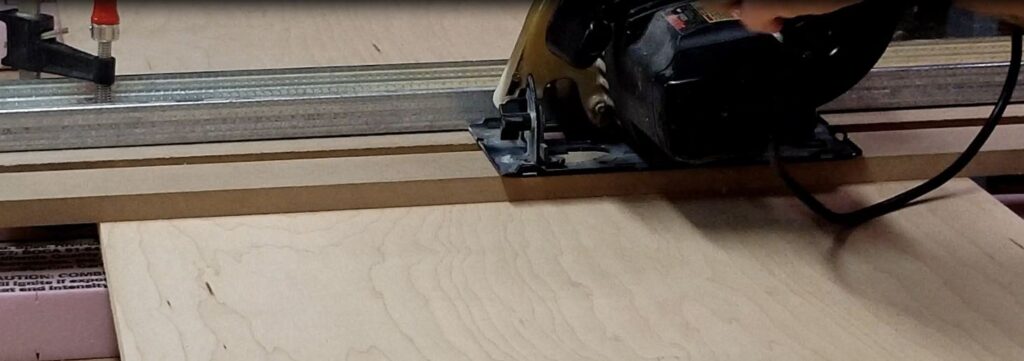
However, I’m still in the rough-cut mode so I’ll leave it at 24″ for now. The next step I do to speed up the process is stacking the two halves on top of each other. This allows me to rough cut the height of the cabinet which is 34 1/2″ at twice the speed. I use my DIY straight edge or Track Saw to do this.
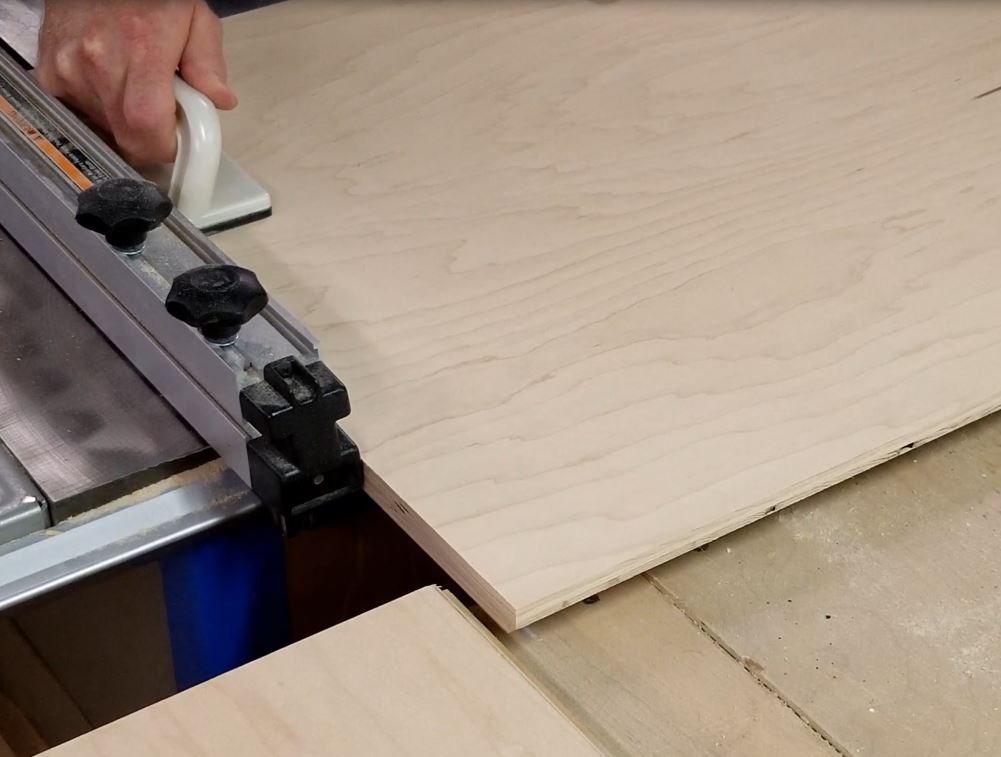
After cutting the number of needed sides I switch to using my panel sled for my table saw to cut the sides down to their final dimensions. This sled which is easy to make has a very long runner that fits into my table saw’s miter track which allows the sled to extend beyond the infeed area of my saw yet maintain squareness.
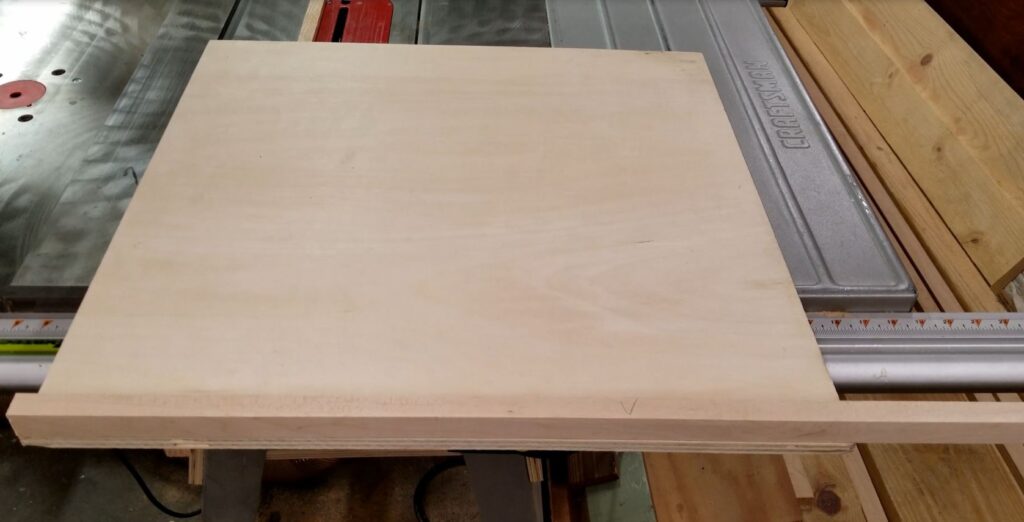
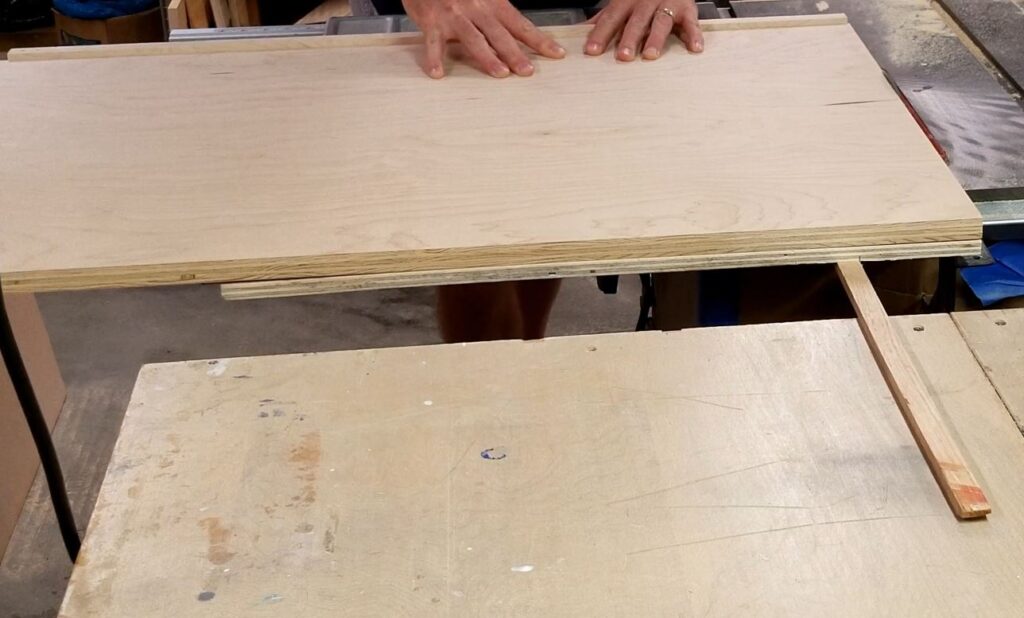

I cut all the sides down to their final sizes using one side as a reference so the tops and bottoms are parallel with each other and square to the one side.
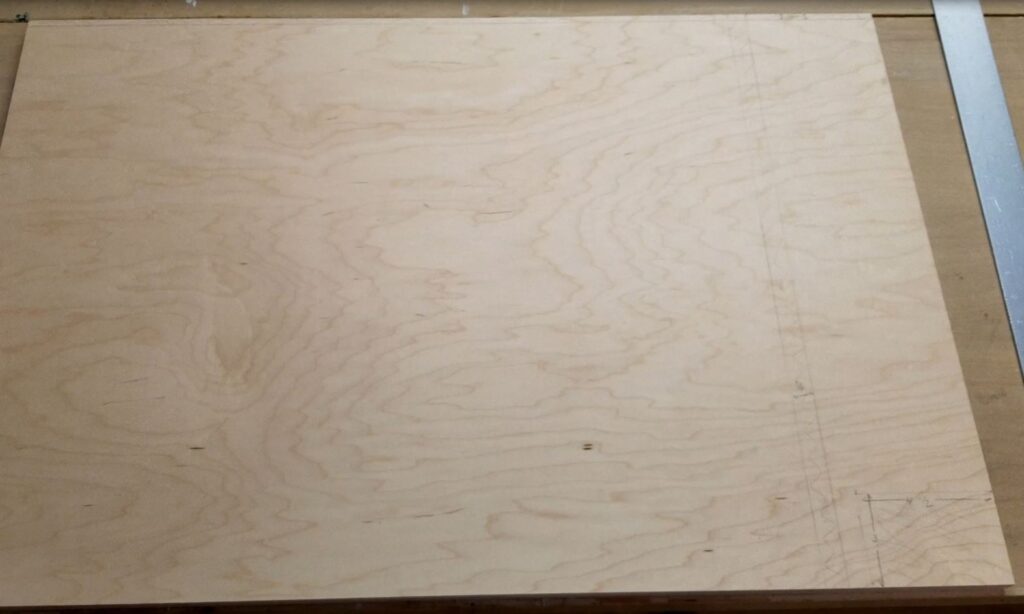
My next step is to draw our reference lines on one side panel so I can ensure everything is correct before making all the cuts since I’m going to making the same cut on each side and then switching to the next cut repeating the process. This allows for consistent cuts on each side panel.

I double-check everything is going to look fine using a small face frame before starting any cuts using scrap material. As it does, I’m ready to begin the side-cutting process.

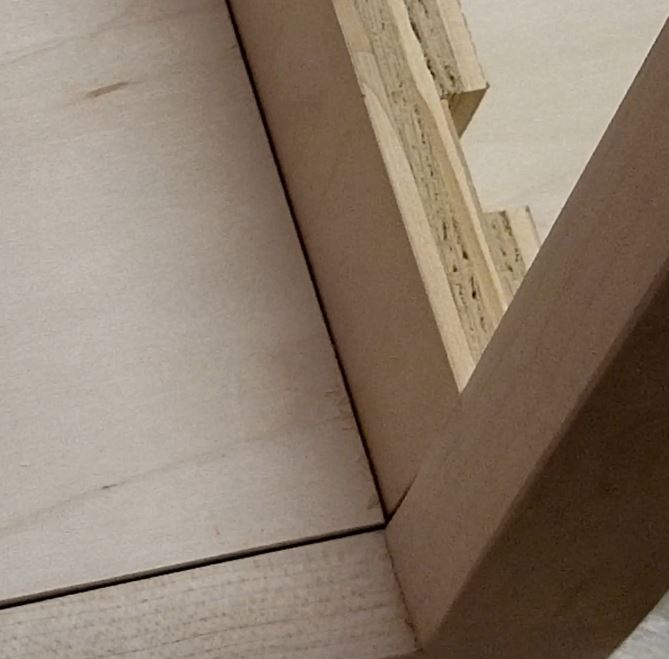
Now ideally you’ll start with any cross-grain cuts on the veneer. For me, this would be the bottom shelf dado. This if you’re cutting a rabbit on the back of the side panel for the back to slide into it will clean up any tear-out. I however did not do this. I cut the rabbit first and then the dado so I had to cut the bottom shelf dado very slowly and carefully to avoid tear-out along the back.
I threw my sacrificial fence on my rip fence since I was going to bury part of my dado blade into it to cut that back panel dado. Then after cutting that, I removed the sacrificial fence and proceeded to cut the bottom shelf dados after double-checking and dialing in the cut.
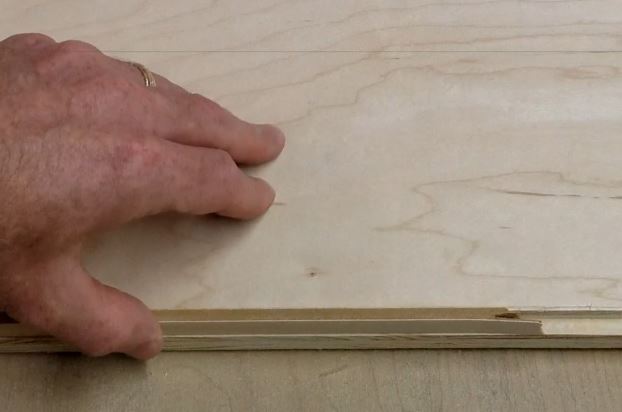
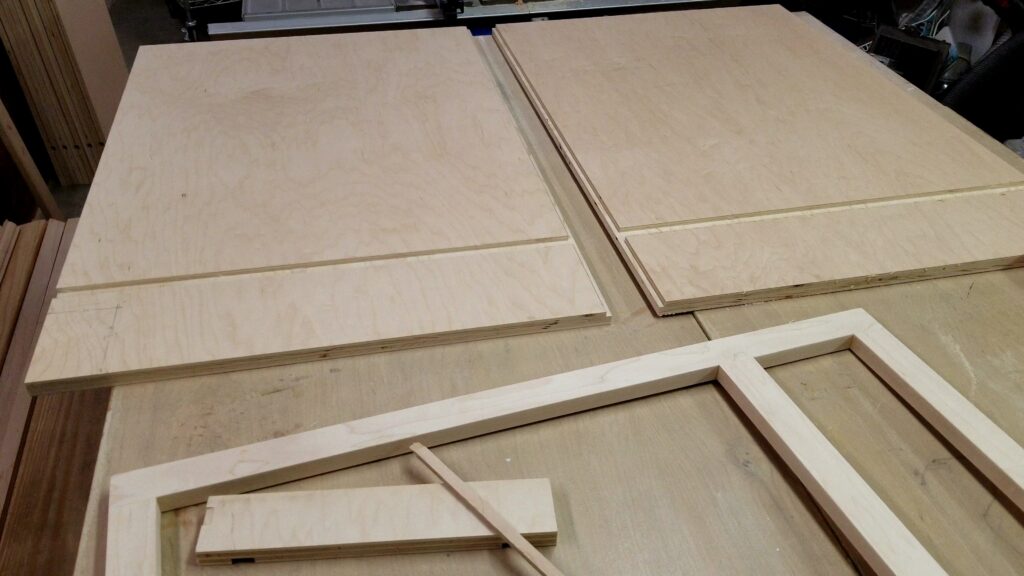
With all the side panels rabbits and dados cut I end up with mirrored side panels which you can fold together to visualize how things will lay out.
As always if you have any questions or comments post them below or on my YouTube video comments section and I’ll do my best to respond.
I’ve included a few Amazon Links below for the equipment and materials I used.
Equipment and Materials
- Bessey GSCC2.506 6″, Clutch StyleMedium Duty Clamp
- Walker’s Razor Slim Passive Earmuffs
- While the Craftsman Adjustable Dado Blade I use is no longer manufactured here are a couple of good Dado Stacks worth checking out:
I hope you find this video useful and can use some of the tips presented. Feel free to leave any comments, suggestions, or experiences you have had below.
Some of the links in my video description and article above are Amazon Affiliate links. As an Amazon Associate, I earn from qualifying purchases. If you would like to make a different purchase from Amazon, you can also use the storewide link.