
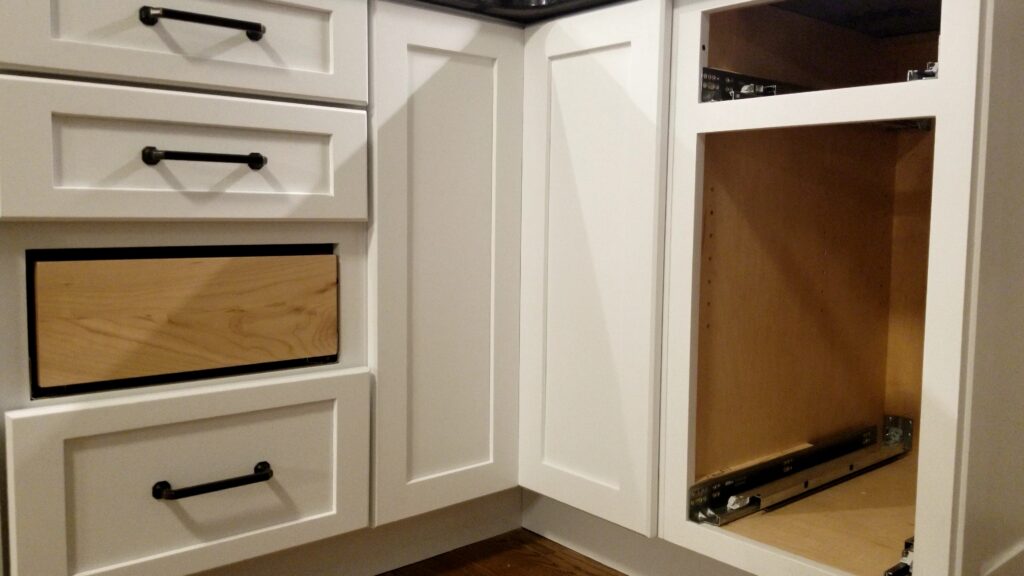
When I started planning my new kitchen cabinets I knew one of the most difficult cabinets that I would do would be the two corner cabinets. Yes, two! The base and the upper. The upper cabinet is set that forms a blind corner cabinet. This article though is going to focus not on those but on the base cabinet’s doors.
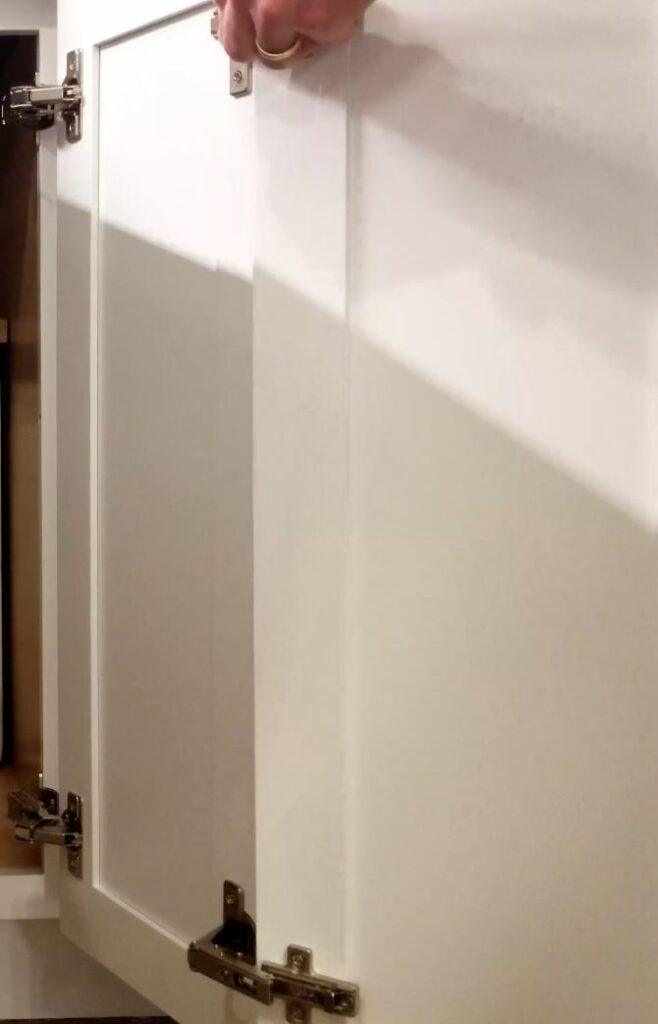
This base cabinet can be called a Lazy Susan cabinet although I did not choose to put Lazy Susan hardware in and instead decided to use overlapped stack shelving as can be seen in this article. However, the doors for this cabinet are still the same. They are a pair of doors that open only from one side and are connected with a bifold hinge.

Now because I could not find Blum corner cabinet hinges that provided a 1 1/4″ overlay at the time I had to go with a Salice hinge. I never had used a Salice hinge let alone a set for a bifold door.
So, let us get to getting the doors set up.
After picking up a Salice Pie Corner Hinge Kit and began by reading the instructions. As with all the Euro hinges they pretty much use the metric system so I had to use my stainless steel ruler, which has both standard and metric, to measure out where the placement would go.
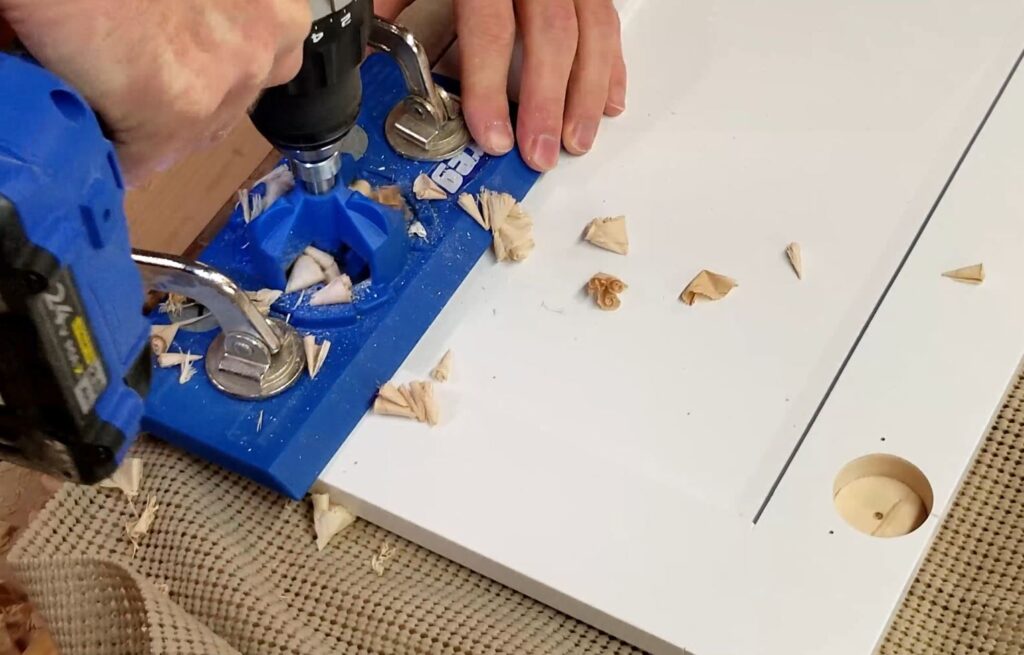
After determining the placement I used my Kreg Concealed Hinge Jig to make sure I was drilling the 35mm cups in the right locations. I really do enjoy this jig because it makes quick repeatable drilling easy.
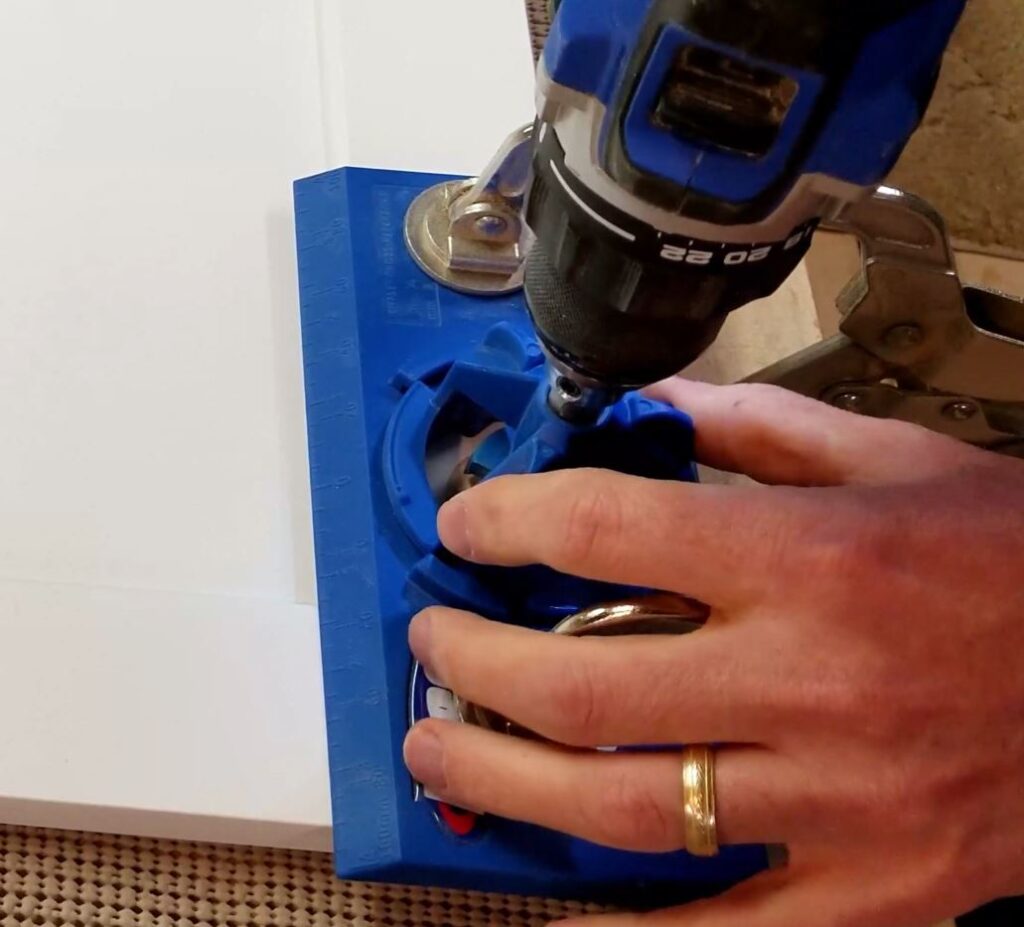
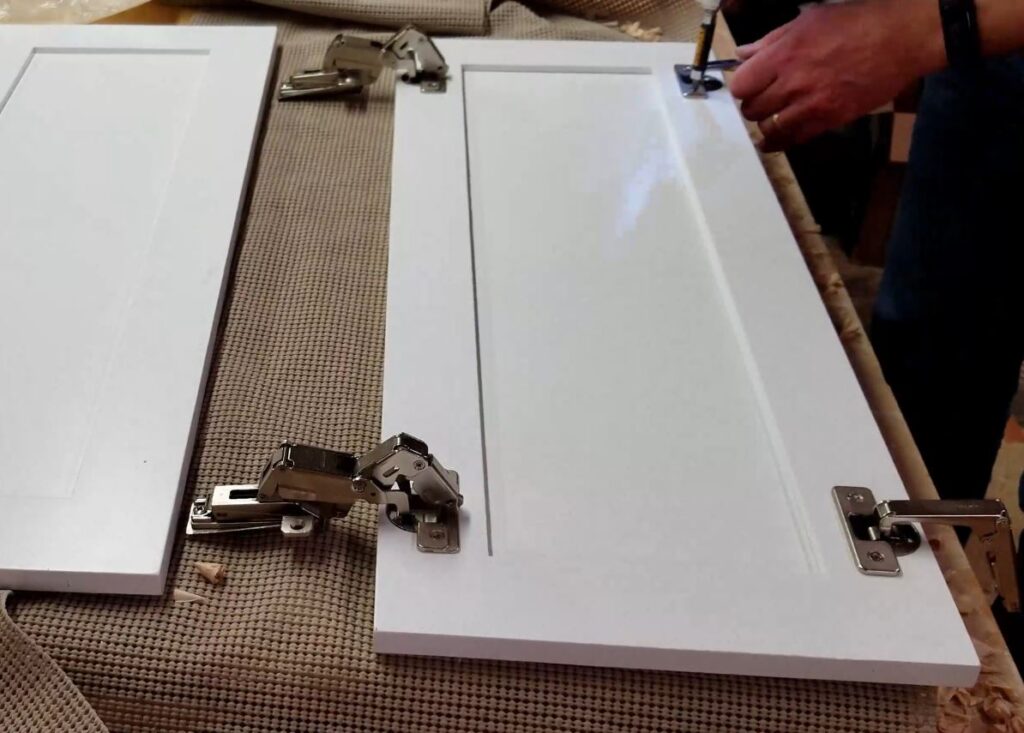
Door one is the only door that gets hinge cups drilled into it. It gets these cups on both sides of the interior portion of the door. One side is for the hinge that mounts the door to the cabinet and the other is for the bifold hinge.
Next, I needed to make a throwaway backing board jig to clamp up against the face frame of the cabinet. These Salice hinges split the difference of 35mm hold with half in the frame and the other half in the air. Drilling this without a backing board would have been impossible. In addition, since my face frames are pretty small at only 1 1/2″ wide I needed to drill part of that 35mm hole into the side of the cabinet.
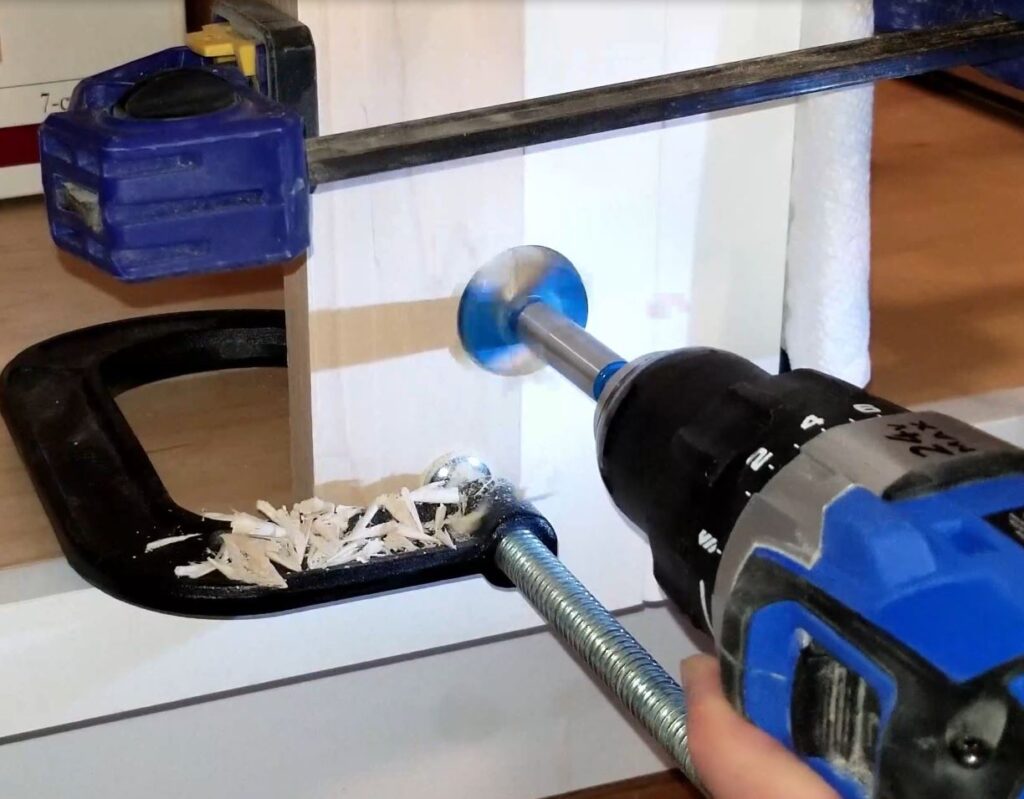
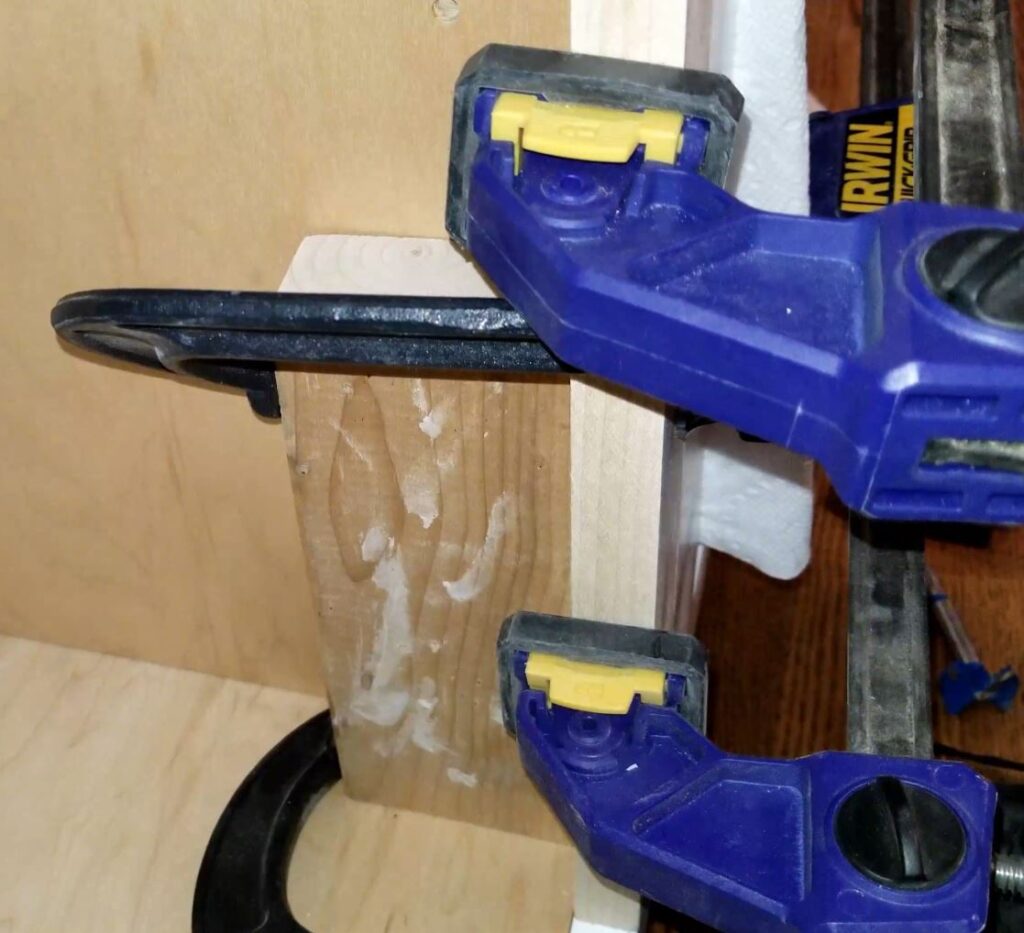
Of course, things didn’t go exactly as planned because to avoid scratching the paint on my face frames I used a paper towel to protect the surface. I believe because of that, lack of clamping pressure and the weight of the drill/bit the jig slid down some which caused the hole to drill not straight in but at a downward angle.
To solve this I simply used my Dremel with a carving bit to scour out the side of the cabinet carcass a little so the hinge with going in perpendicular to the face frame.

The next step was to predrill the holes for the cabinet side hinges and mount them. While my video angle was really bad it is pretty straightforward. I just needed to put the hinge in the semicircle holes and mark the hole patterns and then pilot them out.
I mounted the hinges and went back to the shop to mount the door-side hinges. I test fitted them on the cabinet and discovered I had put the door side hinge in the wrong location. A quick trip back to the shop fixed that and while doing so I mounted the bifold hinge.
Test fitted the cabinet door and it was great. I then just snapped the second door’s bifold hinge together and wallah! Except I had to adjust them a little which is why I left them loose so I could get the doors to close properly.
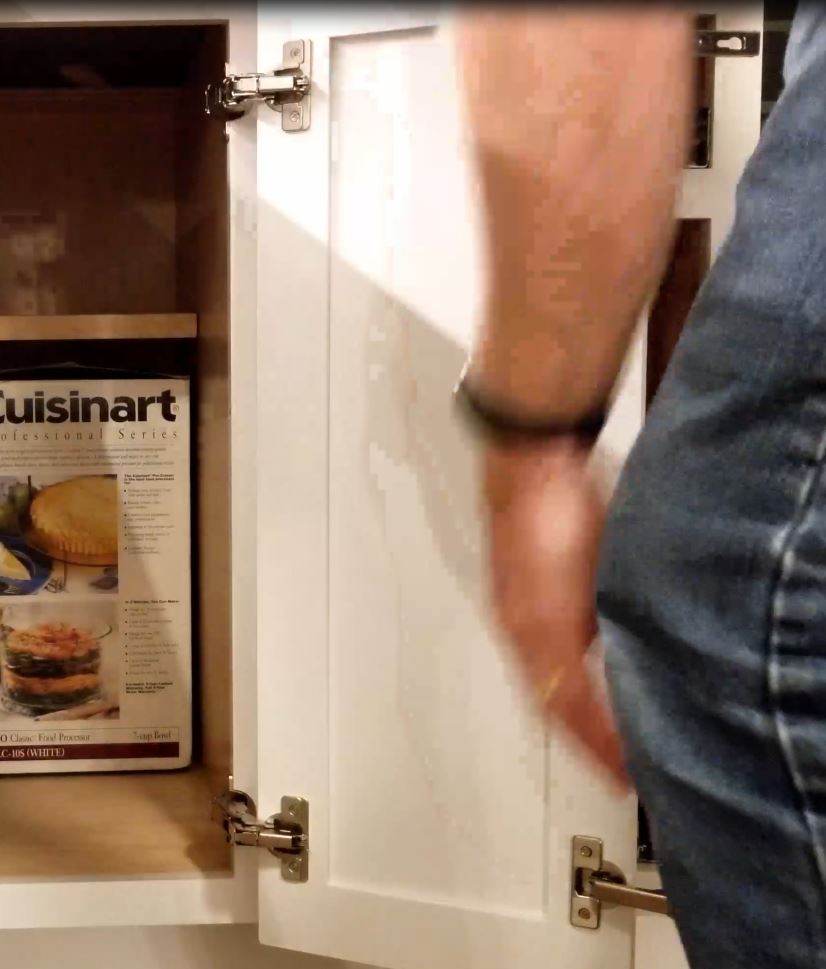
Everything tightened up and the door attachment with this new hinge brand was good. While doing so I even had a visitor come oversee what I was doing. You’ll have to watch the video for that though.
That’s pretty much it on how I attached these corner cabinet bifold doors. You can check out the video below to watch the entire process.
As always if you have any questions or comments post them below or on my YouTube video comments section and I’ll do my best to respond.
I’ve included a few Amazon Links below for the equipment and materials I used.
Equipment and Materials
- C Clamps
- Dremel 3000
- IRWIN QUICK-GRIP Bar Clamp, One-Handed, Medium-Duty, 12-Inch
- Kreg Concealed Hinge Jig
- Kreg KHC-Premium Face Clamp
- Rockler/Insty-Drive Tapered Drill Bits and Countersinks
- Salice Pie Corner Hinge Kit
- Stainless Steel Corked Backed Metal Ruler
I hope you find this video useful and can use some of the tips presented. Feel free to leave any comments, suggestions, or experiences you have had below.
Some of the links in my video description and article above are Amazon Affiliate links. As an Amazon Associate, I earn from qualifying purchases. If you would like to make a different purchase from Amazon, you can also use the storewide link.