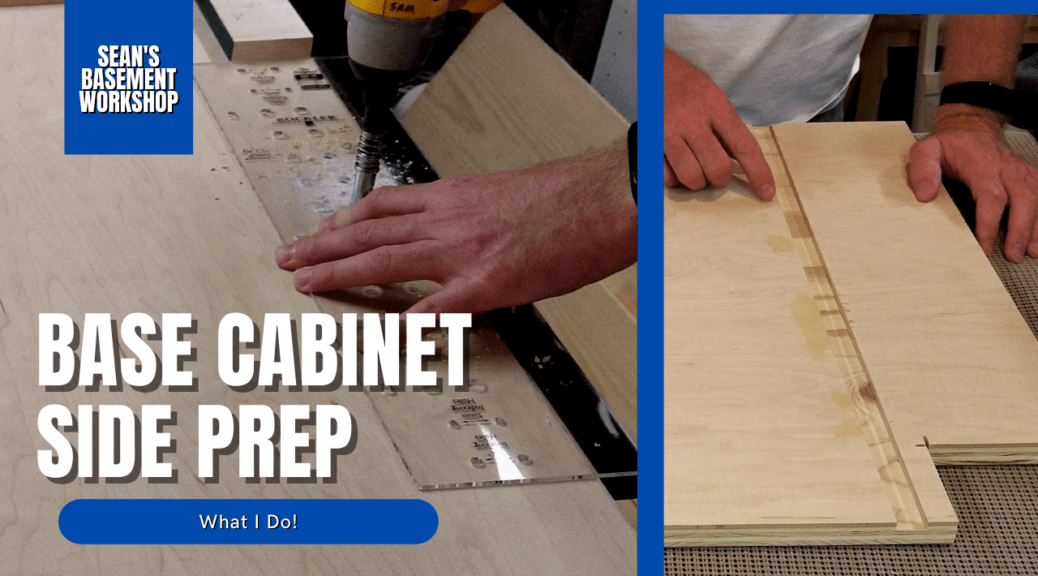
Once you cut the sides to their dimension, cut the toe kick and dado for the bottom you’re done right? I guess the answer to that is how versatile do you want your cabinets? Do you want to add shelving? Is that fixed, adjustable, full or half-depth shelving, or just slide-out drawer shelves? Are you planning on staining, painting, or clear finishing them? If the answer to any of those is yes, then you’re not done yet and you might want to read on to see what I do to cabinets I build.
Okay, I might not be a professional cabinet maker but these tricks can save you some time and headaches in the long long run. After all, who wants headaches and wasting time right? So, let’s get started.
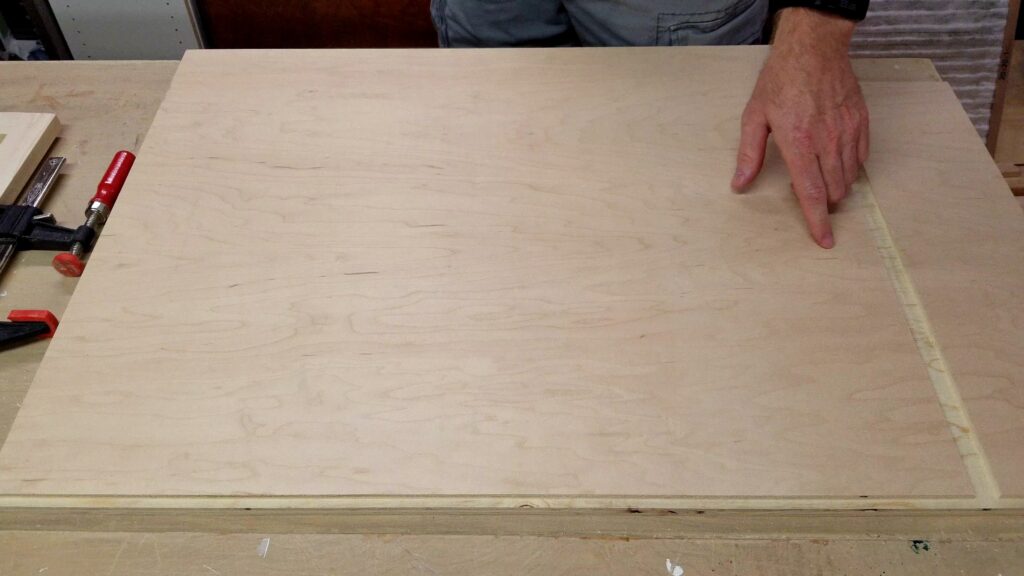
First things first, you’ll want to have your sides cut to the dimension, dado cut for the bottom panel (if you’re going to do that), and toe kick cut out. If you haven’t done this yet, have a look at my article Base Cabinet Sides and Toe Kicks here first.
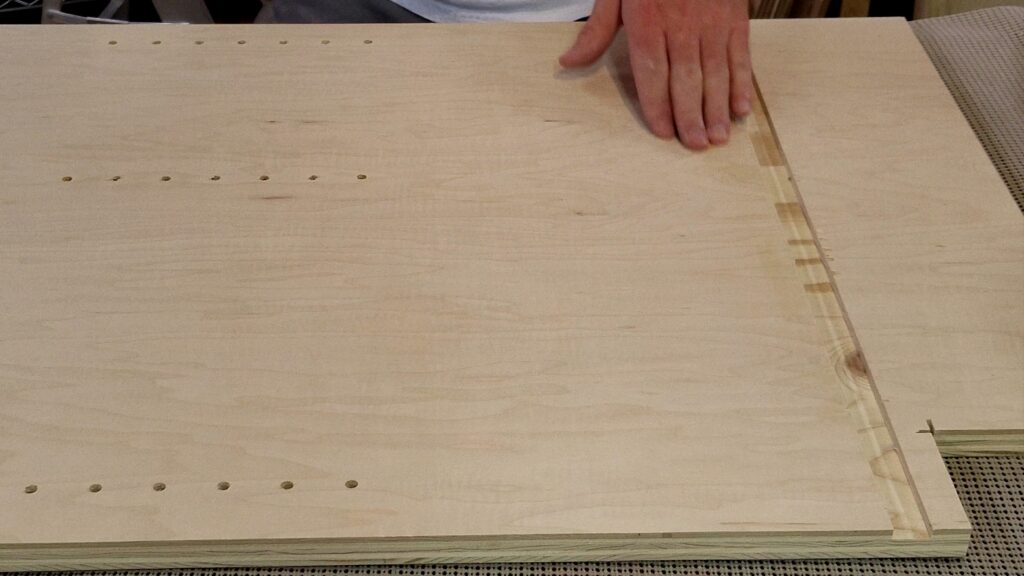
Now, if you’re doing adjustable shelving which is what I do when I’m not doing shelving drawers you’ll need to drill holes for the shelving pins. I drill 7 pin hole adjustment hole levels. That’s 24 total holes for each base cabinet. But because I want these to be pretty versatile, I also drill 14 additional holes (7 on each side) to total 42 total holes. I do this so I can have full-depth or half-depth shelving. Most of the time half-depth is what is requested but you never know when someone may want a full depth shelf and it’s easier to drill these holes now.
In order to drill all these holes accurately, I recommend using a shelving pin jig such as the Rockler JIG IT Shelving Jig. It is a quick and easy solution that maintains accuracy throughout the drilling process. The bit that comes with it is preset for the right depth so there’s no need to use a drill bit with a piece of tape or stop collar on it. If you don’t want to go this route and make you’re own, I’d recommend using something such as an aluminum bar or some very hardwood as to not wear down the pilot holes you’ll need to drill.

If you’re using an acrylic template like the one that comes with the Rockler JIG IT Shelving Jig, you’ll need to take a few breaks to allow the drill bit to cool down. If you don’t, you’ll start to heat up and melt the template.

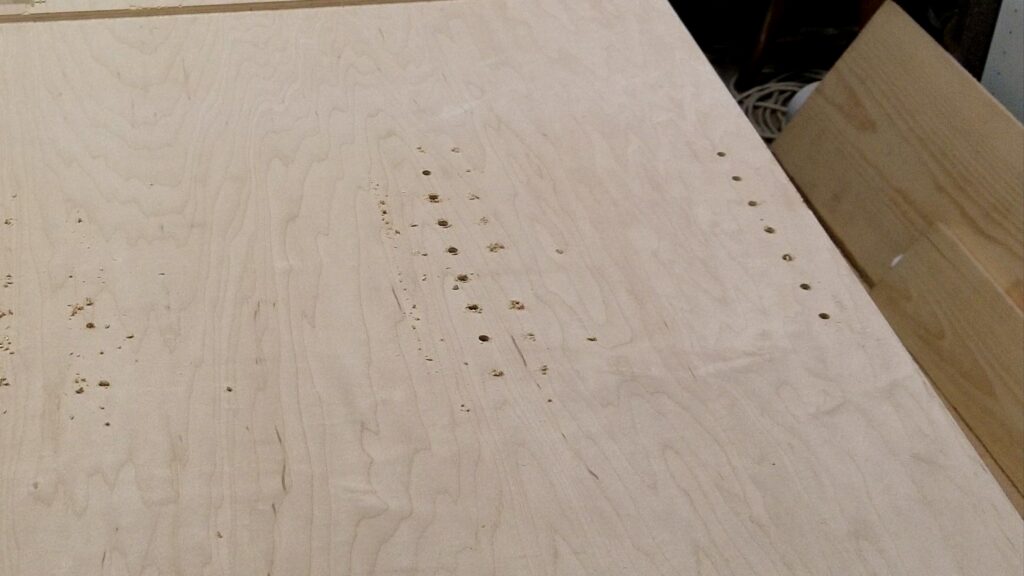
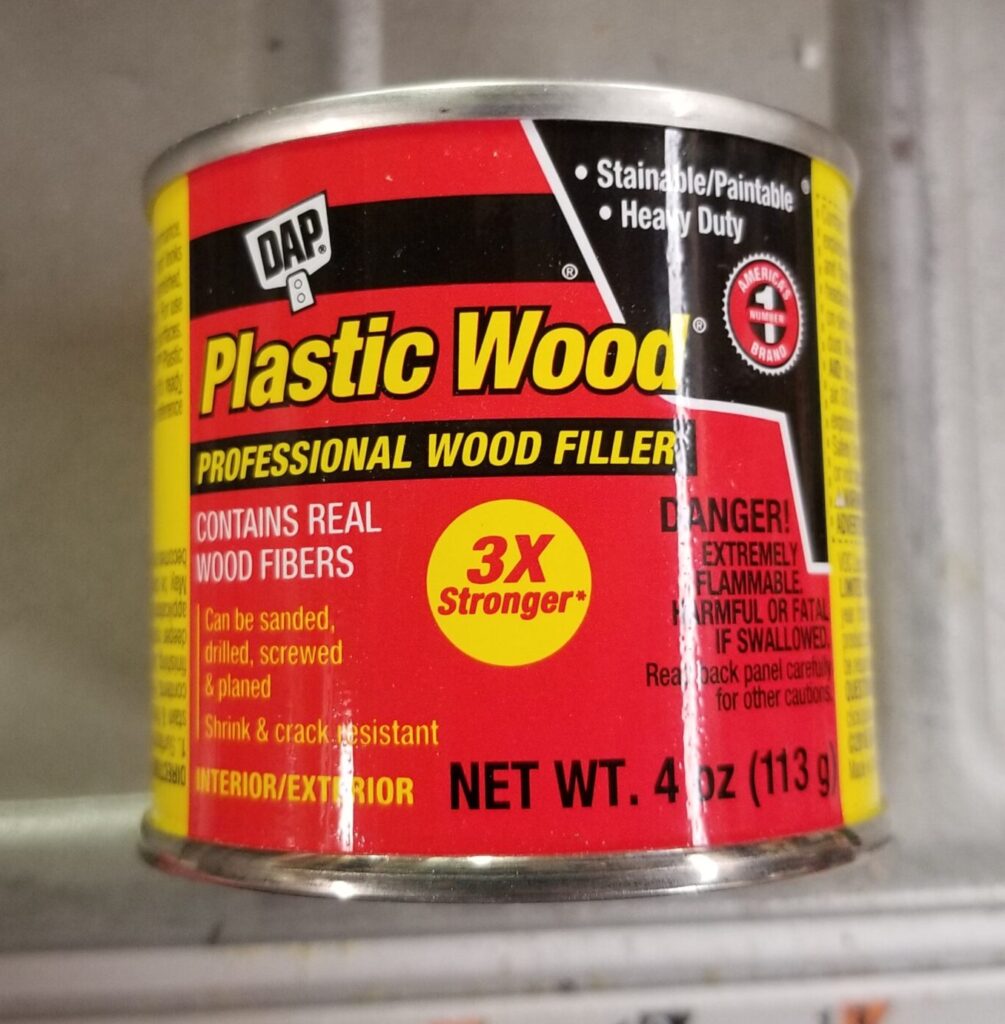
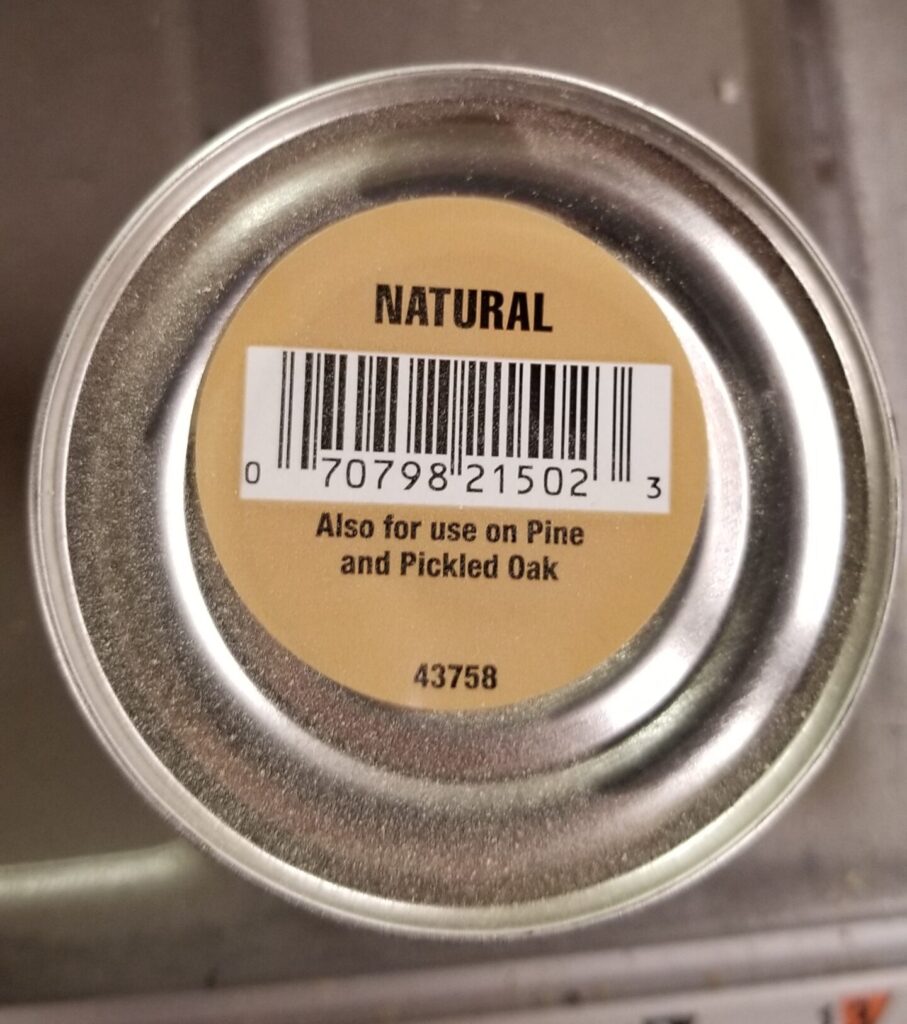
Once all the holes are drilled, my next step is to fill in any blemishes using some sort of wood filler. I use DAP Plastic Wood but have recently also begun using DAP 540 Series Natural Plastic Wood. I use a putty knife to scoop up a bit and smear it onto the surface mashing it into the wood. If you’re using the original DAP Plastic Wood that is solvent-based and it is dried out, try adding a little acetone to it and mixing thoroughly. That should bring it back to life.
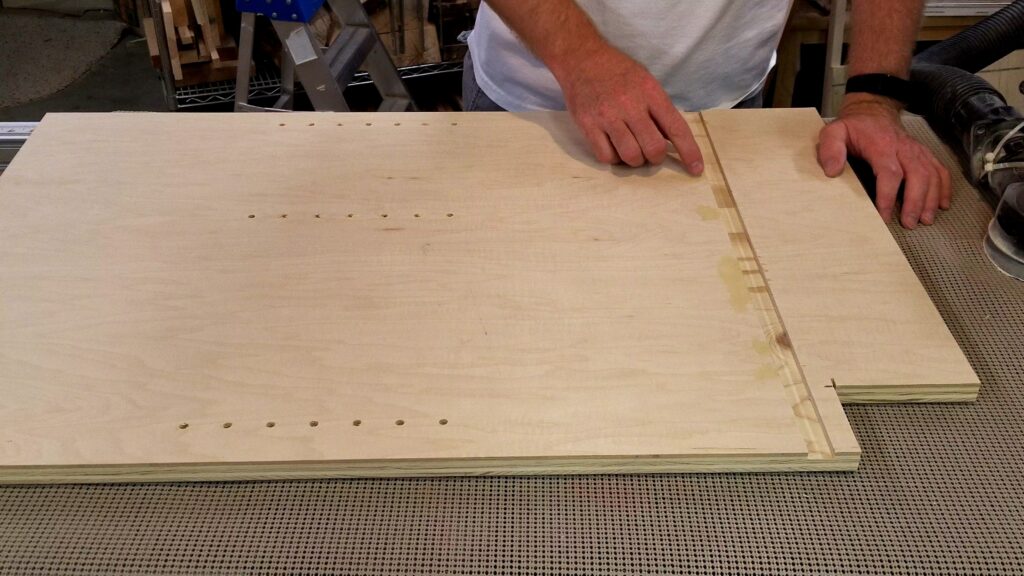
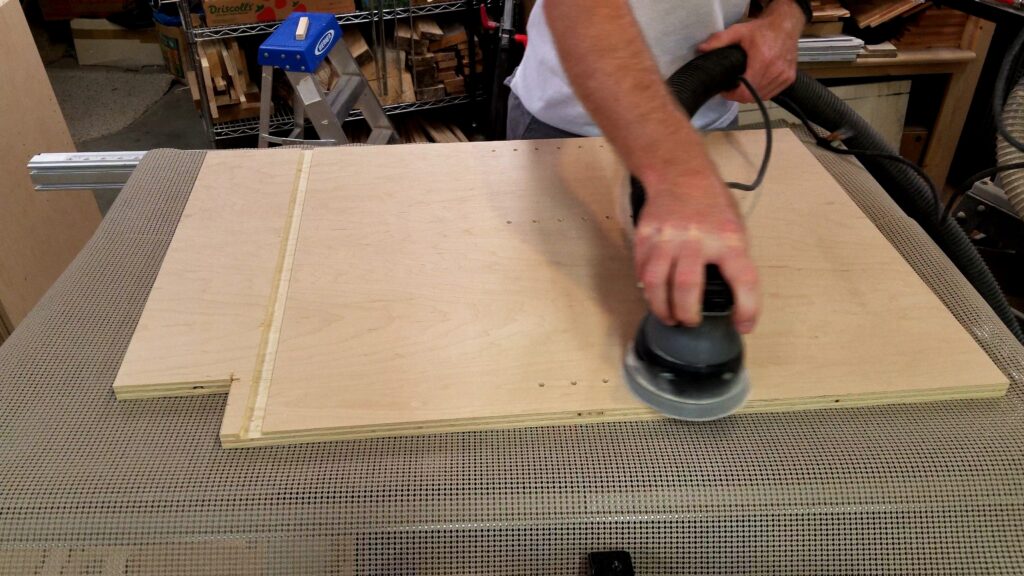
Once the wood filler dries (according to the directions on the container) I move onto sanding. Since this plywood is already decent in shape I just use 220 grit sandpaper with my random orbital sander, taking care not to sand through the veneer. Once everything is smooth and mark-free I’m done with sanding. I finish up by hand just by knocking the sharp edge off the toe kick cutout with a sanding sheet or sanding block.
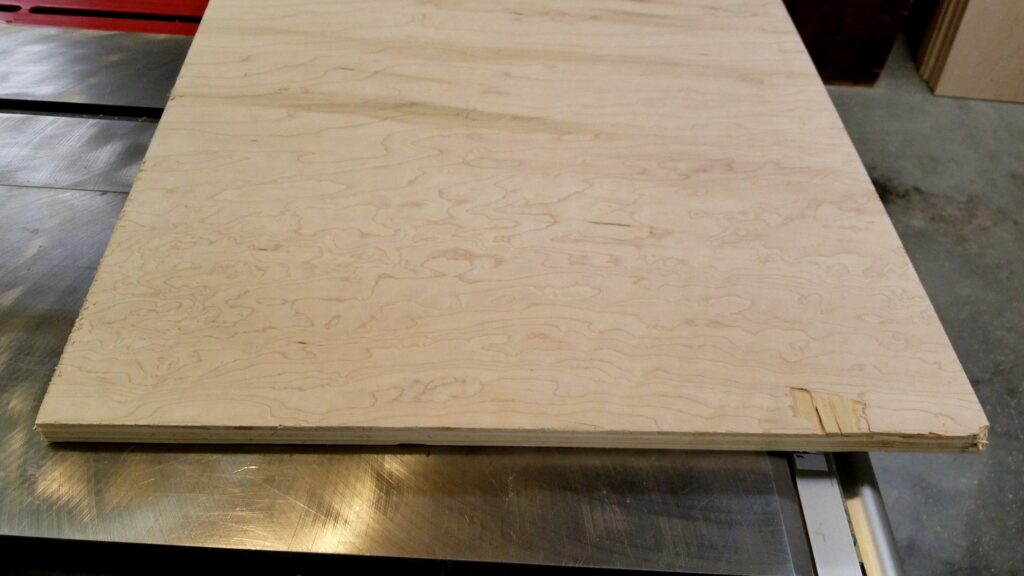
In choosing the bottom material I look through my cutoff scraps of plywood that match the side panels. I choose one that will match the dimensions as close as possible so I don’t have a lot of waste material. After all, this stuff expensive and I want to make the most of it. Once I have a piece selected where the grain pattern matches the direction I want, I’m good.
As always if you have any questions or comments post them below or on my YouTube video comments section and I’ll do my best to respond.
I’ve included a few Amazon Links below for the equipment and materials I used.
Equipment and Materials
- Porter Cable Random Orbital Sander
- S SATC Hook and Loop Sandy Discs
- Assorted Grit Sandpaper Sheets
- DAP 540 Series 00540 5.5oz Natural Plastic Wood-X
- DAP Plastic Wood
- Red Devil 4824 1-1/2″ Flex Putty Knife
- Walker’s Razor Slim Passive Earmuffs
My next article will cover cutting and preparing the bottom panel of the cabinet carcass. Until then, I hope you find this video useful and can use some of the tips presented. Feel free to leave any comments, suggestions, or experiences you have had below.
Some of the links in my video description and article above are Amazon Affiliate links. As an Amazon Associate, I earn from qualifying purchases. If you would like to make a different purchase from Amazon, you can also use the storewide link.