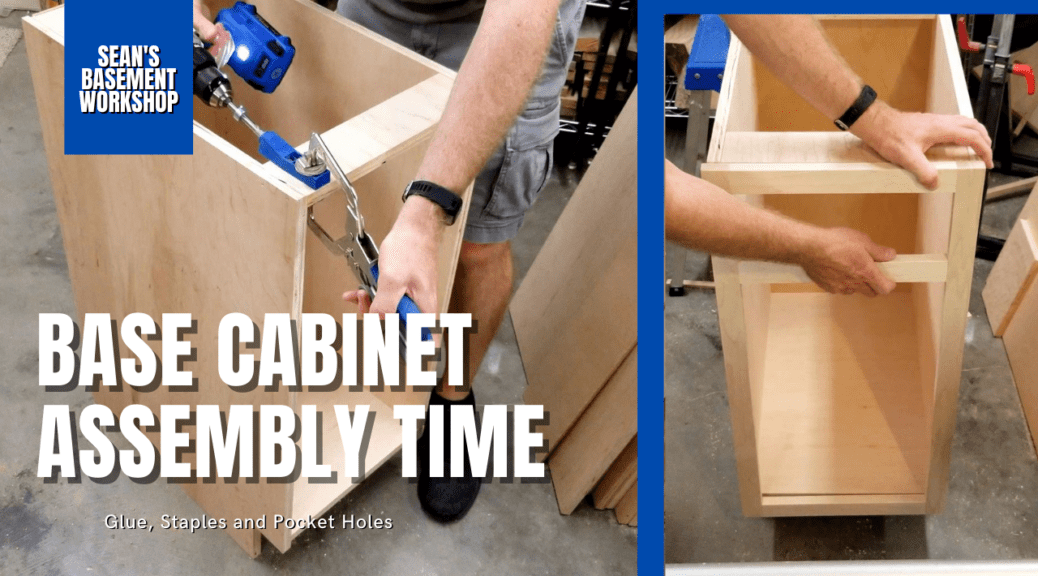
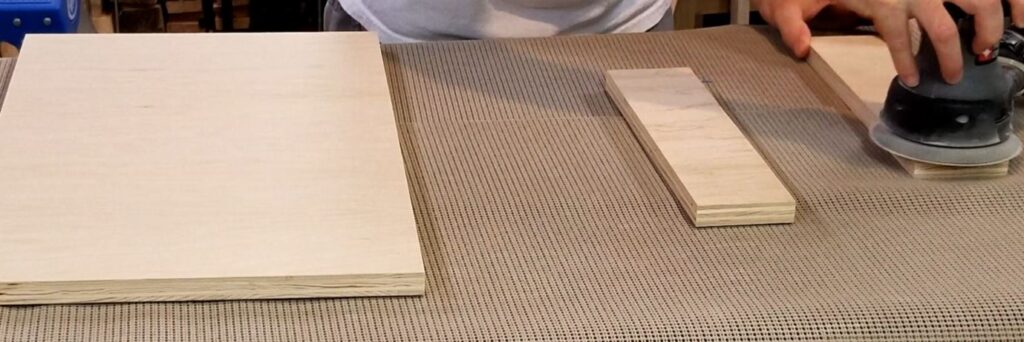
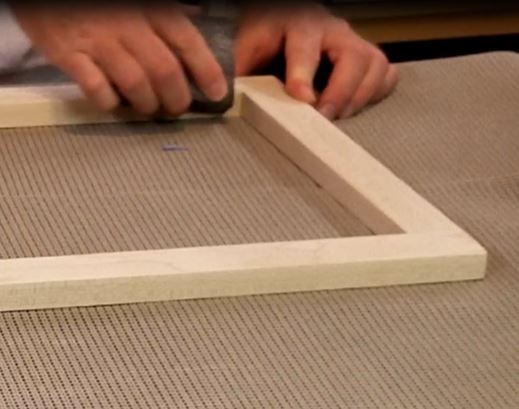
So we finally reached the point where we are going to assemble our first base cabinet. Well, not yet. Yes, we have all the components cut out but before we can do it we’ll need to sand those last three pieces we made in the previous article – the two top stretchers and the bottom. I’ll also go over the face frame one last time with 220 grit sandpaper making sure to knock off all sharp edges as the face frame will be painted on all surfaces. Any sharp edges can cause the paint to chip off if it’s hit too hard and rounding them over ever so slightly will help prevent this.
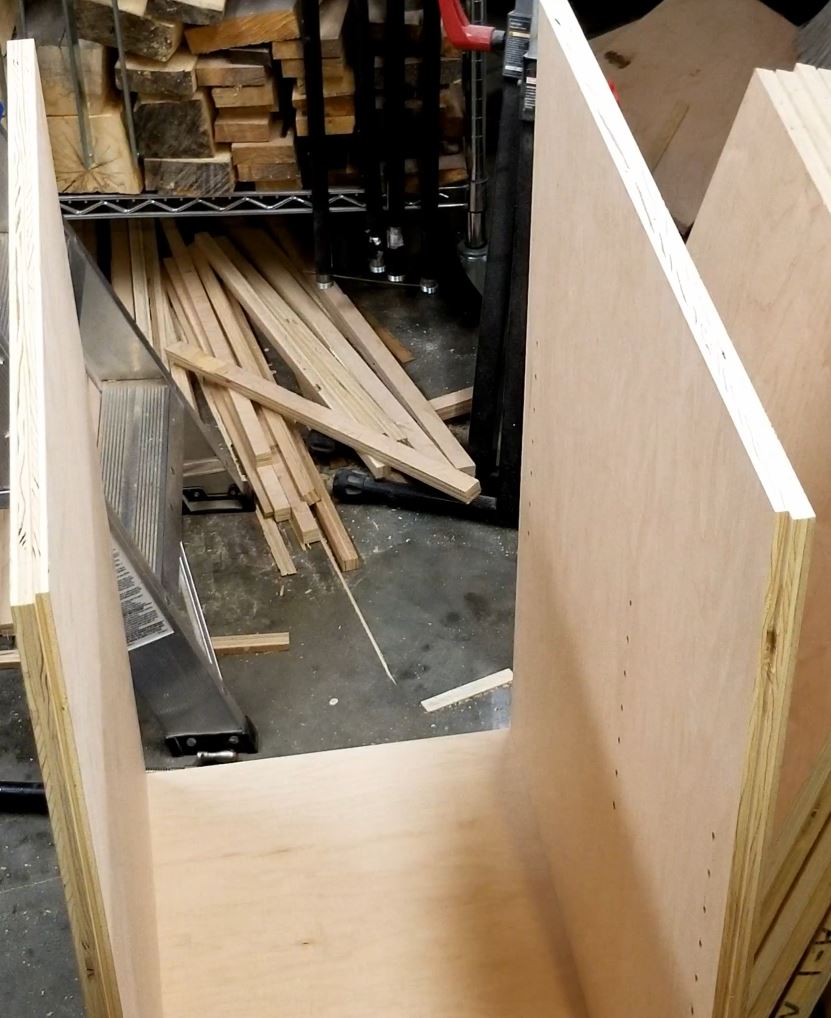
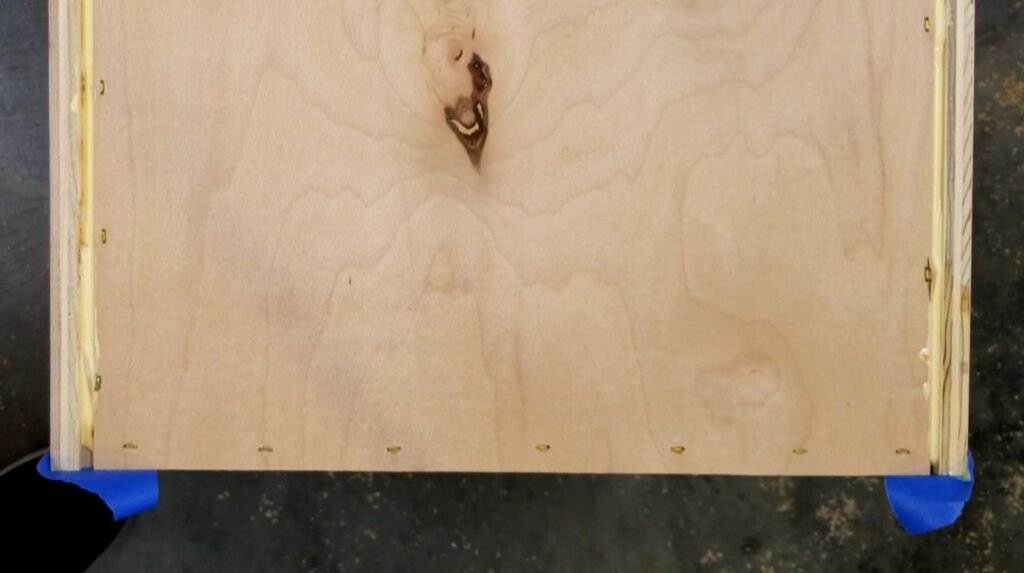
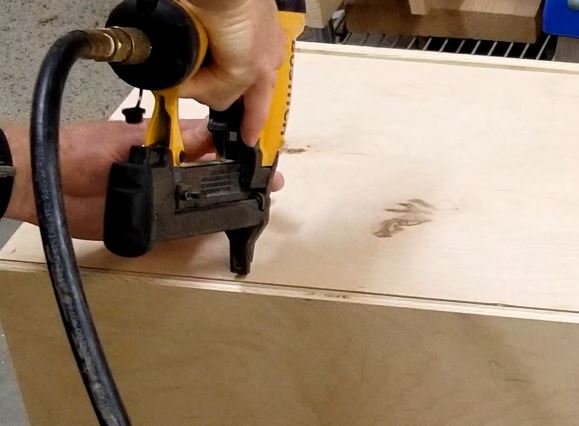
Next, I will add some Titebond II glue to the dado cuts on one side panel. I’ll put the bottom panel in and staple it in the dado cut with my BOSTITCH Crown Stapler. The chemical fastening from the glue along with the physical fastening from the staples will prevent this piece from coming apart really well. I repeat this for the other side so that I have a bottom now attached to both sides.

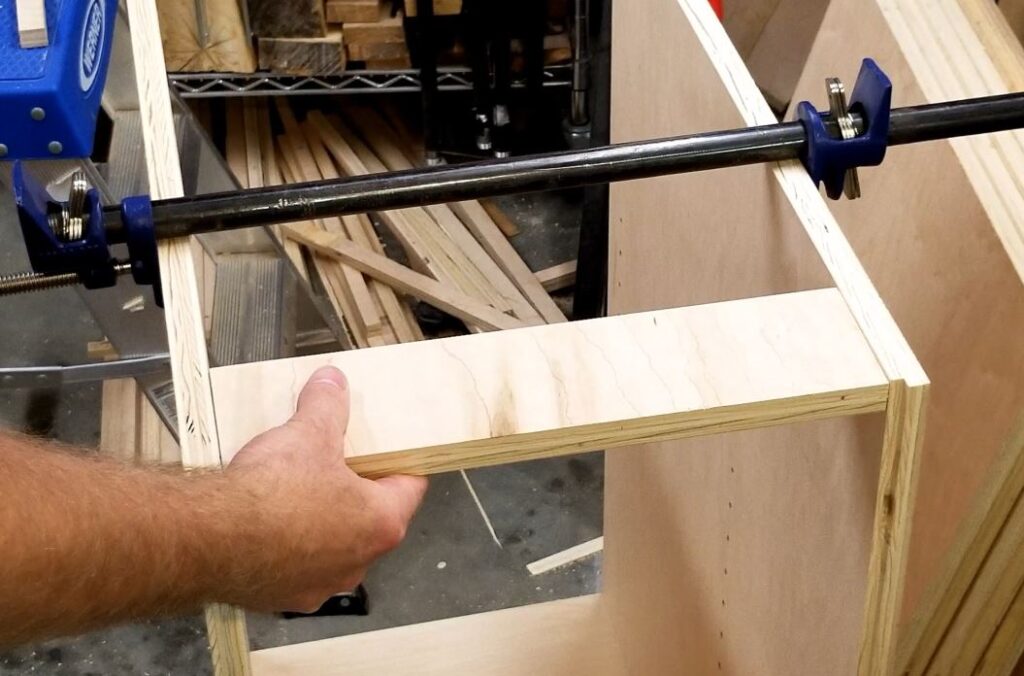
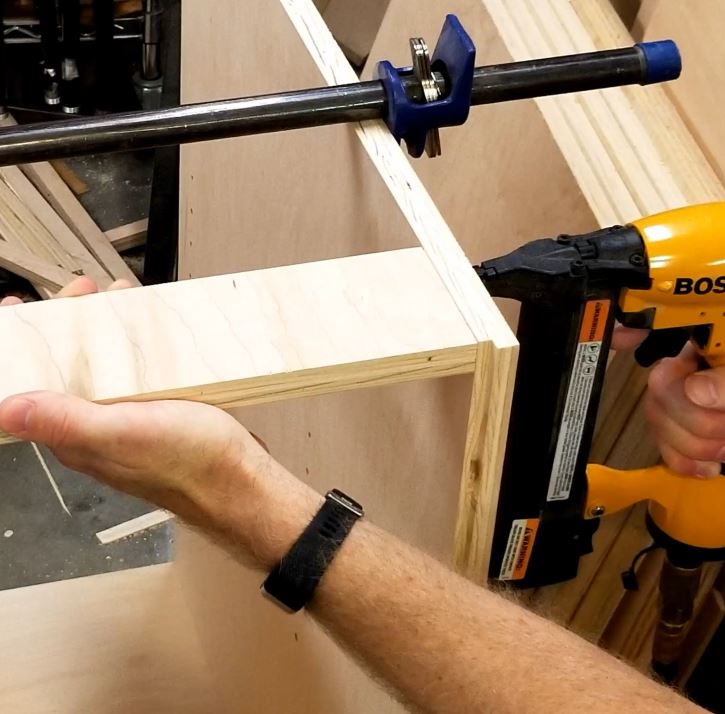
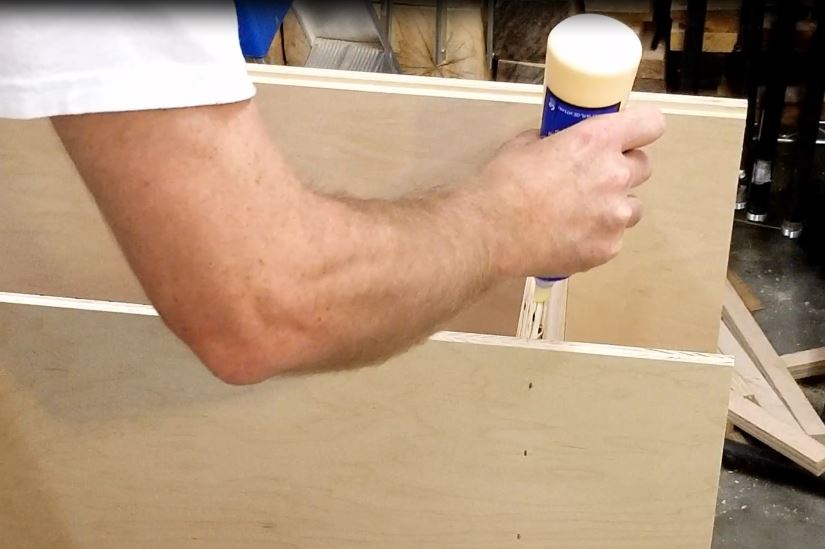
Then after we have these three components assembled I will glue and staple the top stretchers. The purpose of this is to add stability to the top of the cabinet and allow something the countertop can be attached to. If you don’t have three hands like me, you may want to use a clamp to hold the piece in if necessary.
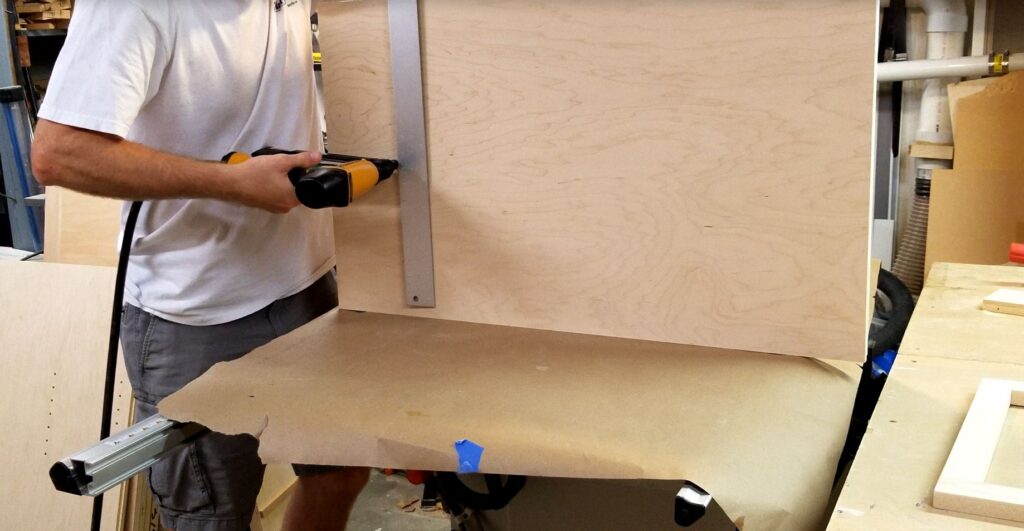
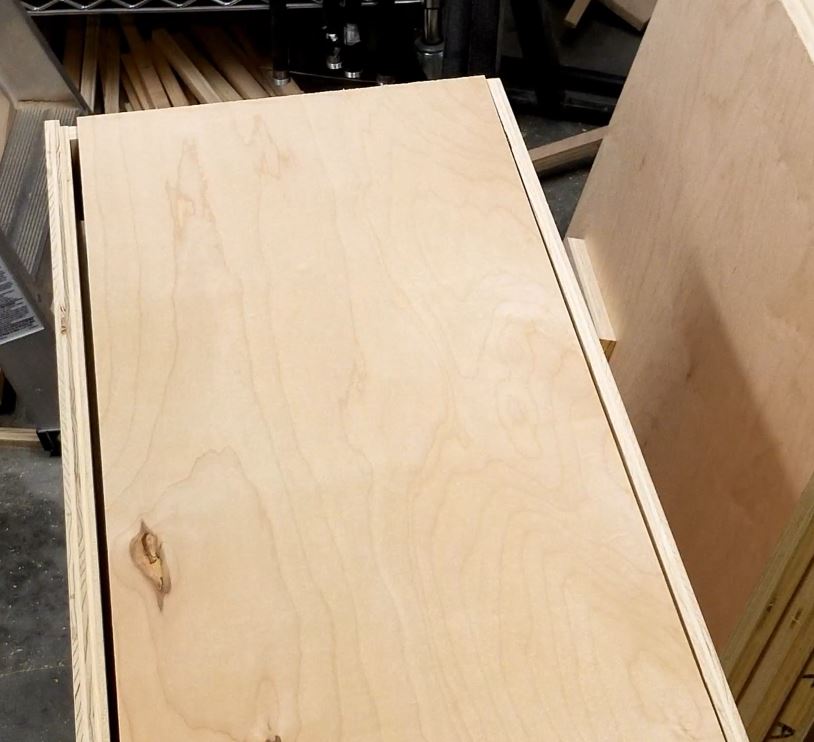
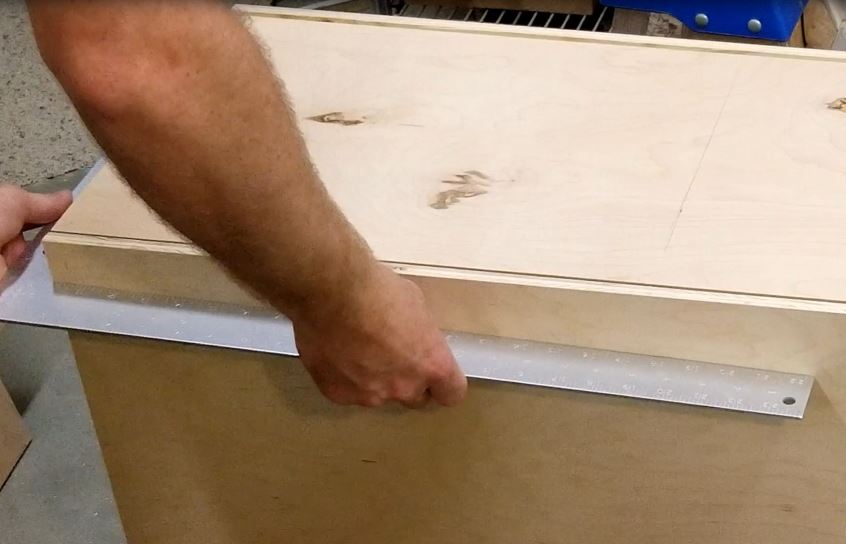
Next, I flip the cabinet so the back is up so I can attach the back. However, when I sat the back on I realized I had cut the back too small. This was a result of me measuring the back but not including the depth of the 1/4″ rabbit cuts. So,
I had to cut them back again and once again I cut it just a little short. I however filled the excess gap with additional glue.
I run a bead of glue around all four sides where the back will attach. I then lay the back down onto the glue. I staple 2 corners flush and then square up the cabinet to attach the 3rd and 4th corners. As long as your back is straight, doing this will square the cabinet up.
Once I ensure everything is square I shoot a ton of staples in. Generally, I put them every 4 to 6 inches however because this back piece was about 1/8″ too small I add additional staples to help hold it.
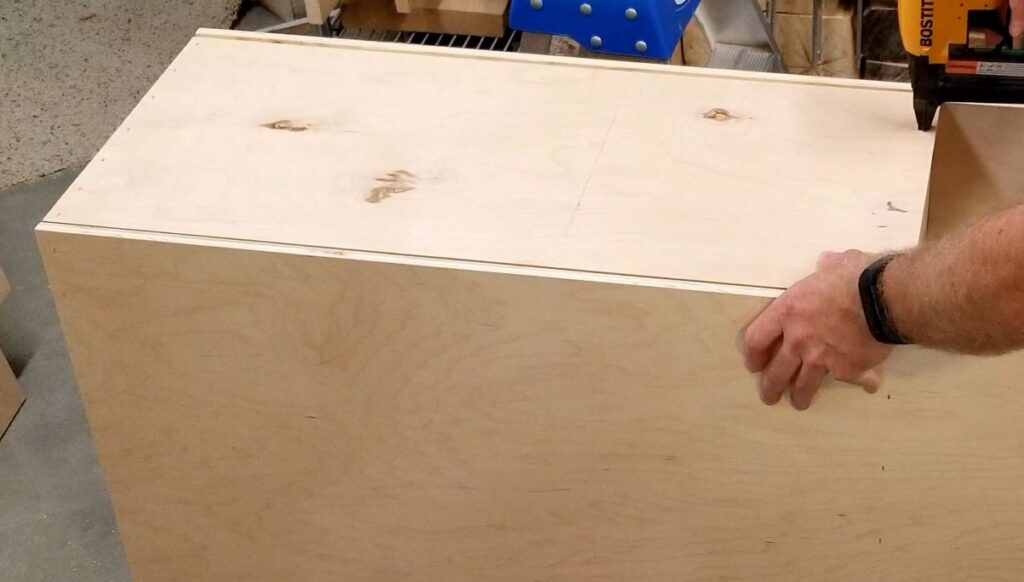
For the side staples that will go in the rabbit I ensure, I’m angling the staples so that I do now blow out into the interior of the cabinet.
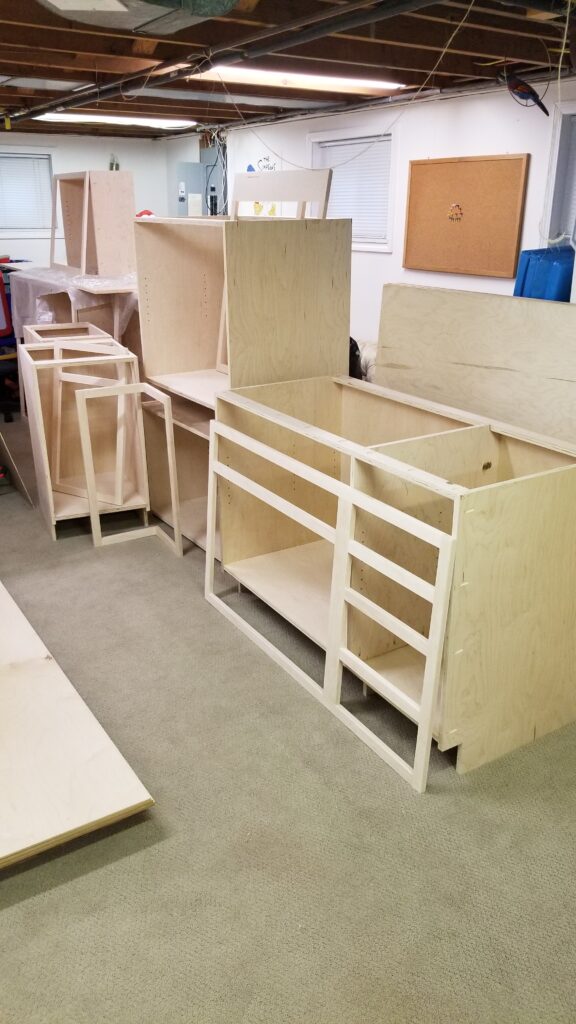
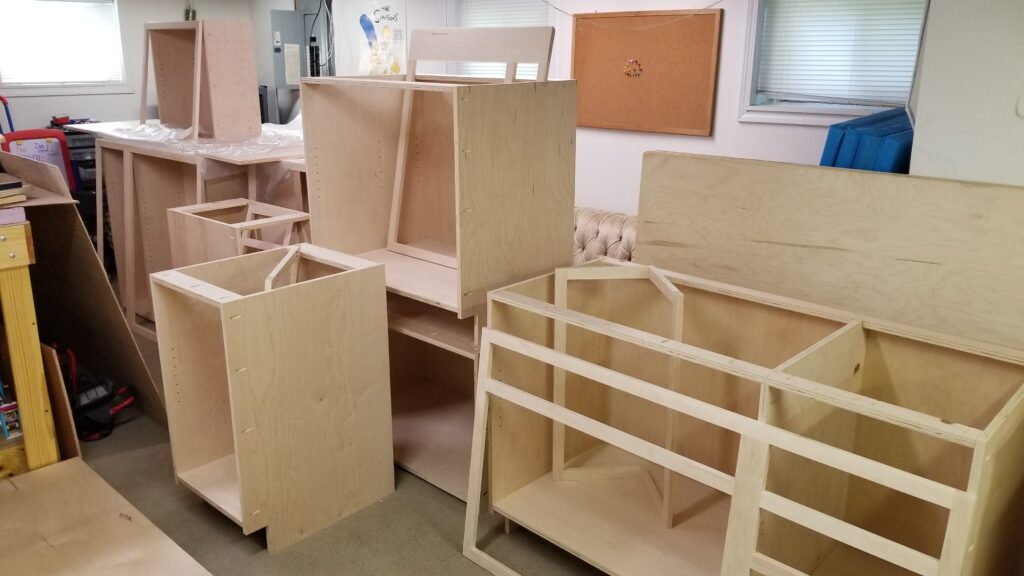
Below is an image of the cabinet post assembly. With only a few mistakes made during the process, I was able to finish this.
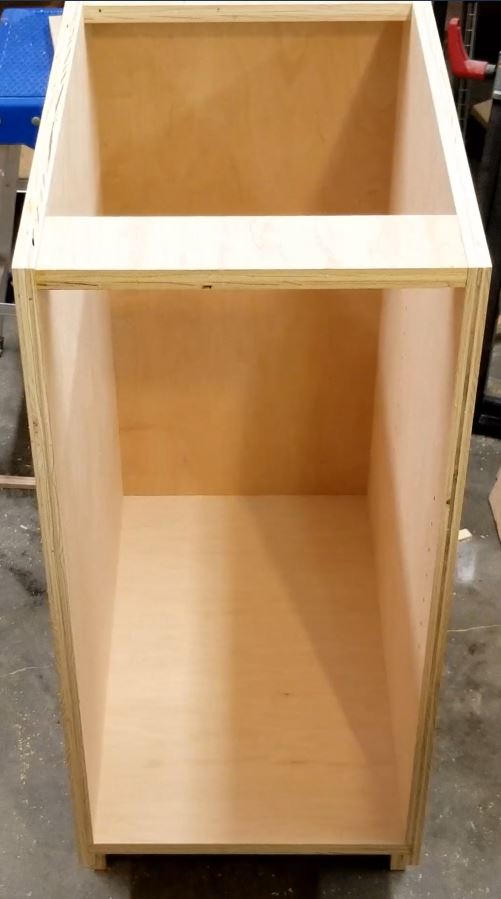
The process is essentially the same for the remaining base cabinets with the only difference is no mistakes (or different ones) and larger pieces. In all, assembling is one of the more speedy processes I find.
As always if you have any questions or comments post them below or on my YouTube video comments section and I’ll do my best to respond.
I’ve included a few Amazon Links below for the equipment and materials I used.
Equipment and Materials
- Walker’s Razor Slim Passive Earmuffs
- Porter Cable Random Orbital Sander
- S SATC Hook and Loop Sandy Discs
- Johnson Level & Tool CS5 16-Inch x 24-Inch Aluminum Framing Square
- IRWIN QUICK-GRIP Pipe Clamp, 1/2-Inch (224212)
- BOSTITCH Crown Stapler, Narrow, 18GA
- Staple, 7/32 In Crown, 1/2 In Long, Pk 7000
- Titebond II Glue
- Kreg Mini Kreg Jig Kit
- Kreg Pocket Hole Jig K4 Master System
I hope you find this video useful and can use some of the tips presented. Feel free to leave any comments, suggestions, or experiences you have had below.
Some of the links in my video description and article above are Amazon Affiliate links. As an Amazon Associate, I earn from qualifying purchases. If you would like to make a different purchase from Amazon, you can also use the storewide link.