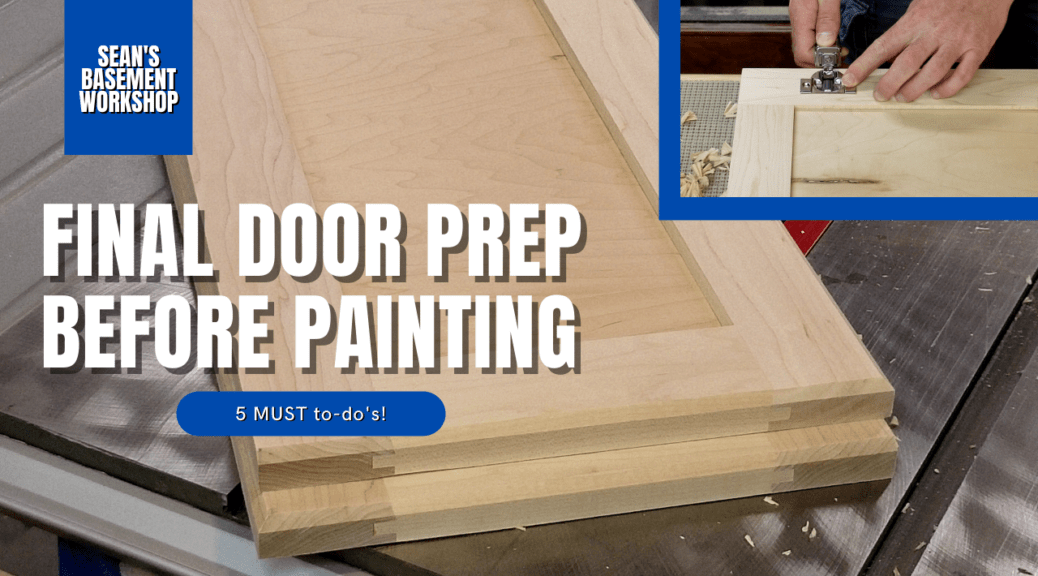
What do I mean by cabinet door prep? Well, let us look at this from a starting point of, you have made your door, glued it up and it is fresh out of the clamps. What do you need to do to it now? Slap some hinges on it and call it a day? Wrong, let’s not only put in 20% effort for the last 20% that needs to be done.
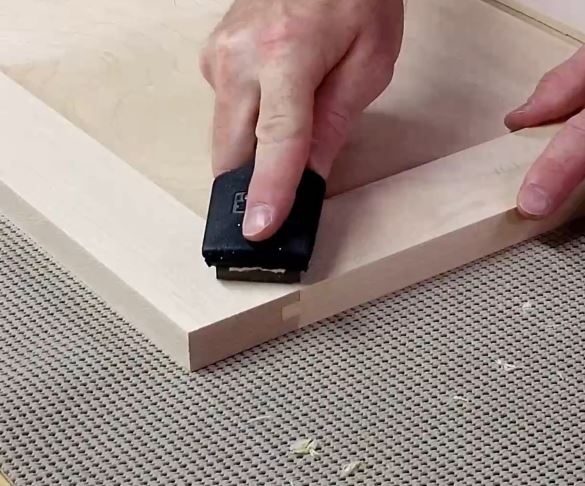
So first things first, you’ll need to scrape all the dried glue off of the joints. While it is easiest to do glue scraping when the glue is partially dried and not fully cured with doors that may not be possible given the clamps may hide a majority of the glue squeeze out. I find that using a sharp paint scraper like the Hyde 10530 paint scraper works great. This razor shape scraper cuts through glue and will even smooth out some joints as card scrapers will. Most of the squeeze-out will probably be on the downward side of the door which should be the back side.
Once you get most of the dried glue removed, keep in mind not to damage the wood, You have two choices here. First, you can rough sand with 80 grit to remove all rough areas and imperfections on the doors. Or second, you can do edge profiling.
I choose to do the 80 grit sanding first. That way I’ve got a smooth door to work with when running it on a router table or router over it. Those bumps and imperfections can cause the router to hop or hang up causing your edge profiling or any detailing you’re going to do not to look so good.
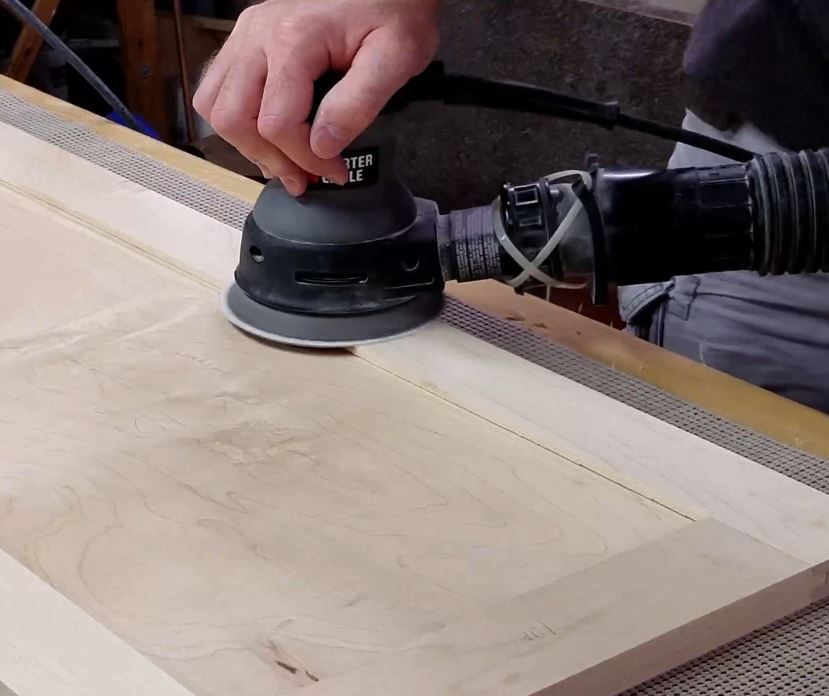
So, I sand everything down with 80 grit sandpaper on my random orbital sander. Once I have this step done I move on to using my router table to do any edge profile that I want. If I’m going to do any inset work I use my handheld router and a guide to do it now also. One thing to note if you’re sanding is you should always do your best to collect any sanding dust. I attach my sanders to my dust collection through a shop vac hose. In addition, I use an Eclipse Half Mask Respirator S/M to keep the fine dust out of my lungs. If you don’t have a respirator you can always use N95 dust masks.
Now that I have my rough sanding done I move on to my router table. Using a 45-degree chamfer bit I do all front edges of the doors. The one exception is my corner cabinet. I don’t want to the edges where the two doors meet at the hinges. I want a nice square look here.
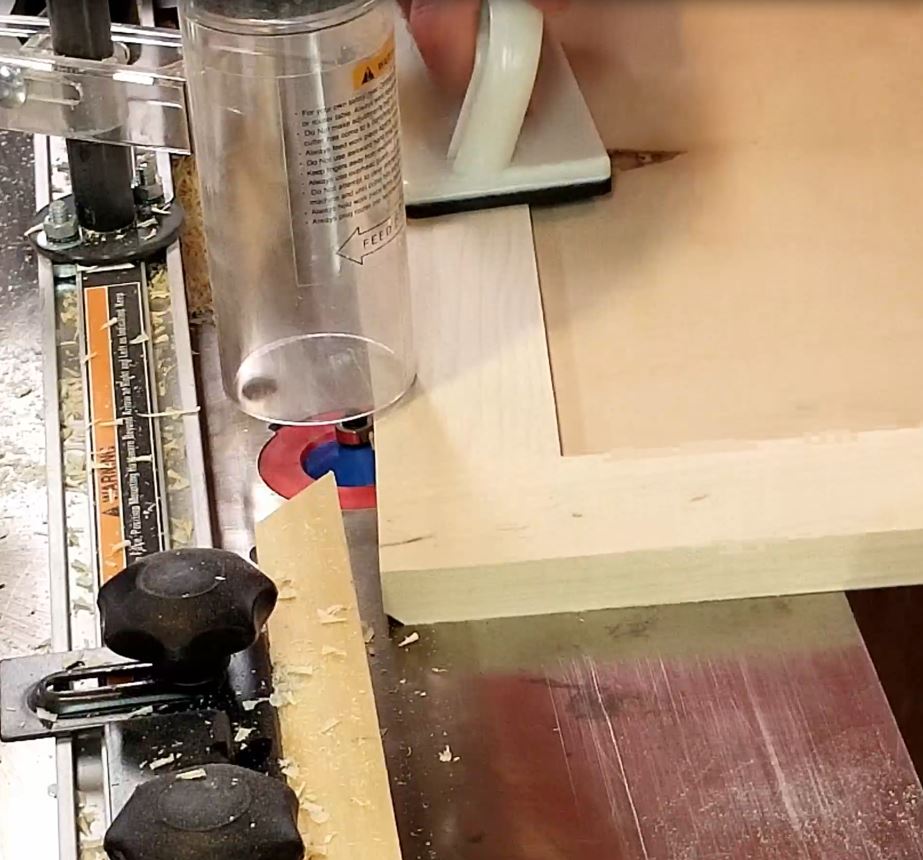
If you decide to route the edge of your doors, you should start with either the top or bottom. This is the location where the stile will come to end grain. Do these first because if it happens to splinter out, the router bit will chase the splinter when you are routing the style itself. So, start on the door edge that is made up from your rail, then do the stile, then the other rail, and finally the remaining stile. If you do have a splinter that is unable to be routed out, try to find the splinter and reglue it. The route the repair but it’s best to go slow when you are reaching the end of the board to avoid a tear out in the first place.
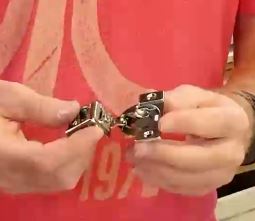
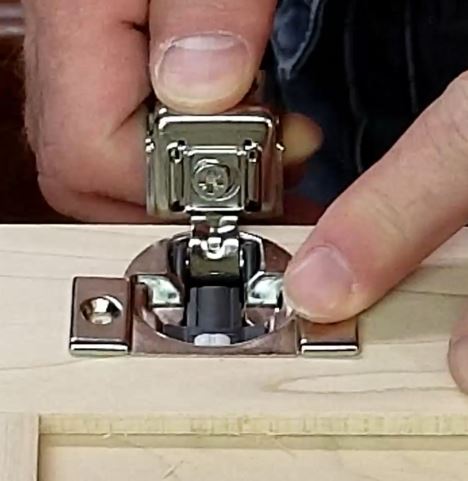
Once this is done I move on to drilling the cups for the concealed hinges. I’m using Blum Compact Blumotion 38C Hinges. This has a slow close feature that keeps the door from banging closed. The particular hinge you choose will be dependent entirely on the overlay. I need 1 1/4″ overlay hinges. You’ll need 2 hinges at a minimum. One for the top and one for the bottom. However, if you have larger than the standard size I recommend using 3 hinges with that additional one in the middle. For my base cabinets, I only need 2 but for my upper 42″ doors, I need 3 hinges.
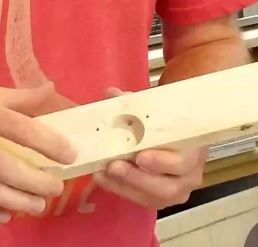
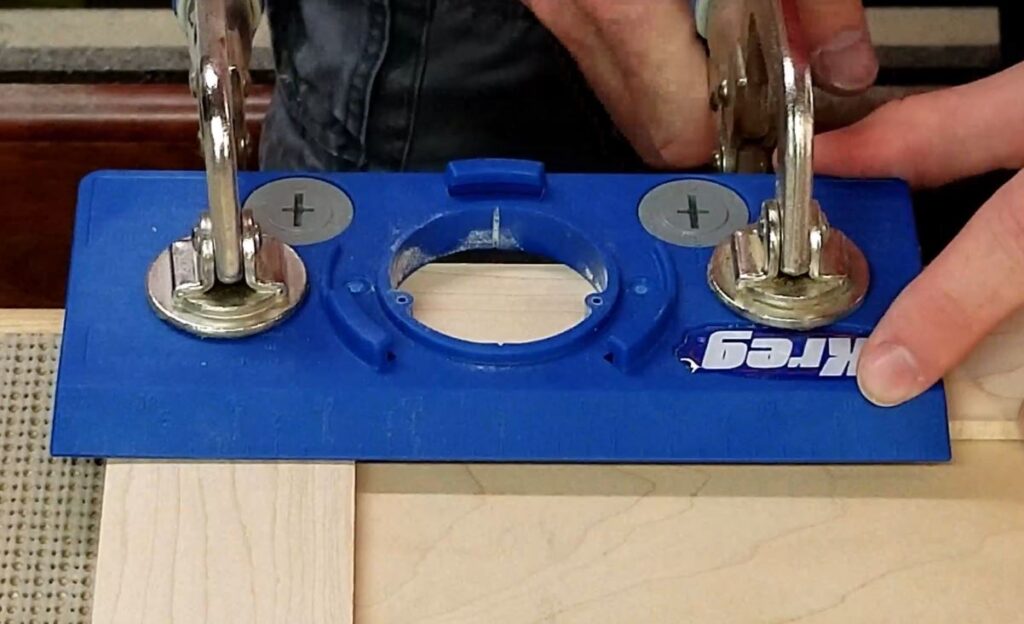
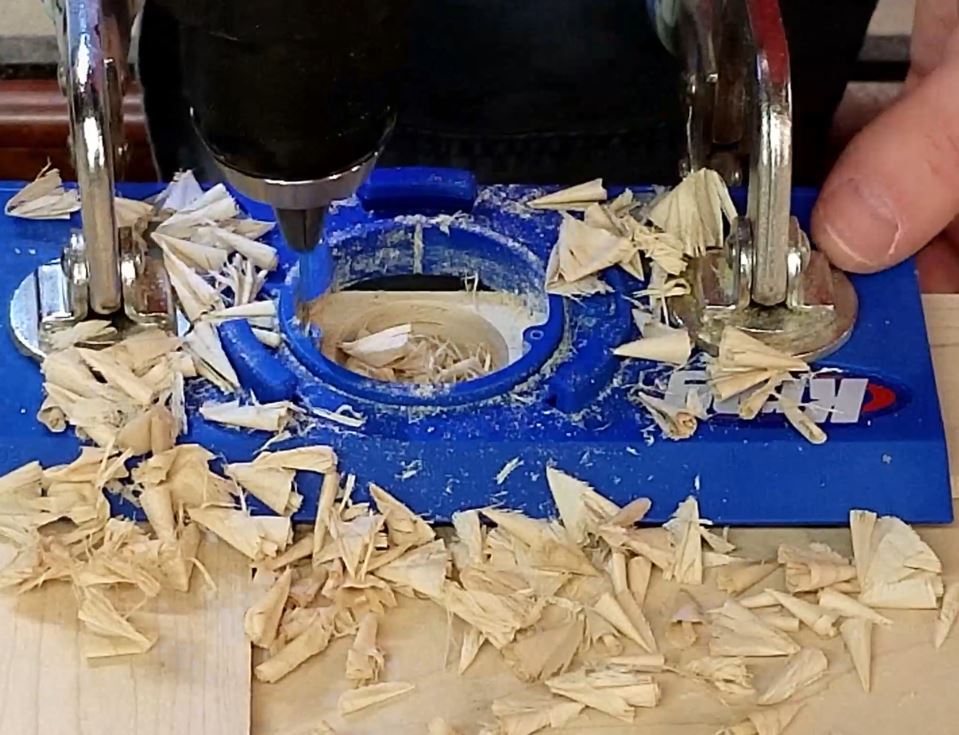
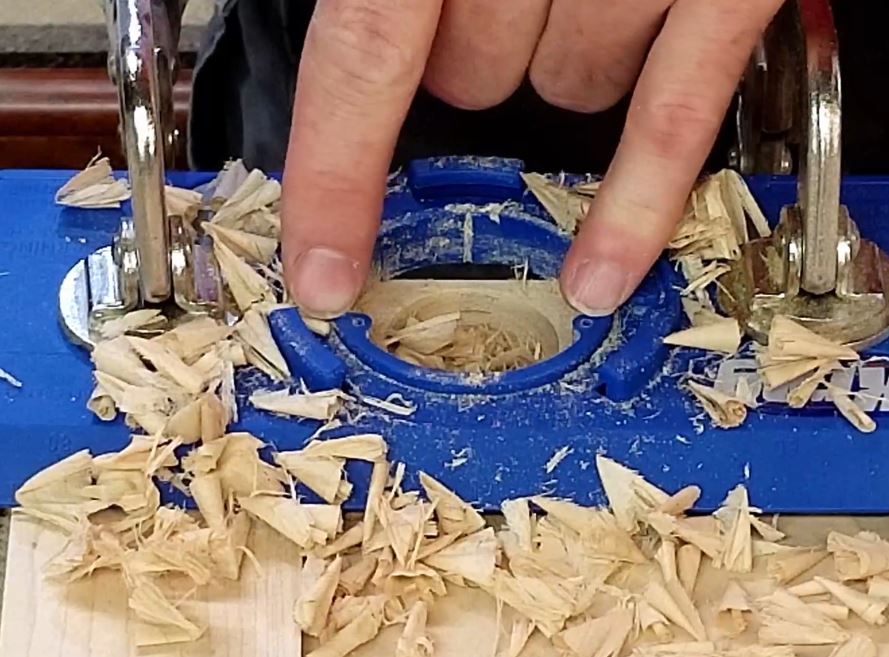
I drill the holes using a Kreg Concealed Hinge Jig. This jig is awesome and makes short work out of drilling everything. Once you set it up and dial it in, you’re good to buzz through all your doors consistently. It cuts out the two pilot holes for the screws on the door as well as the 35mm cup for the actual hinge.
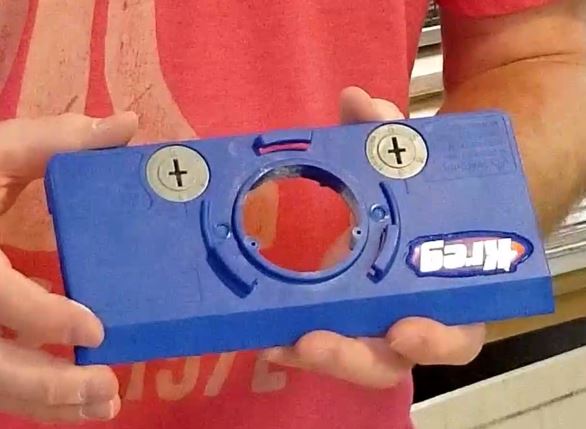
To use this jig all you need to do is use some clamps. I’m using my Kreg face clamps to hold it down but you can use any clamps if you like. Drill all three holes before moving your jig. This will ensure accuracy.
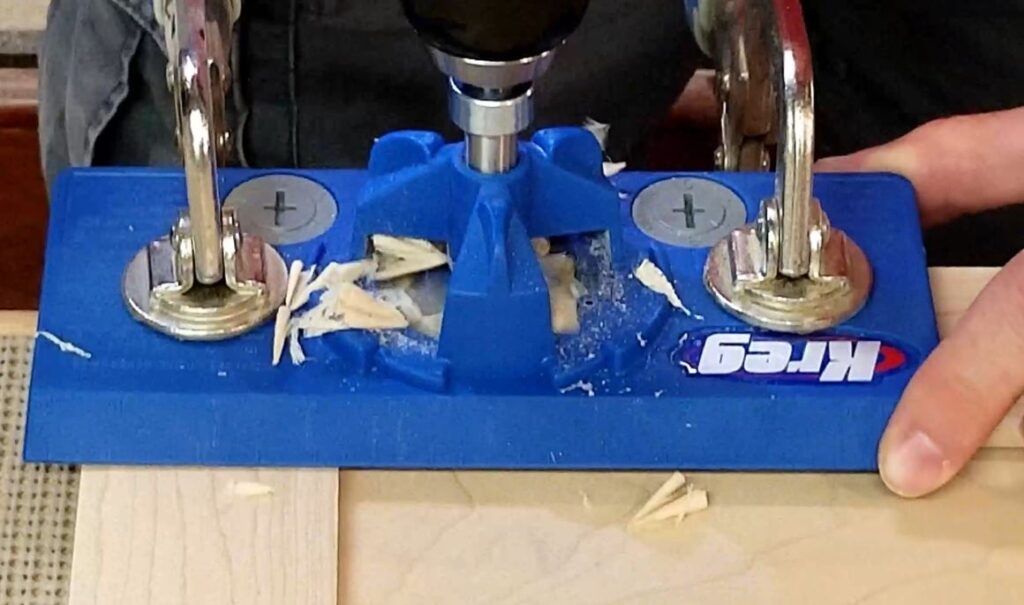
Once I drill 1 hole I double-check to make sure everything is good. I not only do this on my test piece but also on my live stock piece.
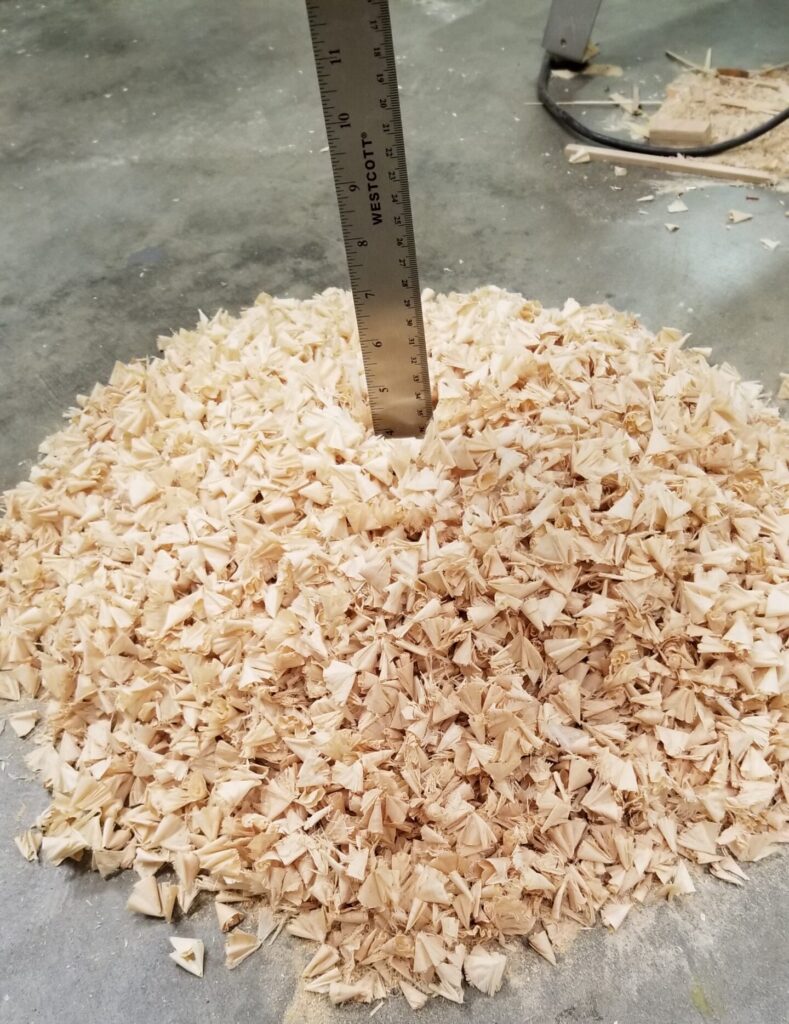
After drilling all my holes I ended up with a large pile of pencil shavings – well, 35mm hole shavings.
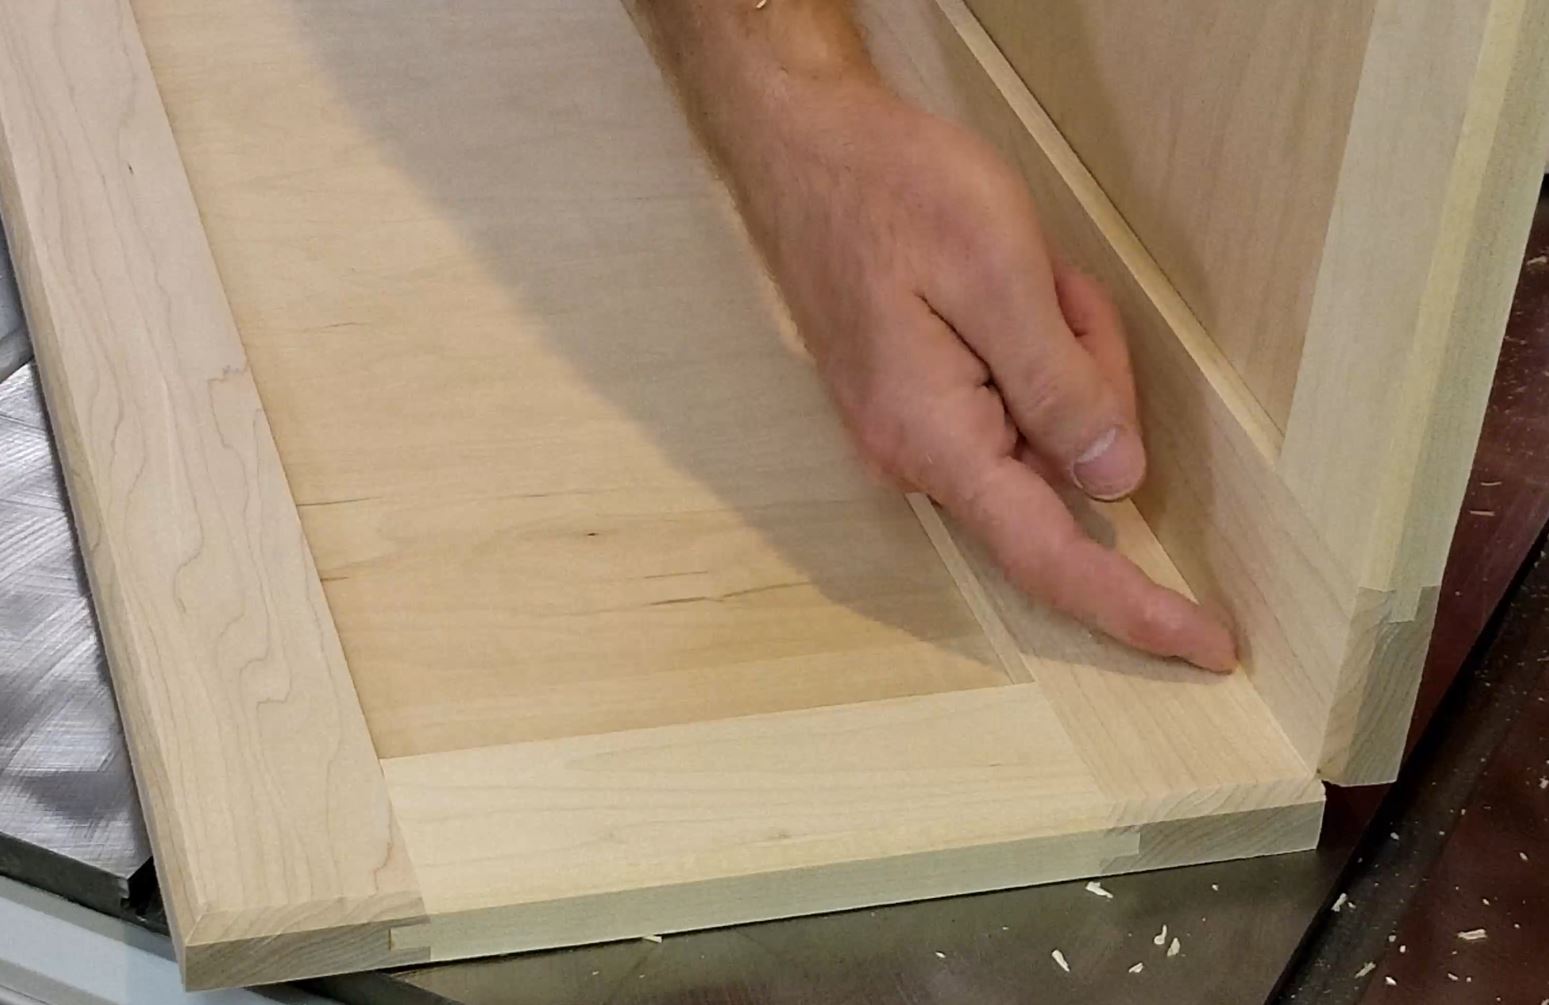
Finally, I fill in any imperfections with wood filler and sand the door down to 120 grit. I break all edges as I did on my face frames so the paint will adhere down.
That’s pretty much it on how I make cabinet doors. You can check out the video below to watch the entire process.
As always if you have any questions or comments post them below or on my YouTube video comments section and I’ll do my best to respond.
I’ve included a few Amazon Links below for the equipment and materials I used.
Equipment and Materials
- Assorted Grit Sandpaper Sheets
- Blum, Compact Blumotion 38C Hinge & Plate, For 1-1/4″ Overlay
- Chamfer Bit
- Rockler Chamfer Bit
- DAP Plastic Wood Filler
- Eclipse Half Mask Respirator S/M
- Hyde 10530 Paint Scraper, 1-1/2″
- Kreg Concealed Hinge Jig
- Kreg KHC-Premium Face Clamp
- MLCS 9167 Safety Push Block and 5-Piece Stick Package
- Porter Cable Random Orbital Sander
I hope you find this video useful and can use some of the tips presented. Feel free to leave any comments, suggestions, or experiences you have had below.
Some of the links in my video description and article above are Amazon Affiliate links. As an Amazon Associate, I earn from qualifying purchases. If you would like to make a different purchase from Amazon, you can also use the storewide link.