If you’re building cabinets or anything that involves drilling shelf pin holes, especially hundreds of them, you’re going to want the Rockler JIG IT Shelving Jig. If not this jig, then one like it.

Why do I say that? Nearly 25 years ago when I built cabinets we used a piece of oak with holes drilled in it and a 1/4 inch drill bit with a piece of tape wrapped around it marking how deep to drill. Often the tape would start to wear and you’d need to tape it to make sure you were not going to drill through the material. The okay strip would start to wear out and eventually need to be made again. If if you had a piece of 1/4 inch steel bar with holes drilled in it you still needed to be careful to keep things spaced correctly so the shelves didn’t tip. You can also use a 5mm bit to drill holes as well but I used a 1/4 inch bit setup.
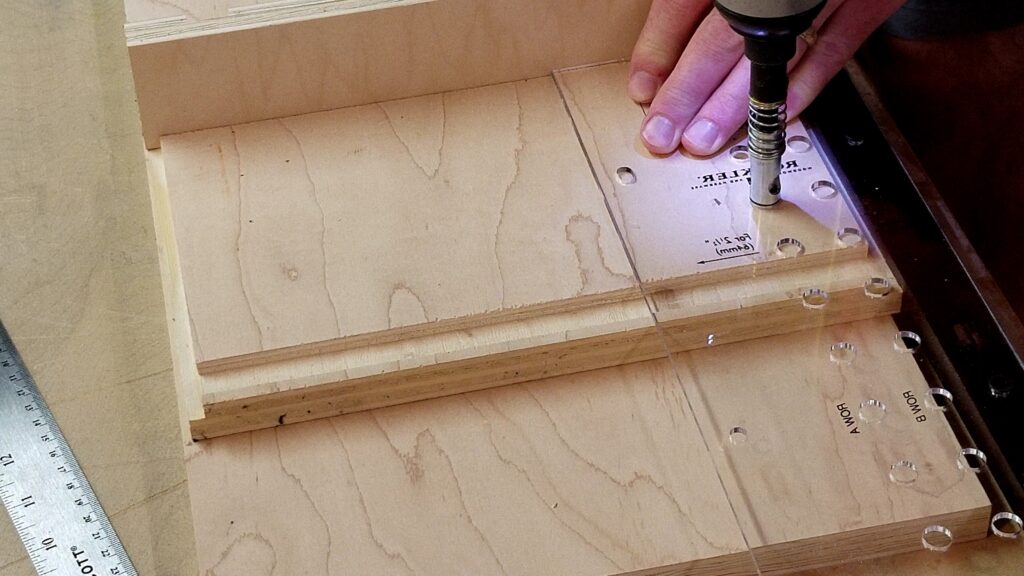
So, what does this jig do for you? Well, for one it’s fast enough to throw into a cabinet, adjust the stop collar on the guided bit to get the right depth, and plow through hundreds of holes in hardly any time at all.
I know that sounds like a sales pitch and to some degree it is. When I made my cabinets, which are standard base cabinets but 42-inch upper cabinets it required drill hundreds of holes of shelving. This jig allowed me to drill these things fast.
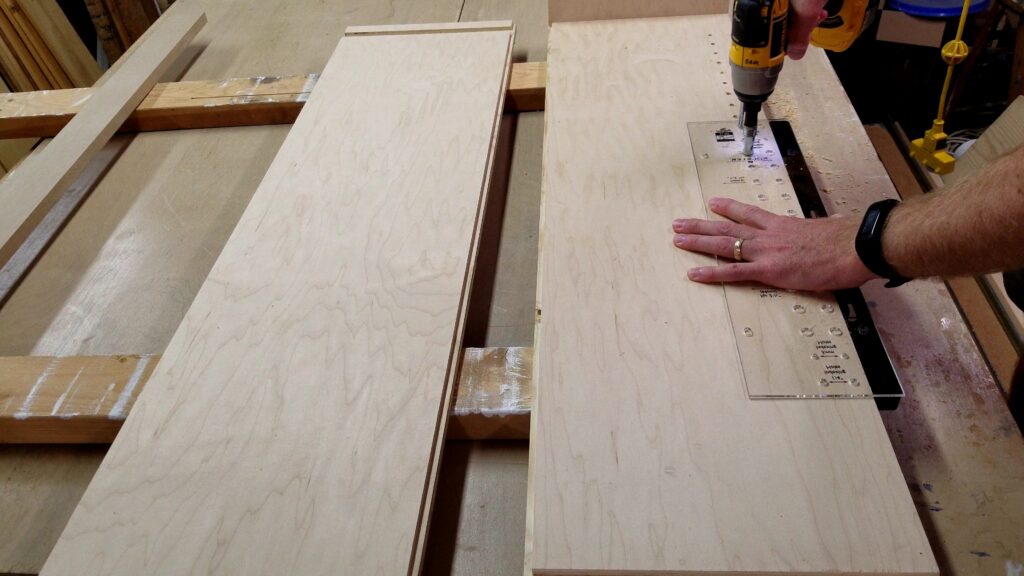
To use the jig you can either but the edge up against a face frame or flip it over so it hangs over the edge of the carcass sides. Drill the hole using the provided spring-loaded guide bit and repeat until you get all the holes drilled you need. If your material is longer than jig simply uses a 1/4 inch rod in the alignment hole with a hole you drilled and continue down the line. It makes fast work out of the job. For drilling, I was using my DeWalt DC825 Impact Driver which is great but I switched to my Kobalt 24-Volt Max Lithium Ion (Li-ion) 1/2-in Cordless Brushless Drill which did not ratchet. This allowed for a much smoother drill without damaging the template as much (not pictured in this article or video).
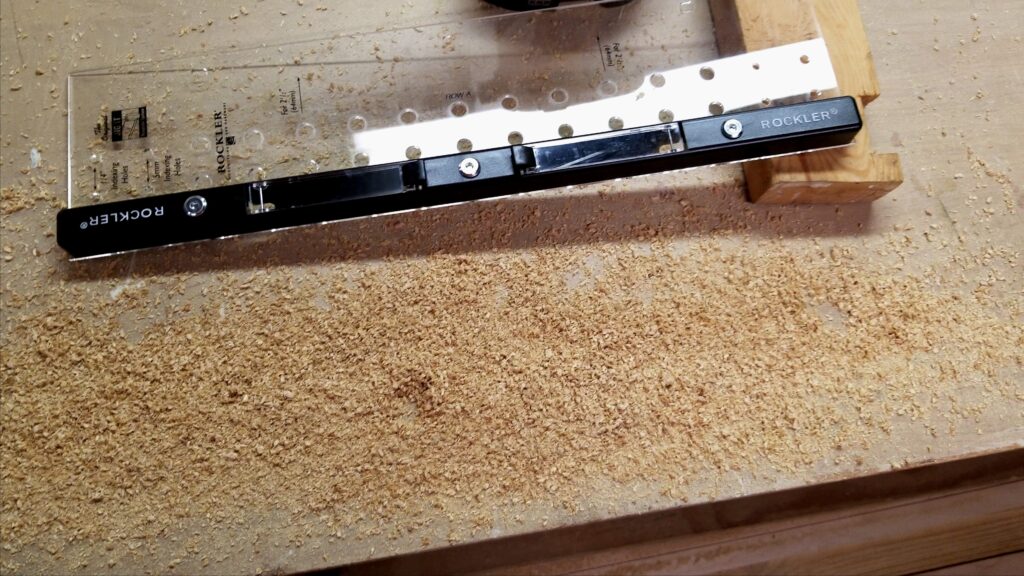
The one downside I noticed is I was drilling so fast the bit got quite hot. This cased the brass washer to start to shave thinner and caused the guide sleeve to wear on the acrylic template. Overall though it didn’t affect the accuracy of the job but did force me to slow down a little.
As you can see from all the drill shavings I created quite a few holes so it was no wonder it heated up. My recommendation would be to drill these shelf pin holes prior to assembling your cabinet carcass though because it is easier to work outside the cabinet than inside if you know what I mean. If this is not an option then squeeze in.
I’ve included a few Amazon Links below for the equipment and materials I used. Although this is a Rockler Jig, I am not sponsored in any way by them.
Equipment and Materials
I hope you find this video useful and can use some of the tips presented. Feel free to leave any comments, suggestions, or experiences you have had below.
Some of the links in my video description and article above are Amazon Affiliate links. As an Amazon Associate, I earn from qualifying purchases. If you would like to make a different purchase from Amazon, you can also use the storewide link.