Before you do your final assembly I highly recommend you drill your shelf pin holes. The reason I say this is because it is easier to drill all those holes on the side panels prior to assembling that cabinet carcass. For starters, you do not have to worry about tight spaces and if you are using a homemade shelving pin jig or a jig like the Rockler JIG IT Shelving Jig, there are no sides or tops and bottoms to worry about getting in the way.

If you decide to make your own shelving jig I’d recommend using something such as aluminum or a hardwood so holes do not wear out. I would not recommend free handing the holes by measure, drill and repeat. You are more likely to get off and being off just 1/16 of inch on the height of one hole can send one or more shelves rocking.
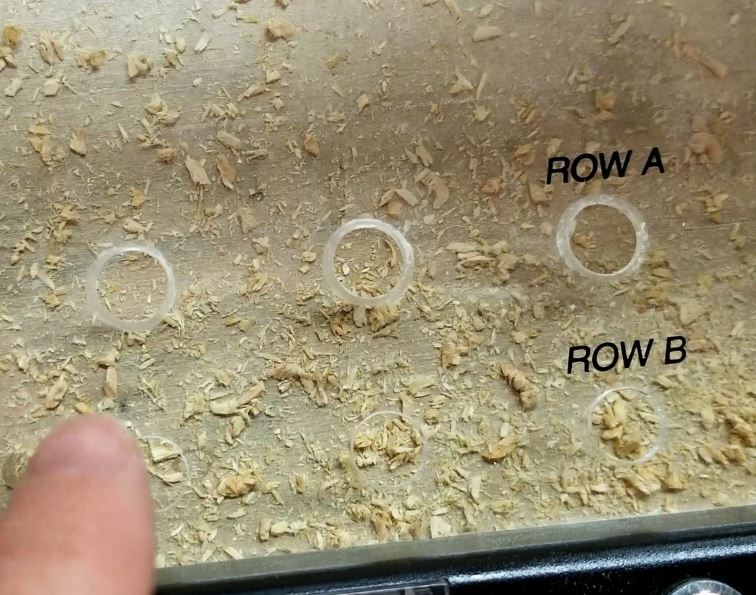
I used to use one of these homemade jigs many years back but I decided to try the Rockler JIG IT Shelving Jig (you can read more here) and it worked great. The one downside is it allowed me to go so fast the bit got hot and I believe this caused some damage around the holes on the acrylic template. That said, it served me well and saved me time overall.
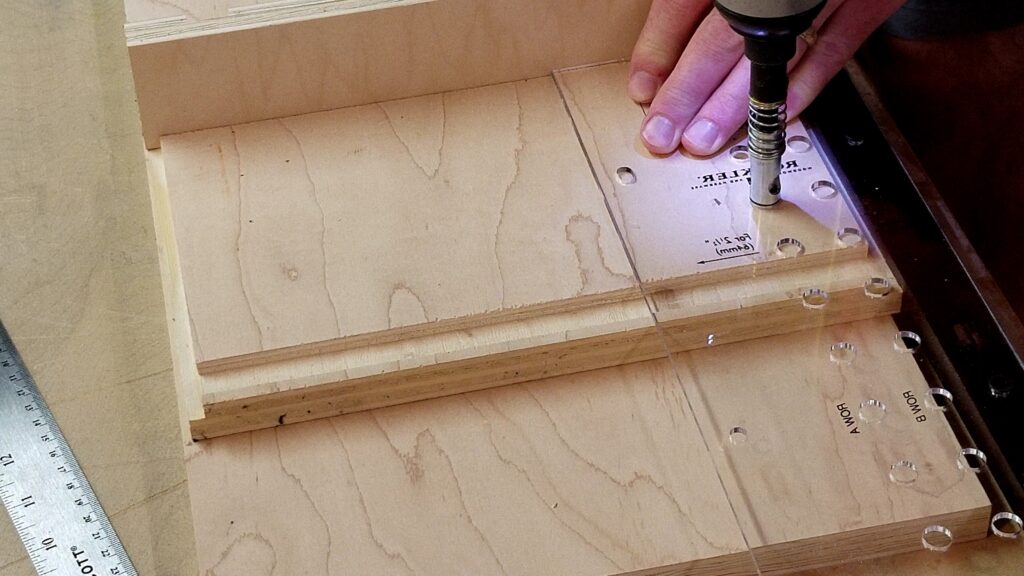
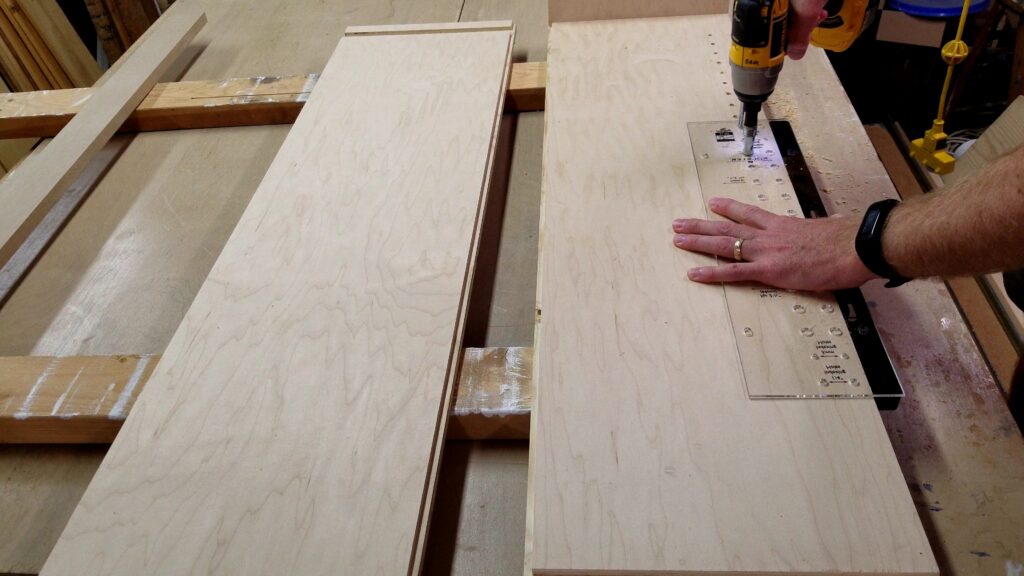
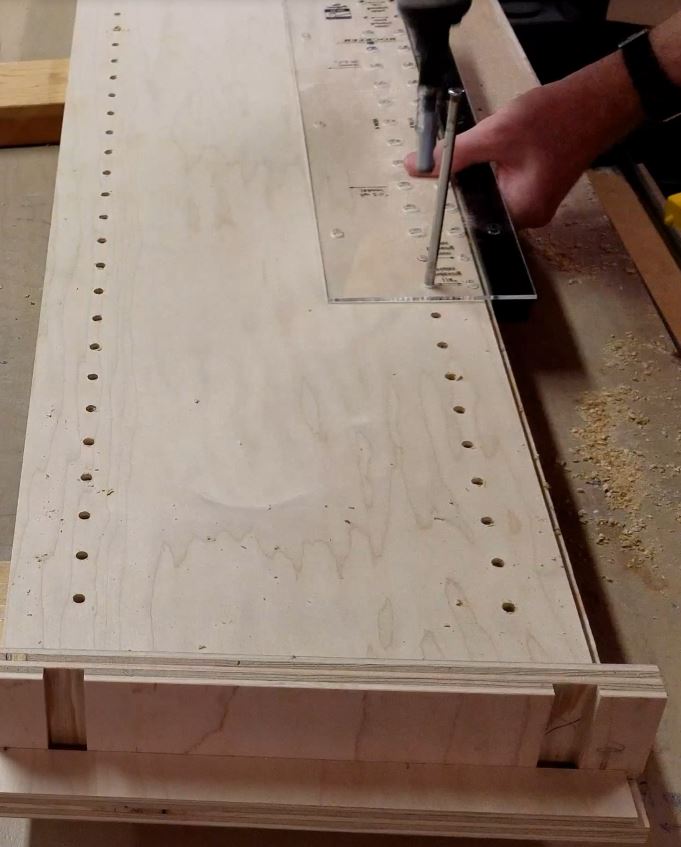
To drill the holes consistently I started by throwing a piece of 3/4 inch plywood in the bottom shelf dado. This allowed me to reference this piece for the bottom of the template. From there it was just picking a bottom hole and working my way to the top. If my side panel was greater than the height of the jig I just used a 1/4 inch rod to stick in a reference hole with one hole I drilled out and kept drilling.
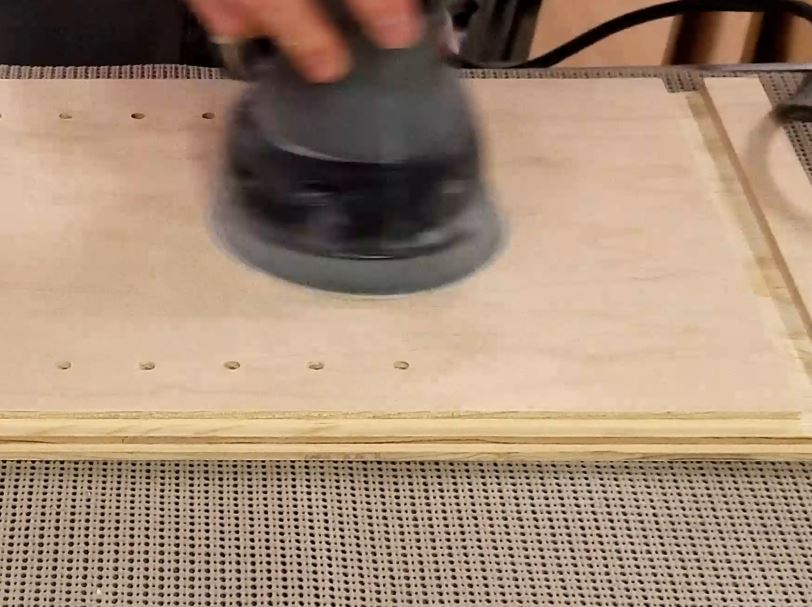
Once I had all the shelving pin holes drilled I went over all the material that was going to be clear finished or painted with 220 grit sandpaper. This allowed me to knock down any sharp edges, burs and any marks that was on the material. In my opinion it is easier to sand the material prior to assembly. Of course you may need to go over a few spots after assembly but that is much quicker and lower risk of your sander hitting the edges where things are glue up perpendicular thus leaving scratch marks.
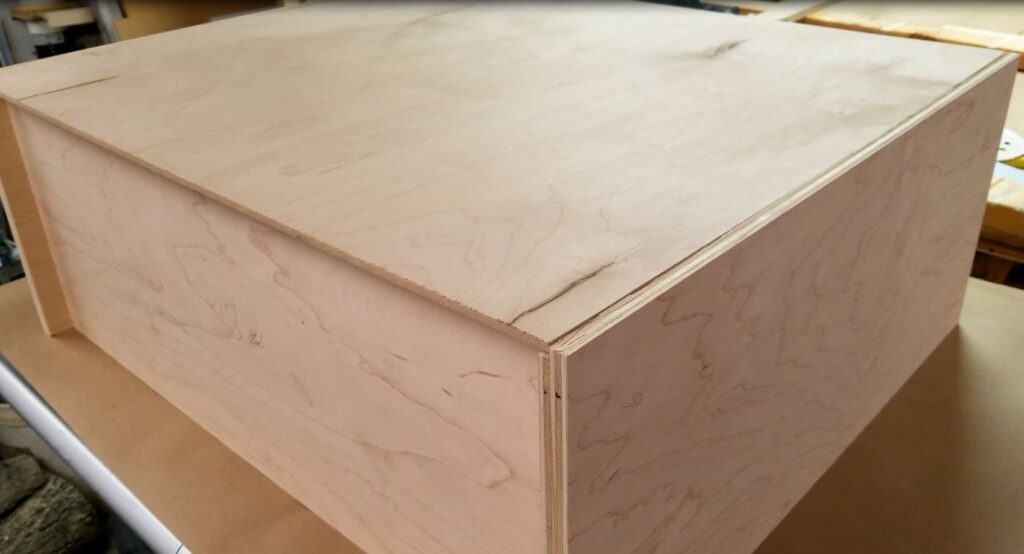
Finally after I had everything sanded up I dry fit the cabinet together one last time. This allowed me to work out any issues prior to the glue up. At the glue up stage you do not want to be dealing with pieces that do not go together nicely since you want to get everything fastened together before the glue sets up.
I’ve included a few Amazon Links below for the equipment and materials I used. Although this is a Rockler Jig, I am not sponsored in any way by them.
Equipment and Materials
I hope you find this video useful and can use some of the tips presented. Feel free to leave any comments, suggestions, or experiences you have had below.
Some of the links in my video description and article above are Amazon Affiliate links. As an Amazon Associate, I earn from qualifying purchases. If you would like to make a different purchase from Amazon, you can also use the storewide link.