So in the previous article we did all the setup for the dado blade dialing in the width and height. This one we actually put that setup to use.
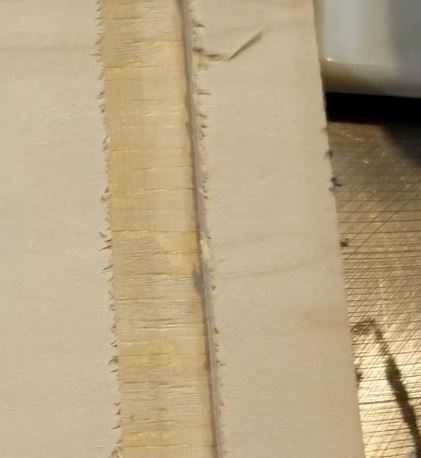
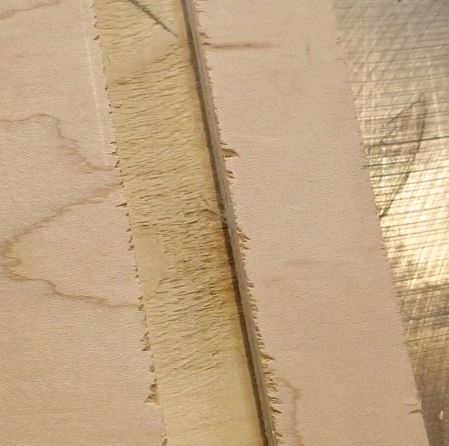
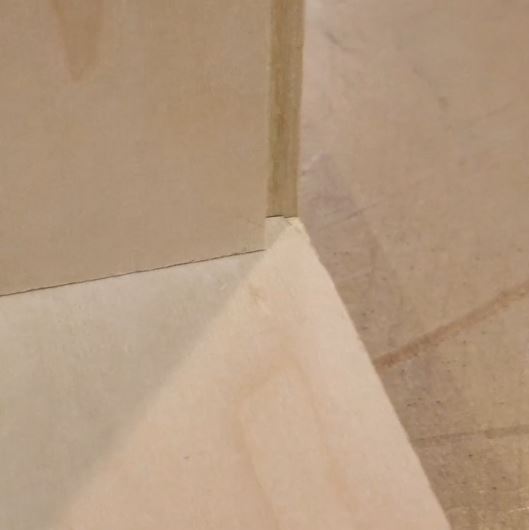
If you go to fast when cutting dado or rabbit cuts you’re bound to get chip out. What is chip out? Chip out occurs when the blade tears part of the material out. In my case since I’m cutting veneered plywood it tears the veneer and leaves a rough edge.
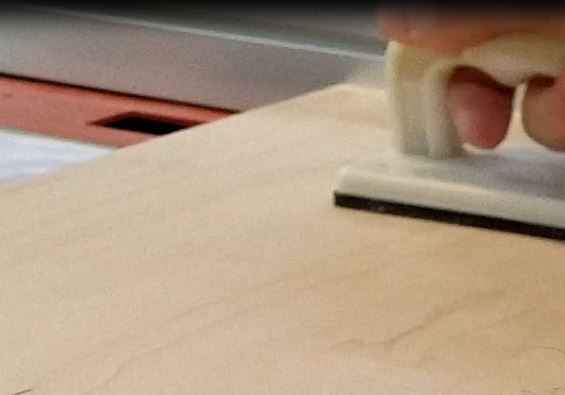
So how did I solve that? I tried painters tape but as it turns out it just made it worse. I believe this is the fact due to the veneer is not strongly glue to the sub-straight. So I tried a slow push through the material with only a hold down paddle and no painters tape. This seemed to work perfectly for me as you can see by watching the video below. However, the mileage may differ for you so I would recommend trying different techniques on scrap prior to cutting on your workpiece.
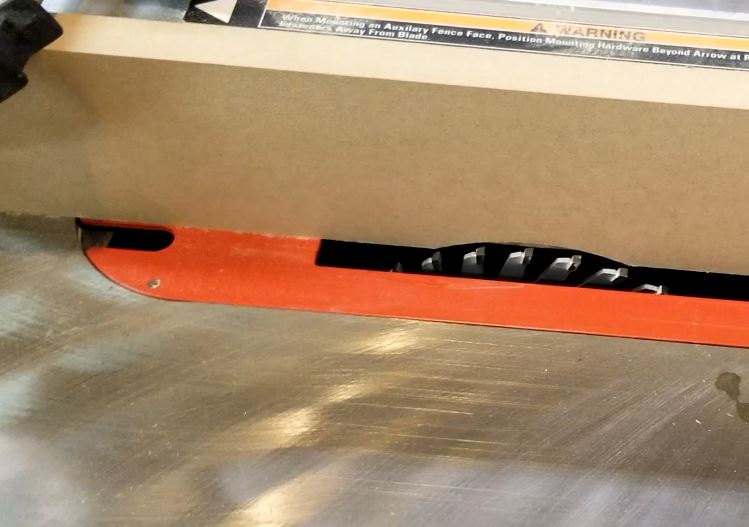
After cutting the bottom dado cuts I put my sacrificial fence on and did the rabbits in the back inside of the sides. This was not the most optimal way of doing this and I actually got lucky in that when I cut the top dado cuts I did not get any tear out which the rabbit would clean up. So I would also recommend cutting both the top and bottom dado cuts prior to cutting the rabbit on the back.
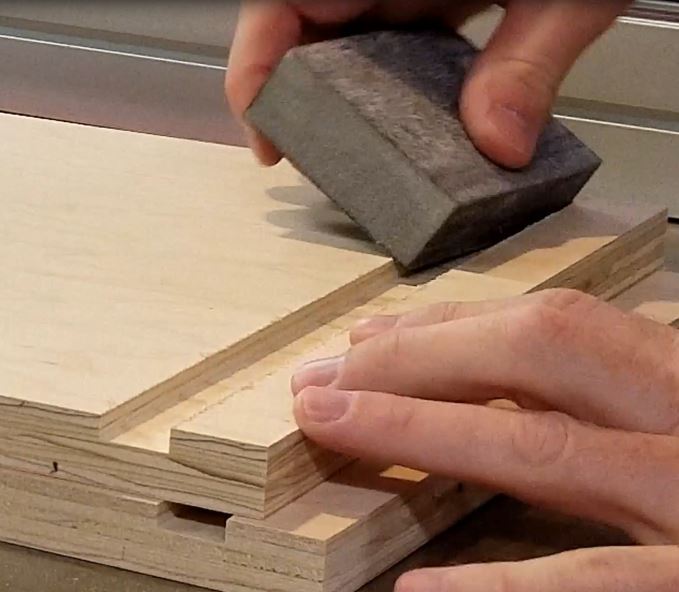
Once I was done cutting the dado and rabbit cuts I used a sanding sponge to clean up any rough edges but just going over the cuts a couple of times. This took care of any chip / tear out and potential splinters.
After all the cutting was done I slipped the bottom into the sides and clamped the bottom and face frame together. This allowed me to see the progress I was making and make any final tweaks before glue up.
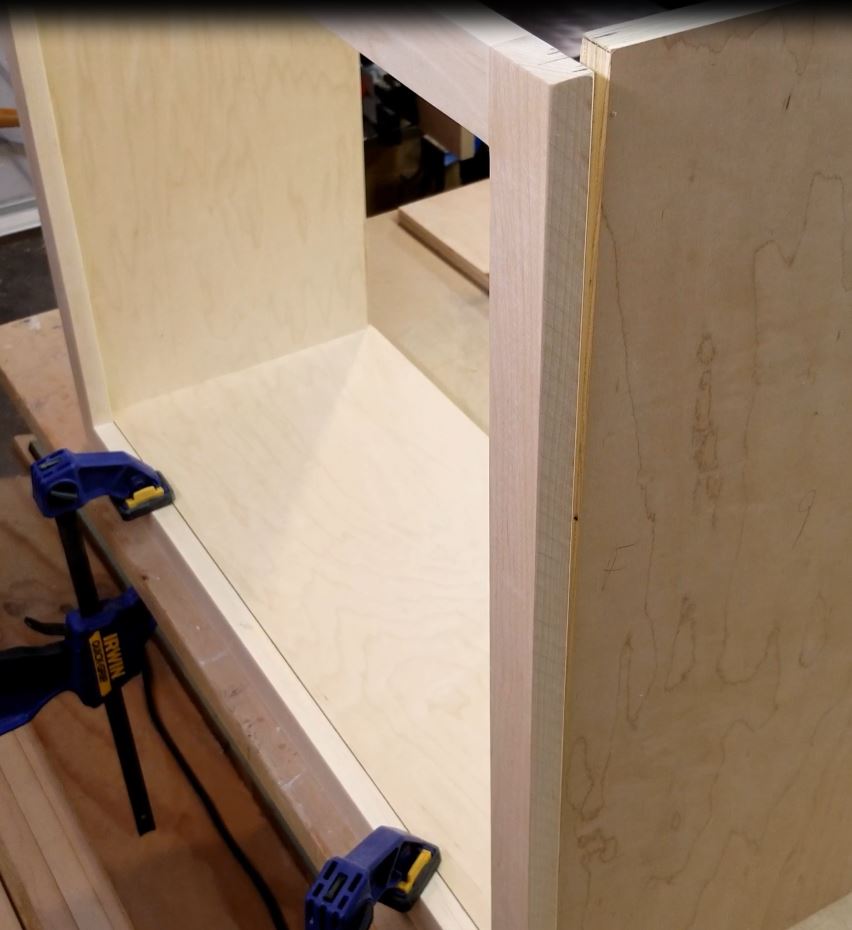
Doing so I realized that when I cut the rabbit cuts for the back it reduced the depth in which the bottom and top pieces needed to be by about 1/4 of an inch. Since I had cut my tops and bottoms from the same material settings as my sides all I needed to do was re-rip these pieces to reduce them by 1/4 inch. While you could take this into account when doing your initial material cuts I decided it was quicker just to rip it afterwards. This also allowed me to have a few standard sizes that I could just trim down or leave them as is and no need to keep the two different sizes separated until the end.
Once this final cut had been made I simply dry fitted the cabinet together again. The only thing left to do was to drill the shelf pin holes which is easier for me to do prior to final assembly. I cover that in that in different later video.
I’ve included a few Amazon Links below for the equipment and materials I used. Although Craftsman does not make an adjustable dado blade anymore I’ve included on to a Porter-Cable Oldham Blade as well as two other stack dado sets if you want to check it out. Some of the tools I’ve used are older models and I’ve linked newer or different brand’s equivalent.
Equipment and Materials
- IRWIN QUICK-GRIP Bar Clamp, One-Handed, Medium-Duty, 12-Inch
- Sanding Sponge
- Porter-Cable Oldham Blade
- The Mibro Group 416381 8″ Carbide Stacking Dado Blade Set
- Freud 6″ x 10T Pro Dado Set
- Freud 10″ x 32T Super Dado Sets (SD510)
I hope you find this video useful and can use some of the tips presented. Feel free to leave any comments, suggestions, or experiences you have had below.
Some of the links in my video description and article above are Amazon Affiliate links. As an Amazon Associate, I earn from qualifying purchases. If you would like to make a different purchase from Amazon, you can also use the storewide link.