After a long adventure, we are at the point where we are assembling a cabinet carcass. In my previous 10 Kitchen Cabinet Build Series, we went from milling the raw wood, cutting components to size, building face frames, sanding, drilling shelving pins, and dry fitting. Today we are finally at the point where we can assemble the cabinet carcass. We’re not going to attach the face frame because it will be painted and the carcass will be clear finished with polyurethane.
First things first a word from our sponsor so I can pay my bills – me – “If you’ve liked the Kitchen Cabinet Build Series or any other woodworking articles feel read more or watch more of my videos over on my YouTube Channel – Sean Moenkhoff. Feel free to support my efforts by clicking on my Amazon site-wide affiliate link to help me out. Now back to our normal scheduled article.”
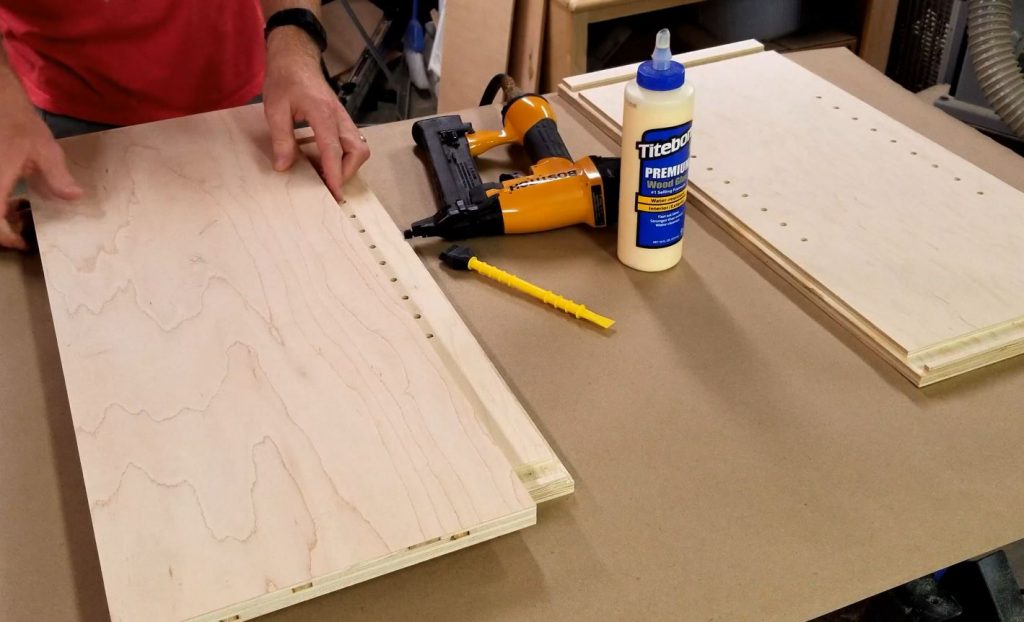
Depending on the size of the carcass and how much you need to glue up you probably want to organize everything you need before the first drop of glue hitting any wood since the glue has a set time and you’ll be on the clock.
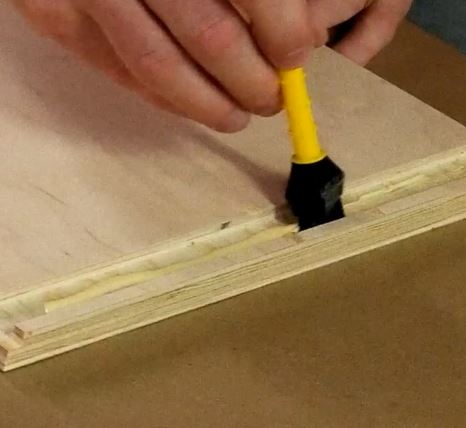
I first start by laying one side down and putting glue in the dado cuts. Then I attached the top and bottom components. Now I didn’t lay this flat (backside down) on the ground although you can make it just as easy to reach everything but the back.
You can notice that I drilled the shelving pin holes before assembly. This was done using Rockler JIG IT Shelving Jig and 1/4″ Bit Set. I do this because it is much easier to drill them consistently when you’re not constricted by the tops and bottoms. You can read more about that in Kitchen Cabinet Build Part 10 – Shelving Pin Holes, Sanding and Dry-Fit.
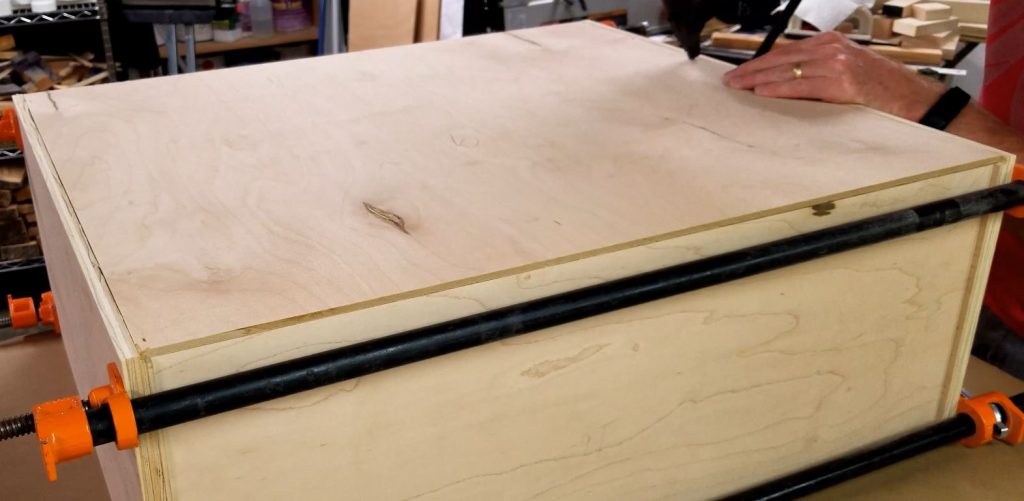
On this first cabinet, I did not use anything other than the chemical attachment properties of Titebond II glue. No fasteners are holding the sides to the tops and bottoms, just clamping pressure using my PONY 52 Pipe Clamps. It’s important to ensure the front of your cabinet top, bottom, and sides are all flush otherwise your face frame will have gaps when you attach it. If any glue squeezes out from the joints it’s best to remove it now while it is still wet. Otherwise, it will be more difficult to remove and glue does not take stain.
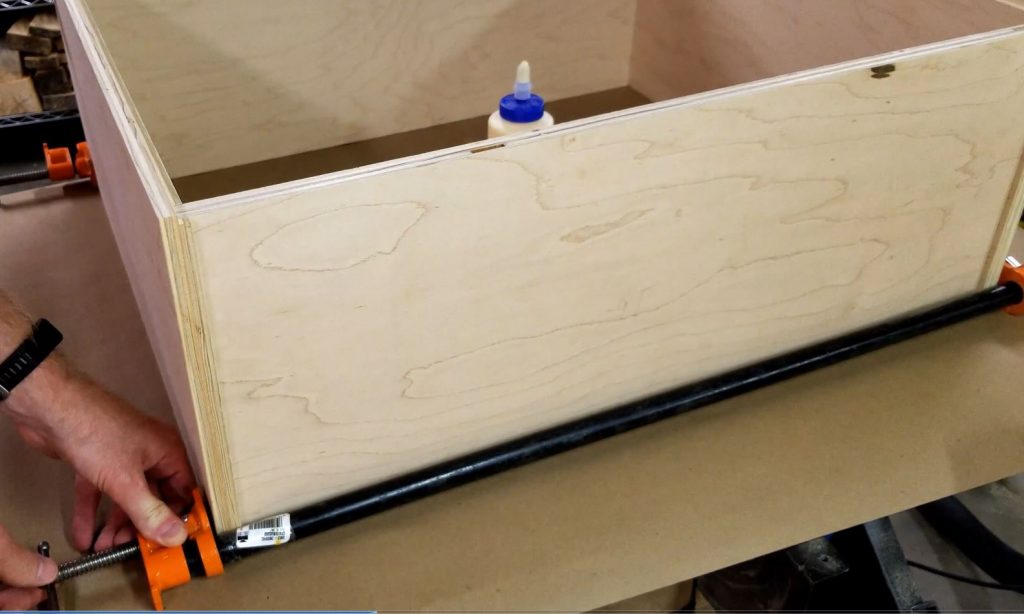
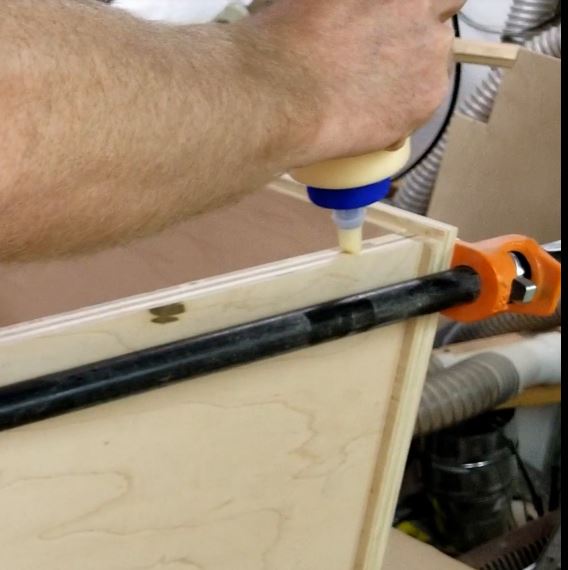
Once I was done with the top, bottom, and sides I flipped the carcass over so the back was up. I added glue along the rabbits cut into the sides and the top and bottom pieces. I dropped it in the back panel and stapled this in. I did 3 corners and started made sure the back was squarely fit in place and then stapled all down the sides of the back until I had gone completely around. Since I was using 1/4″ back material I only needed 1/2 inch staples to hold it in place, keeping in mind that the chemical bond of the Titebond II will also add strength.
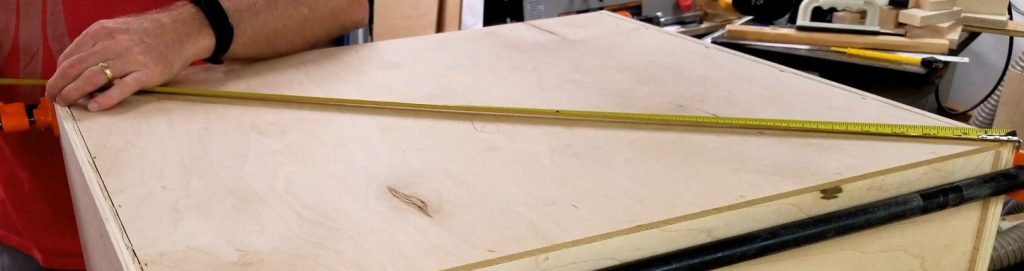
Once all stapled and glued together I measured the diagonals to ensure squareness. The diagonals should measure the same if you’re square. If not, you can use a clamp along them to force the carcass square – much like I did in my face frame gluing article.
I verified the dimensions by just clamping the face frame on. Before I permanently attach the face frame I want to paint it. If you’re finishing the carcass and face frame the same you could attach it now if you want.
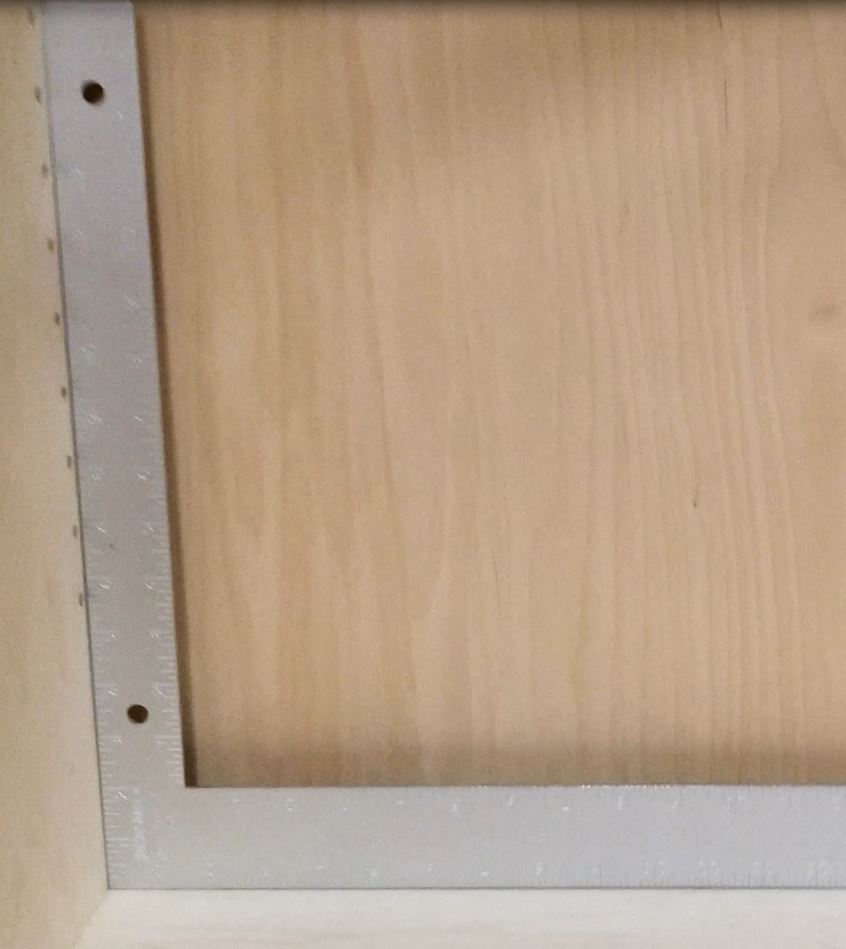
I checked the squareness one last time with a framing square and everything looked great.
Please keep in mind this is a simple square box cabinet that is only 12 inches deep. More complex cabinetry requires additional planning, clamping, and/or different steps for assembly.
As always if you have any questions or comments post them below or on my YouTube video comments section and I’ll do my best to respond.
I’ve included a few Amazon Links below for the equipment and materials I used.
Equipment and Materials
- PONY 52 Pipe Clamp
- Titebond II Glue
- Titebond 16330 TiteBrush Applicator
- BOSTITCH Crown Stapler, Narrow, 18GA
- BOSTITCH Crown Staple 1/2 In Long
- Johnson Level & Tool CS5 16-Inch x 24-Inch Aluminum Framing Square
I hope you find this video useful and can use some of the tips presented. Feel free to leave any comments, suggestions, or experiences you have had below.
Some of the links in my video description and article above are Amazon Affiliate links. As an Amazon Associate, I earn from qualifying purchases. If you would like to make a different purchase from Amazon, you can also use the storewide link.