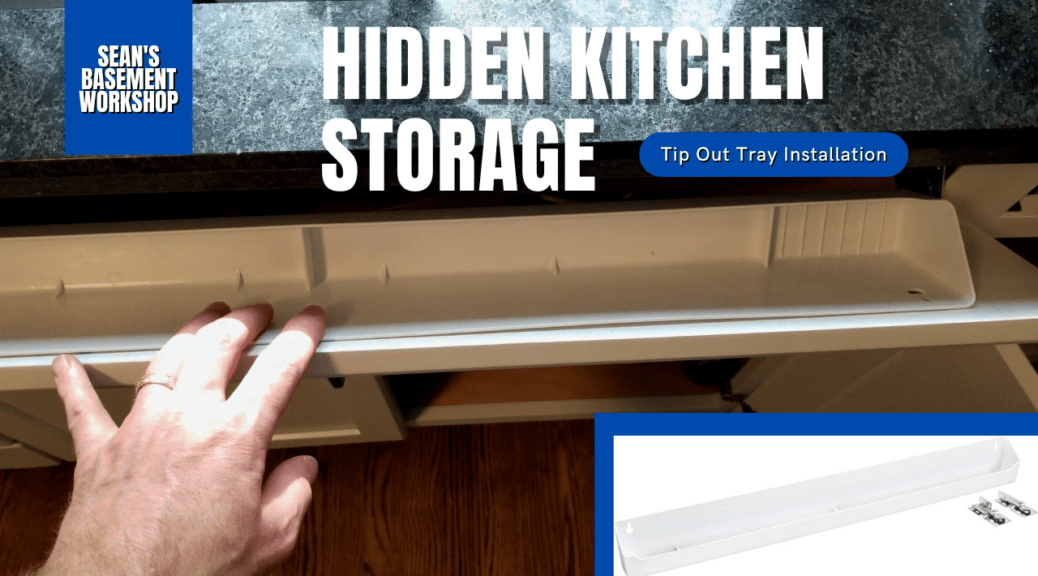
Almost every kitchen has a spot for hidden storage. Some kitchens have found this while others have not. While I was building cabinets this hidden spot was often utilized as we pointed out this location to our customers and most elected to use it. In this article, I’m going to expose where this location is and use it. After all, I’m built my own cabinets and so I’m going to use them from the start. However, even if your kitchen is already in use you too can make use of this space.
By now, you’re probably wondering where this location is right? Look no further than right in front of your sink. Chances are your sink does not take up the entire depth of the cabinet it is in. This provides you with the opportunity to add a tip-out tray organizer by adding hinges to the drawer false front in front of it.

So I used the Rev-A-Shelf 30″ Tip Out Tray Organizer. It comes with hinges and all the parts necessary to attach it. and Because I chose to have this go all the way across I ended up using it the 30″ model.
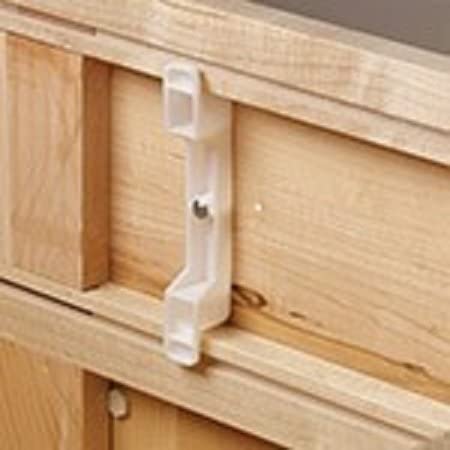
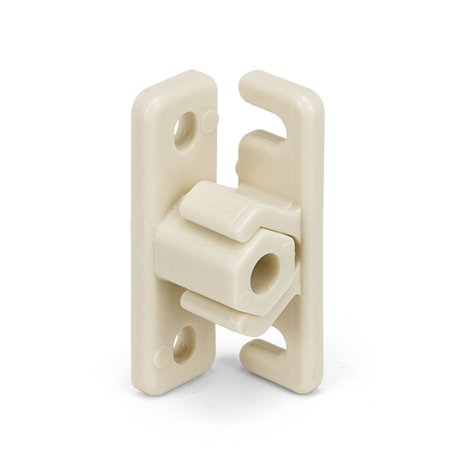
First things first if you’re going to use this type of shelf and you already have your false front attached to your cabinets you’ll need to make sure you have enough room. Assuming you do and you have already purchased a tip-out tray you’ll need to remove the false front from your cabinet. To do so you’ll need to determine if your bracket is one that screws in (in which case you may be able to turn it 90 degrees to pop off the front), or if you’re bracket is a pop-off type in which you can just pop it off.
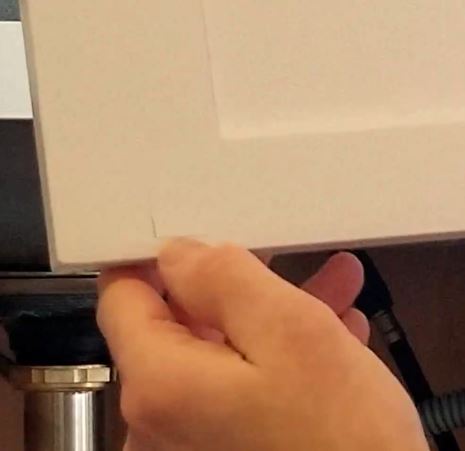
Before you pop out the false front though I’d advise you to mark with a pencil where the location of the bottom corners of the face frame. This will allow you to position the hinges on it otherwise you’ll need to clamp it up where it needs to go to mark the locations.
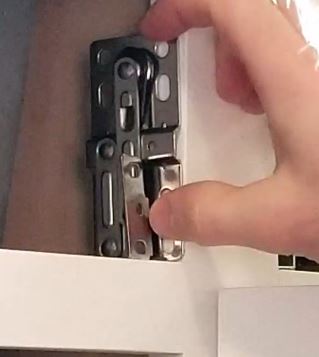
Now you remove the false front you’ll need to remove the attachment hardware. Two examples are shown above.
After removing the hardware let’s start by getting the hinge placement on the cabinet face frame.
Make sure you’re paying attention because the hinges will probably be marked for the left and right sides. Mark where you will need to drill pilot holes into the face frame.
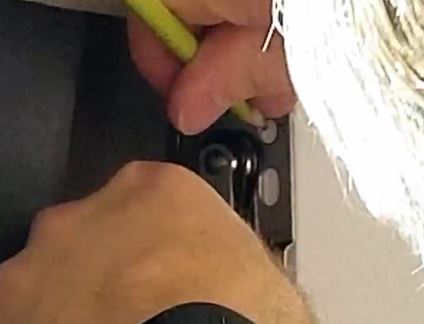
Next drill some pilot holes taking into account the size of the screw that needs to go in here.
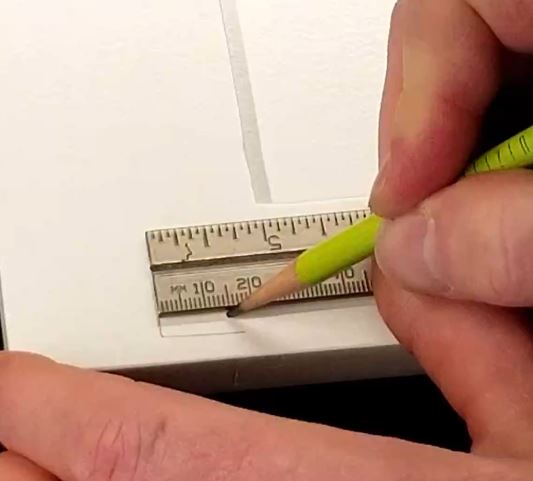
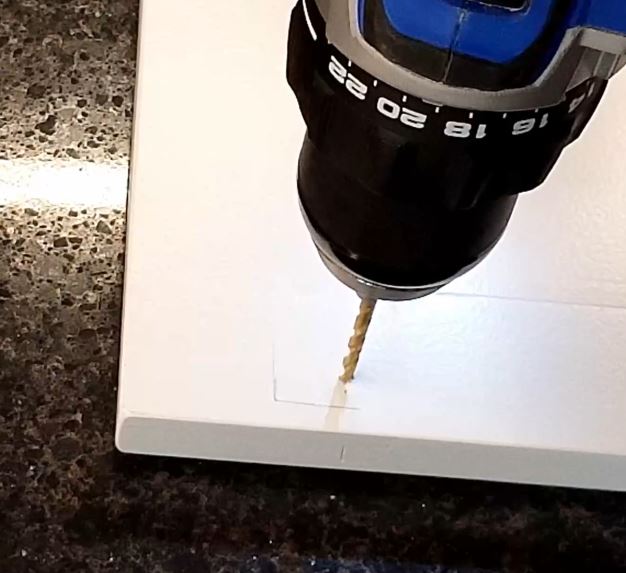
Now mark and drill the holes on your false front making sure you DO NOT go all the way through. My recommendation would be to use a piece of painter’s tape on your bit to mark how far to go. I just used a pencil line.
Screw the hinges to the false front. Once you get both hinges screwed in I recommend test fitting them to make sure they are all aligned before trying to adjust in when they are in as it is extremely hard if not impossible to do so. I had to take my drawer front off 3 times to get things aligned and install the actual tray.

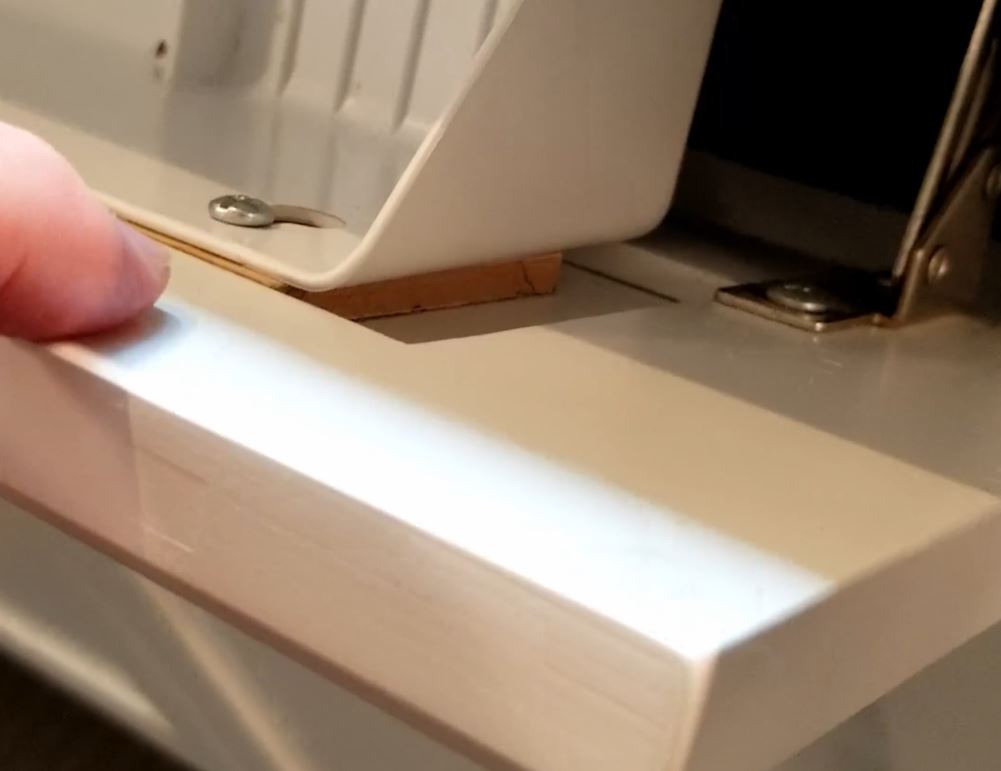
Before attaching the tray I would determine how and where you want to attach your handles. In my case, I put two so it kept things in alignment with all the other drawers. I did this after I put the 1/4″ filler board in by measuring out the position and drilling from the front inward. I counter-sunk the screw head so it would not cause the tray to bulge.
Next, I would recommend attaching the tray to the drawer. In order to do so, I had to add a 1/4″ filler board behind my drawer panel to bring it out flush with the drawer frame. This can be seen in the image below. I had to wire wheel off some paint and glue the filler board to the raw wood.
Then finally install the entire drawer front, tray, and hinge assembly into the cabinet drawer hole and you should end up with something like the following.
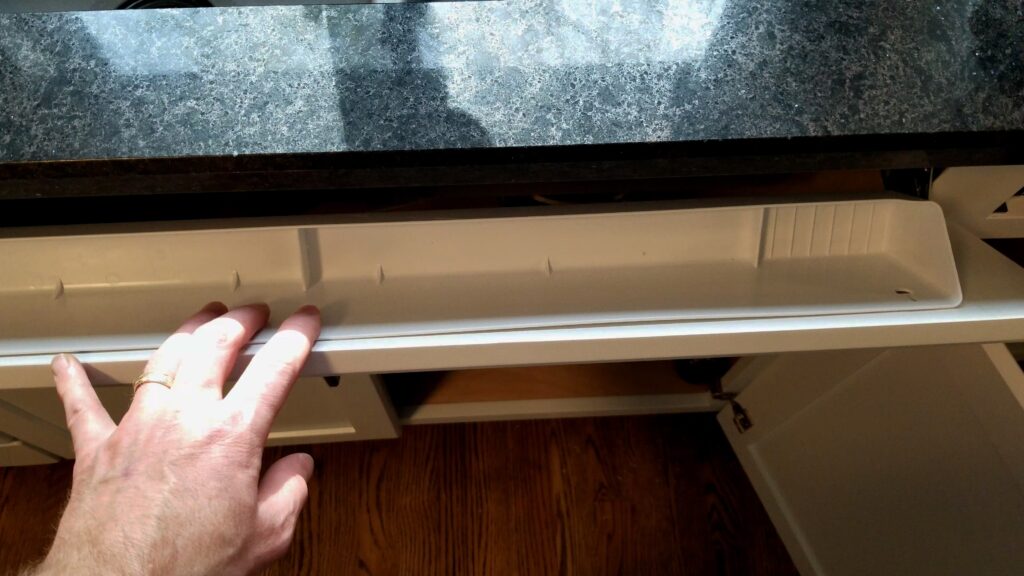
Now you can store sponges, dish scrapers, and alike in this newly found storage location. These are just a few of the things we keep there!
As always if you have any questions or comments post them below or on my YouTube video comments section and I’ll do my best to respond.
I’ve included a few Amazon Links below for the equipment and materials I used. By clicking on any of the links in this article you help support my channel as I earn from qualifying purchases.
You can also help support my Channel by dropping a Tip at https://withkoji.com/@sean.moenkhoff
Equipment and Materials
*Disclaimer: While I attempt to list the equipment I use, some items have been discontinued or have newer models.
- DEWALT Bit Holder, Magnetic, 6-Inch (DW2055B)
- IRWIN QUICK-GRIP Bar Clamp, One-Handed, Medium-Duty, 12-Inch
- Johnson Level & Tool 406EM Professional Inch/Metric Combination Square, 6″
- Kobalt 24-Volt Max Lithium-Ion (Li-ion) 1/2-in Cordless Brushless Drill
- Rev-A-Shelf Tip Out Tray
I hope you find this video useful and can use some of the tips presented. Feel free to leave any comments, suggestions, or experiences you have had below.
Some of the links in my video description and article above are Amazon Affiliate links. As an Amazon Associate, I earn from qualifying purchases. If you would like to make a different purchase from Amazon, you can also use the storewide link.