In building my kitchen cabinets I did not want just plain boring cabinet ends but I also did not want over-the-top cabinet ends. So I believe I came up with an elegant solution that is both easy to do and matches the front of my cabinets – Shaker Style Wainscoting on the ends!
First, what is wainscoting? Wainscoting simply put is wooden paneling that lines part of a panel. In my case, it would mimic the Shaker door rail and stile profile I was currently using including the thickness from the panel in the door.
Now that we have that out of the way how did I go about doing this? Well, my Rockler Router Bit Set-Up Jig Shaker Stile and Rail Router Bits would provide the profile design. I just needed to use the top 3rd of the jig profile – that little part that contains the 10-degree cut angle.
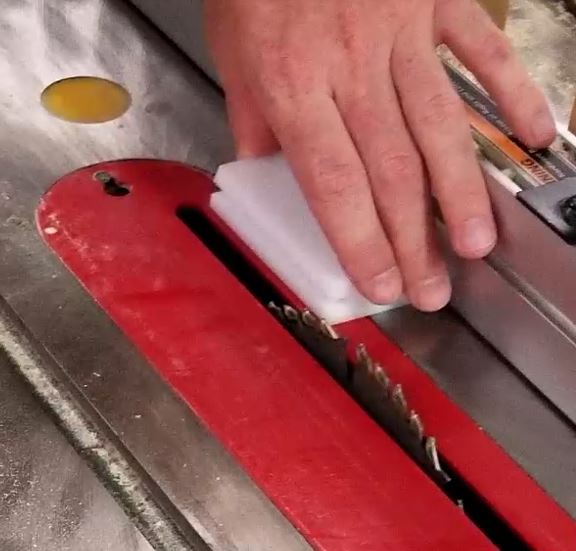
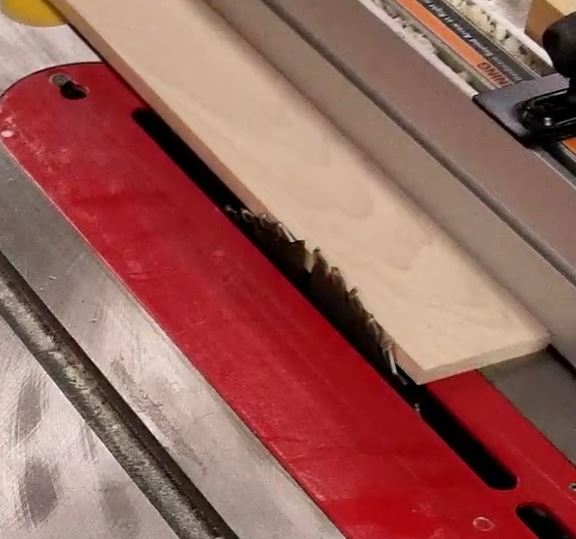
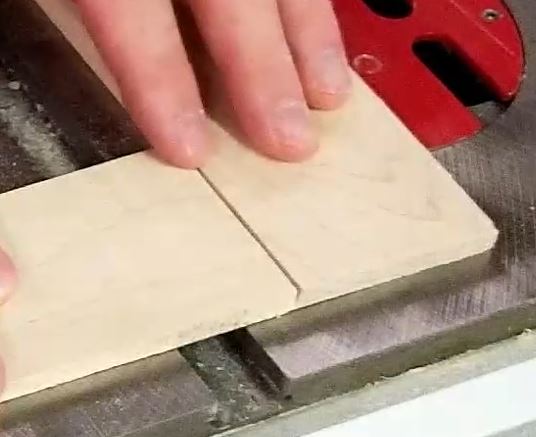
My first step was to rip some 1/4″ thick material the same width as door frame rails and stiles. This would create the uniformity I was looking for. However, rather than just rip it at 90 degrees, I would set the saw blade to 80 degrees and rip that slanted edge into it.
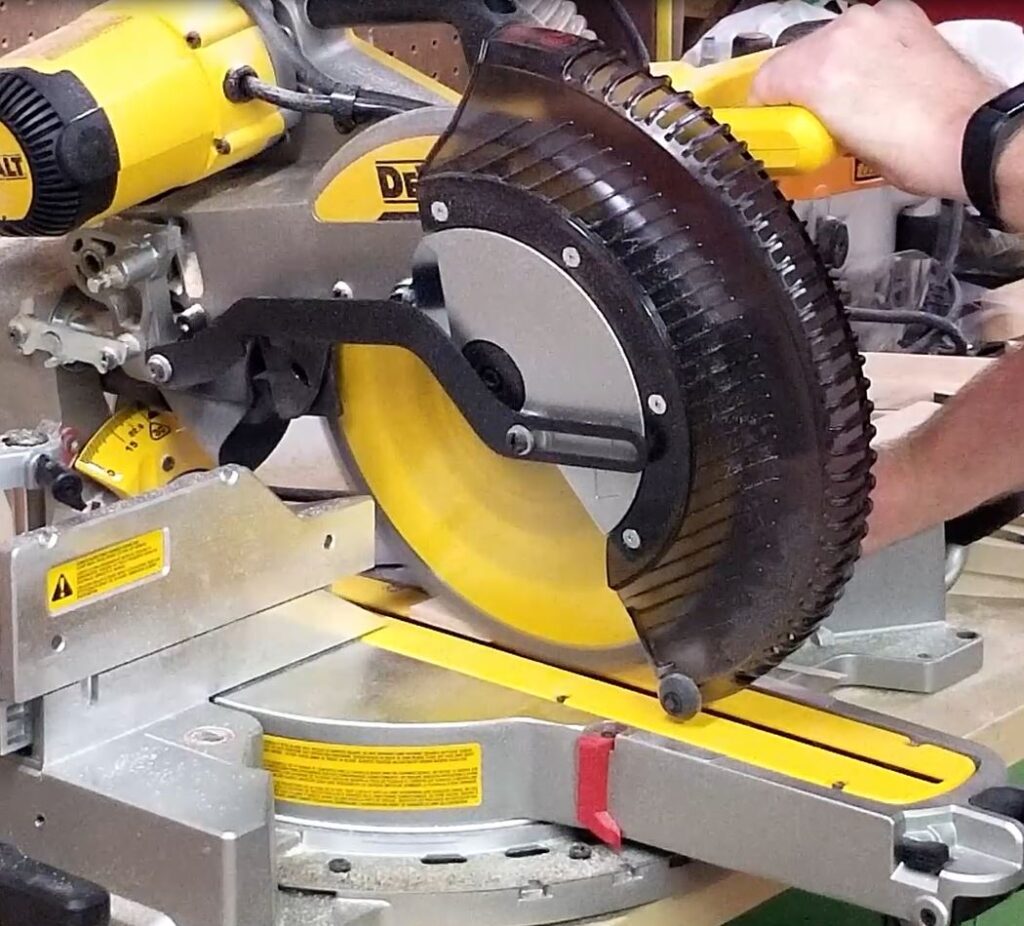
Once I had the material ripped I needed to cut the end profile cut. This was done at my compound miter saw by setting the bevel at 10 degrees and laying the material flat on the bed. You could use this same cut on the table saw if you’re careful using a crosscut sled or a miter gauge. You could also do this same cut at a non-compound miter saw by setting the angle to 10 degrees and cutting the material on the edge but you’d have to make sure you were cutting with the material in the right orientation. For me, a 10-degree bevel on the compound and flat material was the easiest and most accurate.
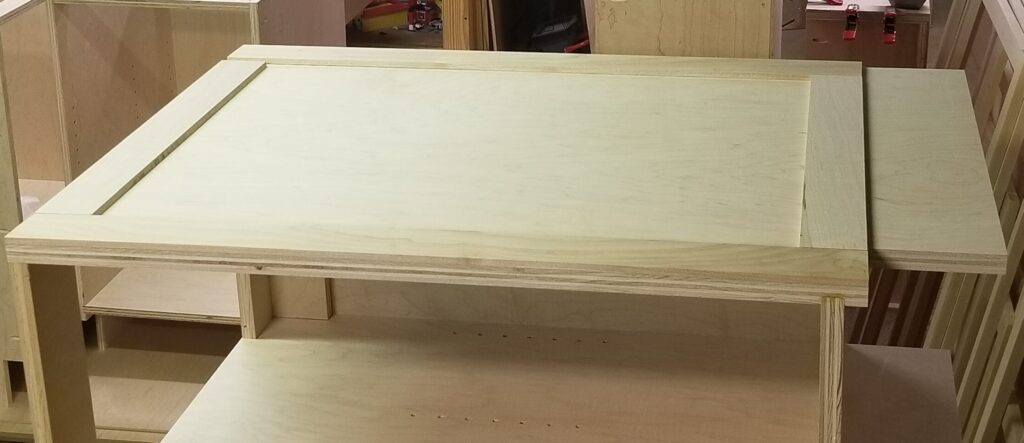
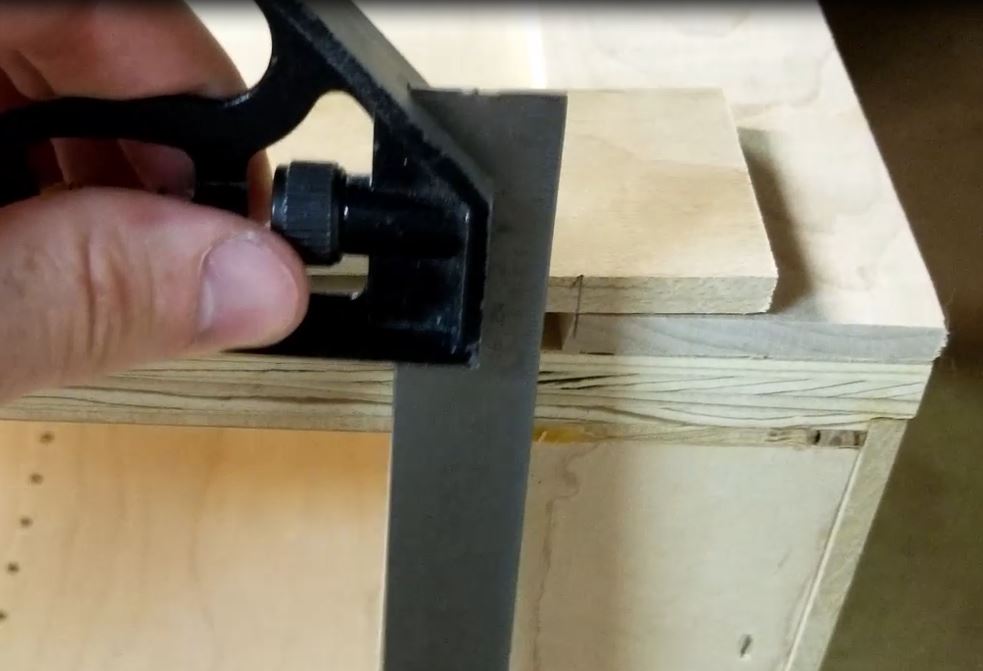
I only cut 1 end as I wanted the other end to be the tightest I could get. So after clamping the style parts to the side of the cabinets I marked and cut the other end by slowing shaving off as little as possible until I got the perfect fit.
Now, because I knew I was going to do this from the beginning I knew I didn’t have to deal with any staples or pocket hole screws on the finished cabinet sides as this was a great cover for those.
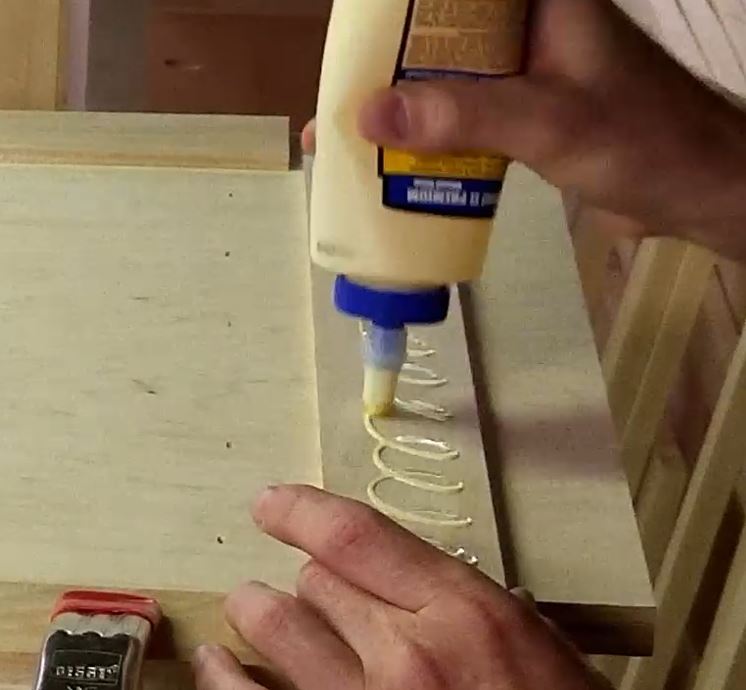
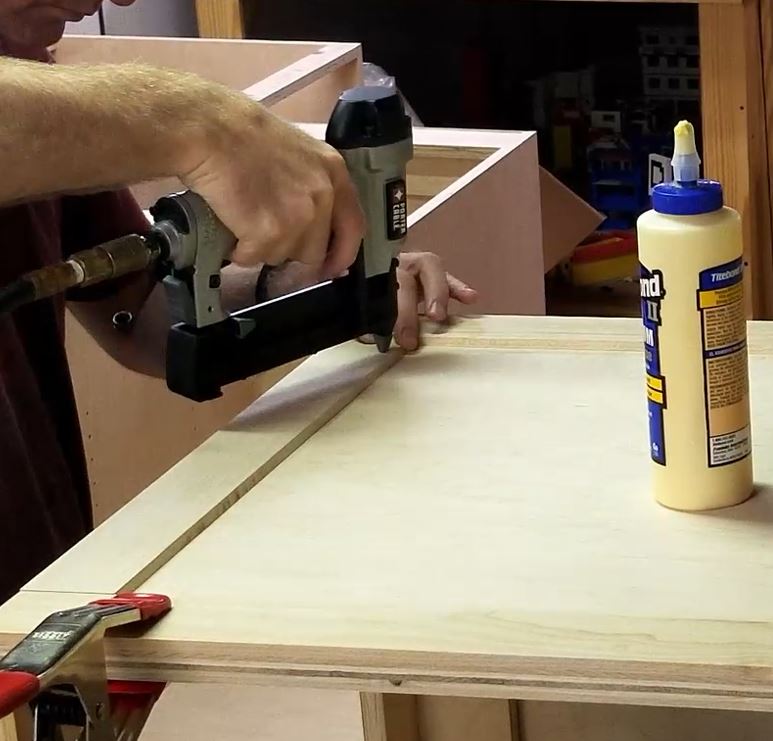
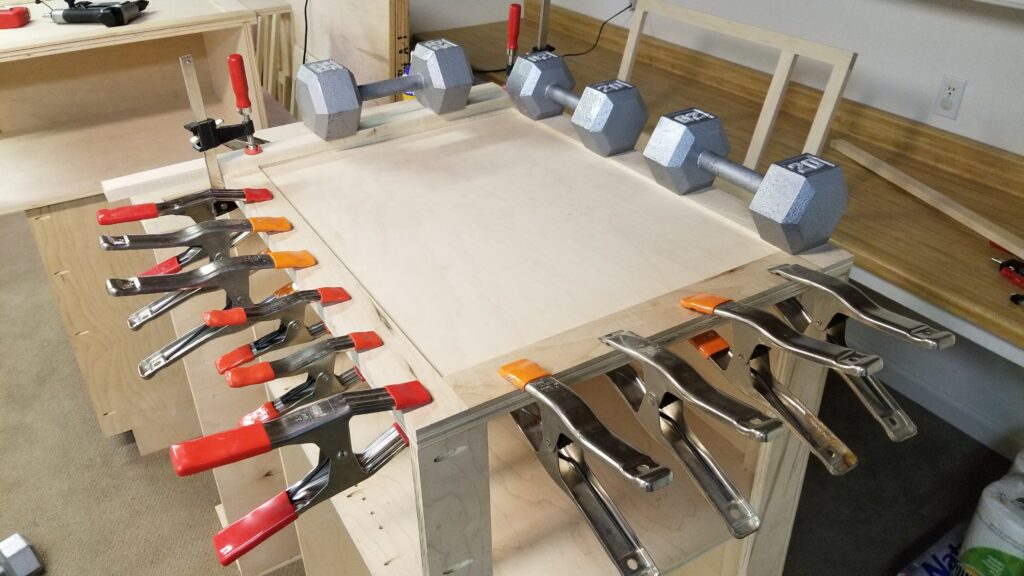
So, I put glue on each piece and pin-nailed them down with my 23 gauge pin nailer. This provided near-invisible pins that are easily hidden and require minimal filling later. After 3 of the 4 slats were glued and pinned onto the sides I clamped and weighted them down for the glue to setup up. This is where the real fastening strength was coming from.
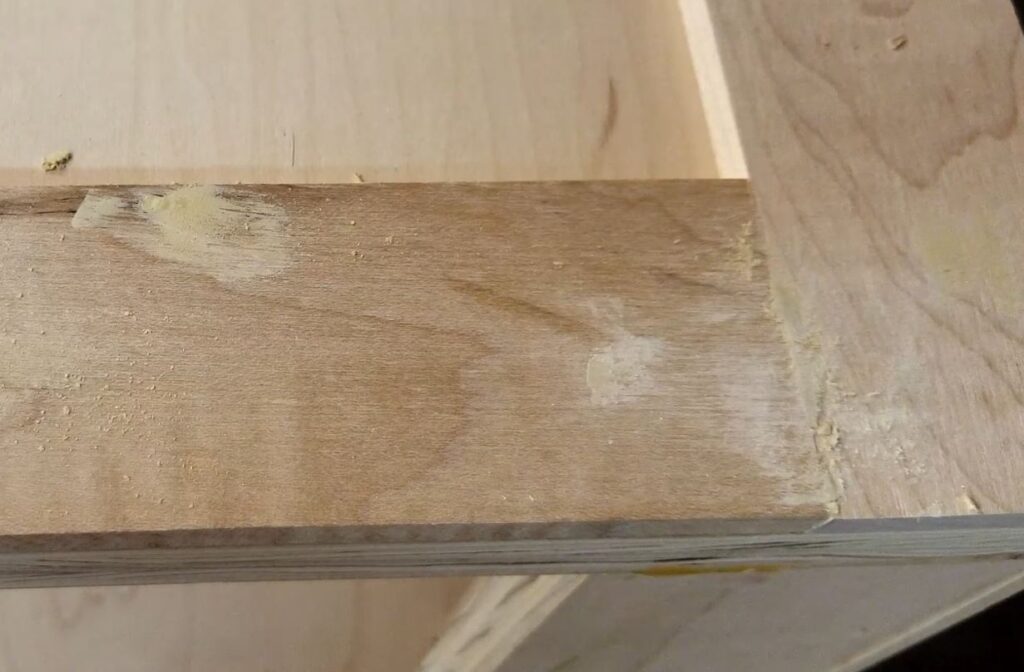
After completing all these mechanical and chemical fastening steps I proceeded to fill any pins or cracks with wood filler. This would allow for a perfectly smooth finish.
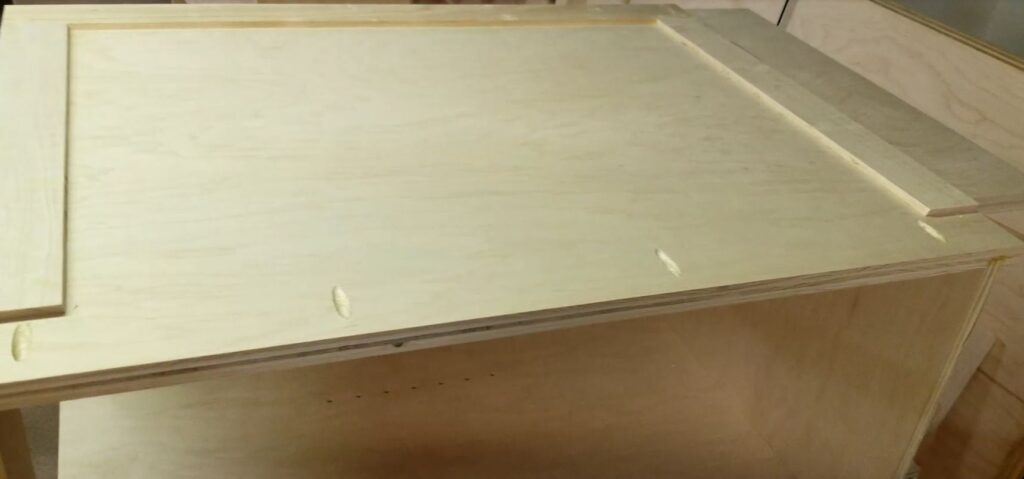
I then sanded the all for wainscoting slats down with my random orbital sander down to 220 grit sandpaper.
The final part of this puzzle will come after I attach the face frames to the cabinet carcasses in which the final wainscoting stile would cover up the pocket hole screws.
And for those who want some stats, the video below is a result of 19 videos totaling 32 minutes, 21 seconds edited down to 7 minutes, and 35 seconds.
As always if you have any questions or comments post them below or on my YouTube video comments section and I’ll do my best to respond.
I’ve included a few Amazon Links below for the equipment and materials I used.
Equipment and Materials
- CAP Barbell Cast Iron Solid Hexagon Gray Dumbbells
- Rockler Router Bit Set-Up Jig for 40431 Shaker Stile and Rail Router Bits
- Push Blocks
- Kobalt 25-ft Tape Measure
- Metal Ruler 24 Inch – Stainless Steel Corked Backed Metal Ruler
- DEWALT DPG94-1C Dominator SAFETY Glasses
- DEWALT Sliding Compound Miter Saw, 12-Inch (DWS779)
- Titebond II Glue
- Bessey GSCC2.506 6″, Clutch StyleMedium Duty Clamp
- Bessey Spring Clamp Set
- DAP 7079821412 Plastic Ready to Use Solvent Wood Filler
- Porter Cable 23 Gauge Pin Nailer
- Porter Cable Random Orbital Sander
- S SATC Hook and Loop Sandy Discs
- Maple (from a hardwood supplier)
I hope you find this video useful and can use some of the tips presented. Feel free to leave any comments, suggestions, or experiences you have had below.
Some of the links in my video description and article above are Amazon Affiliate links. As an Amazon Associate, I earn from qualifying purchases. If you would like to make a different purchase from Amazon, you can also use the storewide link.