This is the fourth part of my kitchen cabinet build, primarily focusing on the work I did building the base cabinets from start to finish. In this episode I finish assembling the base cabinet face frames. If you want to see how I made the upper cabinets you can read about there here.
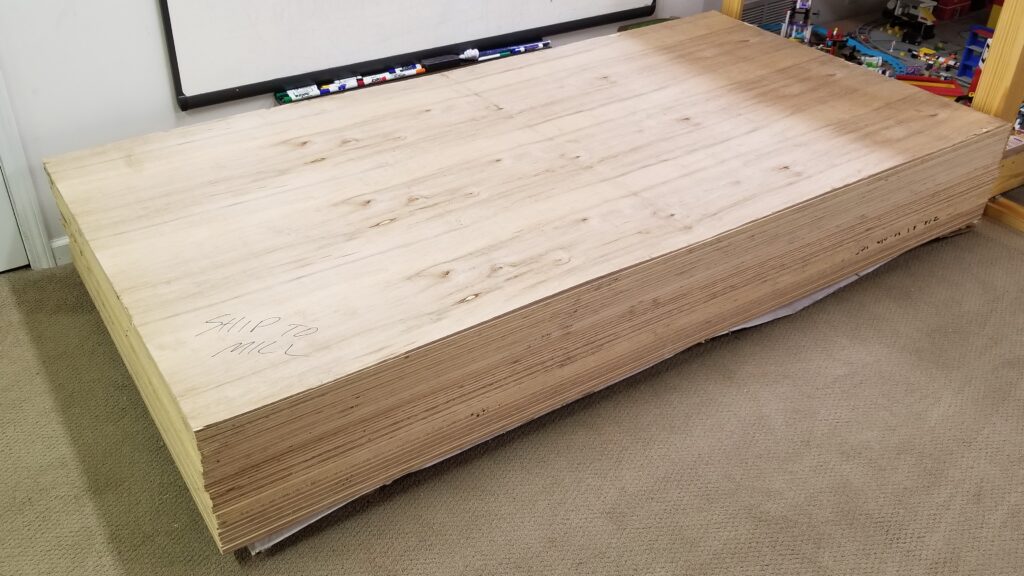
Since my shop is rather small and by that I mean like 1/4 of my basement I cannot store nor mill all the lumber I need in a single batch. Therefore I purchased additional Maple and let it acclimate to my basement for 2 to 4 week prior to milling it. I do this process though the entire cabinet build series with one exception – the sheet goods or plywood. Due to the amount needed I purchases and had the entire load delivered. This however was stored in the finished area of my basement.
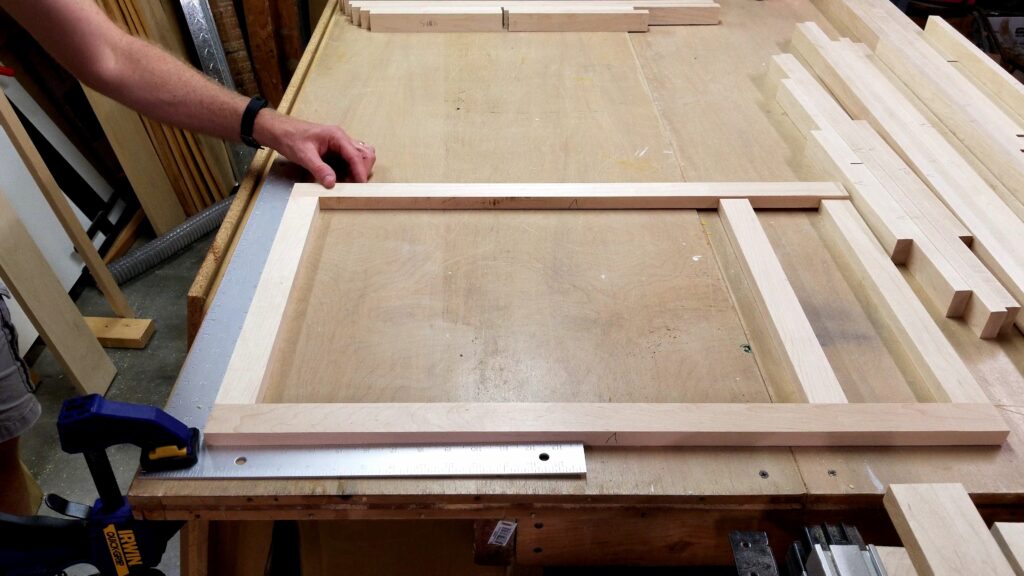
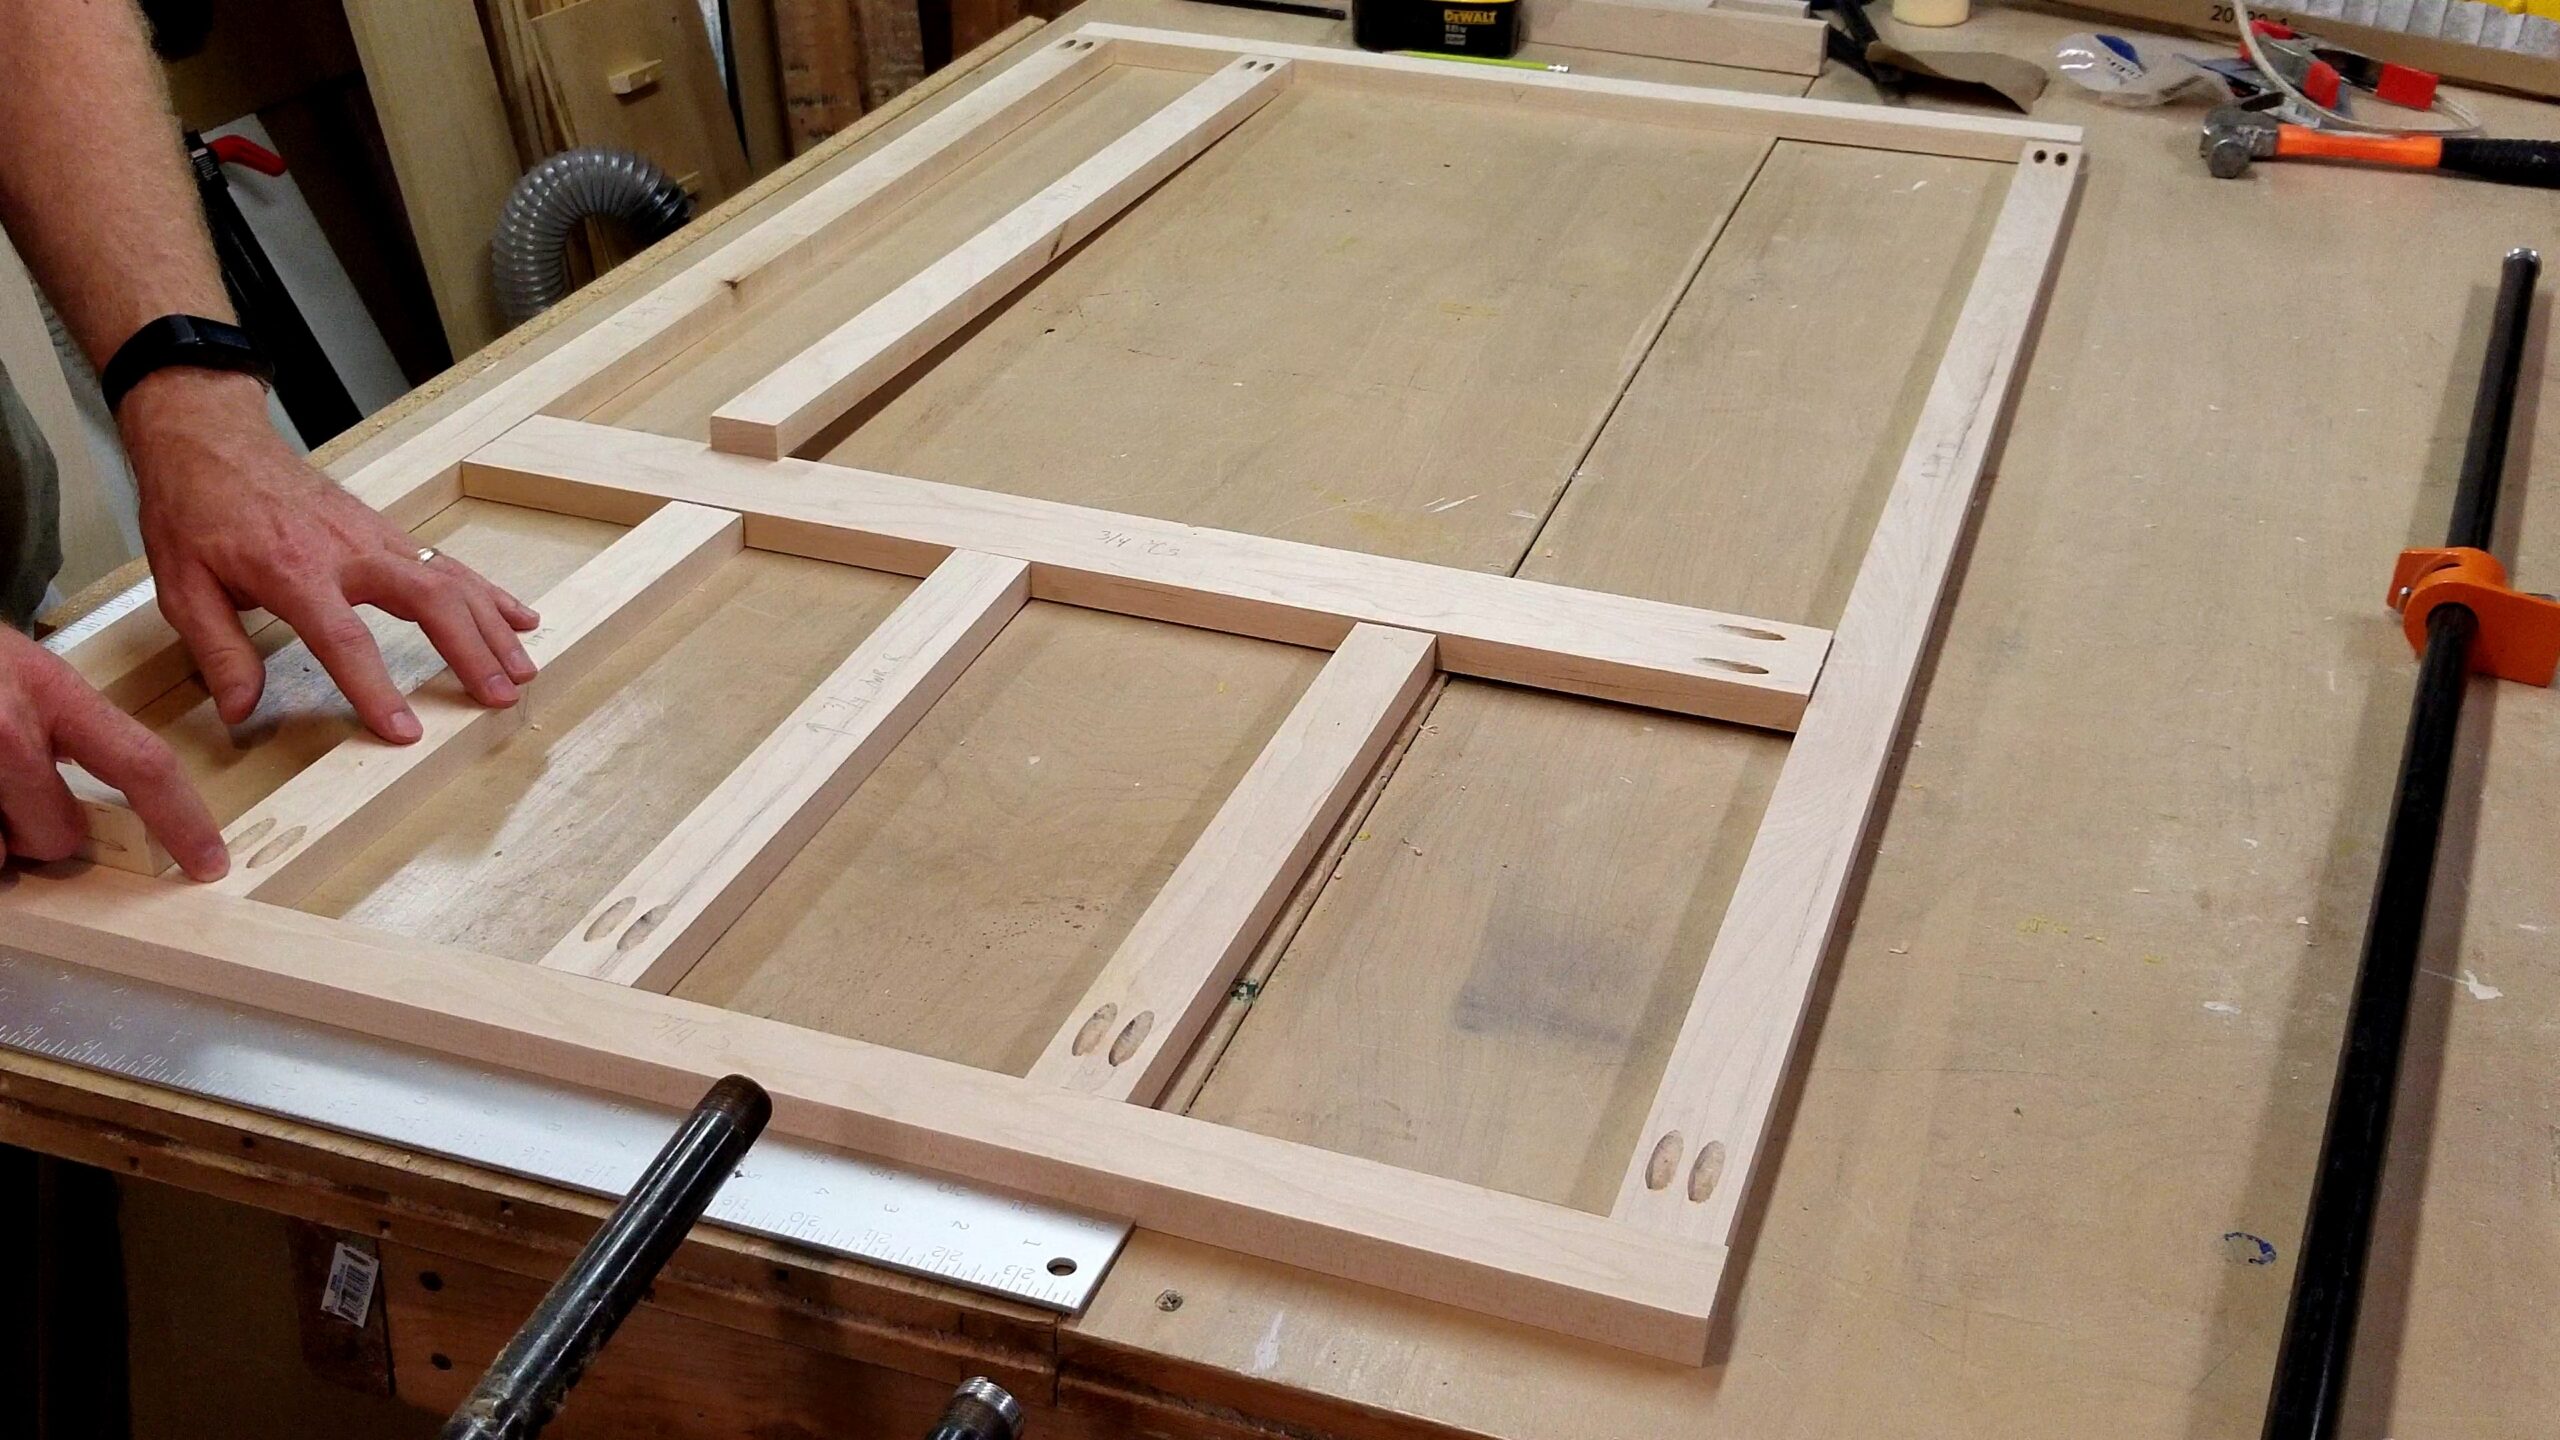
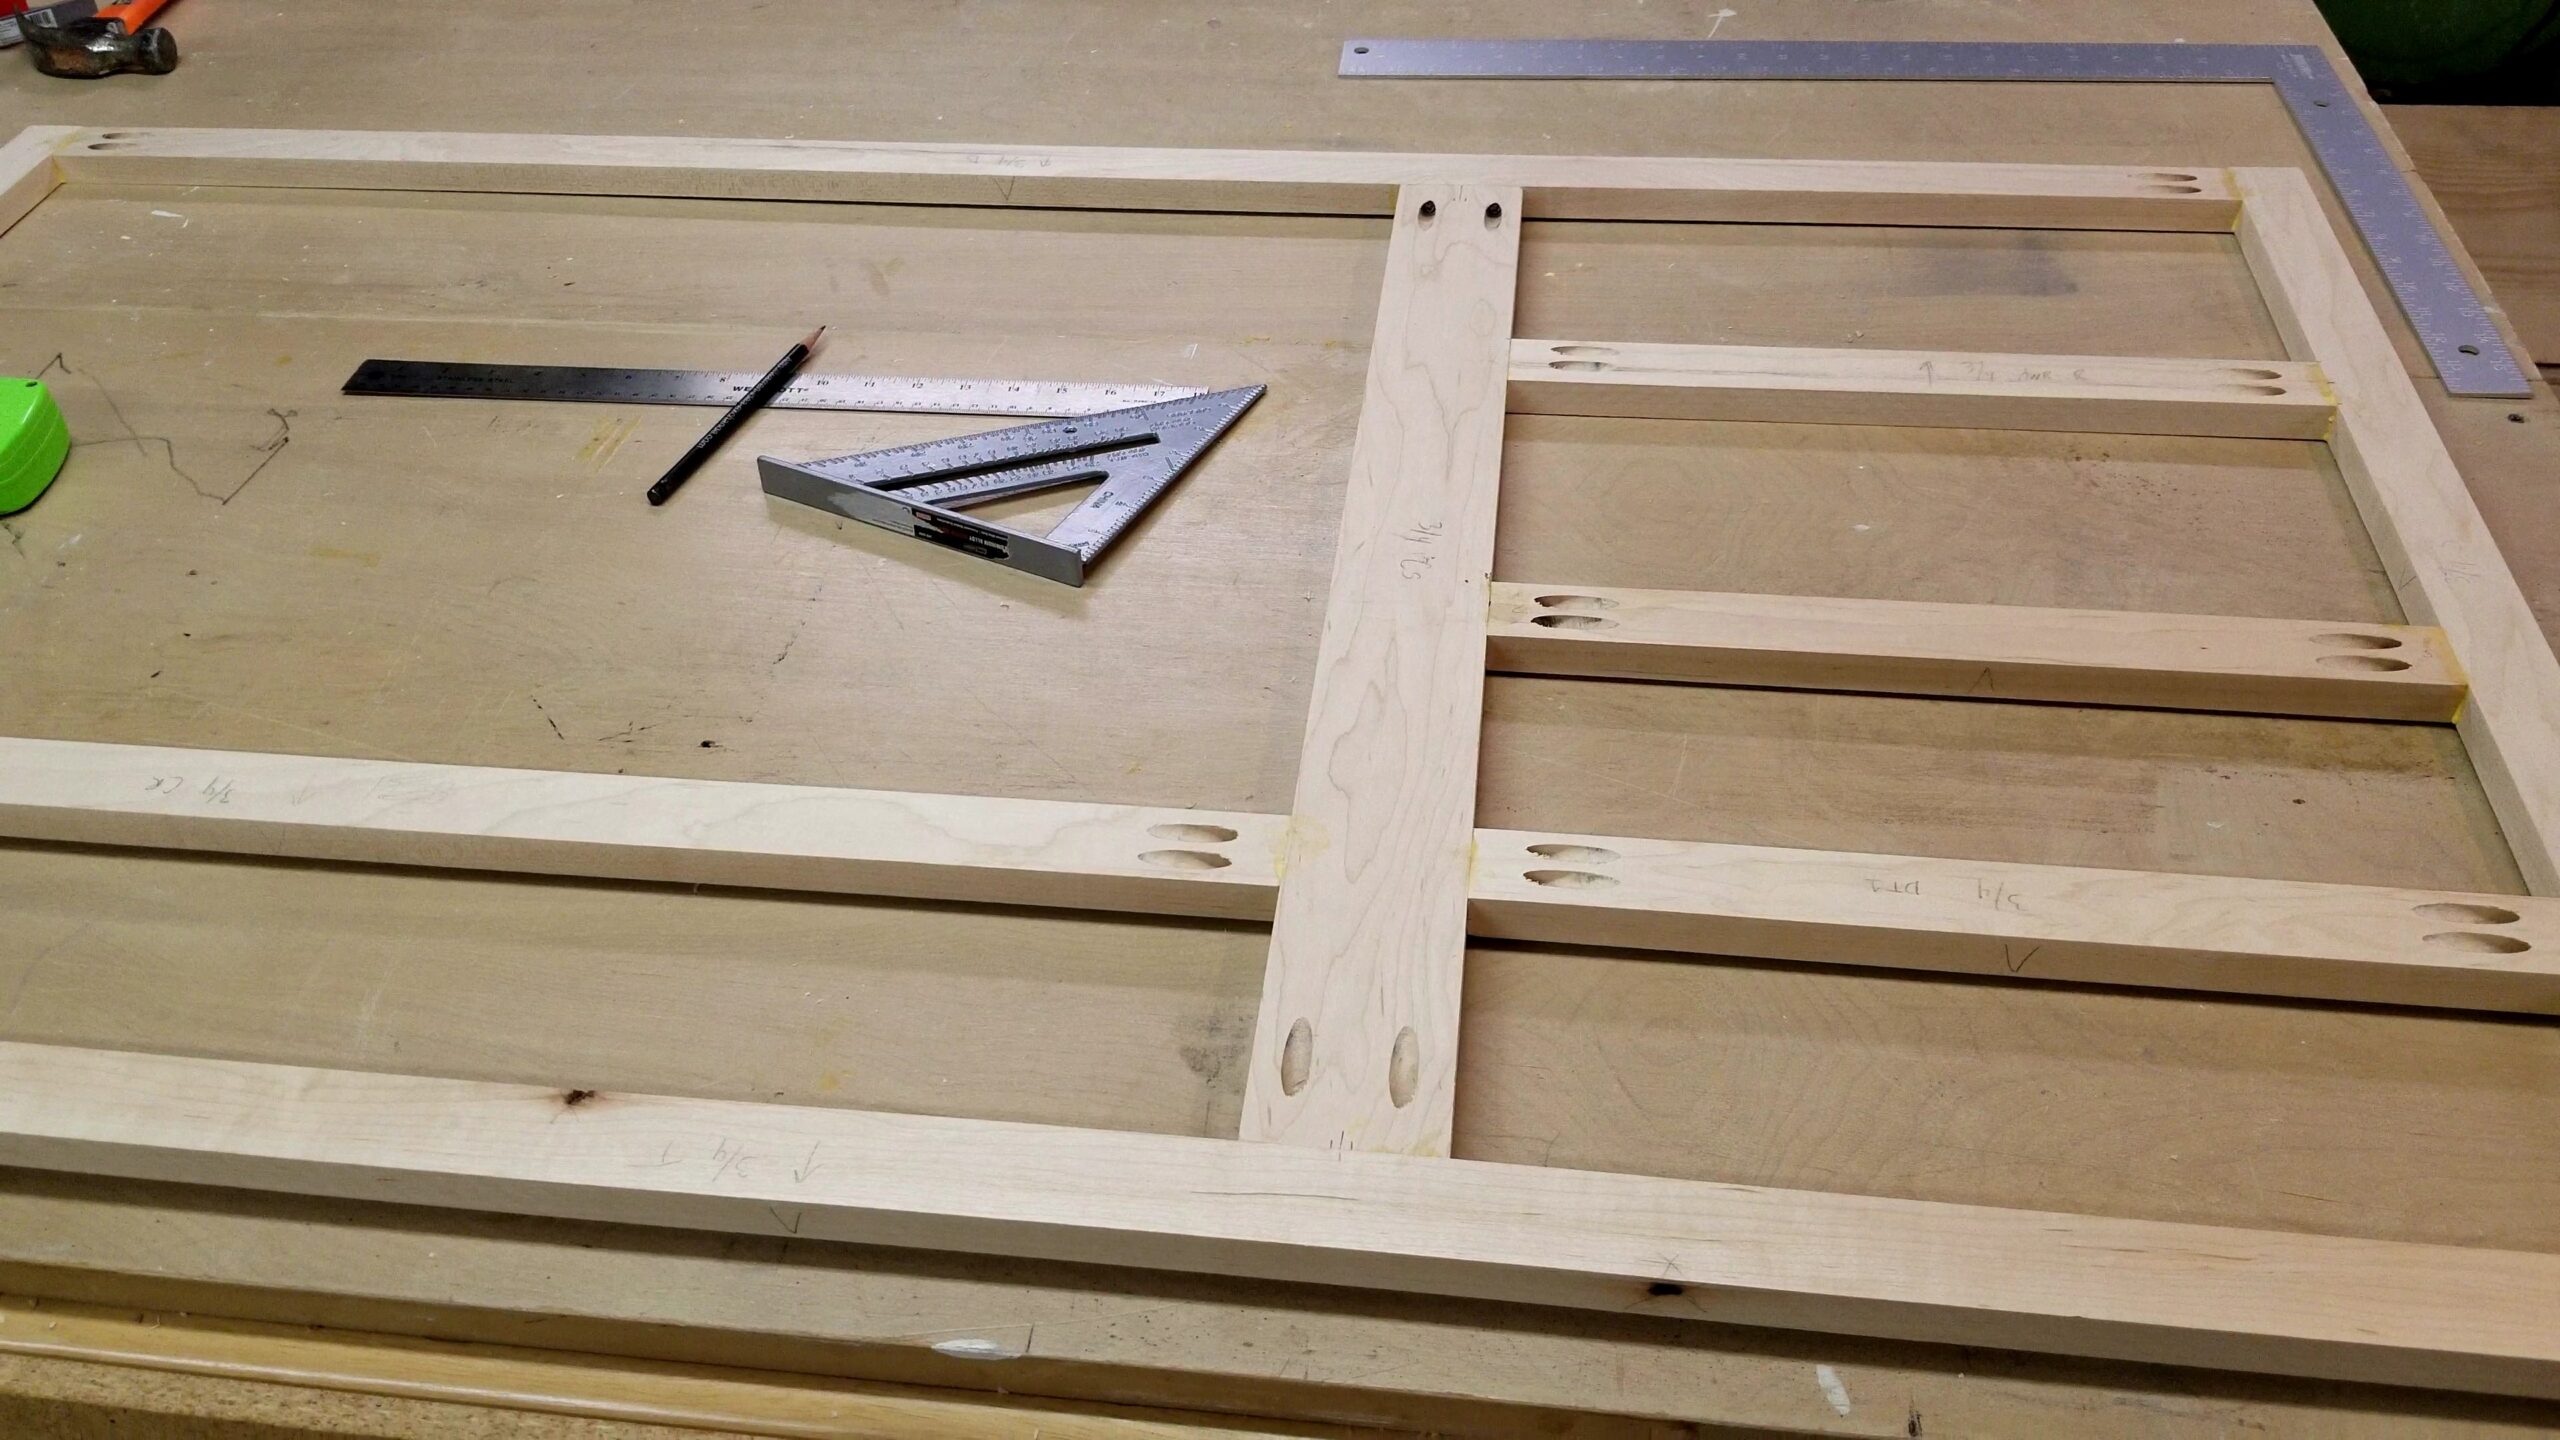
So after milling and ripping to width additional face frame material I begin basically the same process I did for the upper face frames. However, this time around the styles were only 30 inches long and there would be drawers.
Unlike the upper cabinets I did not need additional width for the bottom rail to conceal the under cabinet lighting so all frame material is 1 1/2 inches in width. This made it much easier for cutting the raw stock in that I didn’t need to make sure I could get the additional 1/4 inch width on the bottom rails.

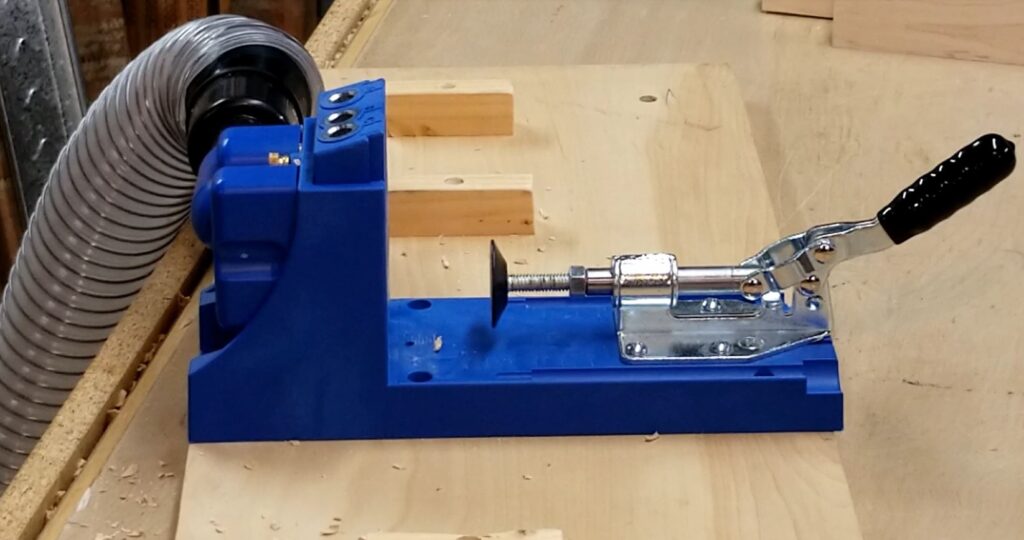
Again I used the same joinery method for the frames – pocket holes using my Kreg Jig. My model is a K4 and most of my clamps are the older style that do not automatically adjust for thickness but the do the job. It’s important to keep a clean work area when drilling all these pocket holes because you can really end up with a large pile of drill shavings. This is why I use some hose adapters to fit the system onto a 2 1/2 inch dust collector line. You could also use these same fittings to go to a shop vac.
I mentioned earlier that my stiles were 30 inches long. How did I come up with this measurement? Well, typical base cabinet height is 36 inches including the counter top. Knowing my counter top would be 1 1/2 inches (pretty standard) that would give me 34 1/2 inches from the top of the cabinet (excluding the counter top) to the floor. Since I wanted a 4 1/2 inch toe kick at the bottom I ended up with 30 inches (total height – counter top thickness – toe kick = style height or 36″ – 1.5″ – 4.5″ = 30″).
When adding my drawer rail I used a 5 inch space block. This allowed me to keep consistent sizes for all my drawers. This took out any error that might come from using a rule or tape measure to space this rail. All I had to do is stick the spacer block in there and screw the rail in place.
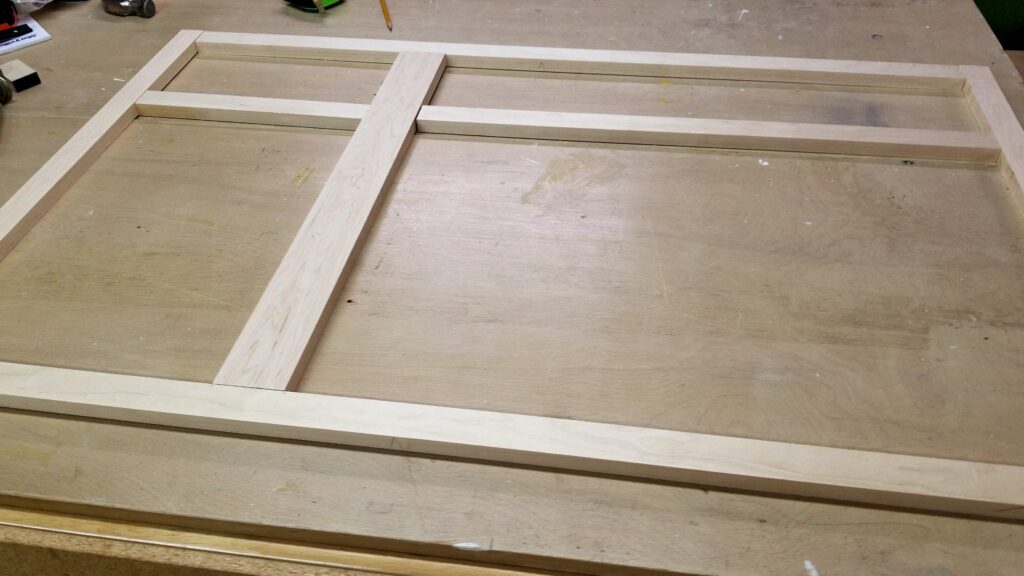
Unlike store bought cabinets my sink cabinet was going to be a custom job also. What do I mean by that? Well, most cabinets come in sizes with multiples of 3 inches – 30, 33, 36, 39, 42 inches etc. In order to maximize the sink and the drawer stack cabinet sizes I combined them into 1 cabinet – the sink on the left and the draw stack on the right sharing 1 stile between them. The top two drawers of the drawer stack would be the same size and the bottom two would be the same size. This was a fun cabinet to cut, drill, glue and screw because of all the components. In the end it comes out very nice especially with the false front tip out tray in front of the sink and the maximized space for the cabinet and drawers. Continue to follow this series to see the finished product!
Unlike my upper cabinets some of these cabinets would be exposed to water – namely the sink / drawer stack combo unit. So with this cabinet I used Titebond III Glue which is water resistant and holds up around moisture. For the cabinets that were not going to be around the sink I just used Titebond II Glue. Unlike the upper cabinet assembly I switched to using my corded Ryobi Drill instead of using my DeWalt Impact Driver. This worked our much better as I didn’t have to swap out batteries and didn’t have all the noise from the ratcheting.
As always, I try to layout the closely cut lumber so I can get precise measurements. My video below shows laying out a small cabinet as well as how I did the sink / drawer stack combo cabinet.
I’ve included a few Amazon Links below for the equipment and materials I used.
Equipment and Materials
- DEWALT Sliding Compound Miter Saw, 12-Inch (DWS779)
- Kreg Pocket Hole Jig K4 Master System
- Kreg KHC-Premium Face Clamp
- Kreg Right Angle Clamp (newer model)
- Kreg SML-F125 Fine Thread 1 1/4″ Screws
- Jorgensen 3724-HD 24-Inch Heavy-Duty Steel Bar Clamp (new model)
- IRWIN QUICK-GRIP Bar Clamp, One-Handed, Medium-Duty, 12-Inch
- Johnson Level & Tool CS5 16-Inch x 24-Inch Aluminum Framing Square
- Johnson Level & Tool RAS-1 7-Inch Aluminum Rafter Angle Square
- Ryobi BB0736 Corded Drill
- Titebond II Glue
- Titebond III Glue
- Maple (from a hardwood supplier)
I hope you find this video useful and can use some of the tips presented.
Some of the links in my video description and article above are Amazon Affiliate links. As an Amazon Associate I earn from qualifying purchases. If you would like to make different purchase from Amazon, you can also use the storewide link.